
Before you even think about picking up a drill, let’s talk strategy. A successful wireless security camera installation starts with a solid plan. This is where you map out vulnerable spots, decide where each camera will go to avoid blind spots, and—most importantly—make sure your Wi-Fi is up to the task. Getting this foundation right is the secret to avoiding a world of headaches later on.
Your Pre-Installation Security Blueprint
So many people make the mistake of jumping straight into mounting cameras. The result? Poor coverage and spotty performance. A little bit of thoughtful planning ensures every camera has a specific job, giving you real security instead of just a bunch of random video feeds. Honestly, this planning phase is the most important part of the whole project.
It’s no surprise these systems are so popular. The smart home wireless camera market is expected to grow by 23.3% annually between 2025 and 2033. Plus, about 67% of users are picking wireless specifically because they can install it themselves. This data, highlighted by Grand View Research, shows a huge shift toward security solutions you can truly own and manage.
Think Like an Intruder
First things first: do a “security walkthrough” of your own home. Walk the entire perimeter and put yourself in the shoes of someone trying to get in. Where are the easy targets?
- Front Door and Porch: This is the most obvious entry point, not to mention ground zero for package thieves.
- Back and Side Doors: These are often out of sight from the street, making them a favorite for intruders.
- Ground-Floor Windows: Pay close attention to any windows hidden by fences, bushes, or landscaping.
- Garages and Sheds: These spots not only hold valuable tools but can also offer a sneaky way into the main house.
By identifying these vulnerabilities from the get-go, you can create a priority list for camera placement and make sure you’re covering the most critical areas first.
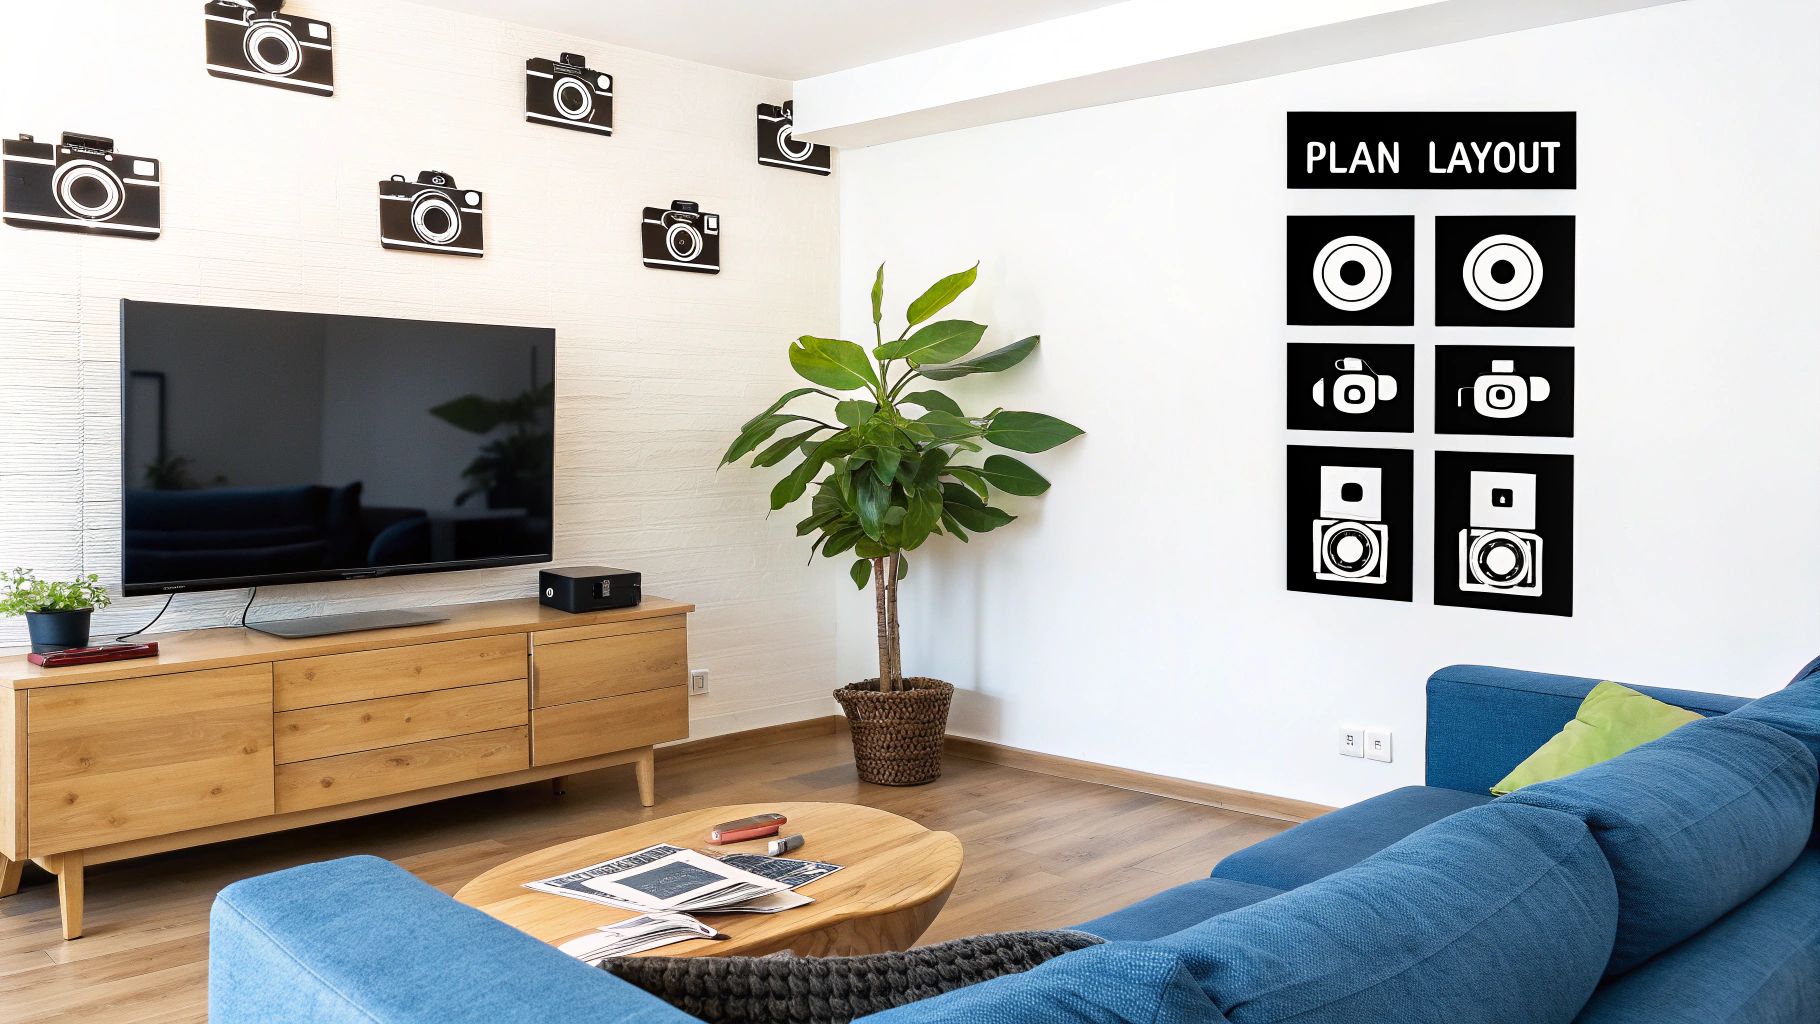
Map Your Camera Placements
Once you’ve flagged the key zones, it’s time to pinpoint exactly where you’ll mount each camera. This is about more than just pointing a camera at a door; it’s about optimizing the view and making sure it will actually work well in that spot.
A well-placed camera does more than just record; it acts as a powerful deterrent. The goal is to eliminate blind spots and capture clear, usable footage without creating a maintenance nightmare.
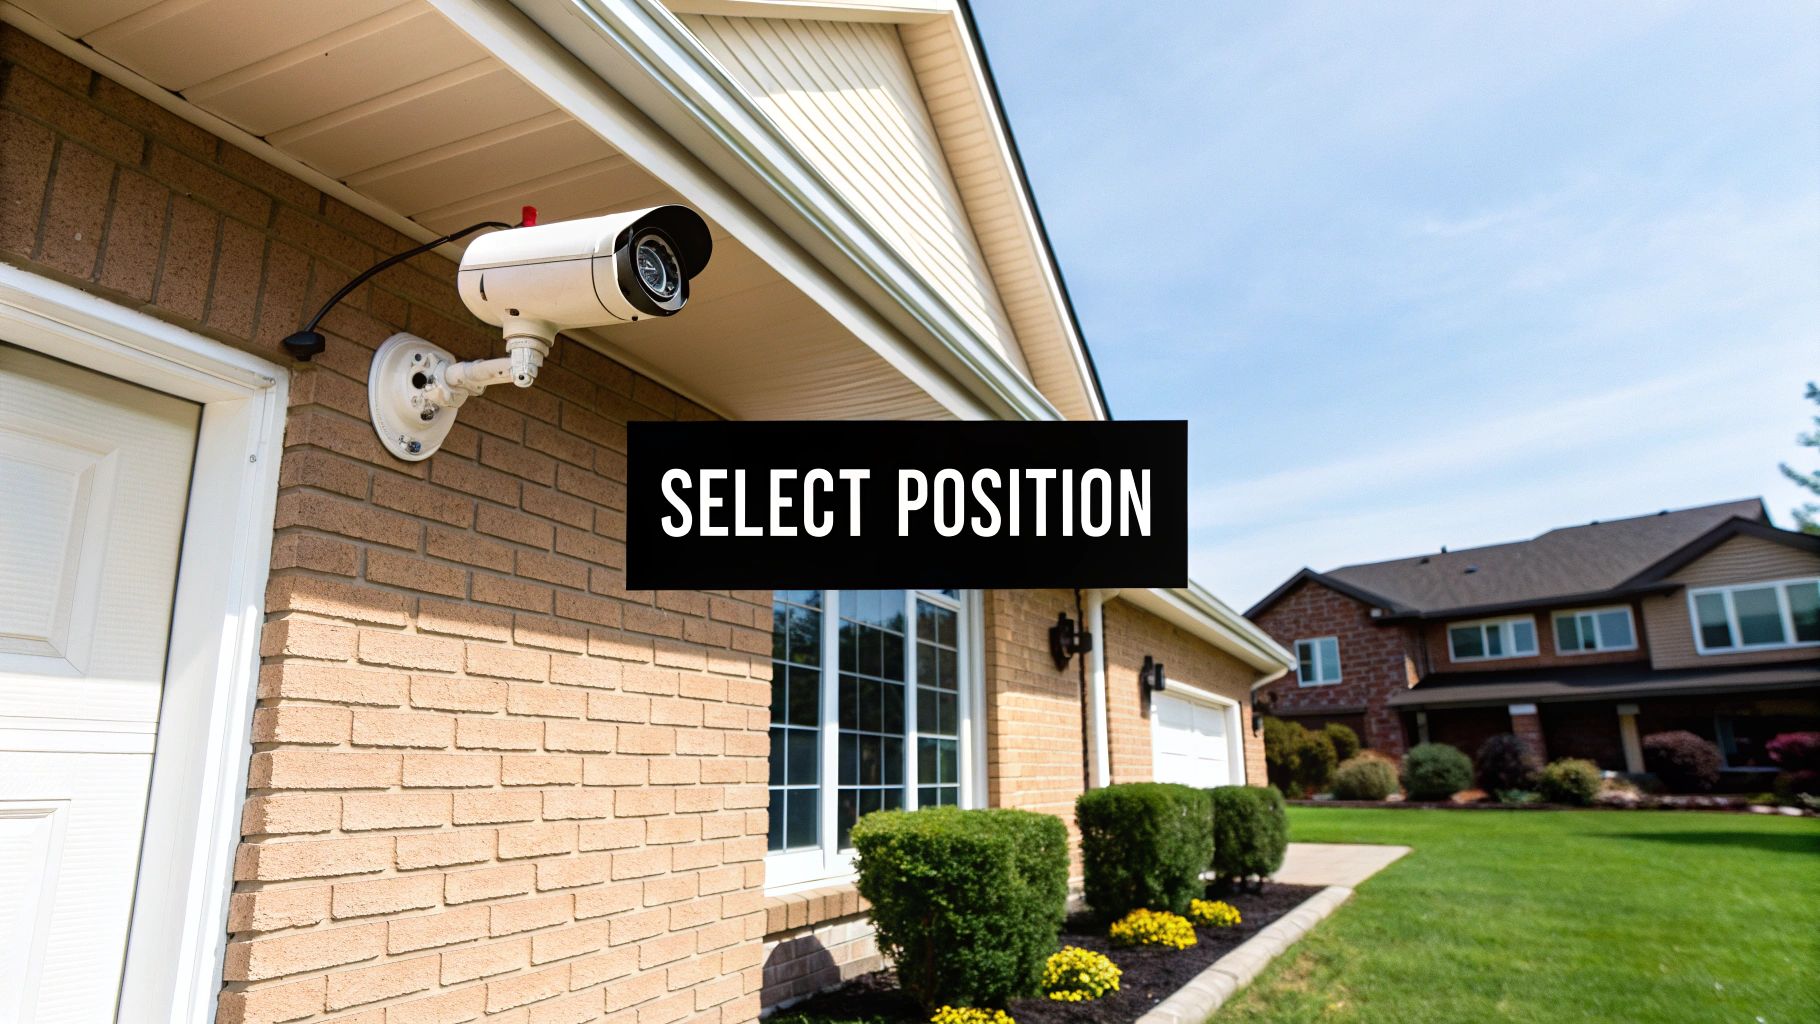
Here’s what I’ve learned to consider for every single camera location:
- Height and Angle: Aim for about 8-10 feet high. That’s high enough to be out of easy reach but low enough to still capture facial details. Angle the camera down slightly to focus on your property and avoid recording too much of the street or your neighbor’s yard.
- Avoid Direct Sunlight: Never point a camera directly into the sun. If it’s facing the sunrise or sunset, the lens flare will completely wash out the image, making it useless during those times.
- Power Source Proximity: Even “wire-free” cameras need their batteries charged eventually. For plug-in models, make sure an outlet is nearby. If you’re still weighing your options, understanding the real-world differences between wireless and wired security systems can save you a lot of trouble.
- Shelter from Elements: If you can, tuck the camera under an eave or overhang. This simple move gives it extra protection from harsh rain and snow, which can seriously extend its lifespan.
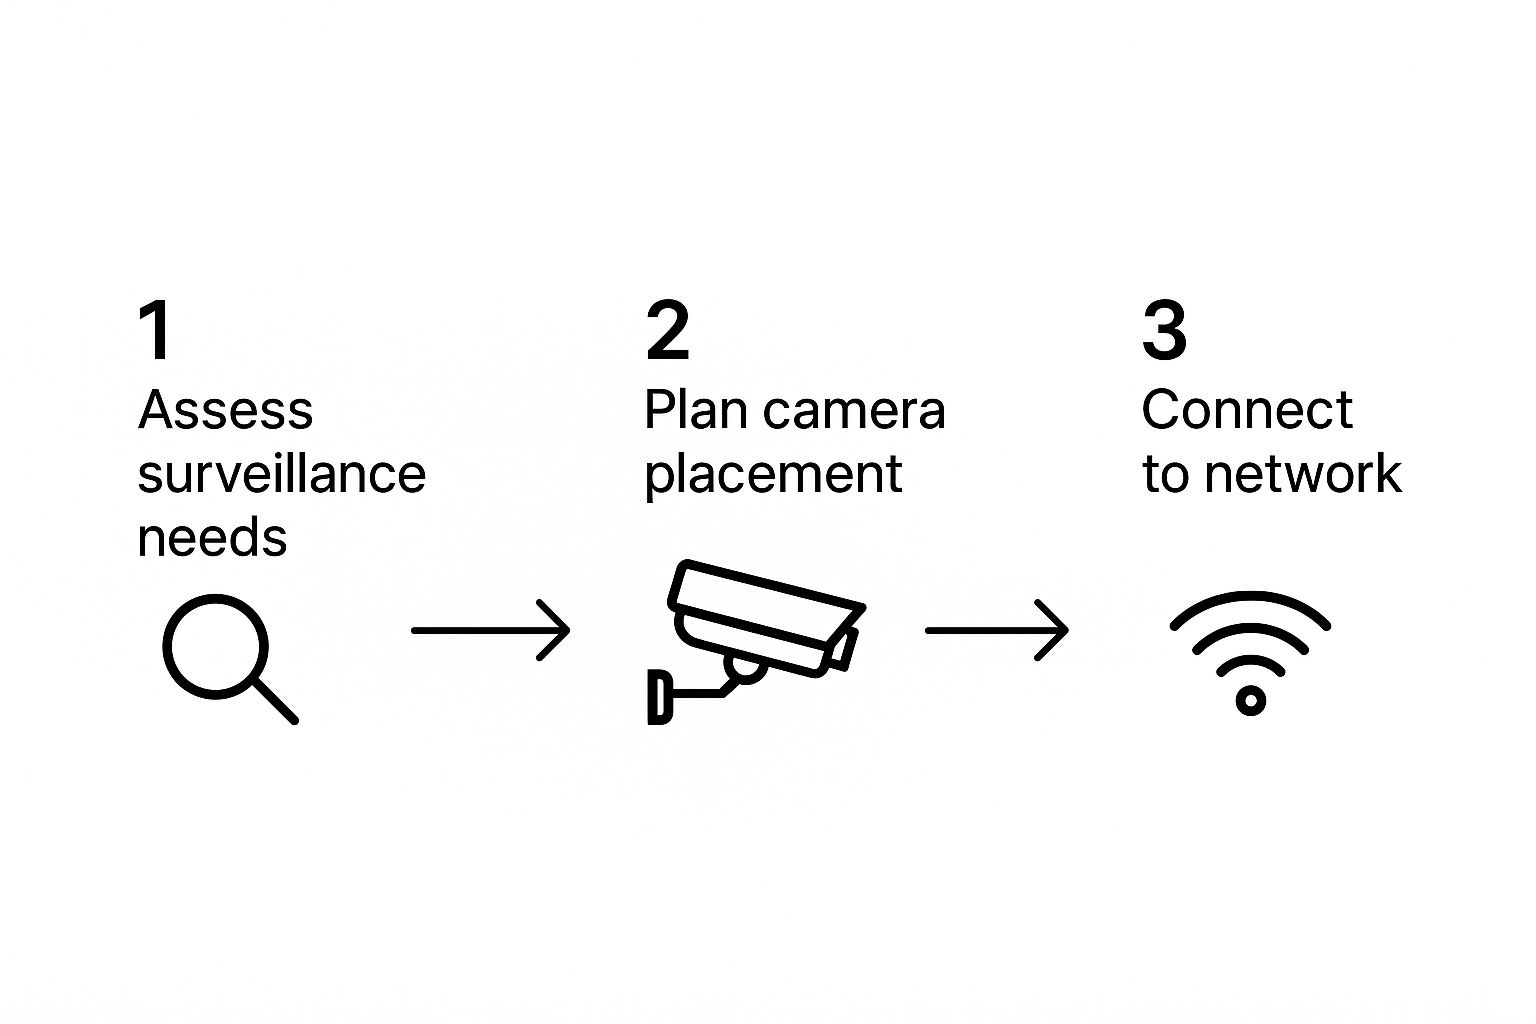
This visual guide really drives the point home: it all starts with assessing your needs, then moving to strategic placement and a solid network check.
Camera Placement and Purpose Checklist
To help you put this all together, here’s a quick reference table I use to guide my own installations. It connects the “where” with the “why.”
| Location | Primary Goal | Recommended Features | Installation Tip |
|---|---|---|---|
| Front Door/Porch | See visitors, monitor packages | Two-way audio, person detection | Position for a clear view of faces, not the back of heads. |
| Backyard/Patio | Monitor activity, deter trespassers | Wide-angle lens, night vision | Mount high for a broad view; avoid pointing at neighbor’s yard. |
| Driveway/Garage | Watch vehicles, detect entry attempts | Motion-activated floodlight, good low-light performance | Place to cover the garage door and main vehicle paths. |
| Side of House | Cover blind spots, monitor gates | Narrow field of view, weather-resistant | Overlap coverage with front/back cameras to eliminate gaps. |
This checklist is a great way to ensure each camera you install has a clear and distinct purpose, contributing to a truly comprehensive security setup.
Test Your Wi-Fi Signal Strength
This final check is non-negotiable. A wireless camera is only as good as its Wi-Fi signal.
Before you drill a single hole, grab your smartphone and walk to every spot you’ve planned for a camera. Run a Wi-Fi speed test. You’re looking for a strong, stable signal. If you see only one or two bars, or if the connection is slow and jittery, your camera is going to struggle. You’ll end up with laggy video, poor quality, and constant disconnections.
If you find a dead zone, you might need to move your router or, more likely, invest in a Wi-Fi extender or a mesh system. Trust me, spending a few minutes on this test will save you from immense frustration down the line.
Getting Your Tools and Camera Ready
Before you even think about climbing a ladder, let’s talk about prep work. I’ve seen countless wireless camera installations go sideways simply because of poor planning. Getting your tools and camera ready before you start is the secret to a smooth, headache-free setup. It’s the difference between a quick job and an afternoon of frustration.
Think of it like a chef’s mise en place—everything in its place before the cooking begins. A few minutes of prep here will save you from making a dozen trips back and forth to the garage, keeping your momentum and focus sharp.
The Tools You’ll Actually Need
Every home is different, but a solid toolkit is universal. We’re not just talking about a drill; a few extra, simple items can elevate your installation from “good enough” to professional-grade.
- Power Drill & Bits: This is non-negotiable. You’ll need it for pilot holes and driving in mounting screws. Make sure you have a set with various sizes and a Phillips head bit.
- Screwdrivers: For those final, delicate adjustments to the camera angle, a multi-bit screwdriver is perfect. It gives you more control than a powerful drill.
- Stud Finder: Don’t skip this. A stud finder is your best defense against a wobbly camera mount. It helps you anchor directly into the solid wood beams behind the drywall, so your camera stays put.
- Level: A crooked camera just looks bad. A small torpedo level is all you need to make sure the mounting bracket is perfectly straight and professional-looking.
- Pencil or Marker: Simple, but essential for marking exactly where you’re going to drill.
- A Sturdy Ladder: Safety first. Make sure you have a stable ladder or step stool to comfortably and safely reach your mounting spot.
The Pro Tip That Will Save Your Sanity: The Bench Test
Listen, if you take only one piece of advice from this guide, let it be this: always bench test your camera first. What does that mean? It means you unbox it, power it up, and get it fully connected to your network while you’re sitting comfortably at your kitchen table, not teetering on a ladder.
The single biggest mistake in DIY security is assuming a camera will work perfectly right out of the box once it’s ten feet up a wall. A five-minute bench test can save you an hour of troubleshooting later.
This quick pre-flight check lets you sort out any software quirks or Wi-Fi issues while you’re on solid ground and close to your router. It’s a foundational step for any successful DIY security systems project and, trust me, you’ll be glad you did it.
Here’s your checklist for the bench test:
- Get it fully charged. If your camera is battery-powered, plug it in and let it get to 100%. This gives it plenty of juice for the initial setup and any firmware updates it needs to download.
- Download the app and create your account. Every camera has a companion app. Get it on your phone and go through the account setup process now.
- Connect it to your Wi-Fi. This is the big one. Follow the app’s instructions to get the camera talking to your home network. If you hit a snag, it’s a thousand times easier to solve when the camera is in your hands.
- Check for a live feed. Once it’s connected, can you see the video stream on your phone? Wave your hand in front of the lens. Make sure it’s working.
- Update the firmware. Nine times out of ten, there will be a firmware update waiting. Let it download and install now so you have all the latest features and security patches from the get-go.
Once you’ve done all this, you can move on to the physical installation with total confidence, knowing the tech side of things is already sorted.
Mastering the Art of Camera Mounting
This is where the rubber meets the road. All your planning now becomes a physical reality, and getting the camera mounted correctly is what separates a reliable security system from a frustrating gadget. It’s about more than just drilling a few holes; it’s a strategic step that dictates how well your camera works, how long it lasts, and whether you stay on good terms with your neighbors.
The physical installation can seem like the most intimidating part, but it’s pretty straightforward if you take your time. Before you even pick up a drill, grab the mounting template that came in the box. Tape it to the wall, pull out a level to make sure it’s straight, and mark your drill spots. This simple action takes all the guesswork out of the equation and guarantees a clean, professional-looking install.
Drilling and Anchoring for Different Surfaces
The surface you’re mounting on will completely change your approach. I’ve seen countless cameras come loose because someone used the wrong hardware for the job. Let’s walk through the most common materials you’ll run into.
- Wood or Vinyl Siding: This is the easy one. On wood, you can usually get away with a small pilot hole (just a bit smaller than your screw) and then drive the screws right in. If you’re mounting on vinyl, the key is to make sure your screws are biting into the solid wood sheathing behind the siding, not just the thin vinyl itself.
- Brick or Stucco: Time to bring out the big guns. You’ll absolutely need a masonry drill bit for these tough surfaces. Once you’ve drilled your holes, gently tap the plastic wall anchors in until they’re sitting flush. When you drive the screws in, they’ll expand the anchors and create a rock-solid grip inside the wall.
- Drywall (Interior): If you’re mounting inside and can’t find a wall stud, using anchors is non-negotiable. Screwing directly into drywall is a recipe for disaster; the camera’s weight will eventually pull it right out. Use the plastic anchors from your kit to give it something solid to hold onto.
There’s a reason professional installers can charge anywhere from $125 to $450 per camera—a big part of it is knowing how to handle these different materials. By learning these basics, you’re not just saving a good chunk of money, you’re picking up a genuinely useful DIY skill.
Finding the Optimal Height and Angle
Getting the height right is a game of trade-offs. After countless installations, my go-to recommendation is to mount cameras about 8 to 10 feet off the ground.
This height is the sweet spot. It’s high enough to be out of easy reach for a would-be thief, but it’s still low enough to capture clear, identifiable details like faces and license plates—which is the whole point.
Once the bracket is securely on the wall, attach the camera and get ready to fine-tune the angle. The goal here is simple: cover as much of your property as possible while being a good neighbor. You’ll want to aim it downward to focus on your driveway, yard, or entryway, actively avoiding their private spaces like windows or backyards.
Here’s a pro tip: have the live camera feed open on your phone while you’re up on the ladder. It lets you see exactly what the camera sees in real-time, so you can lock in the perfect angle before putting your tools away.
Essential Weatherproofing Techniques
For any camera mounted outside, protecting it from the elements is just common sense. Even if your camera is rated as “weatherproof,” a couple of extra steps can dramatically extend its life.
My number one tip for any camera with an external power cord (even one going to a solar panel) is to create a drip loop. It’s a simple trick that works wonders. Before the cable plugs into the camera, let it hang down in a small “U” shape. Gravity will do the rest—rainwater will run down the cord and drip safely from the bottom of the loop instead of flowing right into the power port and causing a short.
If you have the option, always try to mount the camera under an eave or some kind of overhang. This gives it a natural shield from the worst of the rain, snow, and direct sun, all of which can wear down the lens and housing over time. These little details are what make the difference between a security camera that lasts one season and one that protects your home for years.
Configuring Your System for Smarter Security
Okay, the cameras are up. Now for the fun part: making them smart. This is where you go from having a piece of hardware on the wall to having a security system that actually works for you. The app is your command center, and a few tweaks to the settings will make all the difference between a system that’s genuinely helpful and one that just bombards you with useless notifications.
The brains behind these cameras are getting seriously impressive. It’s a big reason why the wireless home security camera market hit a valuation of around $9.8 billion globally in 2024. With North America making up a huge 36.1% chunk of that, it’s obvious people are embracing these advanced features. You can dive deeper into these market trends and insights on gminsights.com.
Fine-Tuning Motion Detection and Zones
Right out of the box, your camera is probably set to “detect everything.” This is a recipe for alert fatigue. Your first move should be to set up custom motion detection zones. Instead of letting the camera watch its entire field of view, you get to draw a box around the specific spots you care about.
Think about it: you want to know when someone is on your porch, but you couldn’t care less about the cars driving down the street. By creating a zone that only covers your walkway and doorstep, you’re telling the camera exactly what to look for.
This is a perfect example of how you can draw a specific activity zone right in the app, zeroing in on the areas that matter.
As you can see, the user has drawn a tight perimeter around the porch and path, effectively ignoring the sidewalk and street.
Next up is motion sensitivity. If you set it too high, a branch swaying in the wind will trigger an alert. Too low, and you might miss someone walking up the driveway. My advice? Start with a medium setting. Live with it for a day or two and see what kind of alerts you get. The goal is to find that sweet spot where you catch real events without all the noise.
Setting Up Smart Alert Schedules
You probably don’t need a push notification every time your kids run through the living room. But you definitely want one if something moves at 3 a.m. This is where scheduling becomes your best friend.
Most apps let you set rules that automatically arm and disarm the system based on time or your location.
- Workday Schedule: Set alerts to be active from 9 AM to 5 PM while you’re at the office.
- Night Mode: Have all cameras armed and ready to send notifications from 11 PM to 6 AM.
- Geofencing: Some systems can use your phone’s location to arm themselves when you leave the house and disarm when you pull into the driveway. It’s incredibly convenient.
This kind of control stops your security system from being a nuisance and turns it into a genuinely useful tool. It’s one of the key features that separates a basic camera from the truly great smart home security systems on the market.
Choosing Your Video Storage Method
The last big decision is figuring out where your video clips will live. You’ve basically got two choices, and each has its own trade-offs.
Your storage choice directly impacts both the long-term cost and the reliability of your system. There’s no single “best” answer—it’s about what works for your budget and security needs.
Let’s break down the two main paths you can take:
| Feature | Cloud Storage | Local Storage (SD Card) |
|---|---|---|
| Accessibility | Watch your footage from anywhere on your phone or computer. | You usually have to pop the SD card out to view the video (unless the app supports network access). |
| Security | Your video is stored safely off-site, even if a thief steals the camera. | If the camera is stolen or damaged, your footage is gone with it. |
| Cost | Almost always involves a monthly subscription fee. | Just the one-time cost of buying a microSD card. |
| Dependency | Needs a solid internet connection to upload clips. If your Wi-Fi dies, it stops recording. | Keeps recording even if your internet goes down, so you don’t have any gaps. |
Honestly, the best setup for most people is a hybrid one. If you can find a camera that supports both cloud and local storage, you get the best of both worlds: easy remote access backed up by a physical SD card just in case your internet ever cuts out.
Testing and Fine-Tuning Your Setup
The cameras are mounted and the power is on, but you’re not quite done yet. This last phase is where the real magic happens—it’s where you transform a bunch of hardware into a reliable security system that actually works in the real world.
Think of it like a final inspection. We need to put every camera through its paces to find any blind spots or performance quirks before they become a real problem. A camera that misses the one event you needed to capture isn’t much more than a high-tech garden gnome.
Performing the Live Walk-Test
The best way to see what your cameras see is with a simple, hands-on “walk-test.” It sounds basic, but it’s incredibly effective. Grab your phone, open the camera app, and have a friend or family member walk through each camera’s field of view.
As they move around, you’ll be glued to the live feed, looking for a few specific things:
- Notification Speed: From the moment they step into a motion zone, how long does it take for your phone to buzz? Anything more than a few seconds might point to a Wi-Fi signal that’s just barely hanging on.
- Video Clarity: Is the stream smooth and clear, or is it a choppy, pixelated mess? Lagging video is another classic sign that the camera is struggling with its wireless connection.
- Motion Detection Accuracy: Does the camera alert you the instant they enter the detection zone? Or does it wait until they’re halfway across the yard? If it’s the latter, your motion sensitivity settings probably need a little nudge.
This kind of real-world test gives you instant feedback that you just can’t get from staring at a static image.
Verifying Night Vision and Recordings
Your security system doesn’t clock out when the sun goes down, so your testing shouldn’t, either. Once it gets dark, it’s time to check one of the most important features of any outdoor camera: its night vision.
Pull up the live view for each camera. Can you clearly make out details at the far end of your yard or driveway? If the image is foggy or has bright, washed-out spots, the camera’s own infrared (IR) light is likely bouncing off a nearby surface like a wall or soffit. A tiny adjustment to the camera’s angle usually fixes this right up.
The final piece of the puzzle is confirming that your cameras are actually saving footage. A live view is great, but recorded clips are what you’ll need as evidence if something happens.
Trigger a motion event one last time on every camera. Give it a minute, then navigate to the event history or playback feature in your app. Is the clip there? Does it play back without a hitch? This little check confirms your storage, whether it’s a local SD card or a cloud subscription, is working as it should.
Common Installation Issues and Solutions
Even the most careful installations can hit a snag or two. Don’t sweat it—most of these issues are common and surprisingly easy to fix. I’ve put together a quick troubleshooting table to help you diagnose and solve the typical problems that pop up right after setup.
Common Installation Issues and Solutions
| Symptom | Likely Cause | Quick Fix |
|---|---|---|
| Laggy Video or Delayed Alerts | Weak Wi-Fi Signal | Move your Wi-Fi router closer to the camera, or install a Wi-Fi range extender to boost the signal in that area. |
| Too Many False Alarms | Motion Sensitivity Too High | Lower the sensitivity setting in the app. Also, double-check your motion zones to exclude swaying trees or busy sidewalks. |
| Missed Motion Events | Poor Camera Angle or Low Sensitivity | Adjust the camera to have a clearer, unobstructed view of the target area. If the angle is good, try slightly increasing the motion sensitivity. |
| Grainy Night Vision | Infrared (IR) Bounce-Back | Angle the camera slightly away from nearby surfaces like walls, soffits, or eaves. These can reflect the IR light and wash out the image. |
By taking the time to test and tweak, you ensure every part of your system is working together perfectly. This final effort is what turns a weekend project into a dependable security asset you can count on for years.
Simple Upkeep for Long-Term Security
You’ve finished the installation, and your cameras are up and running. Great! But the job isn’t quite done. Think of your system like a car—a little routine care keeps it performing reliably when it matters most. These simple habits are your best defense against performance hiccups and will help you get years of service out of your gear.
This is more important than ever, given how fast security tech is moving. The wireless camera market is on track to hit around $15 billion by 2025 and is expected to grow by 12% each year through 2033. That growth is driven by things like AI analytics and cloud storage, all of which need well-maintained hardware to work properly. If you’re curious about the industry trends, you can explore the full market analysis on archivemarketresearch.com.
Your Quick Maintenance Checklist
Keeping your system in peak condition doesn’t have to be a major chore. Just a few minutes every couple of months will make a world of difference.
- Clean the Lenses: Grab a microfiber cloth and give each camera lens a gentle wipe. It’s amazing how quickly dust, pollen, and even tiny spiderwebs can build up, blurring the image or—worse—triggering a storm of false motion alerts. A clean lens means a clear picture.
- Check on Your Batteries: For any battery-powered cameras, pop into the app and check their charge levels. If you notice one is draining way faster than the others, that’s a red flag. It could mean it’s getting too many motion alerts or has a weak Wi-Fi signal, forcing the camera to work overtime to stay connected.
- Install Firmware Updates: When your app prompts you to update the firmware, do it. Don’t put it off. These updates aren’t just for new bells and whistles; they often include critical security patches that keep your system safe from digital threats.
I can’t tell you how many times I’ve seen a perfectly good system fail because of simple neglect. A dusty lens or outdated firmware can turn a high-tech camera into a paperweight right when you need it most.
By folding these small tasks into your routine, you ensure your security camera system keeps delivering the peace of mind you paid for. It’s the easiest way to protect your investment.
Answering Your Top Installation Questions
Even the most straightforward wireless camera installation can throw a few curveballs. I’ve been through this process countless times, and I’ve found that the same questions tend to come up again and again. Let’s walk through some of the most common ones to head off any potential frustrations before they start.
How High Should I Mount My Cameras?
This is probably the number one question I get, and for good reason—placement is everything. You’re looking for that sweet spot between security and clarity.
My go-to recommendation is to mount cameras between 8 and 10 feet off the ground. This height is a great compromise. It’s high enough to keep the camera out of arm’s reach of a casual vandal, but it’s still low enough to capture useful details like faces, not just the tops of people’s heads. Go too high, and you’ll get a great view of your lawn but miss the identifying features you actually need.
What Happens If My Wi-Fi Goes Down?
It’s a valid concern. Your internet will inevitably drop at some point, so what happens to your security footage? The answer really hinges on where your camera saves its recordings.
- Cloud-Only Cameras: If your camera only records to the cloud, then yes, it’s effectively a paperweight when the Wi-Fi is out. No connection means no recording.
- Cameras with Local Storage: This is why I almost always recommend cameras with a microSD card slot. If the Wi-Fi drops, these cameras just keep recording to the card. Once your network is back online, you can access all the footage that was captured during the outage.
It’s a simple feature that provides a huge amount of peace of mind. Think of that local microSD card as your system’s built-in backup plan.
My Wi-Fi Signal is Weak Outside. What Can I Do?
A weak, stuttering video feed from an outdoor camera is a classic problem. You’ve found the perfect spot to cover your driveway, but your router just can’t quite reach it with a strong signal. Don’t worry, you have a couple of solid options here.
The first, and often simplest, solution is a Wi-Fi range extender. You just plug it into an outlet somewhere between your router and the camera, and it acts as a relay, boosting the signal further out.
For larger properties or homes with persistent dead spots, upgrading to a mesh Wi-Fi system is a game-changer. Instead of one central router, you have multiple nodes spread around your home, blanketing the entire area with a strong, consistent signal. It’s a more robust fix for ensuring all your devices, including your security cameras, stay reliably connected.
At Automated Home Guide, our goal is to give you the practical, real-world advice you need to build a smarter and more secure home. If you’re looking for more expert tips or detailed reviews on smart security gear, come find us at https://automatedhomeguide.com.


Leave a Reply