
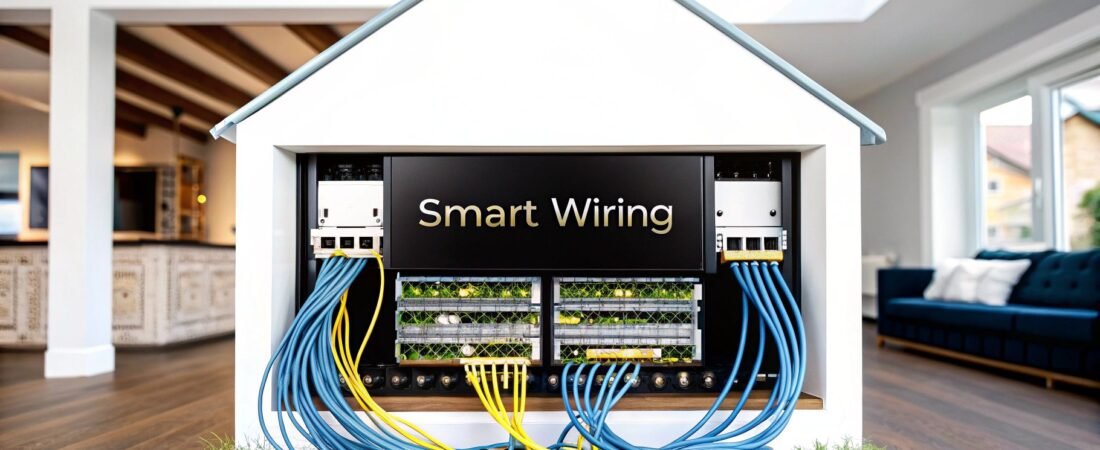
Smart wiring is simply the physical network of cables—like Ethernet and coaxial—that acts as the central nervous system for your connected home. Think of it as the superhighway for your data, ensuring everything from your smart TV to your security cameras has a stable, lightning-fast connection. It's the secret to getting beyond the limits of Wi-Fi.
Smart Wiring: Your Home’s Digital Backbone
Let’s be real for a moment. Trying to run a modern smart home entirely on Wi-Fi is like building a mansion on a foundation of sand. It just won’t hold up. Wireless is fantastic for things you carry around, like phones and tablets, but it buckles under the pressure of all the stationary, data-hungry devices we now rely on.
Here’s a scene I’ve seen play out a hundred times: you’re trying to stream a 4K movie, your son is in an intense online gaming match upstairs, and all your security cameras are recording. Suddenly, your movie starts buffering, you hear yells of frustration about game lag from the other room, and a camera feed cuts out. That's not your Wi-Fi failing; it's your Wi-Fi being completely overwhelmed.
The Problem with a Wi-Fi-Only Setup
When everything runs on wireless, you create a constant battle for bandwidth. Every single device is shouting over the others for a piece of the signal, which inevitably leads to problems:
- Spotty Performance: Wi-Fi signals get choked by walls, floors, and even your microwave oven. This creates those infuriating dead zones where nothing seems to connect properly.
- Constant Buffering and Lag: Activities like 4K streaming or competitive gaming just need more data than a congested wireless network can deliver consistently.
- Security Gaps: An outdoor security camera that relies on a weak Wi-Fi signal is a liability. Signal drops can create blind spots in your home's security at the worst possible moments.
Creating a Rock-Solid Network
This is exactly where smart wiring comes in. By running dedicated Ethernet cables to key spots throughout your home, you give your most critical devices their own private, high-speed lane. This wired backbone provides the raw speed and unshakable stability that a growing collection of smart devices demands.
A wired connection doesn't replace Wi-Fi—it supercharges it. By moving all the heavy data hogs like TVs, game consoles, and computers onto a wired connection, you free up your wireless network to work flawlessly for the devices that actually need it, like your phone.
Smart wiring isn’t just a fancy add-on; it’s a foundational investment. It kills dead zones, guarantees your gadgets perform at their best, and gets your home ready for whatever tech comes next. The market is screaming this from the rooftops, with the global smart home industry—which depends on this kind of infrastructure—expected to rocket from $127.8 billion in 2024 to over $537 billion by 2030. You can explore more data on this incredible growth trend to see where the market is headed.
Ultimately, a proper wiring plan isn't just about connecting your stuff. It's about building a future-proof digital foundation that adds real value to your property. And once that foundation is in place, our detailed smart home hub comparison can help you pick the perfect brain to run it all.
Creating Your Smart Wiring Blueprint
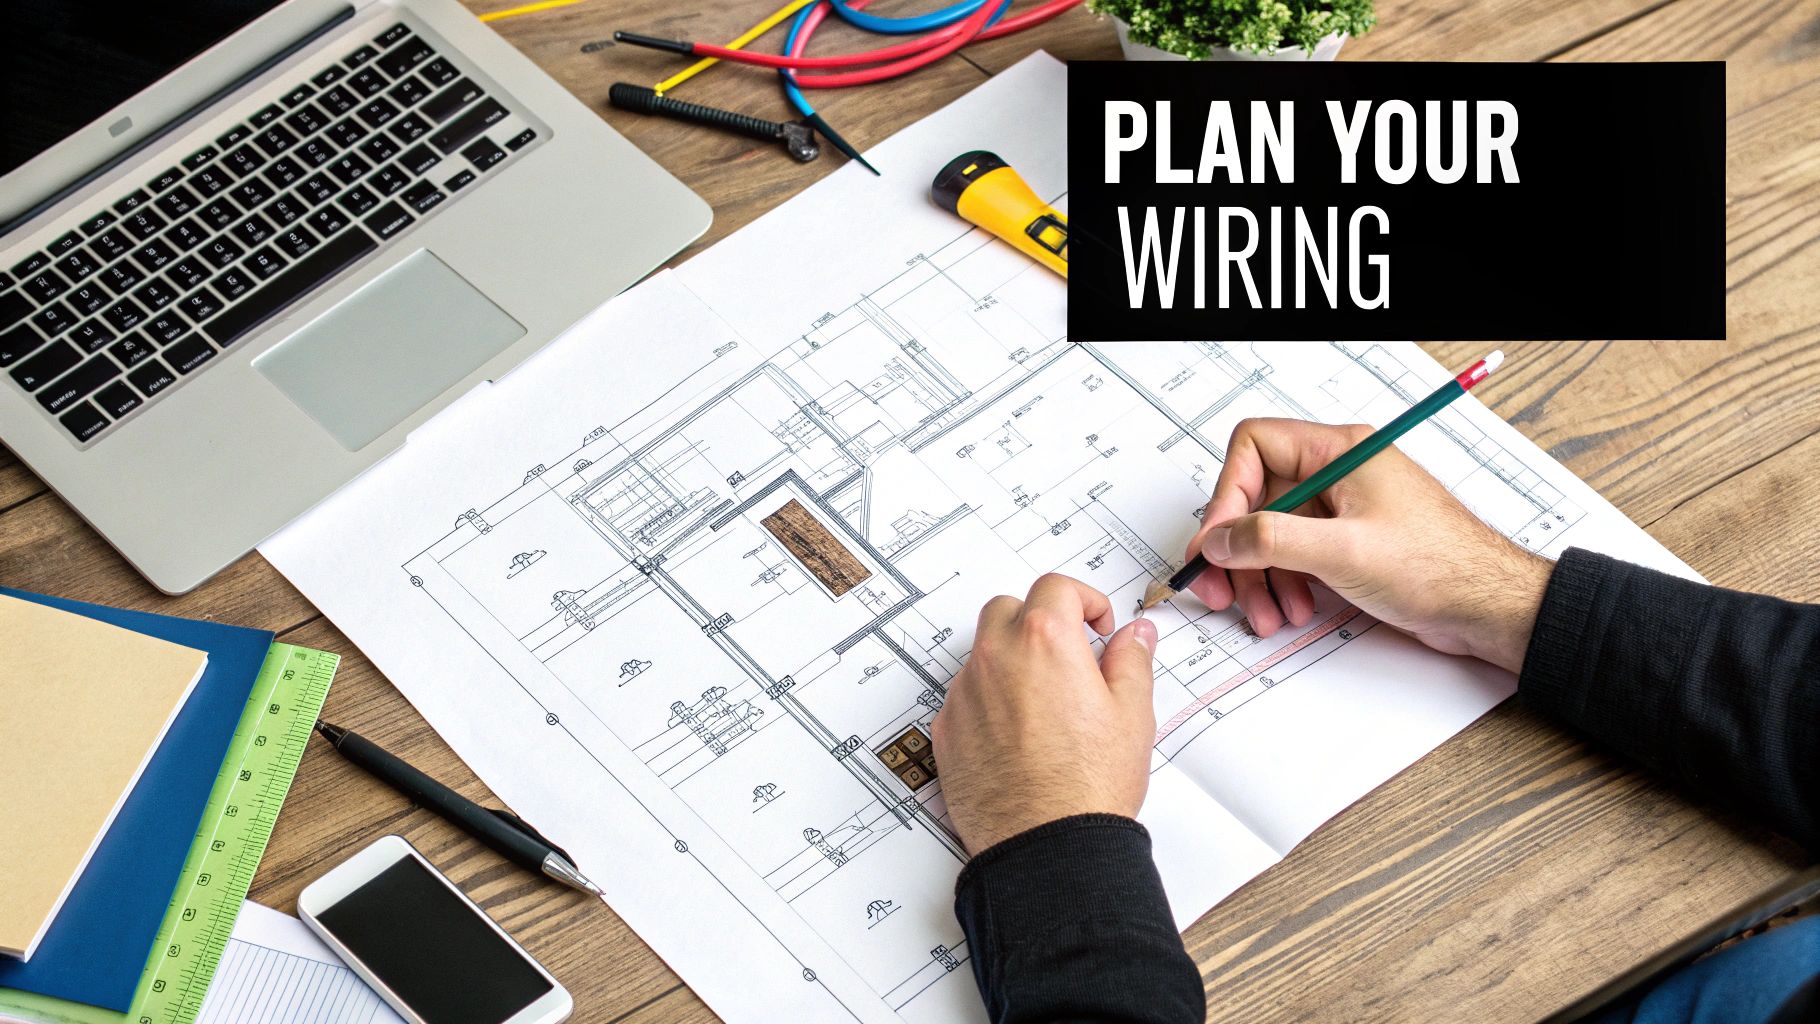
Before you touch a single tool, your most important job is to plan. A solid home smart wiring blueprint is what separates a high-performance system from a tangled mess of regret. Trust me, this is the stage where you prevent that gut-wrenching moment of realizing you needed one more cable after the drywall is already up.
Think of yourself as the architect of your home's digital nervous system. Grab a floor plan—it doesn't have to be fancy, even a simple sketch on graph paper will do. This will be your map for every single connection point, ensuring nothing gets missed.
Room-by-Room Device Mapping
Alright, let's get practical. Go through your floor plan, room by room, and pinpoint where every current and future device will live. And I mean be specific. Don't just plan for "a TV." Plan for the smart TV, the Apple TV, the Xbox, and the soundbar. All of them will perform better with a hardwired connection.
This exercise forces you to think about how you'll actually use each space. Your home office, for instance, might need drops for a computer, a network printer, and maybe even a VoIP phone. The living room is your media hub, demanding multiple connections for the full entertainment experience.
Make sure to map out these key zones:
- Entertainment Centers: Smart TVs, gaming consoles, media streamers, and A/V receivers.
- Home Offices: Desktop computers, Network-Attached Storage (NAS) drives, and printers. This is also a great spot for your primary Wi-Fi access point.
- Security Camera Locations: Both indoor and outdoor cameras benefit immensely from Power over Ethernet (PoE), which sends data and power over a single cable.
- Bedrooms: Don't forget wall-mounted TVs or secondary gaming stations.
Here's a piece of advice I give everyone: Your goal isn't just to wire the house you have today. It's to wire the house you'll have in five years. The golden rule is simple: always, always run more cable than you think you need. The cost of an extra cable run while the walls are open is practically nothing compared to the nightmare of cutting them open later.
Determining Port Density and Locations
Once you know where your devices are going, you need to decide how many data ports each spot gets. A classic rookie mistake is installing a single Ethernet jack where three or four devices will eventually live. This just forces you to use a clunky little switch behind your TV stand, creating another point of failure and more clutter.
The professional approach is to install wall plates with multiple keystone jacks. For a main media center, a four-port or even six-port wall plate is a fantastic investment. This gives you clean, dedicated lines for every piece of gear.
Let's walk through the thought process for a living room media wall:
- Smart TV: 1 Ethernet port
- Gaming Console: 1 Ethernet port
- Streaming Box: 1 Ethernet port
- Future-Proofing: 1 spare port (you'll thank me later)
That’s four ports for just one location. Applying this logic across your home ensures your network is organized, reliable, and screaming fast. And don't forget to run coaxial cable alongside your Ethernet for cable or satellite TV.
Choosing the Right Cable for the Job
Not all cables are created equal, and picking the right one is crucial for performance and future-proofing. For most residential projects, Cat6 or Cat6a is the sweet spot.
Here’s a quick guide to help you decide what's best for your setup.
Smart Wiring Cable Selection Guide
| Cable Type | Typical Use Case | Max Speed / Bandwidth | Future-Proofing Level |
|---|---|---|---|
| Cat6 | General home networking, 4K streaming, gaming | 10 Gbps up to 55 meters | Good |
| Cat6a | High-demand networks, 10G connections, PoE devices | 10 Gbps up to 100 meters | Excellent |
| Cat7 | Data centers, very high-demand commercial use | 10 Gbps+ (fully shielded) | Overkill for most homes |
| Coaxial | Cable/satellite TV, modem connection (DOCSIS) | Varies by signal type | Necessary for TV |
For a new build or major renovation, I strongly recommend going with Cat6a. The added shielding and guaranteed 10 Gbps performance over longer runs make it a worthwhile investment for the future.
Picking a Spot for Your Central Hub
Every wire you pull needs to lead back to a central command center. This "hub," often called a structured media enclosure, is where all your home's wiring will converge. It's the brain of the operation, neatly housing your modem, router, network switch, and patch panel.
Choosing the right location for this hub is critical. An ideal spot is:
- Central: This helps keep your cable runs to a reasonable and relatively equal length.
- Climate-Controlled: Network gear gets warm. Avoid stuffy attics or damp basements. A utility room, basement wall, or office closet is perfect.
- Accessible: You'll need to get in there for maintenance or upgrades, so don't stick it in a hard-to-reach corner.
This central hub approach is what separates a professional installation from an amateur one. It keeps your most important equipment safe, organized, and easy to troubleshoot. While you have the walls open, think about running low-voltage wiring for other systems like motorized blinds, thermostats, or security sensors. Planning for everything at once will save you a world of hassle later.
Choosing the Right Gear for Your Project
With your blueprint finalized, it's time to get your hands on the actual hardware that will bring your smart home network to life. Walking into the world of cables, jacks, and panels can feel a bit overwhelming, but the choices you make here are what separate a glitchy network from one that runs flawlessly for years.
Think of it like the plumbing in your house. You want quality materials built to last, not something that's going to cause headaches down the road.
The Great Cable Debate: Cat6 vs. Cat6a vs. Cat7
Your single most important decision is the cable itself. This isn't just about picking the fastest option; the physical construction of the wire is what truly matters for a permanent installation.
The first rule is simple: for any cable going inside a wall, you must use solid core copper cable. That's non-negotiable. Stranded cable is flexible and designed for the patch cords you plug and unplug, but solid core is what you need for permanent "punch down" connections. It provides far better signal integrity over long distances.
And whatever you do, steer clear of Copper Clad Aluminum (CCA) cable. It’s cheap for a reason—it’s brittle, performs poorly, and isn't compliant with professional wiring standards. Just don't do it.
Now, let's look at the common Ethernet categories:
- Cat6: For a long time, this was the go-to standard for home installations. It's rated for 10 Gbps speeds up to about 180 feet (55 meters), which is plenty for most residential runs. It’s a solid, budget-friendly choice that gets the job done.
- Cat6a (Augmented): This is the sweet spot for anyone who wants to future-proof their home. Cat6a also handles 10 Gbps, but it maintains that speed across the full 328-foot (100-meter) distance allowed for Ethernet. It also has better shielding, which drastically reduces "crosstalk" (interference between wires). This makes it perfect for bundling lots of cables together and for powering devices like security cameras using Power over Ethernet (PoE).
- Cat7: Honestly, this is overkill for just about any home project. While it boasts higher potential bandwidth, it requires specialized (and more expensive) connectors and offers no real-world benefit over Cat6a in a residential setting. Stick with Cat6a—it’s the best balance of performance, cost, and practicality.
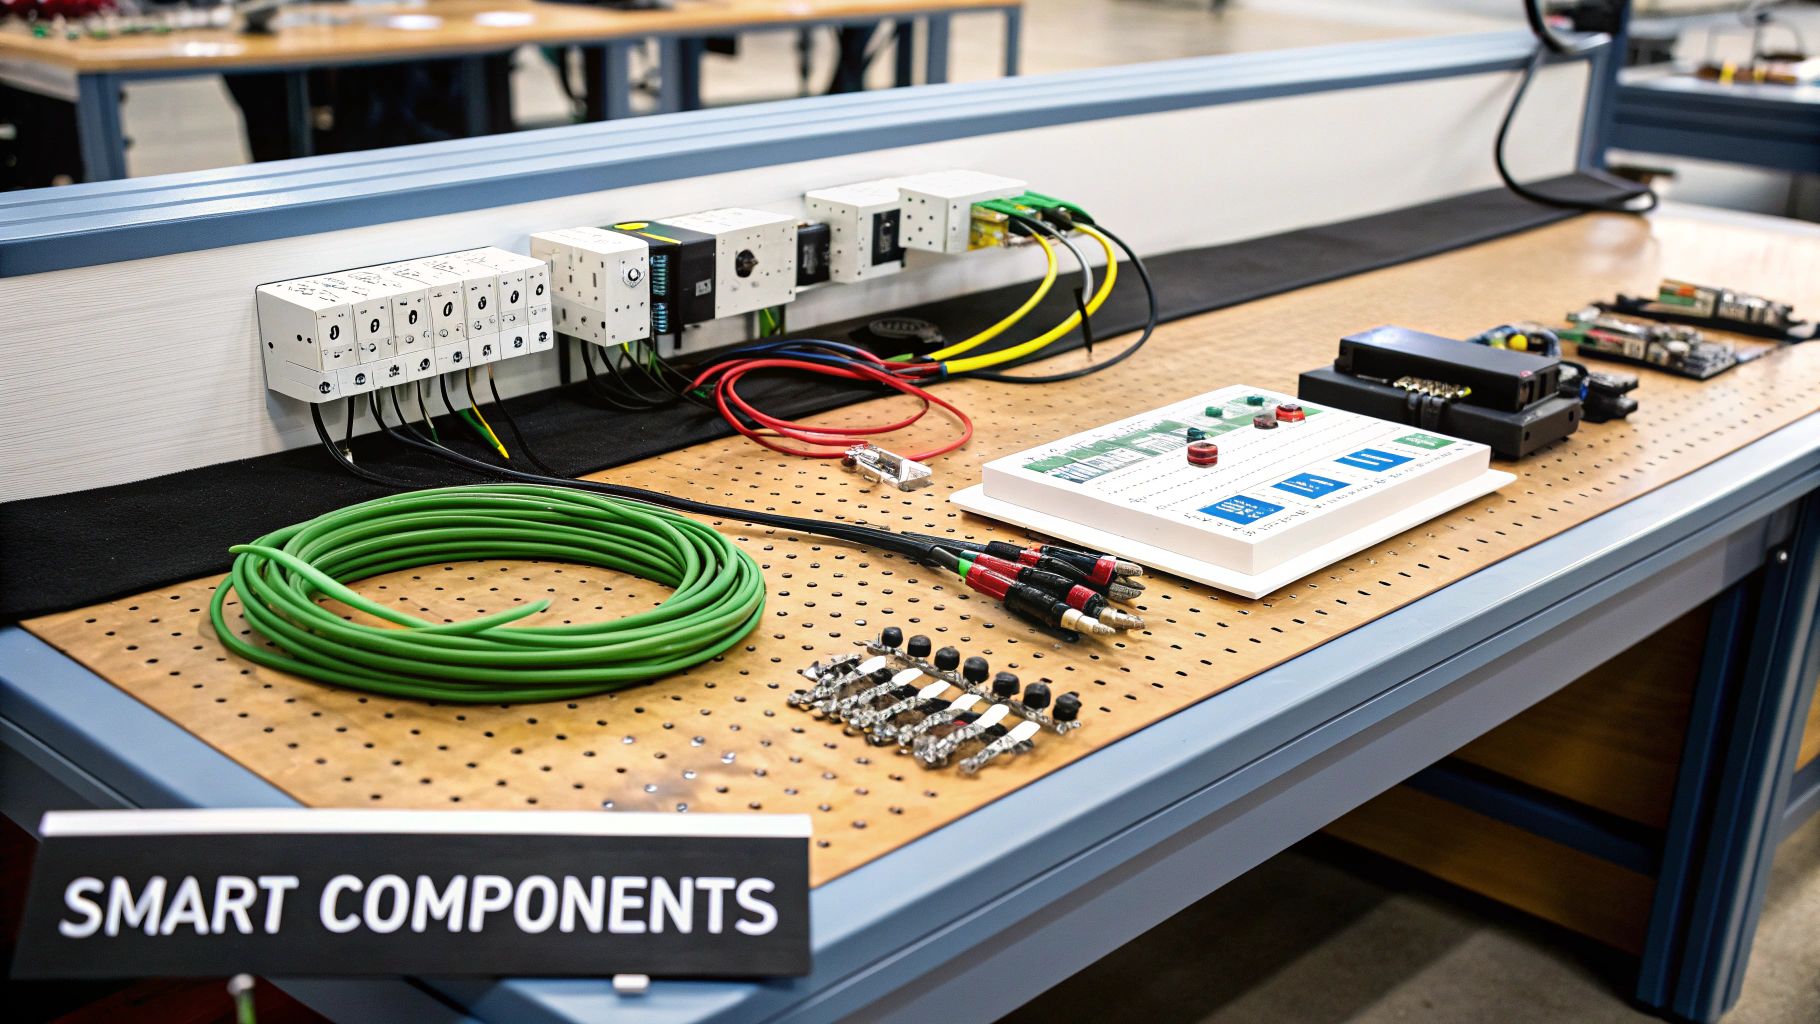
Assembling Your Connection Toolkit
Once you've chosen your cable, you'll need a few other key pieces to build a clean, professional-grade network. These are the parts that connect your hidden wiring to your visible devices.
Let's break down the essential gear:
- Keystone Jacks: These are the female connectors that snap into your wall plates. Each of your cable runs will terminate into the back of one of these. Make sure you get jacks that are rated for your cable type (e.g., Cat6a jacks for Cat6a cable).
- Wall Plates: These simple plastic plates hold your keystone jacks and mount flush against the wall, giving you a clean, finished look with one or more Ethernet ports.
- Patch Panel: This is the heart of your central wiring hub. Every single Ethernet cable running through your walls will come back and terminate here. It’s basically a big panel full of keystone jacks, making it incredibly easy to connect your in-wall wiring to your network switch.
- Network Switch: This is the device that takes the internet signal from your router and distributes it to all the ports on your patch panel. You'll want a switch with enough ports for all your planned runs, plus a few spares for future growth. If you’re planning on using PoE devices like cameras or wireless access points, make sure you get a PoE-capable switch.
My biggest piece of advice here is to match all your components. If you're investing in high-quality Cat6a cable, don't hamstring your network with cheaper Cat6-rated jacks or a patch panel. Your network is only as strong as its weakest link, and mismatched parts will absolutely throttle your performance.
Thinking about how these pieces fit together is key. Each cable is a dedicated data highway from a room back to your central hub. The patch panel organizes all those highways, and the switch acts as the traffic controller, intelligently directing data where it needs to go.
Getting these foundational pieces right is everything. It's the difference between a system you have to constantly troubleshoot and one you can set and forget. As you plan which devices to connect, it also helps to understand the different smart home protocols they use to communicate, ensuring everything will play nicely with your newly wired system.
Running Your Cables Like a Pro
Alright, you've got your plan and your pile of gear. Now for the fun part: making it real. This is where the blueprint comes off the page and becomes the physical nervous system of your smart home. Whether you're staring at open studs or finished drywall, how you run these cables will make or break your system's reliability down the road.
This isn’t just about yanking a wire from point A to point B. It’s about doing it cleanly, safely, and with an eye on the future. A clean pull protects your home smart wiring from getting damaged or picking up interference, which is the secret to years of trouble-free performance.
We can break the actual installation work into three main phases, moving from the initial pull to the final connection.
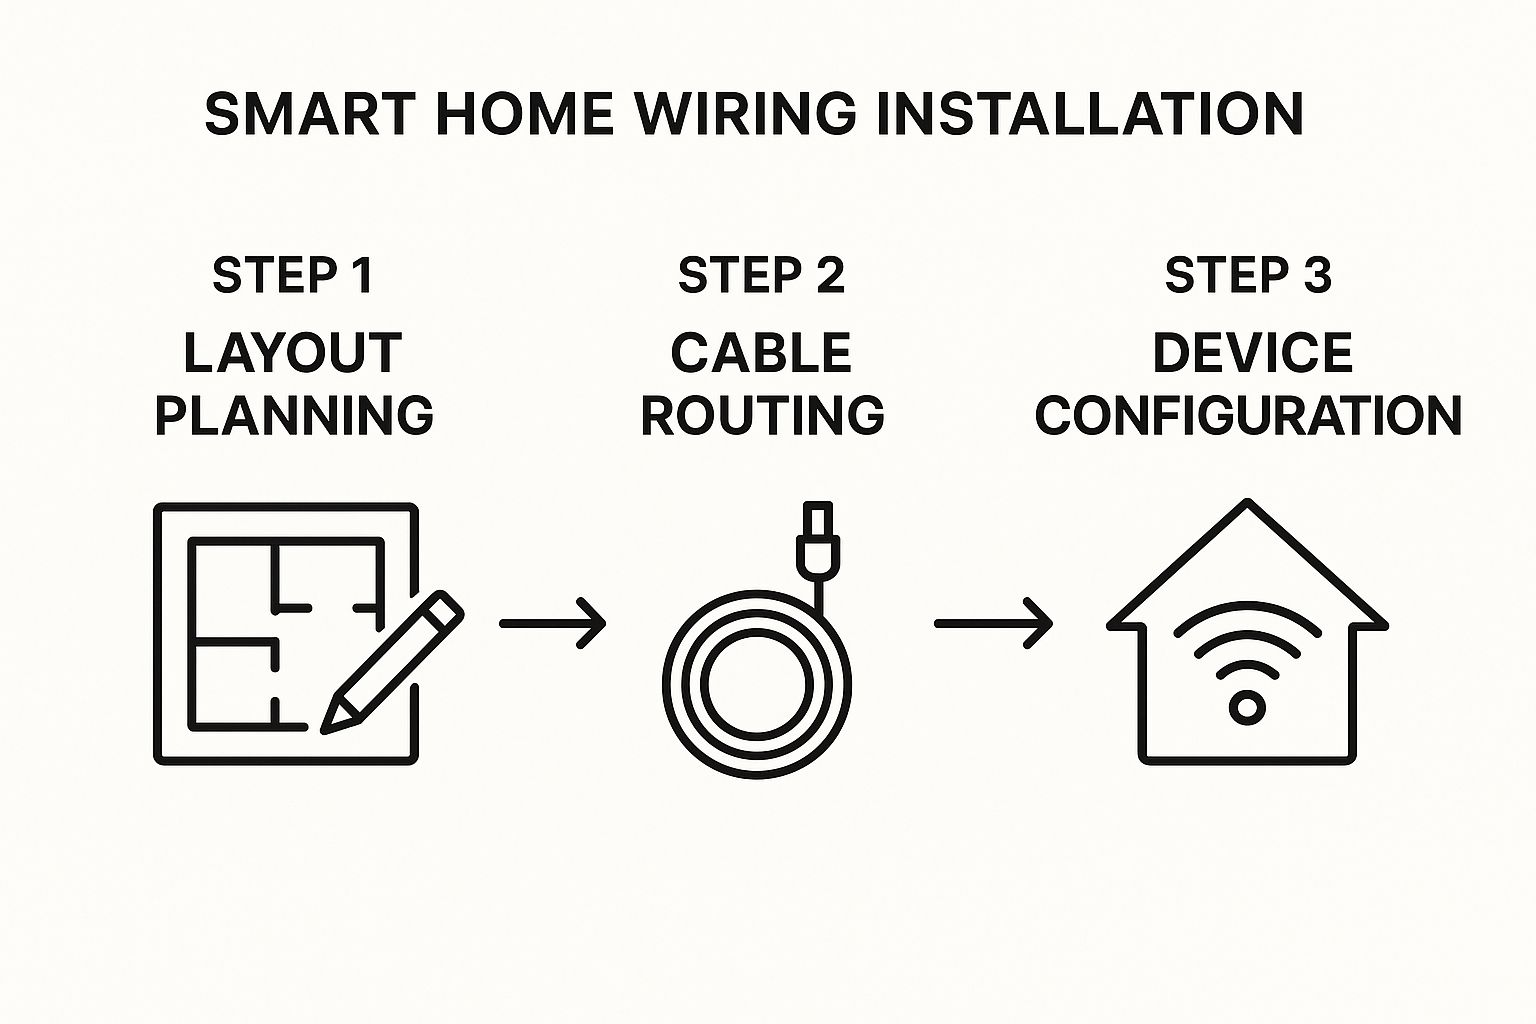
Think of this as your roadmap. A little bit of method now prevents a whole lot of madness later when you’re trying to figure out why a device isn't connecting.
New Construction Best Practices
If you’re lucky enough to be working with open walls, you’ve hit the jackpot. This is your golden opportunity to lay a perfect digital foundation without cutting any corners. Your job is a whole lot easier.
The number one rule is to keep your low-voltage data cables (like Ethernet) away from high-voltage electrical wires. Those power lines generate a ton of electromagnetic interference (EMI), which is poison to a data signal and will absolutely slow down your network.
Stick to these simple guidelines:
- Keep Your Distance: Run your smart wiring at least 12 inches away from any parallel electrical lines.
- Cross, Don't Cuddle: If you absolutely have to cross a power line, make sure you do it at a sharp 90-degree angle. This minimizes the window for interference.
- Armor Up with Nail Plates: Anywhere a cable passes through a stud, slap a metal nail plate on the wood. It’s a cheap piece of insurance that stops a future drywall screw from killing your connection.
Here’s a hard-won tip from the field: always drill your holes in the dead center of the studs. It gives your cables the most protection from both sides of the wall, keeping them safe from someone accidentally driving a nail or screw into them years from now.
Retrofitting in an Existing Home
Wiring an existing home is less like construction and more like surgery. It takes patience, a bit of craftiness, and the right tools. The goal is to fish wires through walls, floors, and ceilings with as little mess and disruption as possible.
A couple of specialized tools will be your best friends for this kind of work.
- Fish Tape: This is a long, flexible reel of steel or fiberglass that you can push through wall cavities or conduit. Once it’s through, you tape your cable to the end and pull it back.
- Glow Rods: These are stiff-yet-flexible fiberglass rods that screw together to make a longer pole. They glow in the dark, which is a lifesaver when you're trying to spot them through a small hole in a dark ceiling cavity.
You'll likely have to cut a few small, strategic holes in the drywall, but you can usually hide them behind baseboards or up near the ceiling where a patch is less noticeable. Your easiest routes will be through an unfinished basement or attic; from there, you can drop cables down (or pull them up) into the walls where you need them.
Universal Rules for Every Wiring Job
It doesn't matter if the walls are open or closed—some rules always apply. Following these tips will save you from some epic headaches later on and ensure your system is solid and manageable.
Label Everything, Twice
The second you cut a cable, label both ends. Don't think, "I'll remember this one." You won't. A simple, clear system like "Office Port 2" or "Living Room TV 1" is all you need. This tiny step will feel like a stroke of genius when you’re staring at a bundle of 20 identical blue cables at your patch panel.
Leave a Service Loop
Always, always leave extra slack at both ends of a cable run. A good three feet is a solid target. This "service loop" gives you enough wire to work with if you ever need to re-terminate a bad connection or move a wall plate. Just coil it up neatly inside the wall box or at your central hub.
Mind Your Bend Radius
You can't just kink an Ethernet cable around a corner. Bending it too sharply will break the tiny wires inside and kill the signal. A good rule of thumb is to never bend a cable tighter than a circle with a diameter four times the cable's own width. This is especially critical for things like security cameras, where a reliable connection is non-negotiable. We dive deeper into this in our guide comparing wireless vs. wired security systems, as many wired systems depend on this same kind of cabling.
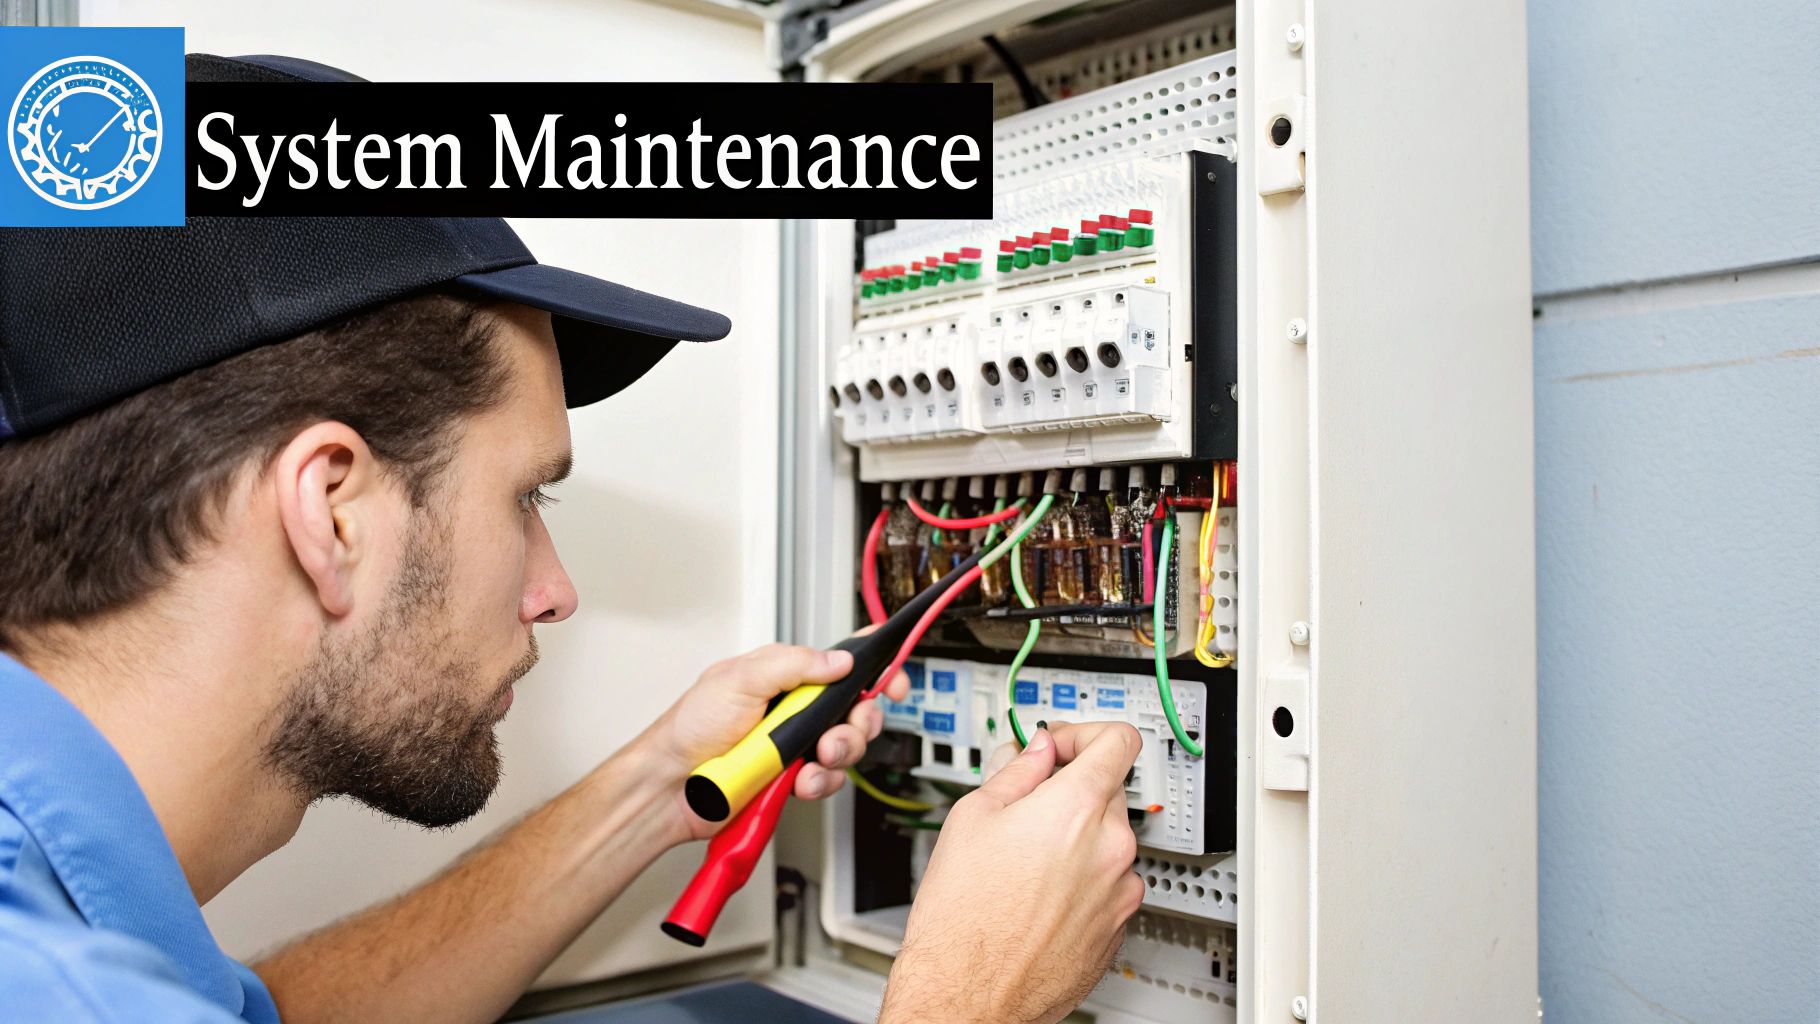
Terminating and Testing for Flawless Performance
You’ve pulled every cable, labeled both ends, and left perfect service loops. Now for the most satisfying part of the job: bringing it all to life. Remember, your entire home smart wiring network is only as strong as its weakest connection, so this is where precision really counts.
Terminating a cable is just the technical term for putting a connector on the end. It's a meticulous task, but it’s what turns a simple spool of wire into a high-performance data pipeline. If you mess this up, even the most expensive Cat6a cable is completely worthless.
Mastering the Art of the Punch Down
For the permanent wiring inside your walls, you won't be using the typical plastic RJ45 plugs you see on store-bought patch cables. Instead, you'll be "punching down" the individual wires into keystone jacks for your wall plates and into a patch panel at your central hub. This creates a far more secure and reliable connection meant to last for decades.
The process is pretty straightforward once you get the hang of it. You carefully strip the cable's outer jacket, untwist the eight small colored wires, and line them up in the correct slots on the jack. A special punch-down tool then firmly seats each wire into a tiny metal blade, cutting off the excess in one clean motion.
Almost every network in North America, from homes to massive data centers, uses the T568B wiring standard. Don't let the name intimidate you; it's simply a universal color-coded map that tells you which wire goes where. Sticking to it ensures every connection you make is consistent and correct.
The color order for T568B is:
- Orange/White
- Orange
- Green/White
- Blue
- Blue/White
- Green
- Brown/White
- Brown
The good news? Your keystone jacks and patch panel will have this color map printed right on them. You don’t even need to memorize it. Just find the "B" standard legend and follow the colors.
The One Step You Cannot Skip: Testing
After you terminate your first connection, it’s incredibly tempting to admire your work and just move on. Don't do it. The single biggest mistake I see people make is waiting until the end to test everything. You have to test every single cable run, at both ends, the moment you finish terminating it.
This is where a basic network cable tester becomes your best friend. This simple gadget has two parts: a main unit and a remote. You plug one end of your cable into the main unit (at the patch panel) and the other into the remote (at the wall jack). It then sends a quick signal down each of the eight wires.
A perfect test shows lights 1 through 8 blinking in perfect sequence on both units. This confirms you have a good "straight-through" cable with solid continuity. Anything else means you have a problem that needs to be fixed right now, while the cable is still easy to get to.
Never, ever skip the testing phase. Trust me, finding a single bad connection in a bundle of 20 cables after the drywall is up is an absolute nightmare. A $30 tester will save you from thousands of dollars in headaches and repair work.
Troubleshooting Bad Connections
Your tester isn't just for pass/fail; it's a fantastic diagnostic tool. If the lights don't blink in order, it's telling you exactly what’s wrong.
Here’s what the results mean:
- No Lights: This indicates an "open," where a wire isn't making contact. You probably didn't punch a wire down hard enough.
- Lights Out of Order: You've got a "crossed pair." It just means you accidentally swapped two wires in the T568B sequence.
- Multiple Lights On at Once: This is a "short," where the copper of two different wires is touching. This usually happens if you stripped the outer jacket back too far.
Fixing these is easy: just snip the end, strip the cable again, and re-terminate the connection. This time, pay closer attention to the color code and make sure you get a clean punch down. This final quality-control check is what guarantees your network will be fast, stable, and ready for anything.
That kind of reliability is crucial. The smart home market, which depends on this infrastructure, is valued at $132.65 billion and is forecast to explode to over $1.14 trillion by 2034. You can learn more about the future of smart home automation trends and see exactly why getting the wiring right from the start is so important.
Still Have Questions About Smart Home Wiring?
Even after mapping everything out, it’s natural to have a few lingering questions. Let's tackle some of the most common ones I hear from homeowners getting ready to dive into a home smart wiring project. Think of this as a final gut-check to clear up any doubts before you start pulling cable.
"My Wi-Fi is Great. Do I Really Need Wires?"
This is hands-down the question I get asked most often. The answer is a firm "yes." The best way to think about it is that your smart wiring is a private superhighway for your most important gear, while Wi-Fi is the public road system.
Even a top-of-the-line Wi-Fi network is a shared resource. Every device—your phone, your laptop, your smart speaker—is competing for the same bandwidth. When your 4K TV, gaming console, and security cameras are all vying for that same Wi-Fi signal, things slow down for everyone. A dedicated hardwired connection gives those stationary, data-hungry devices their own exclusive, unshakeable link to the network.
Here's the kicker: this actually makes your Wi-Fi better. By taking all that heavy lifting off the wireless network, you free up massive amounts of bandwidth. This means a faster, more stable connection for the devices that truly need to be wireless, like your phone and tablet.
"Can I Wire an Existing Home, or Is It Too Late?"
You absolutely can. We call it "retrofitting" in the industry, and while it's definitely trickier than wiring a house that's still just framing, it's completely doable with the right approach and a little patience.
Don't panic—you won't have to tear your house apart. Most of the work involves making small, strategic holes in drywall that are easy to patch and paint later. Tools like fish tape and flexible drill bits are your best friends here, allowing you to snake wires through wall cavities with surprising accuracy.
Here's a pro tip from years of doing this: always use your unfinished spaces to your advantage. If you can run the bulk of your cable through an attic, basement, or crawl space, you can drastically reduce the amount of cutting you have to do in your actual living areas.
"What's the Biggest Mistake I Could Make?"
Easy. The single biggest and most expensive mistake is not planning for the future. It's tempting to wire just for the tech you have right now, but what about the devices you'll be buying five years from now? Your home's wiring is infrastructure, and it needs to outlast your current gadgets.
To save yourself a massive headache down the road, live by these two rules:
- Always pull at least two cables to every location. The cost of an extra spool of Cat6a is nothing compared to the labor and mess of opening up walls again later.
- Run an empty conduit to key spots, like behind your main TV. This gives you a clean, open pathway to pull a new type of cable in the future—like fiber optic—without any demolition.
"Should I Use Cat6 or Cat6a Cable?"
For virtually any residential project today, Cat6a is the only logical choice. Sure, Cat6 can handle what you need right now, like 4K streaming. But Cat6a is about what you'll need tomorrow.
Cat6a offers significantly better shielding to prevent interference, which is a real issue when you're bundling a dozen cables together in a wall. More importantly, it reliably supports 10 Gbps speeds over the full length of a home run, ensuring your network will never be the weak link for whatever amazing tech comes next. It’s the perfect balance of performance, cost, and future-readiness.
At Automated Home Guide, our goal is to give you the confidence to build a smarter, more connected home. For more deep dives and expert advice, check out everything we have to offer at https://automatedhomeguide.com.


Leave a Reply