
So, you're thinking about building your own home automation system. This is where you get to create a smart home that’s genuinely yours, built with open-source software and components you pick yourself. It's about setting up a central brain, usually something small like a Raspberry Pi, and connecting it to a whole network of sensors and devices. The real goal? A system that works for you, not for a big tech company.
Why Build a DIY Smart Home System
Diving into DIY home automation means taking back control. Forget about the one-size-fits-all, walled-garden systems you see in big box stores. When you build it yourself, you can design a home that's not just smart, but truly intelligent—molded perfectly to your family's routines and habits. You’re no longer just buying a product; you're becoming the architect of your own smart environment.
And you wouldn't be alone. This approach is catching on fast. The global DIY home automation market was valued at around USD 50.46 billion in 2023 and is expected to balloon to a staggering USD 508.78 billion by 2032. This isn't just a niche hobby anymore; it's a mainstream movement driven by people who want better security, lower energy bills, and a home that just works.
The Core Benefits of Going Custom
Building your own setup brings some serious practical advantages that pre-packaged solutions just can't offer. For most people who go down this road, the reasons boil down to a few key motivators.
- Total Customization: You get to pick and choose the best devices from any brand. Want a specific motion sensor from one company and smart plugs from another? No problem. Protocols like Zigbee and Z-Wave let you mix and match to your heart's content.
- Privacy You Control: When you run a local hub like Home Assistant, your personal data stays on your network, right inside your home. It isn't sent to a corporate server in some unknown location, which is a huge win for privacy.
- Long-Term Savings: There’s an upfront cost, for sure, but you get to ditch the monthly subscription fees that plague so many commercial smart home products. Plus, a well-designed system can actively save you money. For many, the goal is to achieve significant energy cost savings through load shifting and other smart energy management routines.
A DIY system is all about automating for your life. Think about lights that slowly brighten to wake you up based on your actual sleep cycle, not just a timer. Or a single "I'm leaving" button that locks every door, sets the thermostat to away mode, and kills the power to every non-essential gadget.
Understanding the Building Blocks
At its core, every DIY home automation setup is made of three key parts that work together. You can think of it as building a nervous system for your house.
The central hub is the brain. This is almost always a small, low-power computer like a Raspberry Pi running powerful open-source software like Home Assistant. This little box is where all the thinking happens—it processes commands, runs your automations, and keeps everything in sync.
Then you have the sensors, which are the system's eyes and ears. These are the devices that are constantly watching for changes in the environment. They detect motion, tell you if a door is open, monitor the temperature, and measure ambient light levels.
Finally, the actuators are the muscles. These are the devices that actually do things. Smart plugs, light switches, thermostats, and smart locks are all actuators. When a sensor detects something, it reports back to the hub, which then tells an actuator what to do. It’s a simple but incredibly powerful loop that forms the foundation of every smart routine you'll ever create.
Choosing the Brains of Your Smart Home
Every smart home needs a central hub—the brains of the whole operation. This is hands-down the most critical decision you'll make. It determines how your lights, sensors, and gadgets talk to each other, what's possible with automation, and ultimately, how much control you really have. Getting this right is the difference between a frustrating pile of smart plugs and a truly intelligent home.
This isn't just about comparing features on a product page. You need to think about what you really want to achieve. Is your main goal convenience at all costs? Are you focused on bulletproof local security? Or is it all about squeezing every last watt of energy savings out of your home? Knowing your "why" from the start makes picking the right platform a whole lot easier.
Open-Source Powerhouses: Home Assistant vs. OpenHAB
When you dive into the world of DIY home automation, you'll hear two names pop up again and again: Home Assistant and openHAB. Both are incredibly powerful, free, open-source platforms that give you total control, but they have very different personalities.
Most people today start with Home Assistant. It's known for its slick, modern interface and a massive, super-active community. If you run into a problem, chances are someone has already solved it and posted the answer online. The library of community-built integrations is enormous, meaning you can connect just about any smart device you can find.
Then there's openHAB. It’s the seasoned veteran of the two, known for its rock-solid stability and architecture. It has a reputation for being more technical, often requiring you to get your hands dirty editing configuration files. For some, this is a huge plus—it offers an incredible depth of customization. For others, it’s a steep learning curve.
My Takeaway: Think of it as a trade-off. Home Assistant gives you a smoother on-ramp with incredible community backup, while openHAB offers a highly configurable, robust engine if you're comfortable tinkering under the hood.
This whole space is exploding right now. The global home automation market was valued at around USD 63.4 billion in 2024 and is expected to rocket to USD 292.0 billion by 2035. With North America making up roughly 40% of that market, it's clear that building a smarter home is no longer a niche hobby.
To help you decide which platform truly fits your style, I've put together a quick comparison.
DIY Home Automation Platform Comparison
Here’s a breakdown of the top open-source platforms to help you choose the central 'brain' for your system.
| Platform | Best For | Hardware Requirements | Key Strengths | Potential Challenges |
|---|---|---|---|---|
| Home Assistant | Beginners & power users who value a modern UI and a massive community. | Raspberry Pi 4/5, NUC, old PC. | Huge library of integrations, user-friendly dashboard, very active development. | Can have breaking changes between updates; reliance on community add-ons. |
| openHAB | Technical users & those who prioritize stability and deep customization. | Raspberry Pi 4/5, any Java-capable machine. | Extremely stable, device-agnostic, strong architectural foundation. | Steeper learning curve, less intuitive UI out of the box, smaller community. |
Ultimately, both are fantastic choices. Your decision really comes down to how much time you want to spend in setup versus how much granular control you want over the system's core.
Matching Hardware to Your Ambition
Your software brain needs a physical home. The hardware you choose should match the scale of your project—don't go broke, but don't skimp and create a bottleneck for your automations either.
- The Raspberry Pi: This is the classic starting point for a reason. A Raspberry Pi 4 or 5 has more than enough muscle to run a complex smart home. It's cheap, sips power, and has a gigantic community behind it. Perfect for getting your feet wet.
- Mini PCs and NUCs: If you’re like me and plan to run other services alongside your hub—like a Plex media server or a network ad-blocker—a mini-PC is a brilliant upgrade. The extra horsepower ensures your automations fire off instantly, no matter what else is running.
- Repurposed Hardware: Got an old laptop or desktop gathering dust in a closet? Perfect. You can easily turn it into a dedicated, and surprisingly powerful, home automation server. It's a fantastic way to get started with beefy hardware for practically zero cost.
Before you pull the trigger on a platform, it’s worth digging a bit deeper. For a more detailed look at how these and other options stack up in the real world, check out our comprehensive smart home hub comparison guide. Choosing the right foundation for your diy home automation system now will save you a world of headaches down the road.
Assembling Your Smart Device Toolkit
Once you've picked a central hub, it's time for the fun part: choosing the hardware. This is where your smart home starts to take shape. You'll be picking out the sensors, switches, and smart plugs that act as the eyes, ears, and hands of your entire system. It can feel like you're drowning in tech jargon at first, but it all comes down to understanding a few core communication protocols. Get this right, and you'll build a responsive and rock-solid network.
At the end of the day, a smart home is really just a collection of Internet of Things (IoT) devices working together. Getting a handle on the different aspects of IoT services can give you a leg up when picking your gear. The three big players you'll see everywhere are Wi-Fi, Zigbee, and Z-Wave. Each has its own strengths, and you'll want to use the right one for the right job.
Choosing Your Wireless Protocols
Think of these protocols like different languages your devices speak. Some are bilingual, but most stick to one. Your job is to pick the right device speaking the right language for the task at hand.
- Wi-Fi: You already know this one. It’s fast and powerful, making it the go-to for anything that needs to sling a lot of data, like security cameras streaming video or smart speakers playing music. The trade-off? Wi-Fi devices can be power hogs and might start bogging down your home network if you add too many. A smart plug for a high-draw appliance like a coffee maker is a perfect use case.
- Zigbee: This low-power mesh protocol is a huge favorite in the DIY community for a reason. Every device plugged into the wall (like a smart plug or switch) acts as a repeater, extending the network's range and making it more reliable. Zigbee is absolutely ideal for battery-powered sensors—think motion detectors in hallways or door sensors where you want the battery to last for a year or more.
- Z-Wave: Another low-power mesh network, Z-Wave is legendary for its reliability. It has a strict certification process, which means devices from different brands almost always play nicely together. It also operates on a different frequency than your Wi-Fi, so there’s much less chance of interference. This makes it a fantastic choice for the important stuff, like smart locks and in-wall light switches.
Pro Tip: Don't get stuck on choosing just one protocol. The most robust DIY systems I've seen use a mix of all three. A simple USB stick that supports both Zigbee and Z-Wave for your hub is a game-changer. It gives you the freedom to pick the absolute best device for any situation without worrying about compatibility.
Building Your Starter Shopping List
Alright, let's turn that theory into an actual shopping list. The trick is to start small with a few high-impact devices that give you an immediate win. This way, you can learn how automations work without getting completely overwhelmed by a box full of gadgets.
You're jumping in at a great time. The smart home market is booming—in the U.S., it was valued at around USD 23.72 billion in 2024 and is expected to grow at an incredible 23.4% CAGR through 2030. People are really catching on to the convenience and energy savings.
Here are a few foundational devices I always recommend for a first-timer's setup:
- Smart Plugs (Wi-Fi or Zigbee): These are the easiest way to dip your toes in the water. Plug one in, and you can instantly make a "dumb" lamp or fan smart. I started by automating my coffee maker to start brewing right before my alarm went off—a small change that made a huge difference to my morning.
- Motion Sensors (Zigbee/Z-Wave): This is where real automation begins. Stick one in a hallway, and the lights can turn on to 20% brightness for a late-night trip to the kitchen. Put one in the pantry, and the light comes on the second you open the door and turns off automatically. No more fumbling for a switch.
- Door/Window Sensors (Zigbee/Z-Wave): These are my go-to for security and practical automations. You can get a phone alert if a window is left open when the forecast calls for rain. Or, my personal favorite: create an automation that automatically pauses the HVAC if the back door has been propped open for more than five minutes.
As you start browsing, it helps to see what other people are using and loving. For a solid list of top-performing devices that are known to be reliable, check out your guide to the best smart home devices. Starting with a good foundation of hardware makes the whole process smoother and a lot more rewarding.
Bringing Your System Online
This is where the magic happens. All those carefully selected components sitting in a box are about to become the brain of your smart home. We're moving from theory to reality, and I'll walk you through it using a popular and powerful combination: a Raspberry Pi running Home Assistant. It's a fantastic starting point for any DIYer.
First things first, you need to get the software onto your hardware. This means "flashing" the Home Assistant operating system onto your microSD card. Don't worry, it sounds more technical than it is. Tools like the Raspberry Pi Imager make this a breeze with a simple, guided process.
Once that's done, pop the microSD card into your Pi, plug it into your router with an Ethernet cable (always go wired for the hub!), and then power it up.
First Boot and Finding Your Hub
Give your new hub a few minutes to wake up. On its very first boot, it's busy getting acquainted with your network and setting up all its essential services. Be patient here. After about 5-10 minutes, you should be able to reach it from any other computer on the same network.
Just open a web browser and try navigating to homeassistant.local:8123.
If that URL doesn't resolve, don't panic. This is a common hiccup. The next step is to find the Pi’s IP address directly from your router's administration page. A stable connection is everything, and if you find yourself struggling, it might be a good time to think about your network's foundation. Learning how to choose a WiFi router that can handle dozens of chatty smart devices is a crucial step toward a reliable system.
Onboarding Your First Devices
With your hub alive and accessible, it's time for the fun part: adding your first devices. In the smart home world, we call this 'onboarding'—basically, introducing your sensors, lights, and switches to their new boss. Home Assistant is brilliant at automatically discovering many Wi-Fi devices on your network. For Zigbee or Z-Wave devices, however, you'll need to kick off the pairing process yourself.
Let's look at a couple of real-world examples.
- Pairing a Zigbee Door Sensor: Inside Home Assistant, you'll go to your Zigbee integration (like ZHA or Zigbee2MQTT) and look for an "Add Device" button. Click that, and then put your door sensor into pairing mode—this usually involves holding down a tiny button for a few seconds until a light blinks. The hub will find it, and in moments, it will show up in your device list, ready for you to name.
- Integrating a Wi-Fi Smart Switch: For many Wi-Fi devices, Home Assistant does the work for you. You'll often see a notification pop up that says something like, "New device discovered." Clicking it will walk you through a quick setup, which is typically just confirming the device and telling Home Assistant which room it belongs in, like the "Living Room."
Choosing and adding devices always follows this logical flow, from picking the right protocol to getting it paired with your hub.
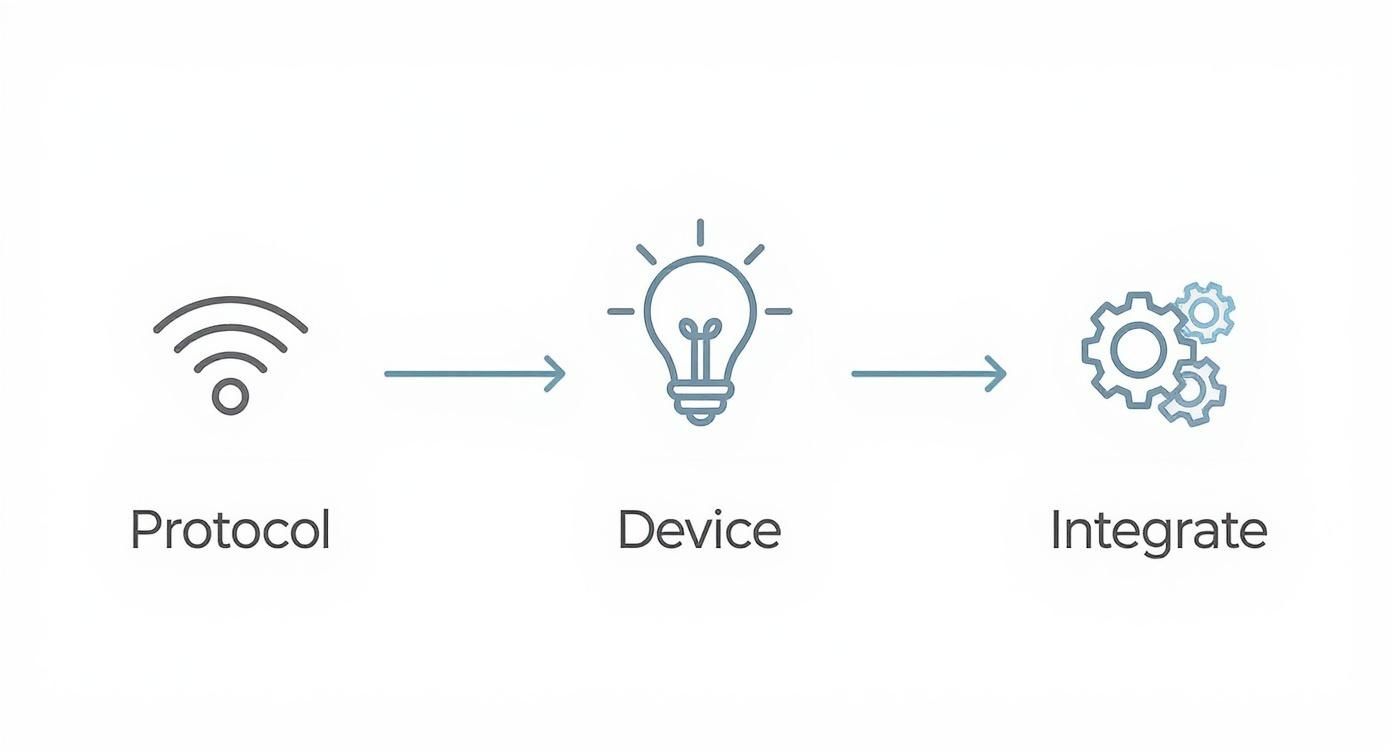
This visual really clarifies the path for adding any new piece of hardware. It reinforces the idea of checking compatibility before you buy and having a clear plan for getting it connected.
A Critical Step: Naming Conventions
Here is a piece of hard-won advice I wish I had taken seriously from day one: create a solid naming convention for your devices immediately. It feels like a minor detail when you only have two or three things connected, but it becomes absolutely essential when you're trying to write automations with dozens of sensors and switches.
Be logical and descriptive. "Smart Plug 3" is useless. livingroom_lamp_main is perfect. "Door Sensor" is vague. front_door_contact is crystal clear.
Adopting a
location_device_identifierformat is a total game-changer. It makes finding devices in a long list intuitive and simplifies automation logic because you instantly know what you're targeting.
Think about it: when you want to create a rule to turn on all the kitchen lights, you can simply target any device with kitchen_light_ in its name. This simple discipline will save you from a world of future headaches as your system grows.
With your hub online and a few devices connected and properly named, you've officially laid the foundation. You've moved from planning to doing, and now the truly creative work can begin.
Crafting Your First Smart Automations
Alright, your devices are connected and the hub is humming along. You've laid the groundwork. Now comes the fun part—making your home actually smart.
This is where your pile of gadgets starts working together to become a responsive, diy home automation system that truly understands your routines. We’re going beyond simple timers and diving into automations that can genuinely make your day-to-day life a bit easier.
The real magic of a local hub like Home Assistant is its ability to weave together information from completely different devices to make intelligent decisions. This is what separates a custom setup from a handful of cloud-based smart plugs. You can create automations that feel seamless and predictive.
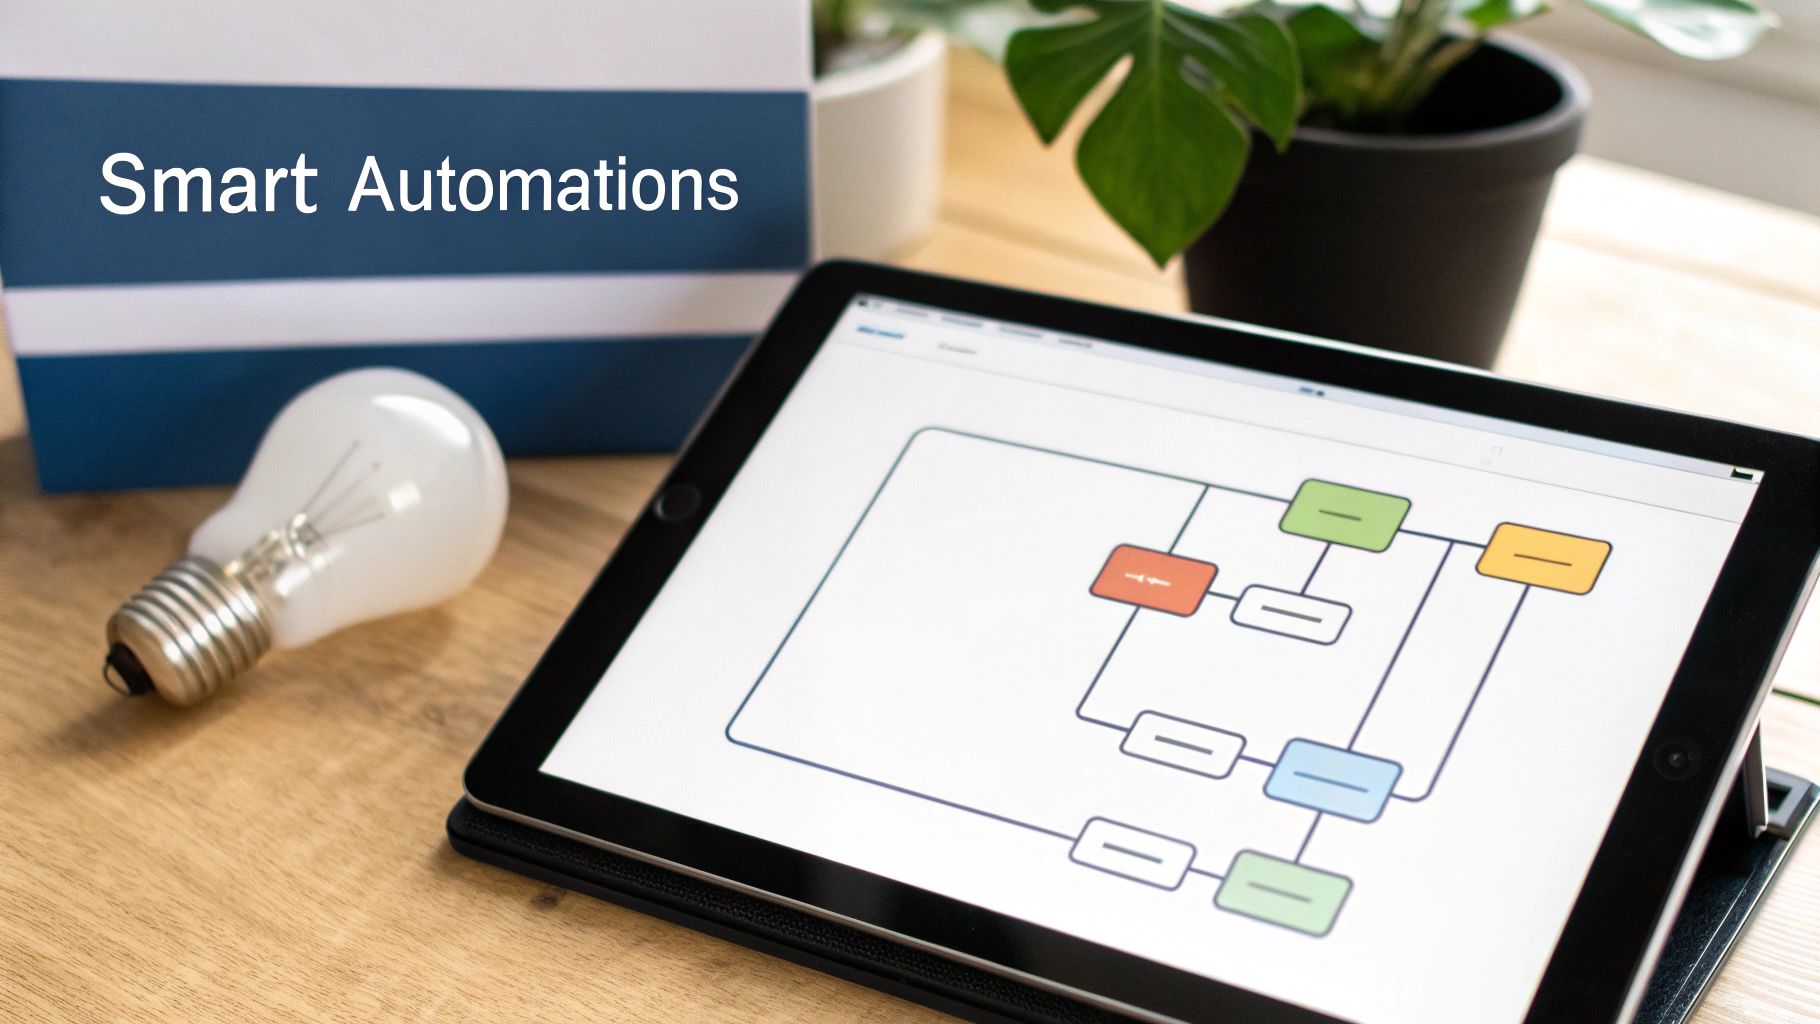
The Anatomy of an Automation
Before you jump in and start building, it helps to understand the three building blocks of every single automation. Once you get these down, you can design almost any routine you can think of, no matter how complex it seems.
-
Triggers: This is the event that kicks the whole thing off. Think of it as the spark. It tells your system, "Hey, something just happened, pay attention!" A trigger could be anything from the clock hitting 7:00 AM to a motion sensor detecting movement in the hallway.
-
Conditions: These are the rules or checks that have to be true for the automation to continue. Just because a trigger fires doesn't mean you always want the action to happen. Conditions are your gatekeepers, ensuring routines only run when they're supposed to.
-
Actions: This is what your smart home actually does. Once the trigger happens and all the conditions are met, the system executes one or more actions. This is the payoff—turning on a light, adjusting the thermostat, or sending a notification to your phone.
It’s like this: The alarm clock buzzing (trigger) is the event. If it’s a weekday (condition), then turn on the coffee maker (action). But if it's the weekend, that condition isn't met, so the coffee maker stays off.
Building a Practical Goodbye Routine
Let's start with a classic automation that has a huge impact: a "Goodbye" routine. The goal here is simple: secure your home and save some energy with a single command when the last person heads out.
First, you need a trigger. A simple one could be tapping a button on your smart home dashboard. A much smarter trigger, though, would be geofencing—when the system detects that the last person's phone has disconnected from the home Wi-Fi for five minutes.
Next, you need a condition. A great one for this scenario is to check if the home isn't already set to "Away" mode. This little check prevents the whole routine from running again if you just step out to grab the mail and your phone disconnects for a moment.
Finally, we get to the actions. When you leave, you want the system to:
- Turn off all the main lights.
- Set the thermostat to its energy-saving 'Away' temperature.
- Lock the front door.
- Check if the garage door is open; if it is, send a high-priority alert to your phone.
This one routine perfectly illustrates the power of a unified system. Your smart lock's app can't talk to your thermostat, and your thermostat app doesn't know about your lights. Your DIY hub acts as the conductor, making them all work together flawlessly.
Creating the Perfect Movie Night Scene
Now for something more fun. Let's build a "Movie Night" scene to set the perfect vibe with just one tap.
The trigger here is easy: activating a "Movie Night" scene or a virtual switch you've placed on your main dashboard.
The conditions are what add the finesse. You could set a condition so it only runs after 6 PM, preventing you from accidentally plunging the living room into darkness during the day. You might also add a check to see if the TV is already on.
Then, the actions bring it all to life:
- Dim the living room lights to a cozy 20%.
- Turn off the lights in the kitchen and hallway so there are no distractions.
- Power on the smart plug connected to your soundbar.
- If your media player is integrated, you could even have it send a notification to your phone if the doorbell rings, letting you know who's there without leaving the couch.
These two examples are just scratching the surface. Once you master the logic of triggers, conditions, and actions, you have a powerful framework to automate nearly any scenario you can dream up.
Expanding and Troubleshooting Your System
https://www.youtube.com/embed/MAy2t24xpB0
Let’s be honest: a DIY smart home is never really “done.” It’s a living, breathing project that you’ll constantly tweak and expand as your needs change. That evolution is a huge part of the fun, but it also means you’ll inevitably have to fix things when they go sideways.
Don't get discouraged when a device suddenly drops offline or an automation just stops working. It happens to all of us, no matter how much experience we have. The trick is learning how to tackle the problem methodically instead of just getting frustrated. Honestly, learning to troubleshoot is just as crucial as learning how to build the system in the first place.
Common Problems and Quick Fixes
Sooner or later, you'll run into a stubborn device or a flaky automation. Before you start digging through complex system logs, always check the simple stuff first. You'd be amazed how often the fix is something obvious.
Here's a quick mental checklist I run through whenever something acts up:
- Is it powered? For battery-powered sensors, is the battery dead? For plugged-in gear, did someone accidentally unplug it or turn off the smart plug it's connected to?
- Is it connected? Check if the device is still on your Wi-Fi or Zigbee/Z-Wave network. Sometimes a quick power cycle is all it needs to get back online.
- Is there interference? Did you just plug in a new gadget near your hub or the problematic device? Wi-Fi, Zigbee, and even your microwave can clash, especially on the crowded 2.4 GHz band.
- What just changed? Did the problem start right after a software update or after you added a new integration? Rolling back a recent change is one of the most powerful troubleshooting tools you have.
Your smart home hub's log files are your absolute best friend for troubleshooting. They might look like a wall of text at first, but they provide a perfect play-by-play of what your system is doing and, more importantly, what’s going wrong. Learning to read them is probably the single most valuable skill you can develop for fixing tricky issues.
Taking Your System to the Next Level
Once you’ve got a stable, reliable setup, you can start exploring some of the more advanced features that really make a smart home feel, well, smart. These next steps are all about boosting security, convenience, and making sure your system is resilient.
Secure Remote Access
Being able to control your home from anywhere is a game-changer, but you absolutely have to do it securely. Please don't just open up ports on your router to the internet. Instead, use a dedicated service like Nabu Casa for Home Assistant or set up your own VPN with something like WireGuard. Both options create a secure, encrypted tunnel directly to your home network, keeping prying eyes out.
Custom User Dashboards
Not everyone in your home needs a dashboard with a hundred different switches and sensors. You can build custom, simplified dashboards for different people or purposes. Think about creating a "Guest" dashboard that only has controls for the guest room lights and thermostat, or a wall-mounted tablet that shows a family calendar and the weather forecast.
Backups Are Not Optional
You’ve poured hours into getting your system configured just right. The single most important thing you can do to protect that work is to set up automated backups. It doesn't matter if you back up to a local drive or to the cloud, just do it. Having a recent snapshot turns a potential catastrophe—like a failed SD card—into a minor inconvenience.
Answering Your Top DIY Home Automation Questions
Jumping into a DIY home automation project is exciting, but let's be real—it brings up a lot of questions. I hear the same ones all the time from people just starting out, so let's tackle them head-on.
Getting these answers straight from the beginning will save you a ton of headaches and help you set the right expectations for your new smart home.
So, How Much Does This Actually Cost to Get Started?
One of the biggest misconceptions I see is that you need a huge budget to even think about DIY automation. The truth? You can get a solid starter setup off the ground for just $100 to $200.
What does that initial investment get you?
- A Raspberry Pi, which will be the brains of your whole operation.
- A multi-protocol Zigbee/Z-Wave USB stick so your hub can talk to your devices.
- A couple of basic sensors or smart plugs to get your first automations running.
From there, the cost is entirely up to you. You can start with that simple foundation and add new devices one by one as your needs and budget allow. That’s the real beauty of DIY—it grows with you, unlike those expensive all-in-one systems.
The best part about going the DIY route? No monthly fees. Period. You're investing in hardware that you own, not a subscription service that traps you in their ecosystem. The long-term savings are huge.
Is a DIY Smart Home Actually Secure?
Believe it or not, a well-built DIY system can be far more secure than many of the big-name, cloud-based products on the market. Why? Because your data stays right where it belongs: on your local network, inside your home. It doesn't get sent to a corporate server unless you specifically configure it to.
But here’s the crucial part: the security of your system is entirely on you. Following security best practices isn't just a suggestion; it's absolutely essential. That means using strong, unique passwords everywhere, keeping your software updated to patch any vulnerabilities, and being incredibly careful if you decide to enable remote access.
What Happens If My Internet Connection Drops?
This is where a local DIY system really flexes its muscles. When the internet goes down, most of your critical automations will keep running without a hitch. It's one of the biggest advantages over cloud-dependent gadgets.
Since your hub is talking directly to your Zigbee and Z-Wave devices over your local network, things like motion-activated lights or a temperature sensor turning on a fan will work just fine. The only things you'll lose are features that rely on the cloud, like voice commands through your smart speaker or checking in on your system when you're away from home.
At Automated Home Guide, our goal is to give you the confidence to build a smarter, more secure home. For more deep dives and product reviews, check out our full range of resources at https://automatedhomeguide.com.


Leave a Reply