
Thinking about installing a smart thermostat yourself? It's a fantastic first step into home automation and a project most people can easily handle over a weekend. The basic process is pretty simple: kill the power to your HVAC, pop off the old unit, label the wires, and hook up the new one. With just a few common tools and a little patience, you'll get a whole new level of control over your home's climate and energy bill.
Why a Smart Thermostat DIY Project Is a Smart Move
Taking on a smart thermostat installation is about more than just dodging a professional installation fee—it’s a real investment in your home's efficiency and your own comfort. The popularity of the smart thermostat diy project has exploded, and it’s easy to see why. Modern kits are designed to be user-friendly, and the cost savings make it a no-brainer.
The numbers back this up. The global Wi-Fi smart thermostat market was valued at around $3.76 billion in 2024. But get this—it’s projected to climb to an incredible $25.4 billion by 2034. That's a growth rate of over 21% per year, driven almost entirely by homeowners like you taking the plunge.
Let's break down this project so you know what you're getting into.
DIY Smart Thermostat Project At a Glance
| Aspect | Typical Time Commitment | Required Skill Level | Key Benefit |
|---|---|---|---|
| Installation | 1-2 hours | Beginner (basic tool use) | Immediate control and savings |
| App Setup & Configuration | 30 minutes | Beginner (smartphone familiarity) | Customized comfort schedules |
| Learning Curve | 1-2 weeks | Beginner | Fine-tuning settings for max efficiency |
As you can see, the time and skill needed are minimal, but the payoff is huge.
The Tangible Benefits You Can Expect
The satisfaction of finishing the job is great, but the real rewards start showing up right away and stick around for years.
- Serious Energy Savings: These devices are brilliant. They learn your schedule and use features like geofencing (knowing when you're home or away) and smart scheduling to trim your heating and cooling costs by an average of 10-15% a year.
- A More Comfortable Home: Ever walk into a freezing or stuffy house? A smart thermostat can pre-heat or pre-cool your home right before you arrive, so it’s always perfect when you walk through the door, without needlessly running the system all day.
- Useful Energy Insights: The companion apps are a goldmine of information. They give you detailed reports showing when your HVAC is running the most and offer genuinely helpful tips to cut back even further.
Key Takeaway: Installing a smart thermostat yourself is one of the highest-impact, lowest-effort upgrades you can make. It's a project that quickly pays for itself in energy savings while bringing your home's climate control into the 21st century.
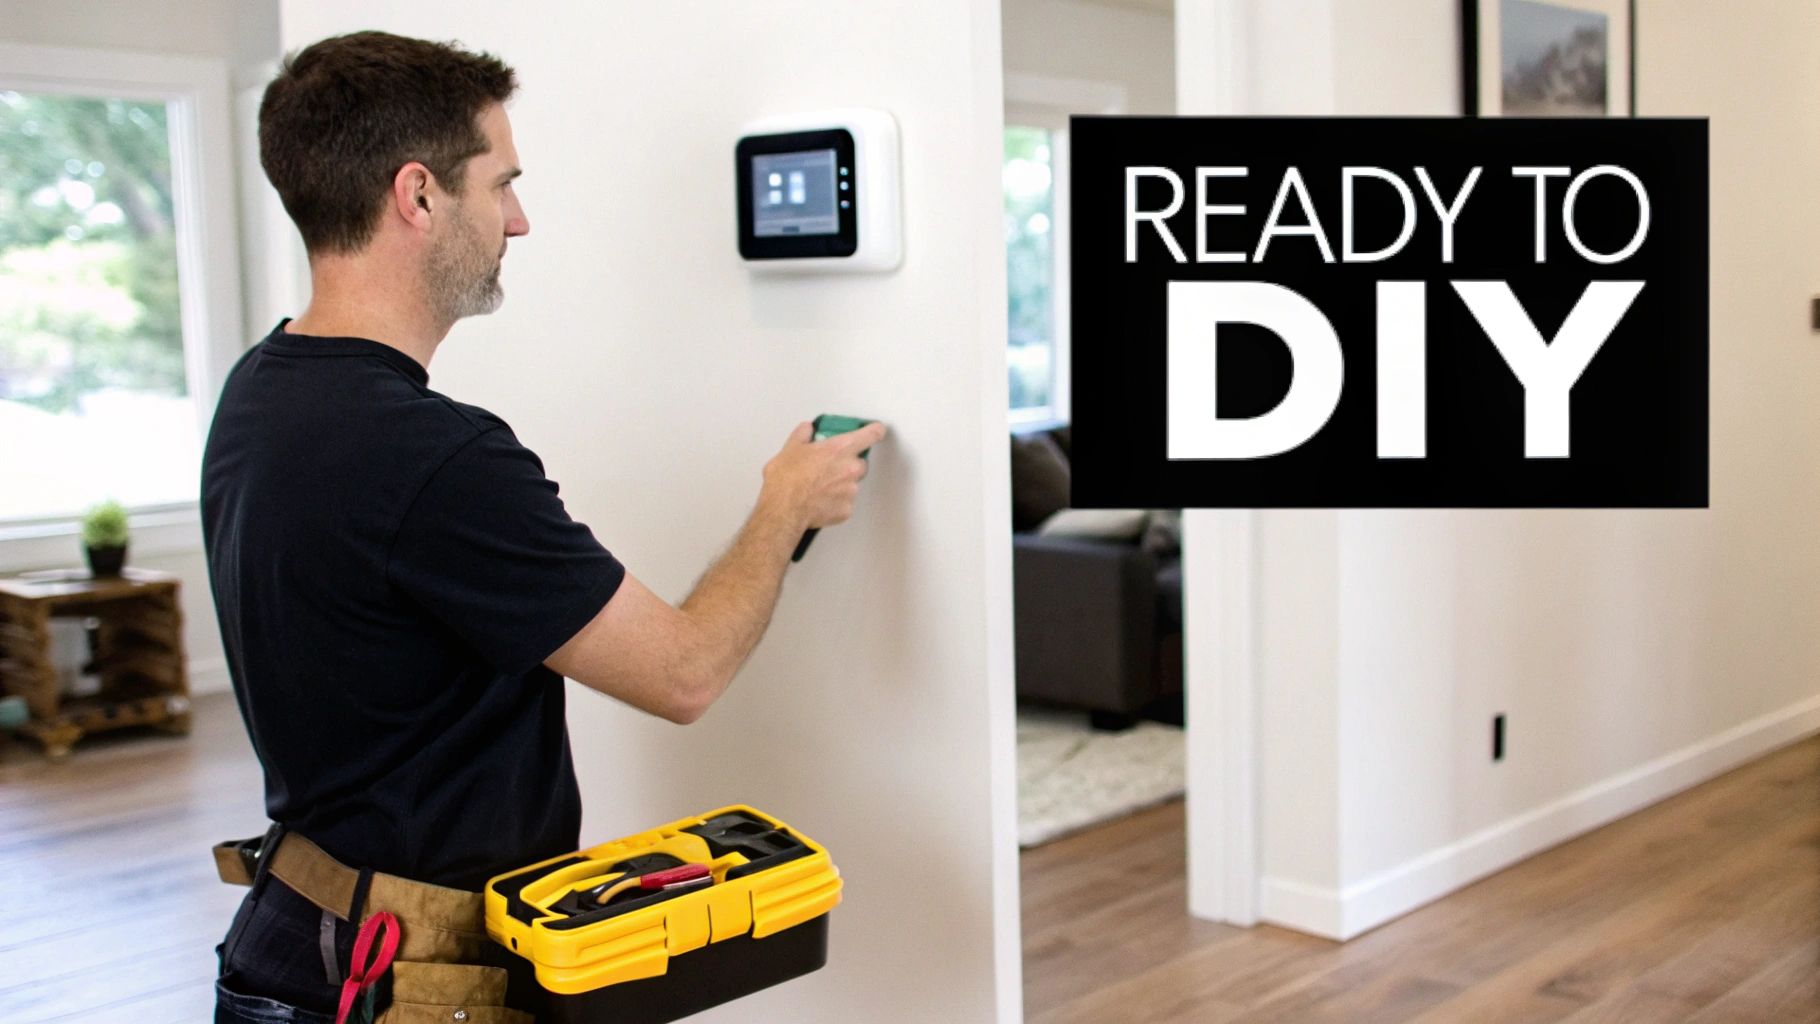
Getting Ready for a Smooth Installation
A little prep work before you even open the box will save you a lot of headaches later. Smart thermostats are low-voltage, which makes them a safe DIY project for most folks, but starting off on the right foot is key.
This guide will walk you through the entire process—from making sure your system is compatible to tweaking the settings for maximum savings.
Making the most of your new gadget goes hand-in-hand with smart heating practices. For more on that, you should check out our guide on how to reduce heating costs. Next up, we'll get into the nitty-gritty of picking the right model, making sense of the wiring, and getting it on the wall.
How to Choose the Right Smart Thermostat
Getting your smart thermostat project right boils down to one thing: picking a device that actually works with your home's heating and cooling system. It sounds obvious, but this is where most DIY projects go wrong. Choosing the right unit from the get-go saves a world of frustration later on. This is less about cool-looking gadgets and more about matching tech to the hardware hidden behind your walls.
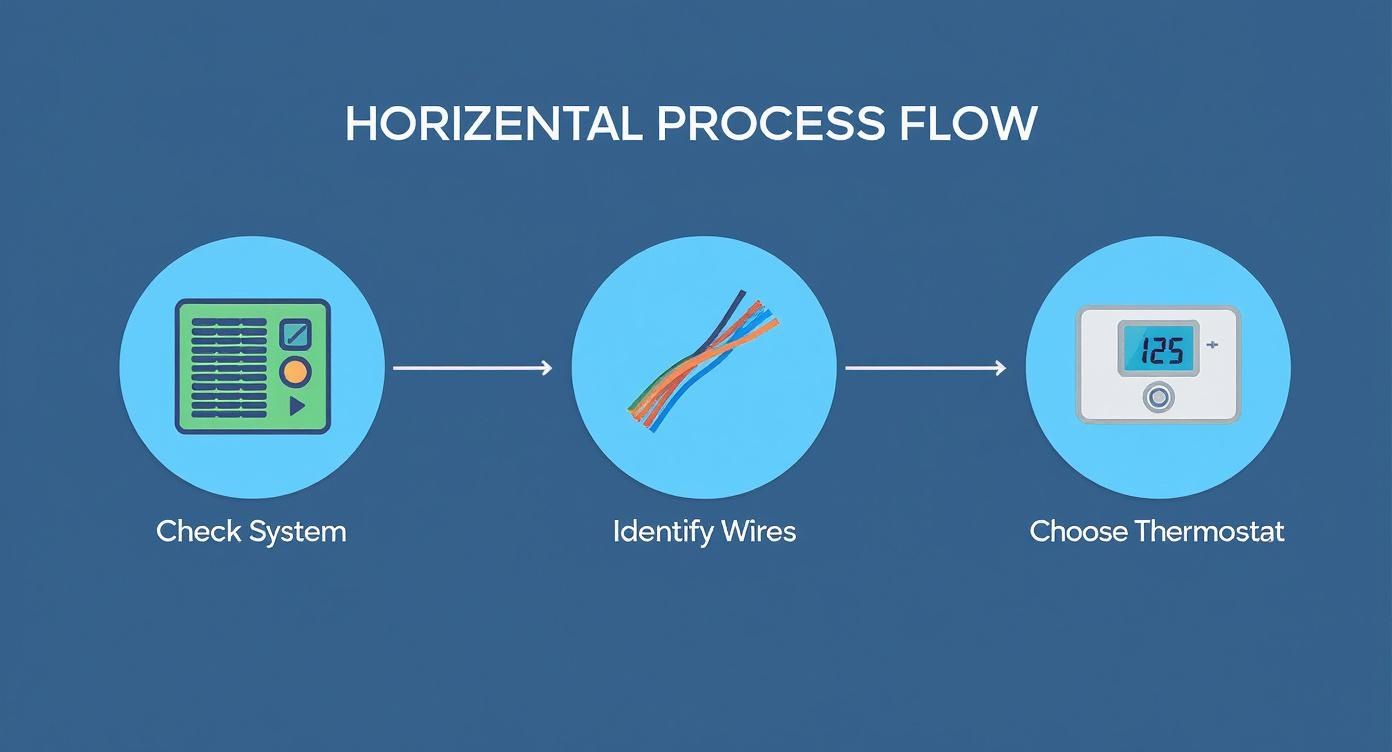
Before you even think about adding a thermostat to your online cart, you need to do a little detective work at home. Let's walk through how to check your system's compatibility, figure out what those wires mean, and compare the features that truly matter for a DIY installation.
First Things First: Check Your HVAC System Compatibility
Not all HVAC systems are created equal, and this is the most critical detail. Smart thermostats are built for low-voltage (24V) systems, which thankfully covers most modern central heating and air conditioning setups. This includes common single-stage, multi-stage, and heat pump systems.
Where you'll run into trouble is with high-voltage systems. These are typically used for things like electric baseboard heaters or some radiant floor systems. You can usually spot them by their thick wires and clear warnings for 120V or 240V. A DIY smart thermostat installation on one of these is a no-go. The easiest way to be sure is to use the online compatibility checker that nearly every manufacturer provides on their website. Seriously, use it.
To make a smart choice, it helps to know a little about the technology itself. A quick read on understanding Smart HVAC systems can give you some valuable context before you commit to a purchase.
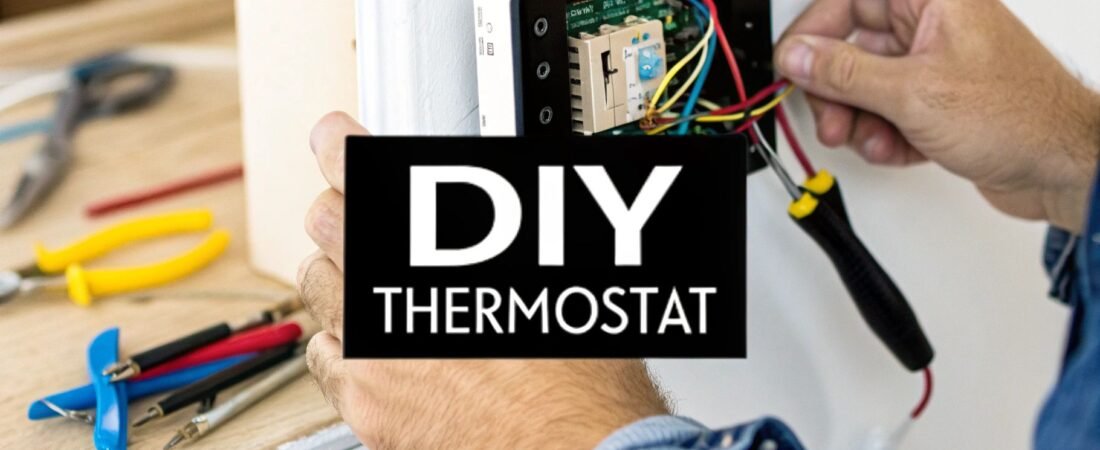
Decoding the Wires Behind Your Wall
This is the moment of truth. Go to your circuit breaker and kill the power to your HVAC system. Once you're sure it's off, gently pop the faceplate off your old thermostat. You'll see a small bundle of colored wires connected to different terminals.
Before you touch a single wire, pull out your phone and take a crystal-clear picture of the current setup. This photo will be your bible.
Now, scan the terminals for a wire connected to the one labeled "C." This is the C-wire, or "Common" wire. Its only job is to provide a steady stream of power to the smart thermostat, which is essential for running its Wi-Fi, screen, and sensors.
- Got a C-wire? Fantastic. Your installation is going to be pretty straightforward. Most smart thermostats are ready to go right out of the box for you.
- No C-wire? Don't panic. You have options. Many thermostats include a power extender kit (sometimes called a C-wire adapter). It's a small device you install at your furnace control board that cleverly uses your existing wires to create a dedicated power source. It's an extra step, but totally manageable for most DIYers.
Comparing Popular Smart Thermostat Models
With compatibility confirmed, you can finally get to the fun part—choosing the features you'll actually use. Big names like Google Nest and Ecobee are popular for a reason, but they're built for different kinds of users. When you're tackling a smart thermostat DIY project, here’s what to focus on:
- Ease of Installation: How good are the instructions? Look for models that offer an app-guided setup, provide little sticker labels for your wires, and have clear video tutorials. User reviews are gold here—people will not hesitate to share if the installation was a nightmare.
- A Clean App Interface: You'll be using the app constantly. Is it simple to set a schedule, check your energy history, or make a quick temperature change? A clunky, confusing app can sour the whole experience.
- Smart Feature Reliability: The "smart" part relies on features like geofencing (using your phone's location for Home/Away modes) or learning algorithms that adapt to your routine. Dig into reviews to see if these features work as advertised or are just a gimmick.
- Ecosystem Integration: Make sure the thermostat plays nicely with your voice assistant of choice, whether that's Amazon Alexa, Google Assistant, or Apple HomeKit. If you're running everything through a central controller, check out our smart home hub comparison to see which thermostats offer the deepest integration.
At the end of the day, you want to buy a device you can install with confidence and won't regret using. For many, saving money is the real driver. In fact, surveys show that about 40% of consumers buying DIY automation products are focused on reducing energy use, with some homeowners seeing their bills drop by up to 25%. By matching the right thermostat to your home and your lifestyle, you're setting yourself up for those same kinds of savings.
Your Hands-On Thermostat Installation Guide
Alright, this is where the rubber meets the road. All your research and planning are about to pay off. Installing a smart thermostat is a fantastic DIY project, and if you take your time, it's surprisingly straightforward.
But first, the most important rule of any electrical project: safety first. Before you even think about touching a wire, head straight to your home's breaker box. Find the breaker that controls your HVAC system and shut it down completely.
Seriously, don't skip this. It's not a suggestion; it’s the golden rule. Once you're 100% sure the power is off, you can get started.
Removing the Old Thermostat and Labeling Wires
Your old thermostat’s faceplate usually pops right off, or there might be a small tab to release it. Behind it, you'll find the backplate with a neat (or sometimes not-so-neat) bundle of wires connected to various terminals.
Before you get disconnect-happy, stop. Pull out your phone and take a clear, well-lit picture of the existing wiring. This photo is your ultimate safety net, your get-out-of-jail-free card if you get confused later. Trust me on this one.
With your photo saved, it's time to label everything. Your new thermostat kit should include a sheet of little wire labels. Use them! Stick the "R" label on the wire connected to the "R" terminal, the "G" on the "G" wire, and so on.
Do not rely on wire color alone. While there are industry standards, you never know if the original installer took a shortcut. The letter on the terminal is the only thing that matters.
Pro Tip: Are your wires cut short? I’ve been there. A simple trick to prevent them from vanishing into the wall is to gently wrap them around a pencil. This keeps them accessible and can save you from a massive headache trying to fish them out of the drywall.
Once every wire has its new label, you can go ahead and disconnect them and remove the old backplate from the wall.
Understanding Common Thermostat Wire Functions
As you get your hands on these wires, it helps to know what they actually do. This isn't just trivia; it's the key to troubleshooting if things don't go perfectly. Think of it as building your DIY confidence.
This quick reference table will help you make sense of what you're seeing.
Common HVAC Wire Color Codes and Functions
This table breaks down the typical roles and colors for the wires you'll find behind your thermostat. It’s a great guide, but always remember that the labels you made from your old thermostat are your primary source of truth.
| Wire Label | Common Wire Color | Primary Function |
|---|---|---|
| R, Rh, Rc | Red | 24V Power from the transformer. Rh is for heat, Rc is for cooling. |
| C | Blue or Black | Common Wire, providing continuous power to the thermostat. |
| G | Green | Fan Control, turning the system's blower on and off. |
| Y, Y1 | Yellow | First-Stage Cooling for your air conditioner. |
| W, W1 | White | First-Stage Heating for your furnace. |
| O/B | Orange or Blue | Reversing Valve for heat pump systems. |
Think of this as a decoder ring for your home’s climate control system. Understanding these functions makes the whole process feel much less intimidating.
Mounting the New Backplate and Connecting Wires
With the old unit out of the way, it's time for the new hardware. Most smart thermostat backplates have a handy built-in level. Hold the plate on the wall, carefully thread the wires through the opening, and get it perfectly straight before you mark where to drill.
You might notice the new backplate is smaller, revealing old screw holes or unpainted drywall. Don't worry, that's common. Most kits include a larger trim plate (sometimes called a beauty plate) to cover these blemishes and give your installation a clean, professional look.
Once the backplate is secure, you get to see your careful labeling pay off. It’s as simple as matching the sticker on each wire to the corresponding terminal on the new plate.
- R Wire: Some systems have separate
Rh(power for heat) andRc(power for cool) wires. If you only have a single R wire, your thermostat will likely have a small jumper you can use to connect the two terminals. Check your manual for specifics. - C Wire: This is the big one for consistent power. Make sure it’s securely seated in the "C" terminal.
- Other Wires: Pop the
G,Y, andWwires into their homes. Once a wire is in, give it a gentle tug to be sure it's making a solid connection.
A loose wire is the number one culprit behind a failed smart thermostat diy installation. A few extra seconds here will save you from pulling your hair out later.
Attaching the Faceplate and Restoring Power
Now for the satisfying part. Gently tuck the excess wire back into the wall so the faceplate can sit flush. Align the pins on the thermostat with the backplate and press it firmly until you hear a solid click.
That's it for the physical work! Head back to the breaker box and flip the power to your HVAC system back on.
Within a minute, your new thermostat should light up with a welcome screen, ready for you to start the on-screen setup. If it doesn't power on, don't panic. First, double-check that you flipped the correct breaker. If that's not it, the problem is almost always a loose C-wire or R-wire connection—an easy fix we'll cover in the troubleshooting section.
Fine-Tuning Your New Thermostat for Big Savings
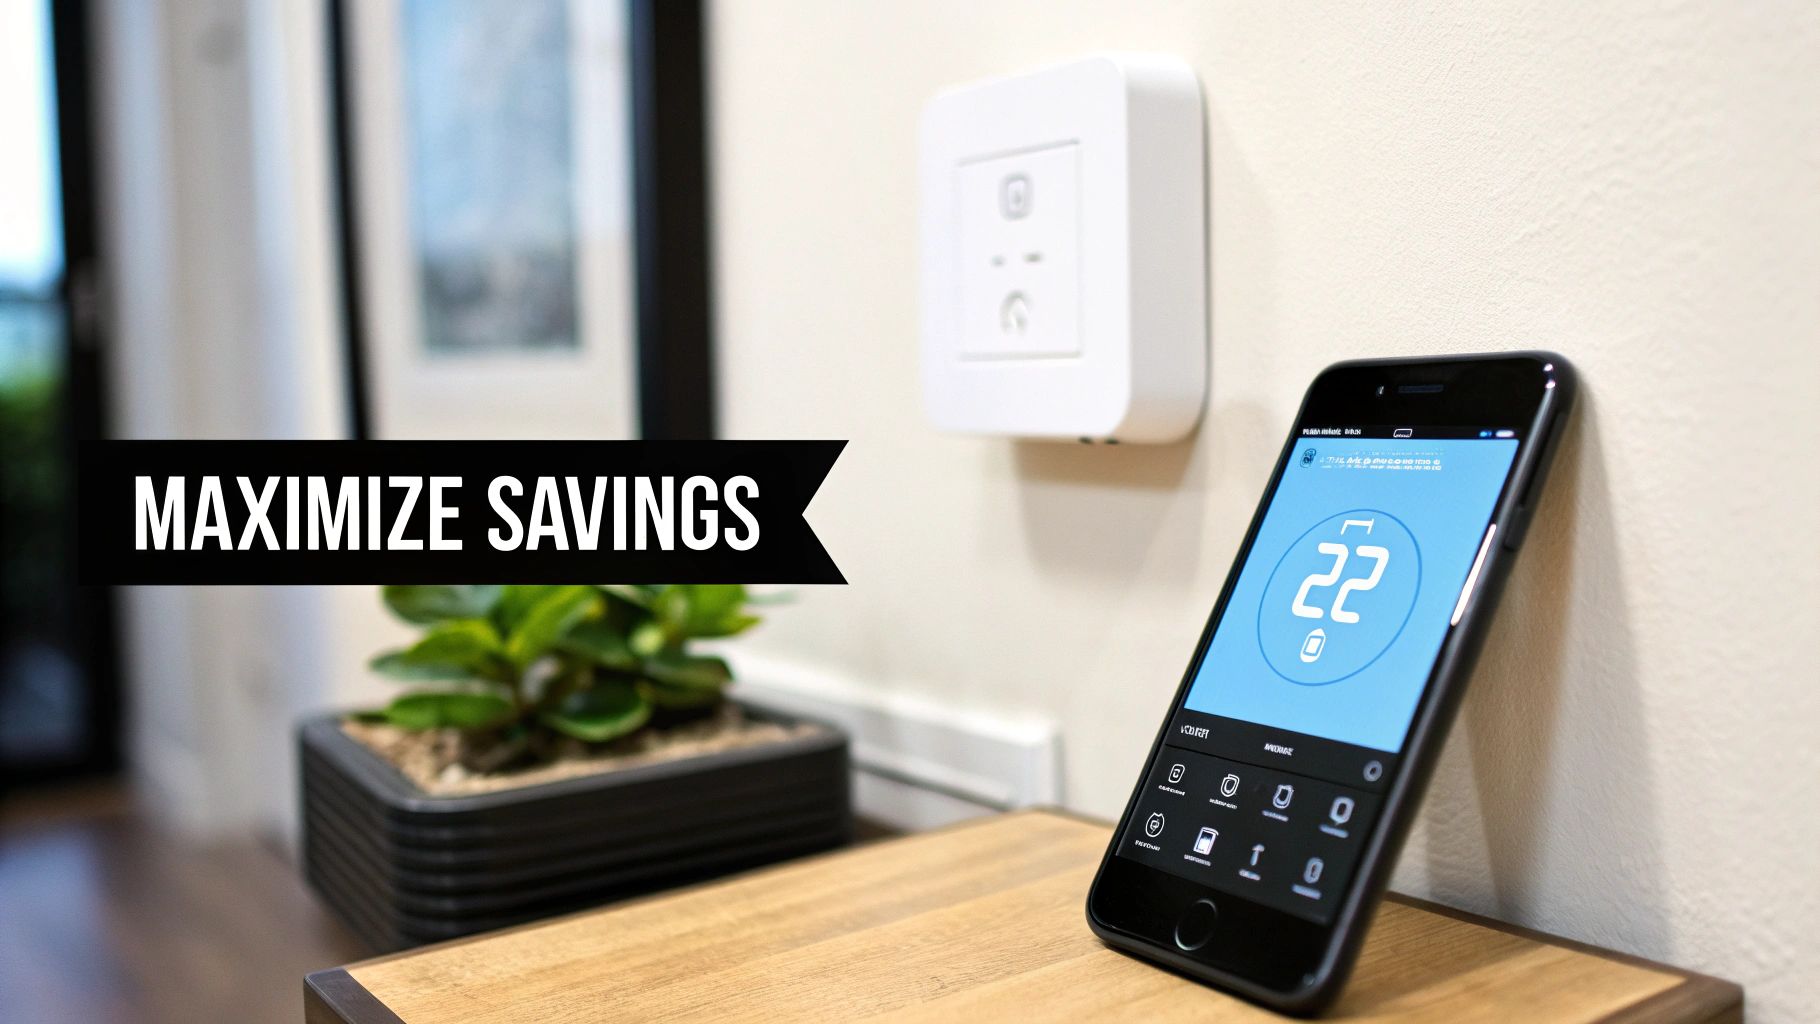
Alright, the physical work is done. Your new thermostat is on the wall, it’s powered on, and it looks great. Now for the fun part: telling it what to do. This is where you actually unlock the "smart" features that save you money and keep you comfortable.
The first order of business is getting it online. Just like any other smart device, it needs to connect to your home's Wi-Fi. The thermostat's screen or its companion app will walk you through finding your network and punching in the password. Once it's connected, the app on your phone becomes your new command center.
Building a Schedule That Actually Fits Your Life
The foundation of any smart thermostat's money-saving potential is its schedule. But this isn't like the old, clunky programmable ones where you'd spend an hour pressing tiny buttons. Modern apps make it incredibly easy to set up a temperature plan that truly mirrors your family's routine.
Think through your average day. You can tell the thermostat to ease off the heating or cooling about 30 minutes before the last person heads out the door. Then, you can schedule it to kick back on just in time to have the house feeling perfect the moment you return. No more paying to heat an empty house.
A typical weekday setup might look something like this:
- 6:30 AM: Kicks on to a comfortable 68°F (20°C) for the morning rush.
- 8:30 AM: Drops to an energy-saving "Away" temp of 62°F (17°C).
- 5:00 PM: Starts warming the house back up to 68°F (20°C).
- 10:30 PM: Dials back to a comfortable 65°F (18°C) for sleeping.
Just by implementing a simple schedule like this, you’re already hitting the biggest source of savings. The U.S. Department of Energy estimates you can cut your heating and cooling costs by an average of 8%-10% this way.
Let Geofencing Handle the Unexpected
Life rarely sticks to a perfect schedule. That's where a feature called geofencing becomes your best friend. It uses your smartphone's location to automatically figure out if you're home or away, acting as a brilliant safety net for your set schedule.
Once you enable geofencing, your thermostat will automatically drop into its "Away" mode when it sees your phone has left the immediate area. As you head home, it senses you're approaching and starts getting the house ready for your arrival. This is perfect for those unexpected trips to the store or when you decide to leave work early—it saves energy without you ever having to think about it.
My Takeaway: I always recommend using geofencing with a schedule. The schedule handles the 9-to-5, and geofencing handles all the curveballs life throws at you. Together, they ensure you're never wasting a dime.
Unlocking the Power of Learning Algorithms
If you really want a set-it-and-forget-it experience, look for a thermostat with learning algorithms. Top-tier models from brands like Nest and Ecobee have this built-in. Instead of you creating the schedule, the thermostat creates one for you.
For the first week or two, it just watches.
- It notes when you manually turn the temperature up or down.
- It learns how long your furnace or AC takes to reach a set temperature.
- It sees the patterns of when your house is empty and when it's occupied.
From all that data, it builds its own highly efficient schedule. This "auto-schedule" is perfect for anyone who doesn't want to bother with the initial setup. It just learns your habits and optimizes for savings automatically, constantly adapting as your routine changes.
Use Your Energy Reports to Get Even Smarter
One of the most powerful tools in your app is the energy report, but it's something a lot of people overlook. Most smart thermostats will send you a monthly summary that shows you exactly how and when you're using your HVAC system.
These reports give you incredible insight, showing things like:
- Daily Runtimes: See exactly how many hours your system ran each day.
- Usage Comparisons: Compare this month's energy use to last month's or even last year's.
- Efficiency Tips: Get suggestions based on your own usage patterns.
By spending just a few minutes with these reports, you can spot new opportunities to save. Maybe you'll see that your AC runs constantly on hot afternoons, which might prompt you to start closing the blinds to block out the sun. This data gives you the power to make small tweaks that lead to big savings over time. If you want to get really granular, you can dig into the details of smart thermostat energy savings to see how every little adjustment adds up.
As a final touch, be sure to connect your new thermostat to your favorite voice assistant, whether that's Amazon Alexa or Google Assistant. Being able to just say, "Hey Google, turn the heat up," is a small convenience that makes your home feel that much smarter.
Troubleshooting Common DIY Install Problems
https://www.youtube.com/embed/9Y_R9unnadI
Even with the most careful planning, a smart thermostat DIY project can hit a snag. It’s a familiar story: you've labeled the wires, mounted the new backplate, and switched the power back on… only to be met with a blank screen or a system that won’t respond. Don't panic. This is a normal part of the process, and most issues are surprisingly simple to fix without calling in a pro.
Let's walk through the most common headaches and how to solve them, getting your system back on track.
The Thermostat Won't Power On
This is, without a doubt, the most frequent problem, and it almost always comes down to power. Before you start second-guessing your entire wiring job, run through these simple checks. Honestly, these solve the problem more than 90% of the time.
- Double-Check the Breaker: I know, it sounds too obvious. But it's an easy mistake to make in the moment. Head back to your breaker box and confirm you flipped the correct switch firmly into the "On" position. Sometimes, toggling it off and on again can properly reset it.
- Inspect Your R and C Wires: The R wire (sometimes
RcorRh) is what delivers the power, and the C wire is its return path. A loose connection at either end is the prime suspect for a dead thermostat. Give both wires a gentle tug at the thermostat backplate to make sure they're seated securely. If that looks good, take a peek at the connections on your HVAC control board, too. - Check the Furnace Door Switch: Many HVAC units have a small safety switch that gets depressed when the access panel is closed. If that panel isn't on tight, it cuts power to the entire system. Make sure the door is on correctly and the switch is fully engaged.
It's incredibly frustrating to see a blank screen after all that effort. From my own experience, the best thing to do is take a five-minute break, then come back and methodically re-check every single connection, starting with that C-wire. That’s almost always where the problem is hiding.
Your Heat or AC Isn't Working
What if the thermostat powers up just fine, but your system won't actually heat or cool? This usually points to a misidentified wire. Your first move should be to pull out that photo you took of your old thermostat's wiring for comparison.
- No Heat (W Wire): If the heat won’t kick on, your focus should be on the wire you labeled "W." Make sure it’s securely pushed into the
WorW1terminal on the new thermostat. - No AC (Y Wire): When the air conditioning isn't responding, the Y wire is the culprit. Check that it's firmly connected to the
YorY1terminal. - Heat Pump Mix-Up (O/B Wire): For those with a heat pump, mixing up the
O/Bwire can cause the system to blow hot air in the summer and cold air in the winter. Dive into your thermostat's settings and confirm it’s configured for the correct reversing valve type (OorB) that your system uses.
If you're still running into trouble after checking these, this guide on how to check if your boiler thermostat is working offers some great additional steps, especially for anyone with a boiler-based system.
Unstable Wi-Fi Connection
A spotty Wi-Fi connection defeats the purpose of having a "smart" thermostat, right? This is typically a signal strength issue. Remember, your thermostat is a small, low-power device, and its Wi-Fi antenna isn't nearly as powerful as the one in your laptop or phone.
If your thermostat keeps dropping offline, try moving your Wi-Fi router a little closer. Even a few feet can make a world of difference. If moving the router isn't practical, a simple Wi-Fi extender placed halfway between it and the thermostat will almost certainly solve the problem. It’s a small investment to ensure your smart device stays smart. Reliable connectivity is crucial, especially as about 16-17% of U.S. households now have one of these devices.
Got Questions? We've Got Answers
Even the most straightforward DIY project can throw you a curveball. When it comes to smart thermostats, a few questions pop up time and time again. Let's tackle the most common ones I hear from homeowners so you can finish your installation with total confidence.
My New Thermostat Won't Turn On—Now What?
Seeing a blank screen after all your hard work is frustrating, but don't panic. This is the single most common issue people run into, and the fix is usually surprisingly simple.
First, the obvious one: did you remember to flip the circuit breaker back on? It happens to the best of us. If you've done that, the next culprit is almost always the C-wire. Make sure it’s pushed all the way into its terminal on the thermostat's backplate. Give it a gentle tug to be sure it’s secure. A loose connection here is the #1 reason for a dead thermostat. If it feels solid, go check the other end at your HVAC control board to confirm it's seated properly there, too.
Will This Work With My Old Furnace?
Most likely, yes, but not always. Smart thermostats are built for the 24V low-voltage systems that run the majority of modern furnaces, central air conditioners, and heat pumps.
Where you'll run into trouble is with high-voltage systems. Think electric baseboard heaters or some types of radiant floor heating. These are a different beast entirely and are generally not compatible. Before you even add a thermostat to your shopping cart, use the manufacturer’s online compatibility checker. Seriously, this five-minute step can save you a world of headache.
A Quick Word on the C-Wire: You'll see it mentioned everywhere, and for good reason. The C-wire provides a constant stream of power, which is essential for running the Wi-Fi radio, the bright screen, and all the "smart" features without a hitch. While some models claim they can work without one by "power stealing," this can lead to flaky behavior and even damage your HVAC system over time. I always recommend using a C-wire for a truly reliable setup.
How Much Money Will I Actually Save?
This is the million-dollar question, isn't it? While every home is different, the numbers are pretty compelling. Big players like Google Nest and Ecobee consistently report that homeowners save an average of 10-15% on their yearly heating and cooling bills.
That savings doesn't come from magic. It's the result of a few key features working in concert:
- Smarter Scheduling: It learns your routine and stops wasting energy heating or cooling an empty house.
- Geofencing: The thermostat uses your phone's location to automatically switch to an energy-saving mode the moment you leave.
- Useful Energy Reports: The app breaks down your usage, showing you exactly where your money is going and giving you actionable tips to cut back.
Your smart thermostat project doesn’t just end once it’s on the wall. It’s an ongoing partnership to make your home more efficient and shrink those utility bills month after month.
Ready to take control of your home's climate and energy bills? The journey to a smarter, more efficient home starts with the right information. At Automated Home Guide, we provide the expert insights and practical guides you need to make your smart home vision a reality. Explore more at https://automatedhomeguide.com.


Leave a Reply