

Before you even think about buying your first smart light, let’s talk about the absolute essentials for a solid Apple HomeKit setup. It really boils down to two things: a modern iPhone or iPad and a Wi-Fi network that doesn't quit. Get these right, and you're building your smart home on a rock-solid foundation.
Building Your Smart Home Foundation
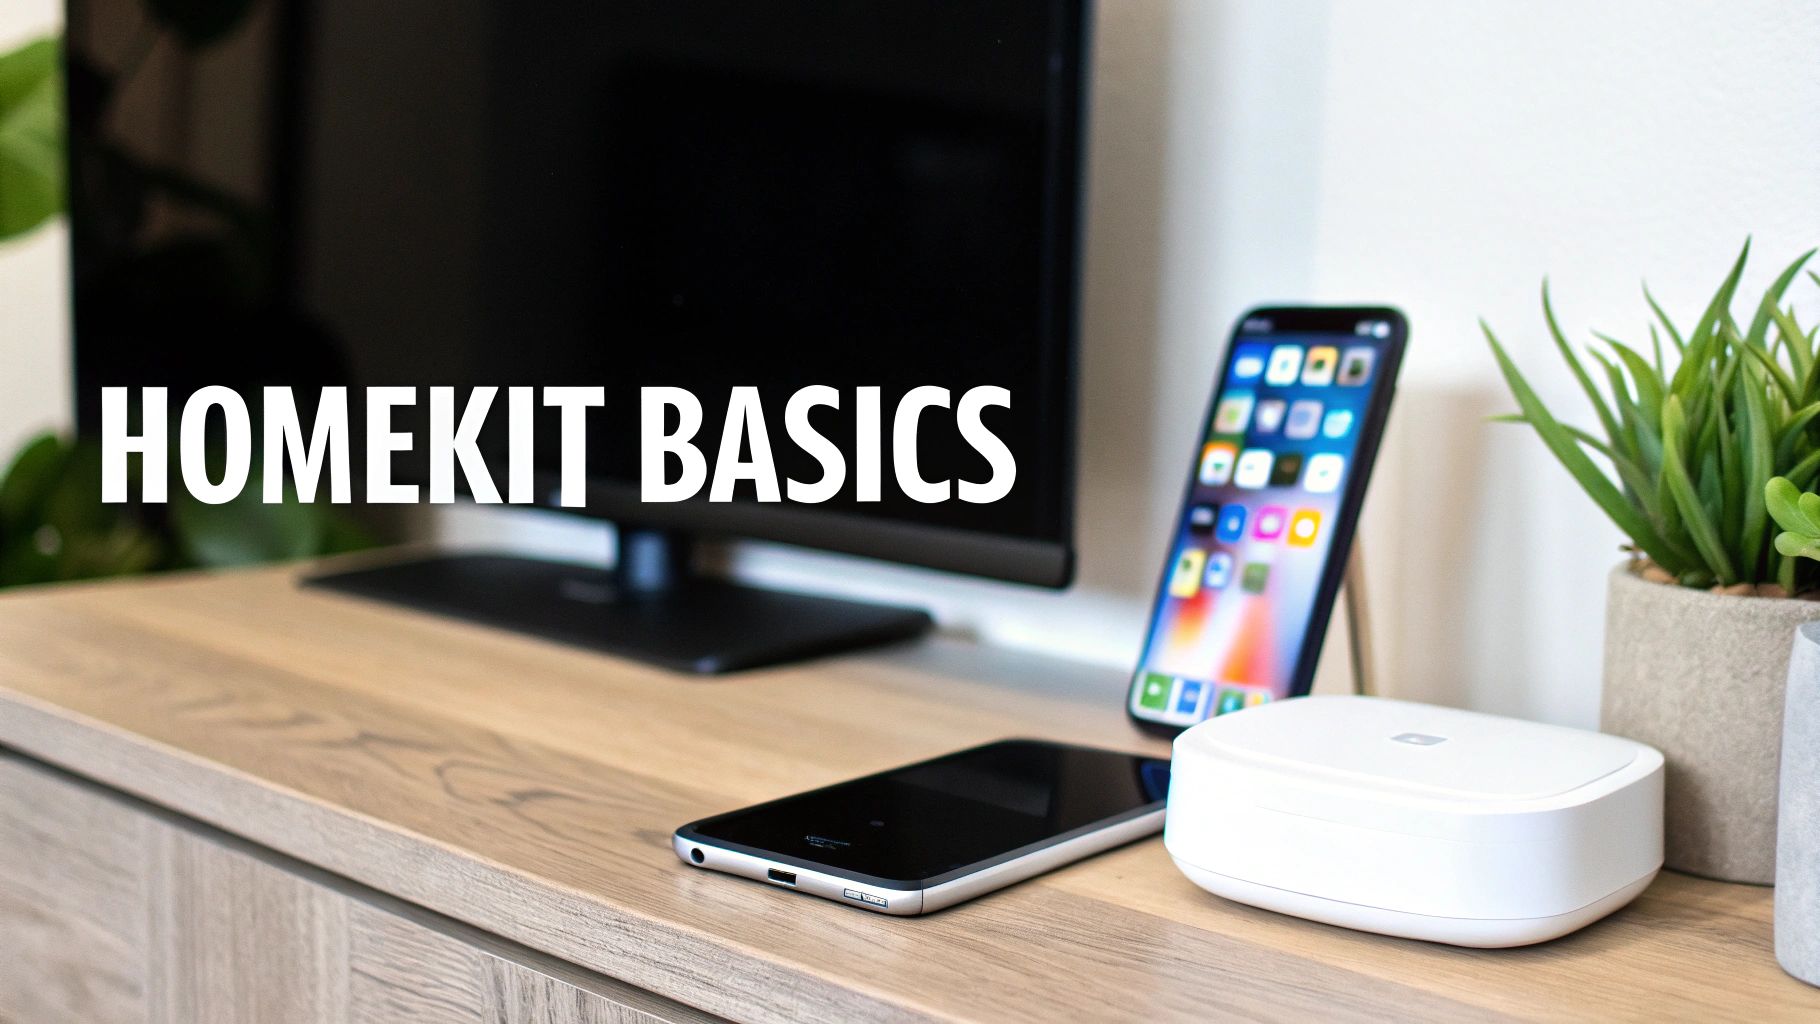
The image above is your end goal: the Home app, neatly organized and putting you in complete control. A little planning now is what gets you to this point, where everything just works with a simple tap or a quick "Hey Siri."
Apple HomeKit has been around since 2014, and in that time, it's really carved out a niche as the go-to platform for people who value security and privacy. If you're interested in the numbers, some of these valuable Apple stats show just how much it has grown.
I can't stress this enough: taking a few minutes to make sure your core tech is up to snuff will save you a world of headaches later. Trust me, that dreaded "No Response" error that drives people crazy is almost always traced back to a weak or overloaded Wi-Fi network.
HomeKit Setup Checklist Before You Begin
Getting started is straightforward, but every piece of the puzzle is important. This table breaks down exactly what you need and why it matters.
| Component | Requirement | Why It's Important |
|---|---|---|
| Apple Device | iPhone or iPad with the latest iOS/iPadOS | This is your command center. The built-in Home app is where you’ll set up, manage, and control all your devices. |
| Wi-Fi Network | 2.4 GHz band, stable and strong signal | Most smart accessories use the 2.4 GHz band. A reliable router prevents devices from dropping offline and becoming unresponsive. |
| Home Hub | Apple TV, HomePod, or a dedicated iPad | This is non-negotiable for remote control and automations. It's the brain of your smart home, keeping things running when you're away. |
Getting these basics sorted out from the very beginning is the secret to a smooth, frustration-free smart home experience.
The Core Components You Need
Let’s break down that checklist a bit more. Each item plays a specific, critical role.
- An Updated Apple Device: You absolutely need an iPhone, iPad, or Mac running the latest software. This isn't just for new features; it’s for crucial security updates and bug fixes that keep everything running smoothly. The Home app is built right in, so there's nothing extra to download.
- A Robust Wi-Fi Network: Think of your Wi-Fi as the highway your smart devices use to talk to each other. If it’s congested or has dead spots, you'll get slowdowns and dropouts. A modern router that blankets your whole home in a strong signal is one of the best investments you can make for your smart home.
- A Designated Home Hub: This is the magic ingredient that elevates your setup from a simple remote control to a truly smart home. Without a Home Hub (an Apple TV, HomePod, or a plugged-in iPad), you can only control your devices when you’re at home and on the same Wi-Fi. The hub acts as a secure bridge, letting you control everything from anywhere in the world and, more importantly, enabling automations to run on their own.
The hub also handles commands locally, which is a huge plus for both speed and privacy. The way your devices communicate is also a factor, and it's worth getting familiar with the different https://automatedhomeguide.com/smart-home-protocol/ to understand why some devices are faster or more reliable than others.
Key Takeaway: A Home Hub isn't an optional accessory; it's the central nervous system of your smart home. It's what makes automations, secure remote access, and features like HomeKit Secure Video possible.
As you start planning, it helps to think about where you want to begin. Lighting is a fantastic and easy entry point. To get a feel for what’s out there and what works well, check out some of the best smart home lighting systems on the market. Nail these fundamentals, and your HomeKit setup will be reliable, secure, and ready for whatever you decide to add next.
Adding Your First HomeKit Accessories
Alright, with the basic framework of your smart home built, it’s time for the fun part: actually adding a device. This is where your Apple HomeKit setup goes from being an app on your phone to a real, working part of your house. Apple has made this process incredibly simple—if you can point your phone's camera, you're pretty much there.
Before you can add anything, you need a "Home" for it to live in. If you're starting from scratch, the Home app will walk you through creating one. Just give it a name like "My Home," and you're good to go.
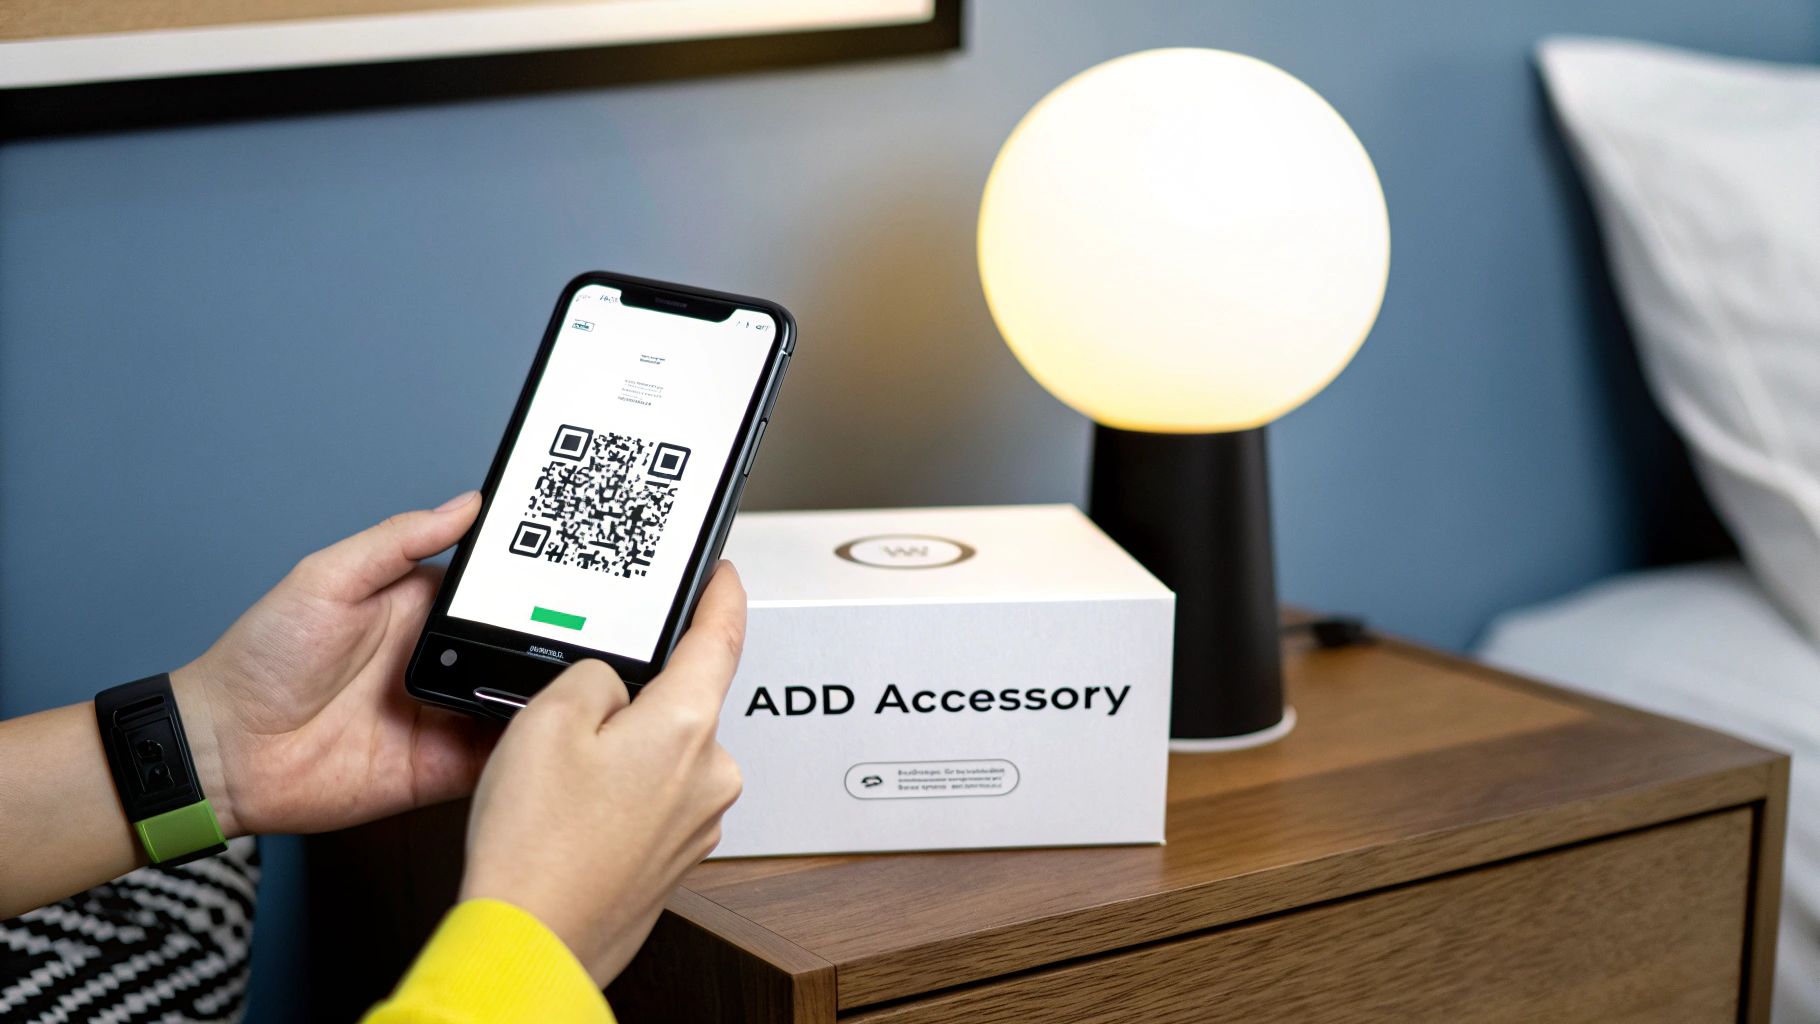
Using the HomeKit Setup Code
The quickest way to get a new accessory online is with its unique HomeKit setup code. It’s a little QR code with an 8-digit number next to it, and you'll almost always find it in one of three places:
- On the device itself: A lot of smaller gadgets, like smart plugs or individual light bulbs, have the code printed right on them.
- In the product manual: It's a safe bet the code is tucked inside the quick start guide.
- On the packaging: I often find it on a sticker on the outside of the box.
Once you’ve got eyes on the code, the rest is a breeze. Pop open the Home app, tap the plus icon (+) at the top, and choose "Add Accessory." Your camera will open up, ready to scan. Just frame the QR code, and HomeKit takes over.
Let’s say you're adding a new smart bulb. After you scan the code, your iPhone securely pairs with the bulb, and the Home app will ask a couple of quick questions to get it configured.
My Personal Tip: Before you toss the box or manual, snap a quick photo of the HomeKit code. Trust me, it's a huge help if you ever need to re-add the device and can't get to the code printed on the accessory itself.
Configuring Your New Accessory
After the scan, HomeKit needs a little more info to make the device useful. This is where you tell it where it is and what to call it so you can control it with your voice.
First, you'll assign the accessory to a Room. For our smart bulb, you’d pick "Bedroom." This organization is what lets you say things like, "Hey Siri, turn off all the lights in the bedroom."
Next up is the name. The default name is usually useless, something like "Smart Bulb 1." You’ll want to change this to something that makes sense to you, like "Bedside Lamp" or "Desk Light." This is key for specific commands, like "Hey Siri, set the Bedside Lamp to 50%."
Finally, the app gives you a chance to test it out. You’ll see a new tile for your "Bedside Lamp." Tap it—the real light should flick on and off. It’s a simple thing, but it's that satisfying moment when you know your smart home is officially up and running.
What to Do When There Is No QR Code
Every now and then, you'll run into a device without a QR code, or maybe the code is on the back of a smart switch you've already installed. No sweat, you still have options.
In the "Add Accessory" screen, if you can't scan a code, look for a link that says "More options…" or "I Don't Have a Code or Cannot Scan."
- Manual 8-Digit Code Entry: Tapping this will make your iPhone look for nearby accessories waiting to be paired. Once it finds your device, it will ask you to type in the 8-digit setup code manually—that's the number printed right by the QR code.
- NFC Pairing: Some newer accessories use Near Field Communication (NFC) for pairing. With these, you just have to tap your iPhone against the device itself. The product instructions will tell you if this is an option.
And just like that, you've brought your first device into your Apple HomeKit setup. You've now got a fully controllable smart accessory, and you've got the hands-on experience to confidently keep building out your system.
Setting Up a Home Hub for Remote Control
A smart home that you can only control from your couch isn't really living up to its potential. The real magic of HomeKit happens when you can tweak your thermostat on the way back from work or check on your security cameras while you're on vacation. This is where a Home Hub comes in, and it's absolutely essential.
Think of it as the secure bridge between your private home network and the rest of the world. Without a hub, your control is tethered to your home's Wi-Fi. But once you add one, you unlock secure remote access, rock-solid automations, and advanced features like HomeKit Secure Video. It’s what turns a collection of smart gadgets into a truly intelligent home.
Choosing Your Ideal Home Hub
Apple gives you three main options for a Home Hub, and your best bet usually depends on what devices you already have and what you want to accomplish. You can use an Apple TV, a HomePod (or HomePod mini), or even an iPad that stays plugged in at home.
I've found that each one has its own sweet spot, so it's less about which is "the best" and more about which fits your home best.
- Apple TV (4K is my go-to): Honestly, this is my personal favorite for a primary hub. It's always on, and you can connect it via Ethernet for the most stable connection possible. Plus, it’s already the heart of your entertainment center.
- HomePod or HomePod mini: These are fantastic, low-profile choices. You can tuck a HomePod mini into just about any room where it'll pull double duty as a hub and a Siri voice assistant. The full-size HomePod does the same while also delivering incredible sound.
- iPad: While you can use an iPad, I generally steer people away from it. It has to stay home, stay powered on, and stay connected to Wi-Fi, which completely defeats the purpose of having a portable tablet in the first place. It's a last resort, not a first choice.
If you're still weighing the options, our in-depth smart home hub comparison can help you drill down into the specifics.
Choosing the right device to act as your HomeKit hub is a foundational step. To make it easier, here's a quick breakdown of where each device shines.
Choosing Your Apple Home Hub
| Hub Device | Best For | Key Advantage |
|---|---|---|
| Apple TV 4K | Living rooms and media centers | Most reliable connection (Ethernet) and a media hub |
| HomePod/HomePod mini | Bedrooms, kitchens, or secondary rooms | Voice control with Siri and a small footprint |
| iPad | A temporary or backup-only solution | Uses a device you might already own |
Ultimately, an Apple TV or HomePod is almost always the superior choice for a stable, always-on hub that you can set and forget.
The Critical Configuration Steps
Here's the great part: setting up the hub is almost entirely automatic. As long as your Apple TV or HomePod is signed in with the same Apple ID you used for the Home app, it will just start working as a hub on its own.
But for this to happen, there are two security settings that are completely non-negotiable. Your Apple ID must have these enabled:
- Signed into iCloud: The hub device has to be logged into the same iCloud account as the primary user of your HomeKit home.
- Two-Factor Authentication (2FA): This is a mandatory security layer for HomeKit. If you don't have it on, you'll need to go into your Apple ID settings and enable it.
Once those two things are in place, your device will seamlessly become the brains of your smart home. This simple yet secure approach has been a huge factor in making HomeKit a major player in the smart home market across North America, Europe, and Asia.
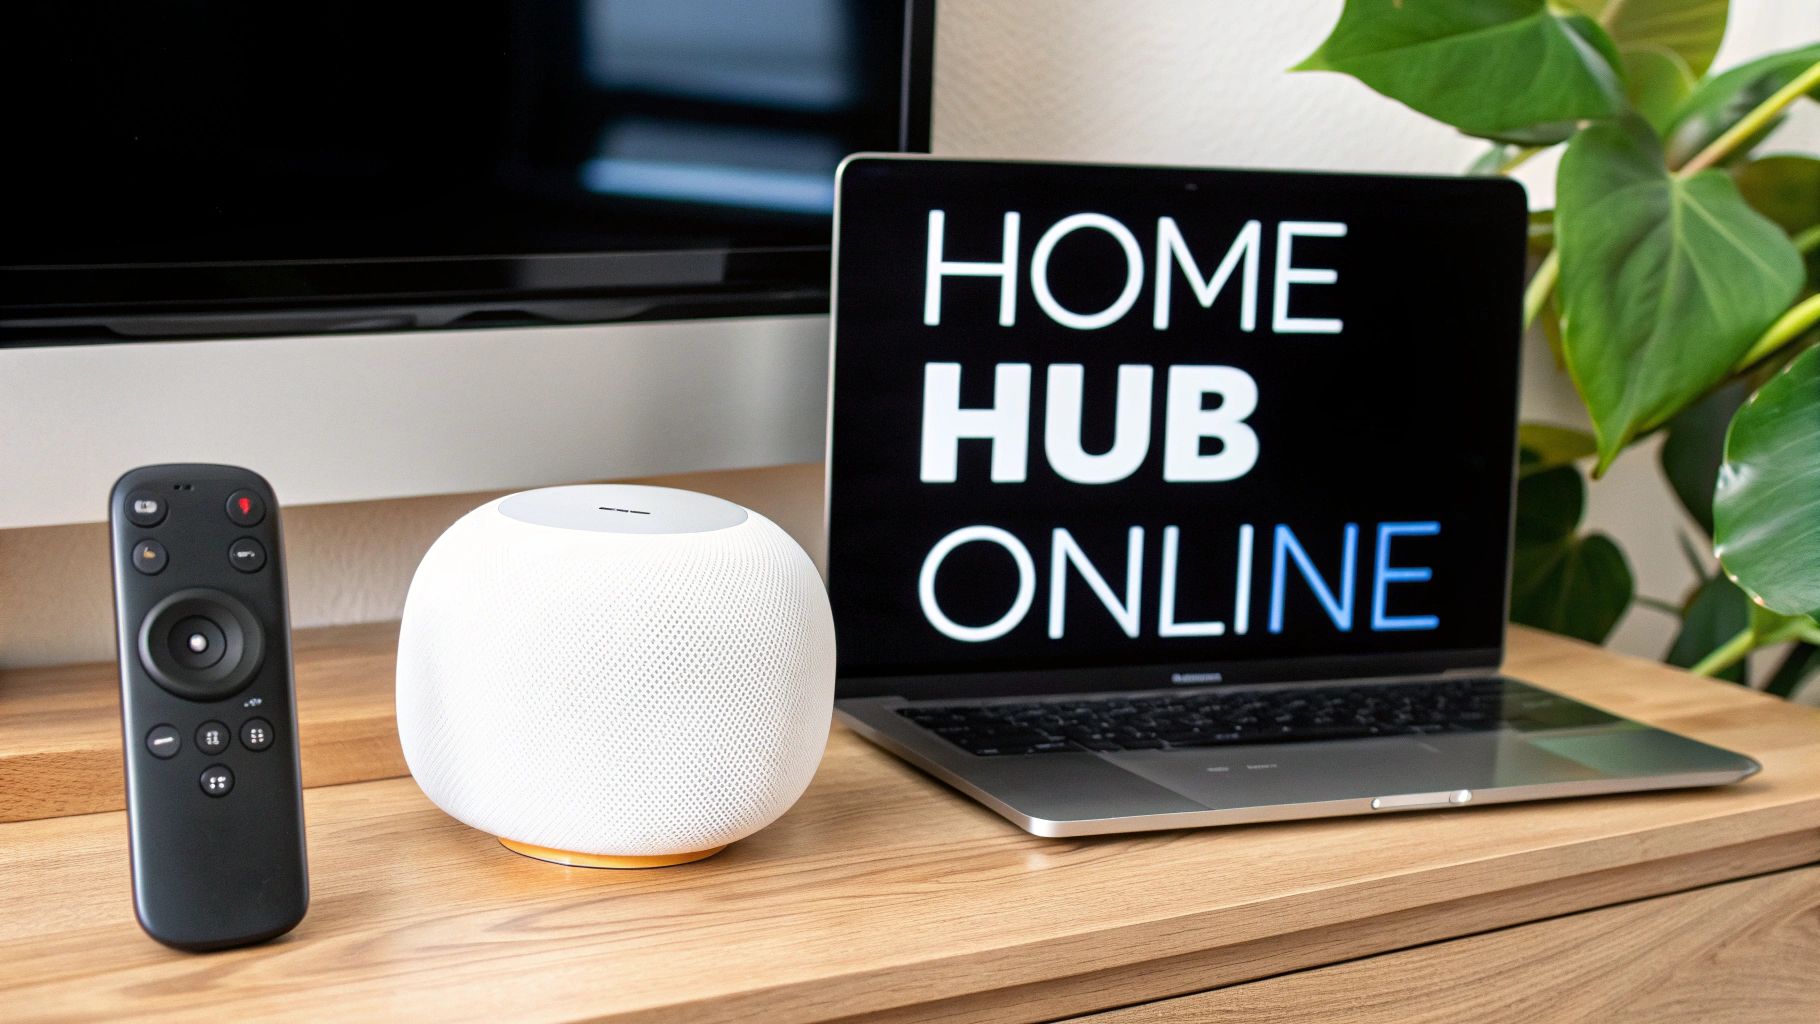
Verifying Your Hub Is Online and Active
After you're all set up, you'll want to double-check that your hub is actually online and doing its job. You don't want to discover a problem when you're a hundred miles away and trying to turn on a light.
It's easy to check the status:
- Open the Home App on your iPhone or iPad.
- Tap the three-dots icon (…) in the top-right corner of the screen.
- Go to Home Settings, and then tap on your home's name.
- Scroll down until you see Home Hubs & Bridges.
In this menu, you’ll see a list of all your potential hubs. One will be labeled "Connected," which means it’s your active hub. Any others will show as "Standby," ready to jump in if the main one ever goes offline. It’s a great bit of built-in redundancy that keeps things running smoothly.
Key Insight: If you have multiple hubs, like an Apple TV and a couple of HomePod minis, HomeKit is smart enough to pick the best one to be active. It usually prioritizes the device with the most stable connection, like an Apple TV plugged into Ethernet. You don't have to manage a thing.
With your hub online, your HomeKit setup is officially fully operational. You’ve got secure control from anywhere, a reliable engine for your automations, and the confidence of Apple's end-to-end encryption. Now you’re ready to start building out some really powerful scenes and automations.
Getting Your Smart Home Organized: Rooms, Zones, and Scenes
Once you start adding more than a handful of smart devices, your Home app can get chaotic fast. A long, scrolling list of accessories isn't just messy—it makes your home harder to control. This is where a little bit of digital tidying up in your Apple HomeKit setup makes all the difference, turning a functional home into a truly intuitive one.
The absolute first thing you should do is group your accessories into Rooms. This simple step is the key to making Siri understand your home naturally. Instead of fumbling to remember the exact name of every single smart bulb, you can start controlling entire spaces.
Creating Order with Rooms
Think of Rooms as digital buckets that mirror the actual layout of your house. You'll want to assign each accessory to the space it lives in—put the smart plug in the "Living Room," the new smart bulb in the "Bedroom," and so on.
Once that's done, you'll immediately see the payoff with voice commands. You can now say things like:
- "Hey Siri, turn on the kitchen lights."
- "Hey Siri, what's the temperature in the office?"
- "Hey Siri, turn off everything in the bedroom."
Without rooms, you’d be stuck controlling every device individually ("Hey Siri, turn on the 'Main Ceiling Light 1'"). That gets old, fast. Setting up rooms is a foundational step you'll thank yourself for later.
Grouping Rooms Together with Zones
After you've defined your rooms, you can take organization to the next level with Zones. A Zone is exactly what it sounds like: a collection of rooms. This is perfect for controlling large areas of your home with a single command.
For instance, you could create a "Downstairs" Zone that includes your Living Room, Kitchen, and Hallway. With that set up, a simple command like, "Hey Siri, turn off downstairs," shuts everything off in all three rooms at once.
My Personal Setup: I have an "Upstairs" Zone and a "Downstairs" Zone. When we're heading out, a quick "Hey Siri, turn off downstairs" is my go-to. It makes sure all the main floor lights and smart plugs are off without me having to walk through and check each room. It’s a huge time-saver.
A few common Zones people find useful are:
- Upstairs: For grouping all second-floor rooms.
- Downstairs: To control the main living areas.
- Outdoor: Combining front porch lights, backyard floodlights, and smart sprinklers.
This kind of layered organization keeps even a complex smart home feeling simple and logical to manage.
The Real Magic: Bringing Your Home to Life with Scenes
While Rooms and Zones are about keeping things tidy, Scenes are all about action. A Scene is a pre-set recipe that adjusts multiple accessories to your exact liking, all at the same time. This is where your smart home stops being a collection of gadgets and starts working for you.
Instead of tapping four different buttons to get the lighting just right, you create a Scene that handles it all with a single tap or voice command.
Let’s imagine building a classic "Movie Night" Scene to see how it works:
- Dim the Lights: Your main living room lights could dim to a cozy 15% brightness.
- Set the Mood: An accent lamp might turn on and switch to a warm, cinematic blue.
- Close the Blinds: Your smart blinds would automatically lower to kill the glare.
- Power Up: A smart plug connected to your TV and soundbar would switch on.
Once that Scene is saved, all you have to say is, "Hey Siri, it's Movie Night," and your room instantly transforms. No more fumbling for remotes in the dark.
Practical Scenes for Your Daily Routine
The real power of Scenes is in how you tailor them to your own life. They can ease you into your morning, secure your home as you leave, and help you wind down for the night.
Here are a few more ideas to get you thinking:
| Scene Name | Actions | Voice Command |
|---|---|---|
| Good Morning | Bedroom lights slowly fade on, thermostat bumps up, and the coffee maker's smart plug turns on. | "Hey Siri, good morning." |
| I'm Leaving | All lights turn off, doors lock, and the thermostat drops into "Away" mode to save energy. | "Hey Siri, I'm leaving." |
| Bedtime | All house lights turn off except the bedside lamp, which dims to 10% for reading. | "Hey Siri, it's bedtime." |
These custom commands make your home respond to the rhythm of your day. You're no longer just controlling individual devices; you're orchestrating experiences. Honestly, this is what makes a well-planned Apple HomeKit setup so incredibly satisfying to use.
Creating Automations for a Hands-Off Home
While Scenes are fantastic for controlling multiple devices with a single tap, the real magic of a smart home happens when it starts to think for itself. This is where your Apple HomeKit setup evolves from just being reactive to truly proactive. Automations are the secret sauce—the background routines that make your home feel genuinely intelligent by handling tasks without you ever lifting a finger.
Think of it this way: instead of telling your home what to do, you're teaching it how to respond to the world around it. At its heart, this is all about automating repetitive tasks to add a layer of convenience you'll quickly wonder how you lived without.
The whole concept builds logically. You start with individual devices, group them into Rooms, and then control those groups with Scenes. Those Scenes then become the building blocks for your powerful, multi-step automations.
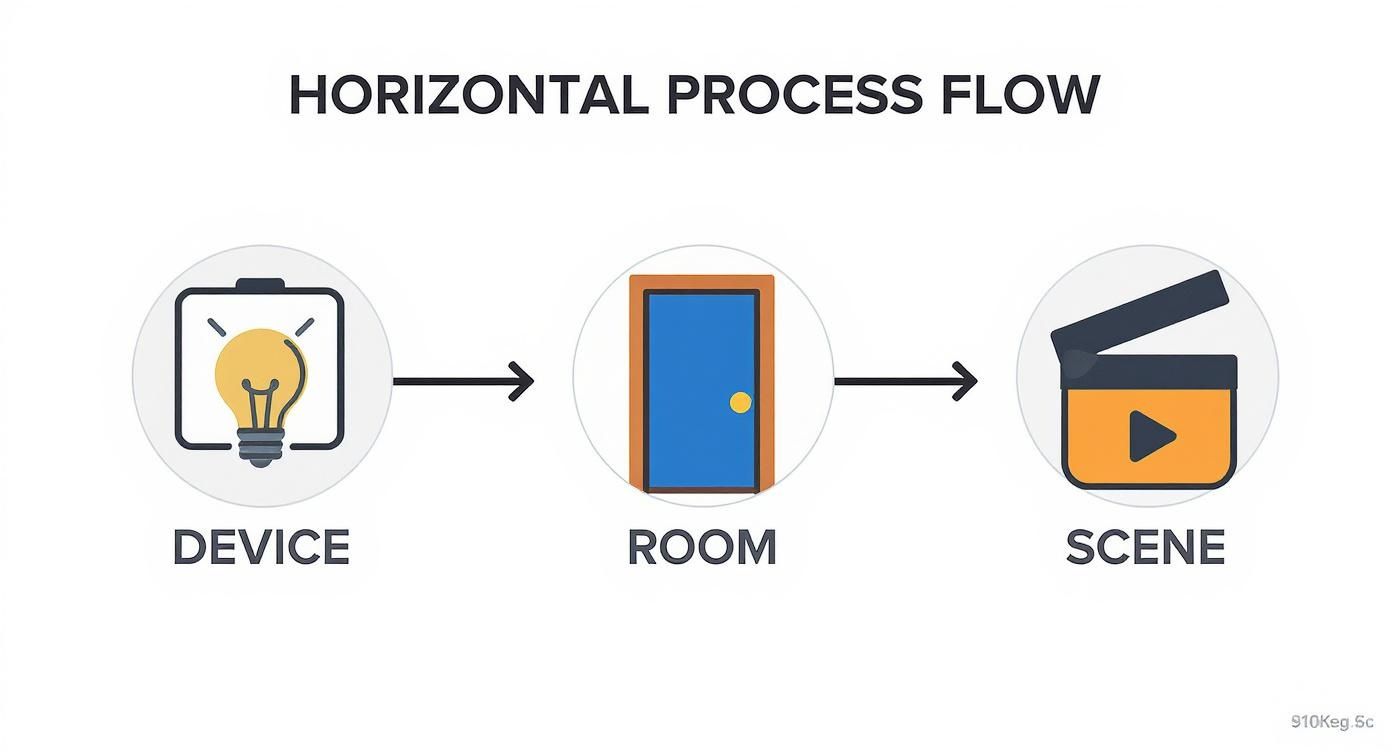
Understanding this flow from a single bulb to a completely automated sequence is the key to unlocking HomeKit’s full potential.
Triggering Actions Based on Time
The easiest and often most practical automations are tied to the clock. These are perfect for those daily events that happen like clockwork. You can set them for a specific time, but the real power comes from using the natural cycle of sunrise and sunset.
A classic "Welcome Home" automation is a great starting point. You could set it to run every weekday at sunset, triggering a few simple actions:
- Turn on the porch light so you can see the lock.
- Set the entryway lamp to a warm, welcoming 30% brightness.
- Activate a smart plug connected to a bit of ambient decor, like a small fountain or sign.
The best part? You never come home to a dark house, and you don't have to constantly adjust timers as the seasons change. HomeKit uses your location to calculate the exact sunset time every single day.
Using Your Location as a Trigger
This is where your home starts to feel like it's anticipating your next move. Location-based automations, also called geofencing, use your iPhone's GPS to kick off actions when you arrive home or head out.
To create one, you'll simply choose "When People Arrive" or "When People Leave" as the trigger. You can define the location (your house, of course) and even specify who sets it off—just you, your partner, or only when the very last person walks out the door.
Real-World Example: My "I'm Home" automation triggers the moment I pull into my driveway. It checks if it's after sunset and, if so, turns on the living room and kitchen lights. It also unlocks my August smart lock, which is a lifesaver when I'm juggling groceries.
These routines are incredibly personal. You can fine-tune them to fit your life perfectly, making your home feel like it's always one step ahead. If you want to dive deeper, you can explore some of the best smart home apps out there that often work alongside HomeKit.
The Power of Sensor-Driven Automation
Now we're getting to the pinnacle of a proactive smart home. When you use sensors as triggers, your home isn't just guessing based on time or your location—it's reacting to what is actually happening in real-time.
A sensor-based automation kicks in the moment an accessory detects something, opening up a whole world of possibilities for both convenience and security.
- Motion Sensors: A Philips Hue motion sensor in my upstairs hallway is set to turn the lights on to a very dim 10% if it detects movement between 11 PM and 6 AM. It’s just enough light for a late-night trip to the kitchen without blinding yourself.
- Door & Window Sensors: An Aqara contact sensor on the back door could trigger a push notification to your phone if it's opened after 10 PM.
- Leak Detectors: A water leak sensor placed under the kitchen sink can be set up to flash all the house lights red and send an immediate, critical alert. This simple setup could save you from a hugely expensive disaster.
Because these automations are tied to physical events, they are incredibly reliable and effective.
Adding Conditions for Smarter Actions
The final layer of intelligence comes from adding conditions. A condition is simply a rule that must be met for the automation to run, even if its main trigger goes off. This prevents your automations from being a nuisance.
Let's revisit that hallway motion sensor. What if you only want the light to come on when it's actually dark? Easy. You can add a condition that the automation only runs if another accessory—like the light sensor built into that same motion detector—reports that ambient light is low.
This prevents the lights from popping on for no reason during the daytime. You can also base conditions on who is home. An "I'm Leaving" automation that turns everything off should absolutely have a condition like: "Only run when the last person leaves." This critical step ensures you don't accidentally turn off the lights and TV on someone who's still on the couch. This is the kind of granular control that takes your Apple HomeKit setup from neat to indispensable.
Dealing with the Inevitable HomeKit Hiccups
Even the most perfectly tuned smart home has its moments. An accessory suddenly stops responding, or an automation just doesn't fire. It's frustrating, I get it. But before you even think about starting from scratch, know that most HomeKit problems are surprisingly easy to fix with a bit of logical troubleshooting. This is your field guide for when things go sideways in your apple homekit setup.
The most common gremlin you’ll run into is the dreaded “No Response” error in the Home app. It’s a generic flag that simply means your Home Hub can't talk to the device. While annoying, it's almost always fixable.
Decoding the "No Response" Error
When a device goes offline and shows "No Response," don't panic. The fix is usually simple, and if you work through this checklist from easiest to most involved, you'll solve the problem 9 times out of 10.
-
Start with the obvious. I know it sounds silly, but is the device actually on? A smart bulb is just a regular bulb if someone has flipped the physical wall switch off. Check that smart plugs are pushed firmly into their sockets, too.
-
Give it a quick reboot. The next step is a classic for a reason. Unplug the stubborn accessory, give it a good 30 seconds, and plug it back in. This simple power cycle forces it to grab a new connection to your network and often gets it back online instantly.
-
Restart your network. If the accessory reboot didn't do the trick, the issue might be with your Wi-Fi itself. Unplug your modem and your router. Wait a full minute—seriously, count to 60—then plug them back in. Give them a few minutes to fully restart and establish a connection before you check the Home app again.
This step alone fixes a massive number of issues. Routers, especially with dozens of smart devices pinging them constantly, just need a fresh start every now and then.
When an Accessory Just Won't Pair
Another real headache is trying to add a new gadget, only for it to fail during setup. You scan the code, your iPhone spins its wheels, and… nothing. It can kill the excitement of a new toy, but the culprit is usually one of a few things.
First, get your iPhone right next to the accessory. I mean, inches away. Proximity is key, especially for any device that uses Bluetooth to start the pairing process. And double-check that Bluetooth is actually enabled on your iPhone in the Control Center.
If it still won't connect, grab the manual. Some devices need you to press a button for a few seconds to kick them into a dedicated "pairing mode." If you've tried and failed a few times, the accessory might be in a confused state. A quick factory reset on just that device (not your whole home!) gives you a clean slate to try again.
Pro Tip: A busy 2.4 GHz Wi-Fi channel can cause all sorts of pairing interference. If your network is crowded, try temporarily unplugging a few nearby smart plugs or cameras while you add the new device. Quieting the network chatter can make all the difference.
Solving Remote Access and Automation Failures
What about when your devices work flawlessly while you're at home, but you can't control anything when you leave? Or maybe your trusty "Good Morning" automation just stopped running one day. For both of these problems, your Home Hub is the first place to look.
Open the Home app, tap the "…" icon, and go to your Home Settings to check the status of your hubs. If your main Apple TV or HomePod is listed as "Disconnected," your remote access and automations are dead in the water. A simple restart of that hub is almost always the fix.
If a specific automation is the problem, open it up in the Home app and carefully read through its logic. It's surprisingly easy to accidentally add a condition that prevents it from running. For instance, a location-based "I'm Home" scene won't trigger if you've turned off Location Services for the Home app on your iPhone.
The Last Resort: Removing and Re-adding
If one particular accessory stubbornly refuses to respond after you've tried everything else, your final move is to remove it from your home and add it back. This should always be your last resort, because it will also wipe the device from any scenes and automations it was a part of, meaning you'll have to set those up again.
To do this, just long-press the accessory's tile in the Home app, tap the little gear icon, scroll all the way to the bottom, and hit "Remove Accessory." After it's gone, find the instructions for factory resetting the physical device itself. Once it's reset, you can add it back to your apple homekit setup as if it were brand new. This nuclear option usually clears out any deep-seated software glitches for good.
At Automated Home Guide, we're committed to helping you build a smarter, more convenient living space. For more expert tips, in-depth reviews, and practical guides, visit us online.


Leave a Reply