
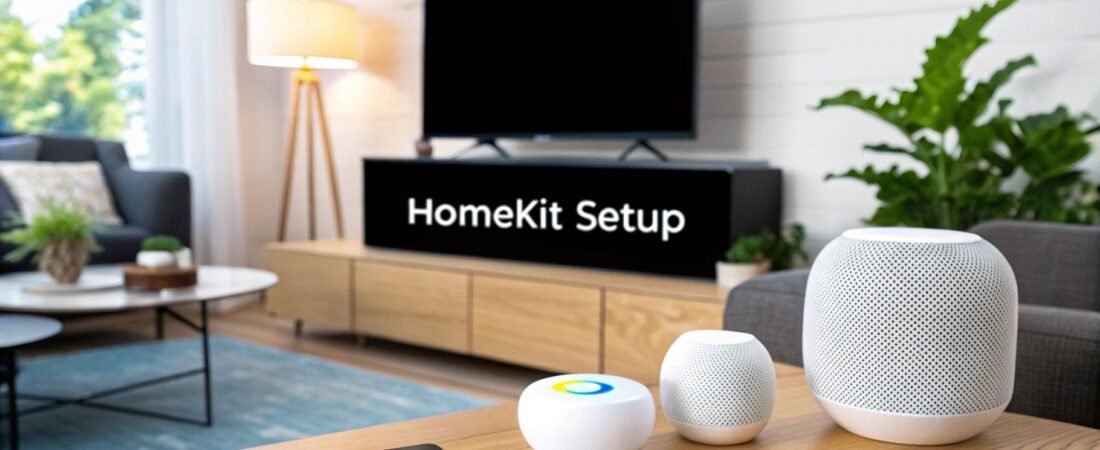
So, you're ready to jump into the world of Apple HomeKit? It's a fantastic ecosystem, but like any new project, knowing where to start is half the battle. Think of your HomeKit setup as having three essential pillars: an Apple device to act as your remote control, a central hub to be the brain of the operation, and your very first HomeKit-compatible accessory.
With these three pieces in place, you'll have a solid foundation for a smart, secure, and genuinely helpful home.
Starting Your HomeKit Smart Home Journey
Welcome to HomeKit, Apple's take on the smart home. Before we get into the nuts and bolts, it’s worth understanding why so many people, myself included, gravitate toward it. The big draw is a relentless focus on security and privacy. All communication is encrypted end-to-end, which gives you real peace of mind that your home's data stays your home's data.
This guide is designed to be your friendly roadmap. We'll walk through everything you need, step by step, without the confusing tech-speak. The goal is to get you from zero to a fully functioning smart home that actually makes your life easier.
What You Absolutely Need to Begin
Getting started is probably simpler than you think. You don't need a truckload of gadgets right away. In fact, you just need three key things to get your system off the ground.
- A Central Home Hub: This is the command center. An Apple TV, a HomePod, or a HomePod mini acts as the brain, letting you control things when you're away from home and enabling all your automations to run smoothly.
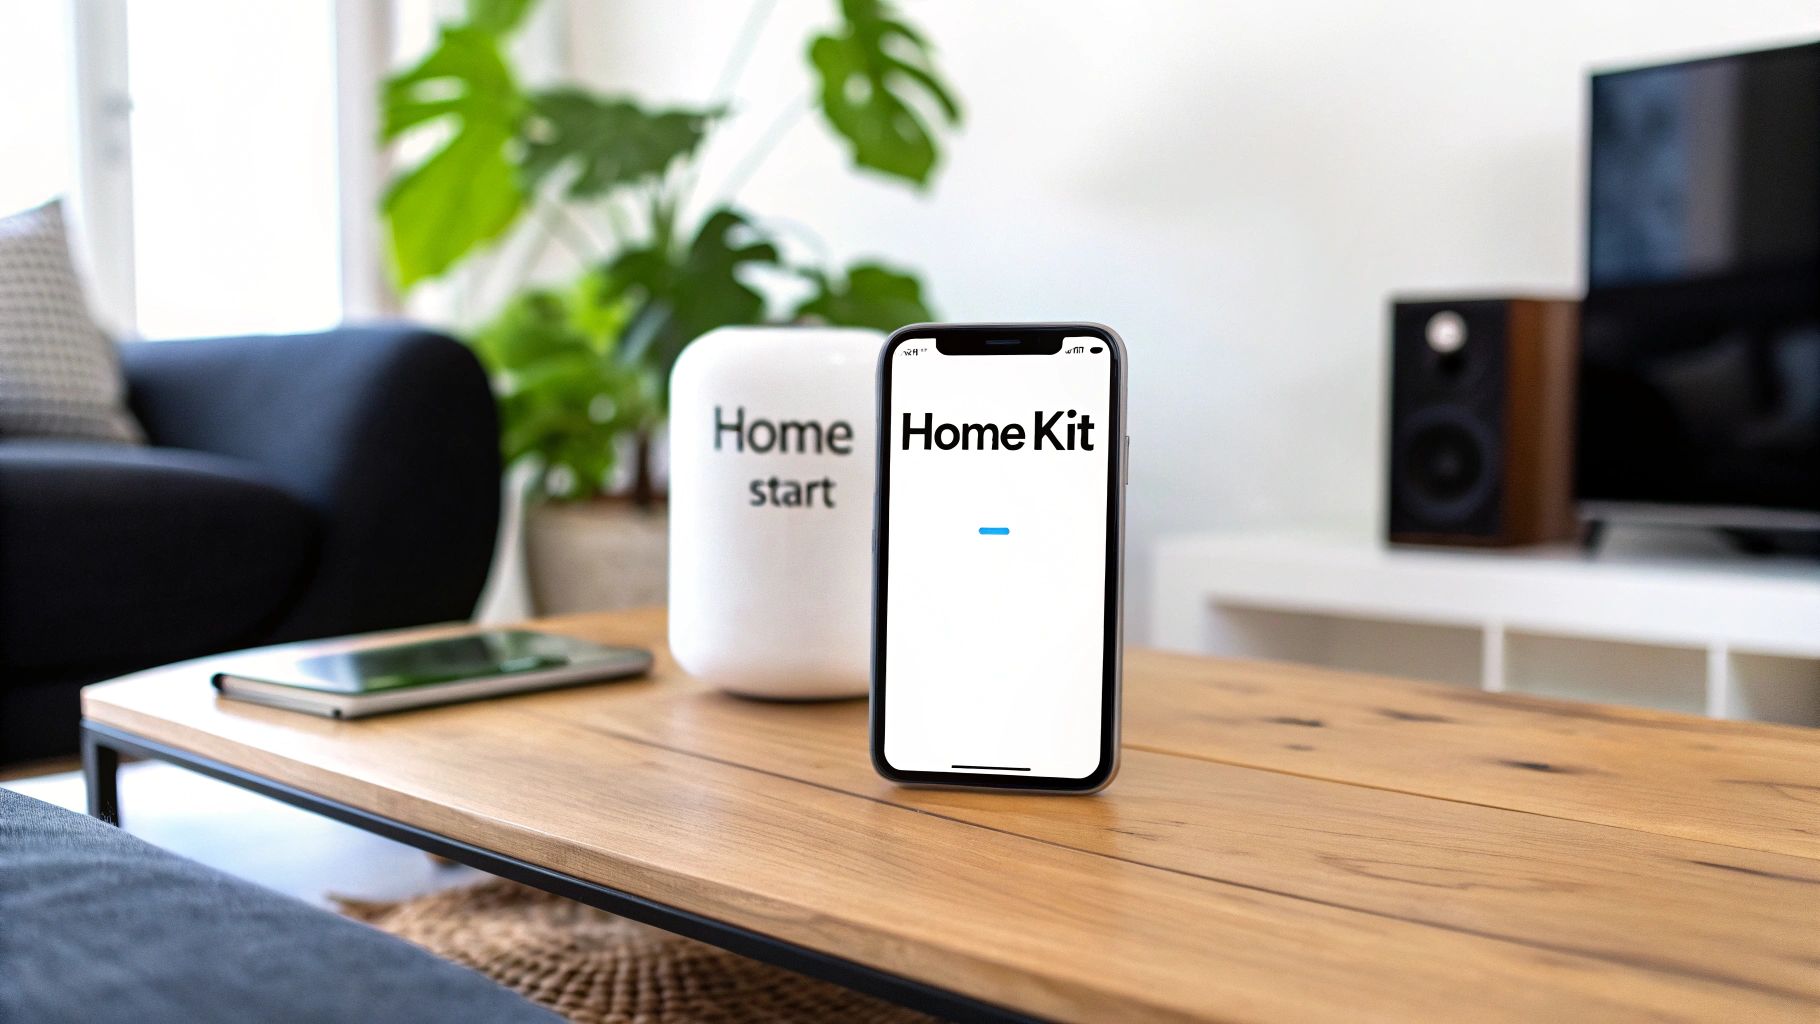
- An iPhone or iPad: This is your magic wand. You'll use the Home app (it’s already on your device) to add new gadgets, set up rooms, and create cool automations and scenes.
- A HomeKit-Compatible Accessory: My advice? Start small. A single smart plug or a smart light bulb is perfect for getting your feet wet. It's an easy win and will show you the power of the system immediately.
This simple flowchart breaks down the basic path to getting up and running.

As you can see, it really comes down to having your hub in place, your iOS device ready, and your first accessory picked out. That’s the core recipe for success.
The secret to a great smart home isn't buying dozens of devices at once. It’s about building a rock-solid foundation first. A reliable hub and a well-organized Home app are the real keys. Start there, and expand thoughtfully.
The smart home market is booming—it hit USD 127.67 billion in 2024 and is expected to climb to an incredible USD 1,404.59 billion by 2034. That’s a compound annual growth rate of 27.10%! This isn't just a niche hobby anymore; it's becoming the standard.
If you're still a bit fuzzy on the fundamentals, it might be worth checking out our complete guide on what is HomeKit before moving on.
Your Essential HomeKit Setup Checklist
To make things even clearer, here’s a quick-reference table with everything you should have squared away before you even scan your first HomeKit code.
| Component | Requirement or Recommendation | Why It's Important |
|---|---|---|
| Home Hub | Apple TV 4K, HomePod (2nd gen), or HomePod mini | This device acts as the central brain, enabling remote access and automations. It's not optional for a full experience. |
| iOS/iPadOS Device | iPhone or iPad with the latest OS version | This is your primary control interface for adding devices, creating scenes, and managing your home. |
| Apple ID | Active Apple ID with two-factor authentication enabled | Crucial for security and for syncing your home setup across all your Apple devices via iCloud. |
| Wi-Fi Network | A stable 2.4 GHz Wi-Fi network (and 5 GHz for hub) | Most smart accessories use the 2.4 GHz band for better range. A reliable connection is non-negotiable. |
| Home App | Pre-installed on your iPhone/iPad | Make sure you know where it is! This is where all the setup and daily control happens. |
| First Accessory | A "Works with Apple Home" certified product | Starting with a certified device ensures a smooth, plug-and-play pairing experience right out of the box. |
Nailing these basics will save you a ton of headaches down the road and set you up for a smooth, enjoyable smart home experience.
Choosing the Right Hub for Your Home
Think of your HomeKit hub as the brain of your smart home. While you can control devices directly from your iPhone when you're on the same Wi-Fi, the hub is what unlocks the real power—automations that run on their own and the ability to control everything when you're away from home.
This is the device that stays powered on, acting as a secure command center. It’s what lets you adjust the thermostat from the office or check your security camera feed while on vacation, relaying your commands safely back home. Without one, you're really just scratching the surface of what a smart home can do.
The Three Main Hub Contenders
Apple gives you three solid options for a HomeKit hub, and the best one for you really depends on what else you want it to do.
-
Apple TV 4K: This is my go-to recommendation for most people. It’s a top-tier media streamer and an incredibly stable HomeKit hub. If you’re already watching Apple TV+, Netflix, or other streaming services, it’s a no-brainer. The included Ethernet port is a huge bonus for a rock-solid, hardwired connection.
-
HomePod (2nd generation): For the music lovers. The full-size HomePod sounds absolutely incredible and serves as a fantastic hub. It also has built-in temperature and humidity sensors, which is a killer feature you can use to trigger automations (like turning on a fan when it gets stuffy).
-
HomePod mini: The most affordable and smallest option. Don't let its size fool you; it’s a fully capable hub. I love scattering a few of these around the house. They expand Siri access into more rooms and strengthen the mesh network for newer Thread-based accessories.
My Personal Tip: Don't feel like you have to pick just one! I run an Apple TV 4K as my primary hub and have several HomePod minis around the house. HomeKit is smart enough to designate one as the "connected" hub and use the others as backups. If one goes offline, another seamlessly takes over. It makes the whole system more resilient.
For a more granular look at the specs, our smart home hub comparison breaks down all the details to help you decide.
Getting Your Network Ready for Action
A little prep work on your Wi-Fi network will save you a world of frustration later. Here's the deal: tons of smart accessories, especially older or cheaper ones, only work on a 2.4 GHz Wi-Fi network. Your shiny new hub can use 5 GHz just fine, but those accessories need the 2.4 GHz band to connect.
Most modern routers combine both bands under one network name and try to automatically steer devices to the best one. This usually works, but I've seen it cause pairing failures. If a device just won't connect, the easiest fix is to log into your router's settings and temporarily disable the 5 GHz band. Add your stubborn accessory, then turn the 5 GHz band back on.
Placing Your Hub for Peak Performance
Where you put your hub actually matters. A lot. The temptation is to stick it in a cabinet or behind the TV, but that's a mistake. You want it in a central location.
Think of it like the router for your smart home devices—the more central it is, the better the signal will be for all your accessories. I always recommend placing it in the main living area, out in the open. A central spot ensures that commands sent to a smart lock at the front door or a light in an upstairs bedroom are received instantly. It’s a simple thing that makes a huge difference in day-to-day reliability.
Getting Your First Smart Devices Online
Now for the fun part. With your HomeKit hub and network ready to go, it's time to bring your first smart devices to life. This is where you’ll really see the magic happen, as everyday objects become responsive parts of your home's new nervous system. Apple designed this process to be as painless as possible, and honestly, it’s remarkably simple.
The key to adding pretty much any accessory is the HomeKit setup code. It’s a unique eight-digit number or a QR code that you'll find printed right on the device, its box, or in the manual. Here’s a pro tip from someone who’s learned the hard way: snap a quick photo of every code before you install the device. Trust me, it's a lifesaver if you ever need to re-add something and the physical code is stuck behind a bookshelf or screwed into a ceiling fixture.
Pairing Your First Device: A Real-World Example
Let's walk through a classic first-timer setup: making a standard floor lamp smart with a smart plug.
- First, plug the smart plug into the wall, and then plug your lamp into the smart plug. Make sure the lamp's physical switch is already in the 'on' position.
- Next, open the Home app on your iPhone or iPad and tap the little “+” icon in the top-right corner.
- Choose “Add Accessory.” This will fire up your phone’s camera.
- Just point the camera at the HomeKit QR code on the plug. The app should recognize it almost instantly.
- HomeKit then securely connects to the plug. Once it’s paired, the app will prompt you to assign it to a room.
That’s it. This same super-simple "scan-and-go" method works for light bulbs, thermostats, door locks, and hundreds of other gadgets. If you're looking for ideas, we've gathered some great options in our guide to the best Apple home automation devices.
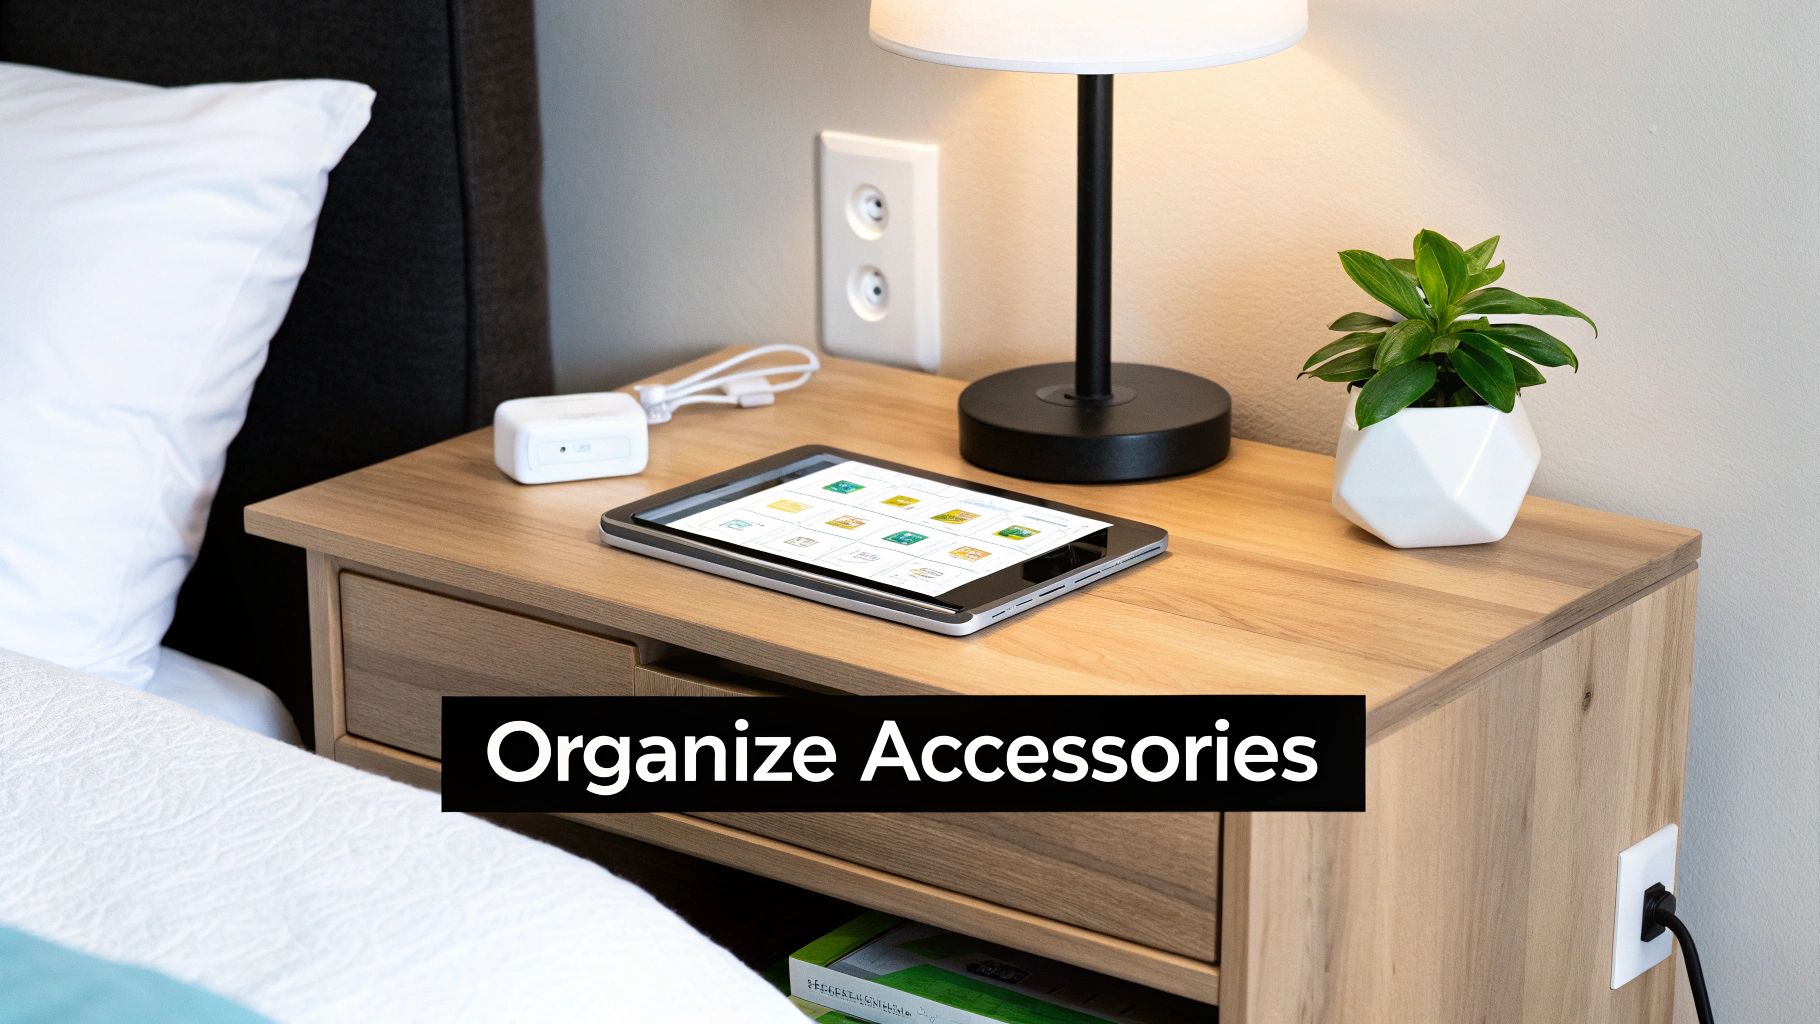
The Secret to a Truly Smart Home: Organization
Just adding a bunch of devices to the app isn't enough. The difference between a smart home that feels intuitive and one that feels chaotic comes down to organization. A well-structured setup makes Siri commands work flawlessly and saves you from hunting through a messy list of devices.
Start by creating rooms that mirror the physical layout of your house. In the Home app, you can easily add and name rooms like “Living Room,” “Kitchen,” or “Main Bedroom.” As soon as you add a new accessory, assign it to the correct room. Don't put it off. This is your first and most important layer of organization.
The real power move, though, is using Zones. A Zone is just a collection of rooms. For example, you could group your main bedroom, guest room, and office into a Zone called “Upstairs.” This lets you use powerful, sweeping commands like, “Hey Siri, turn off all the lights upstairs,” without having to target each room individually.
A rookie mistake I see all the time is leaving devices with generic names like "Light 1" or "Plug 2." Get specific. Naming one light "Desk Lamp" and another "Reading Lamp" lets Siri understand exactly what you mean. It makes voice control feel like a conversation, not like you're typing into a command line.
This level of digital organization can even bridge into the physical world. For instance, an electronic wall calendar that syncs with iPhone is a fantastic addition for keeping the whole family’s schedule visible and perfectly aligned with your digital life.
Smart home tech is becoming central to how we manage our homes, especially around security and energy savings. Retrofit applications are a huge part of this, with 60% of smart home upgrades happening in existing properties. On the energy front, U.S. households with smart management systems have been shown to cut their energy consumption by 12-15% each year.
Take a few extra minutes to name and organize everything logically from the very beginning. You’ll be building a solid foundation that makes your smart home a genuine pleasure to use and expand over time.
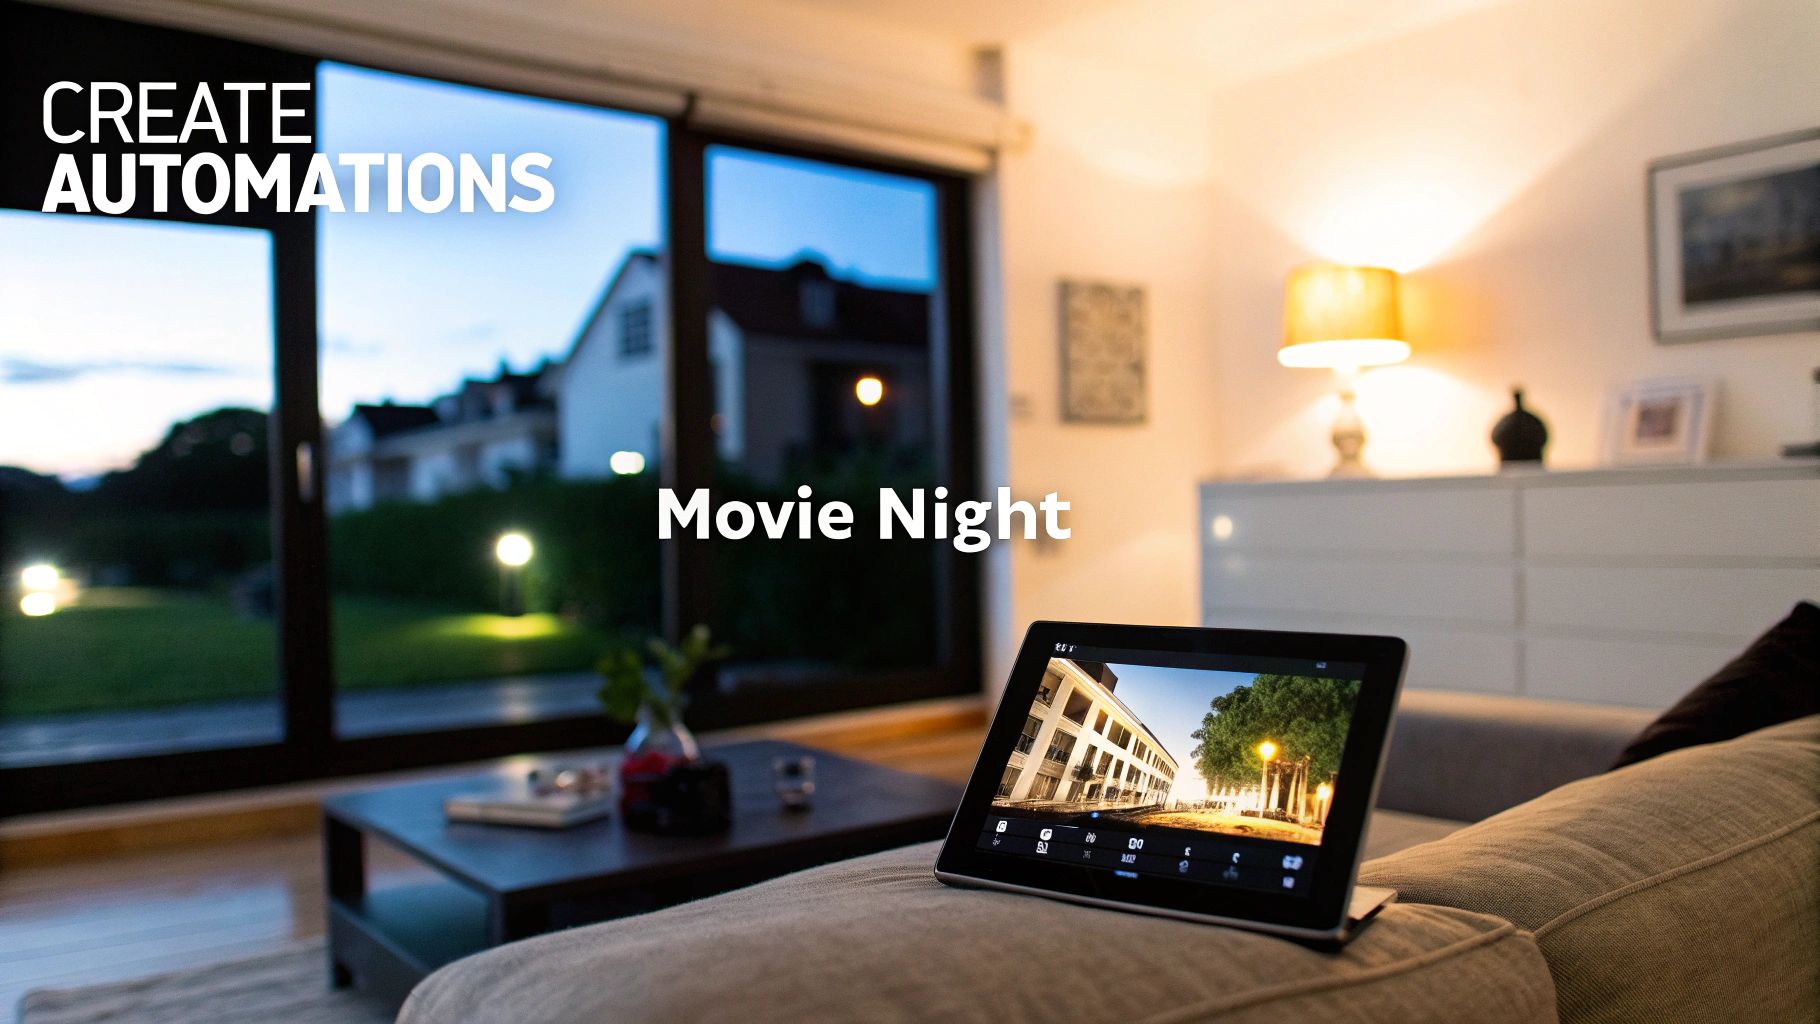
Making Your Smart Home Truly Smart with Scenes and Automations
Okay, you’ve got a few accessories online and organized into rooms. The foundation is there. Now, it's time for the fun part—making your home actually intelligent. This is where you graduate from simply tapping buttons on your phone to having your home work for you, creating experiences that feel seamless and intuitive.
Your two best friends in the HomeKit world are Scenes and Automations. They might sound similar, but they serve very different purposes. Getting a handle on them is what separates a collection of smart gadgets from a genuinely smart home.
What’s the Deal with HomeKit Scenes?
Think of a Scene as a shortcut. It’s a pre-programmed recipe you can trigger with a single tap or Siri command to get multiple devices set just right. Instead of fumbling around to turn off the overhead lights, dim the lamp, and lower the thermostat, you just create a "Good Night" scene that does it all in one go.
Here are a few ideas to get you started:
- Movie Night: Dims the living room lights to 20%, switches the accent lighting to a cool blue, and powers on the smart plug connected to your TV and sound system.
- I'm Home: Turns on the entryway and kitchen lights, nudges the thermostat to a comfortable 70 degrees, and unlocks the back door.
- Focus Time: Sets your office light to a bright, cool white, turns on your desk lamp, and maybe even starts a "Deep Focus" playlist on a nearby HomePod.
Scenes are all about setting the mood and handling those little routines you do every single day. They’re your go-to for on-demand convenience.
Diving Into True Home Automation
Automations are where the real magic happens. Unlike scenes, you don't trigger them manually. They just… happen. An automation runs on its own based on a specific event, which HomeKit calls a trigger. This is what makes a home feel like it’s actually anticipating what you need.
The automation engine in the Home app is surprisingly powerful, letting you stack triggers with specific conditions to create some really clever rules.
The best automations are the ones you set up once and then totally forget about because they just work. My personal favorite is one that turns on the porch light to 50% brightness, but only if the front door is unlocked after sunset. It’s a small touch that adds both a sense of security and a warm welcome.
This is the key difference: you activate a Scene, but an Automation runs itself. Grasping this distinction is crucial when you set up home kit rules that won't drive you crazy.
Building Your First Automation, Step by Step
Let's walk through a classic, must-have automation: turning off all the lights when the last person leaves the house.
- Open the Home app, head to the Automation tab, and tap the “+” icon to start a new one.
- Choose “People Leave” as your trigger.
- Next, you’ll specify the condition by selecting “When the Last Person Leaves Home.” This clever feature uses the location of all your home members' iPhones to know when the house is empty.
- Now, pick what you want to control. You can select individual lights, but a better way is to choose a Scene you’ve already created, like an “Away” Scene.
- Finally, set the action. In this case, you'd select your lights and set them to “Off.”
The real power move here is adding conditions. You probably don't want the lights blasting on every time you arrive home in the middle of a sunny afternoon. By adding a simple condition like "only run after sunset," you make your automation a lot more intuitive.
Smart home technology is growing fast. By 2030, market valuations are projected to hit USD 419 billion, which is a clear sign that this is becoming mainstream. This expansion means we'll see more devices that work together and more competitive pricing for everyone. You can discover more insights about the smart home market to see where things are headed.
Scene vs. Automation: Which to Use When
Deciding whether to build a Scene or an Automation can be tricky at first. This little cheat sheet should help you figure out which tool is right for the job.
| Feature | Scene | Automation |
|---|---|---|
| Activation | Manual (You trigger it with your voice, a tap, or a button) | Automatic (Triggered by an event, time of day, or location change) |
| Purpose | To create a specific mood or setting on demand | To have your home react to events without any input from you |
| Example | "Hey Siri, it's dinner time" (dims lights, plays music) | "When motion is detected in the hallway at night, turn the light on to 10%" |
| Best For | Repetitive, multi-device actions you want to control | "Set it and forget it" tasks that should just happen in the background |
My advice? Start with a few simple Scenes for your daily routines. Once you get the hang of it, start experimenting with automations based on your location or a smart sensor. This gradual approach is the best way to build a truly responsive home over time without getting overwhelmed.
Getting the Hang of Siri and Remote Control
Once your accessories are set up and you've got a few scenes ready to go, the real fun begins. This is where you move from just having smart devices to having a genuinely smart home—one you can control with your voice or from halfway around the world. It’s the difference between a cool project and a seamless part of your daily life.
Honestly, voice control is one of the most satisfying parts of building a smart home. When you've organized everything properly, Siri becomes surprisingly powerful. The trick is to just talk to it like you'd talk to a person.
Making Siri Your Co-Pilot
All that work you did naming rooms and zones earlier? This is where it pays off big time. When your devices have logical names, you can give specific commands without even thinking about it.
Here are a few examples of commands that go beyond the simple stuff:
- Be specific about rooms: Instead of a generic "turn on the lights," you can say, "Hey Siri, dim the living room lights to 50%."
- Run your scenes: A simple, "Hey Siri, I'm home," can fire off that custom scene you built—turning on specific lights, adjusting the thermostat, and maybe even playing some music.
- Check on things: You can ask questions like, "Hey Siri, is the front door locked?" or "What's the temperature in the nursery?"
You'll quickly find that Siri understands more than you'd expect. It can even handle multi-part commands like, "Hey Siri, turn on the desk lamp and the fan."
The Magic of Controlling Your Home From Anywhere
One of the best perks of a HomeKit setup is managing your home when you're not actually there. This isn't just a party trick; it provides genuine peace of mind. Your Home Hub (the Apple TV or HomePod) is the quiet hero making this all possible.
It acts as a secure bridge, encrypting your commands and sending them safely to your devices back home. That means you can be at work and unlock the front door for a family member, or pull up your security camera feed while you're on vacation. All of this is handled through Apple's secure infrastructure, so your privacy is always protected.
The real standout feature of HomeKit's remote access is its end-to-end encryption. Unlike many other platforms, Apple can't see your commands or view your camera streams. That data is yours and yours alone, from your iPhone to your smart lock.
This deep-seated commitment to privacy is a huge reason why so many people, myself included, trust the HomeKit ecosystem.
Sharing Control with Family and Friends
A smart home works best when everyone who lives there can actually use it. Thankfully, the Home app makes it incredibly easy to invite family members or even guests to have access.
Here's a quick rundown of how to share control:
- Open the Home app, tap the three-dots icon (…), and choose Home Settings.
- Scroll down to the "People" section and tap "Invite People."
- Type in the Apple ID of the person you want to add. They'll get an invitation to join your smart home.
Once they've accepted, you get to decide exactly what they can do. You can let them view and control accessories but prevent them from adding or removing devices. You can even choose if they can control things remotely or only when they’re connected to your home Wi-Fi. It’s perfect for giving kids or a house sitter just the right amount of access without handing over the keys to the kingdom.
Troubleshooting Common HomeKit Problems
Even the most perfectly planned smart home has its off days. An accessory might suddenly become unresponsive, or an automation you rely on just stops firing. Don’t panic—most of these hiccups are surprisingly easy to fix and rarely point to a major issue with your entire setup.
The most common frustration by far is the dreaded "No Response" error in the Home app. All this really means is your hub can't talk to that specific device. Before you start tearing things apart, run through a quick mental checklist: Is the device actually plugged in and powered on? Is my Wi-Fi router working? You’d be surprised how often the solution is that simple.
If the basics check out, the next move is the classic tech support go-to: turn it off and on again. Unplug the misbehaving accessory, give it a good 30 seconds, and plug it back in. This forces it to grab a new connection to your network and often clears up whatever temporary glitch was causing the problem.
Digging Deeper Into Connectivity Issues
If a simple reboot doesn't do the trick, it’s time to look a little closer at your network and your HomeKit hub. A weak Wi-Fi signal is a classic culprit, especially for smart plugs or cameras stuck in the far corners of your house. Sometimes, just restarting your router can sort out underlying network congestion that's causing devices to drop their connection.
Remember, your Home Hub—the Apple TV or HomePod—is the brain of the operation. Giving it a quick restart can work wonders.
- Check the Wi-Fi Signal: Make sure the unresponsive device has a strong, stable connection. If not, a Wi-Fi extender or a mesh system might be a worthwhile investment.
- Restart Your Router: It's a cliché for a reason. This resolves so many weird, invisible network problems that can knock smart devices offline.
- Reboot the Home Hub: Restarting your main hub forces it to re-establish a fresh connection with every single accessory in your home. For an Apple TV, you can do this right from the Settings menu. For a HomePod, just unplug it for 30 seconds.
The Unsung Hero of Stability: Firmware Updates
Here’s a tip that gets overlooked all the time but is absolutely critical for a stable smart home: keep everything updated. I’m not just talking about your iPhone and HomePod software. I mean the firmware on your smart accessories themselves. Manufacturers constantly release updates that fix bugs, improve reliability, and patch security vulnerabilities.
These updates are almost always handled through the manufacturer’s own app, like the Philips Hue app or the Lutron app. I make it a habit to pop into these apps once a month just to check for new firmware. It’s a five-minute chore that prevents countless headaches.
If there's one piece of advice I can give, it's this: Keep the firmware current on both your Apple devices and your third-party accessories. It's the single most effective way to prevent random bugs and ensure long-term reliability. Think of it as preventative maintenance for your smart home.
When a device just won't pair or an automation randomly fails, outdated firmware is often the silent offender. Staying on top of these small updates ensures all your devices are speaking the same, current language, which is essential when you set up home kit for a truly seamless experience.
Common HomeKit Questions
Diving into a new smart home system like HomeKit always brings up a few questions. When you're just getting started, it's totally normal to wonder about the best hardware, how secure it all is, and what to do when things get a little flaky. Let's clear up some of the most common ones.
What's the Best HomeKit Hub to Start With?
For most people, the Apple TV 4K is the best all-around choice. I always recommend it because it’s incredibly stable, especially when you plug it directly into your router with an Ethernet cable. That hardwired connection makes a huge difference in reliability.
Plus, you're not just getting a hub; you're also getting one of the best media streamers on the market for watching Netflix, Disney+, and everything else. The HomePod or HomePod mini are also fantastic options, particularly if you want to combine your hub with a great-sounding smart speaker in a central room.
Just How Secure Is Apple HomeKit?
HomeKit is built from the ground up with security in mind, which is a huge reason many of us trust it. All the communication between your iPhone, your hub, and your accessories is end-to-end encrypted.
What does that really mean? It means Apple can't see your data or watch your security camera feeds. Only you can. This commitment to privacy is one of the biggest things that sets HomeKit apart from other platforms.
Your home's data is personal. HomeKit's architecture ensures that what happens in your house, stays in your house. That peace of mind is one of its most valuable features.
Can I Use Smart Devices That Aren't Officially HomeKit-Certified?
Officially, you can only add devices that have the "Works with Apple Home" badge right out of the box. But this is where things get interesting.
You can use a software bridge like Homebridge or a pre-built solution like HOOBS (Homebridge Out of the Box) to bring thousands of non-certified devices into your HomeKit world. It takes a little more technical setup, but it opens the door to a massive ecosystem of gadgets that wouldn't otherwise be compatible.
My HomeKit Accessories Aren't Responding. How Do I Make Them More Reliable?
Nine times out of ten, that dreaded "No Response" error comes down to one thing: your Wi-Fi network. A rock-solid wireless network is the absolute bedrock of a dependable smart home.
If your accessories are constantly dropping off, the first thing to check is your Wi-Fi coverage. You might need a mesh system or a better router to ensure you have a strong signal everywhere. Also, make it a habit to keep the software on your hub (Apple TV or HomePod) and your accessories updated. Those updates often contain crucial bug fixes that improve performance.
At Automated Home Guide, we're dedicated to helping you build a smarter, safer, and more efficient home. For more expert tips and in-depth reviews, explore our latest guides.


Leave a Reply