

Ever had a video call drop right at the crucial moment, or your smart speaker suddenly go silent in the back room? You're definitely not alone. The frustration of Wi-Fi dead zones is a universal tech headache.
Think of your router's signal like a lightbulb. It’s brilliant and powerful right next to the lamp, but the light gets dimmer and can be completely blocked by walls, furniture, or even a closed door. This guide is all about helping you knock down those barriers and get a strong, reliable signal everywhere you need it.
Your Guide To Complete Wifi Router Coverage
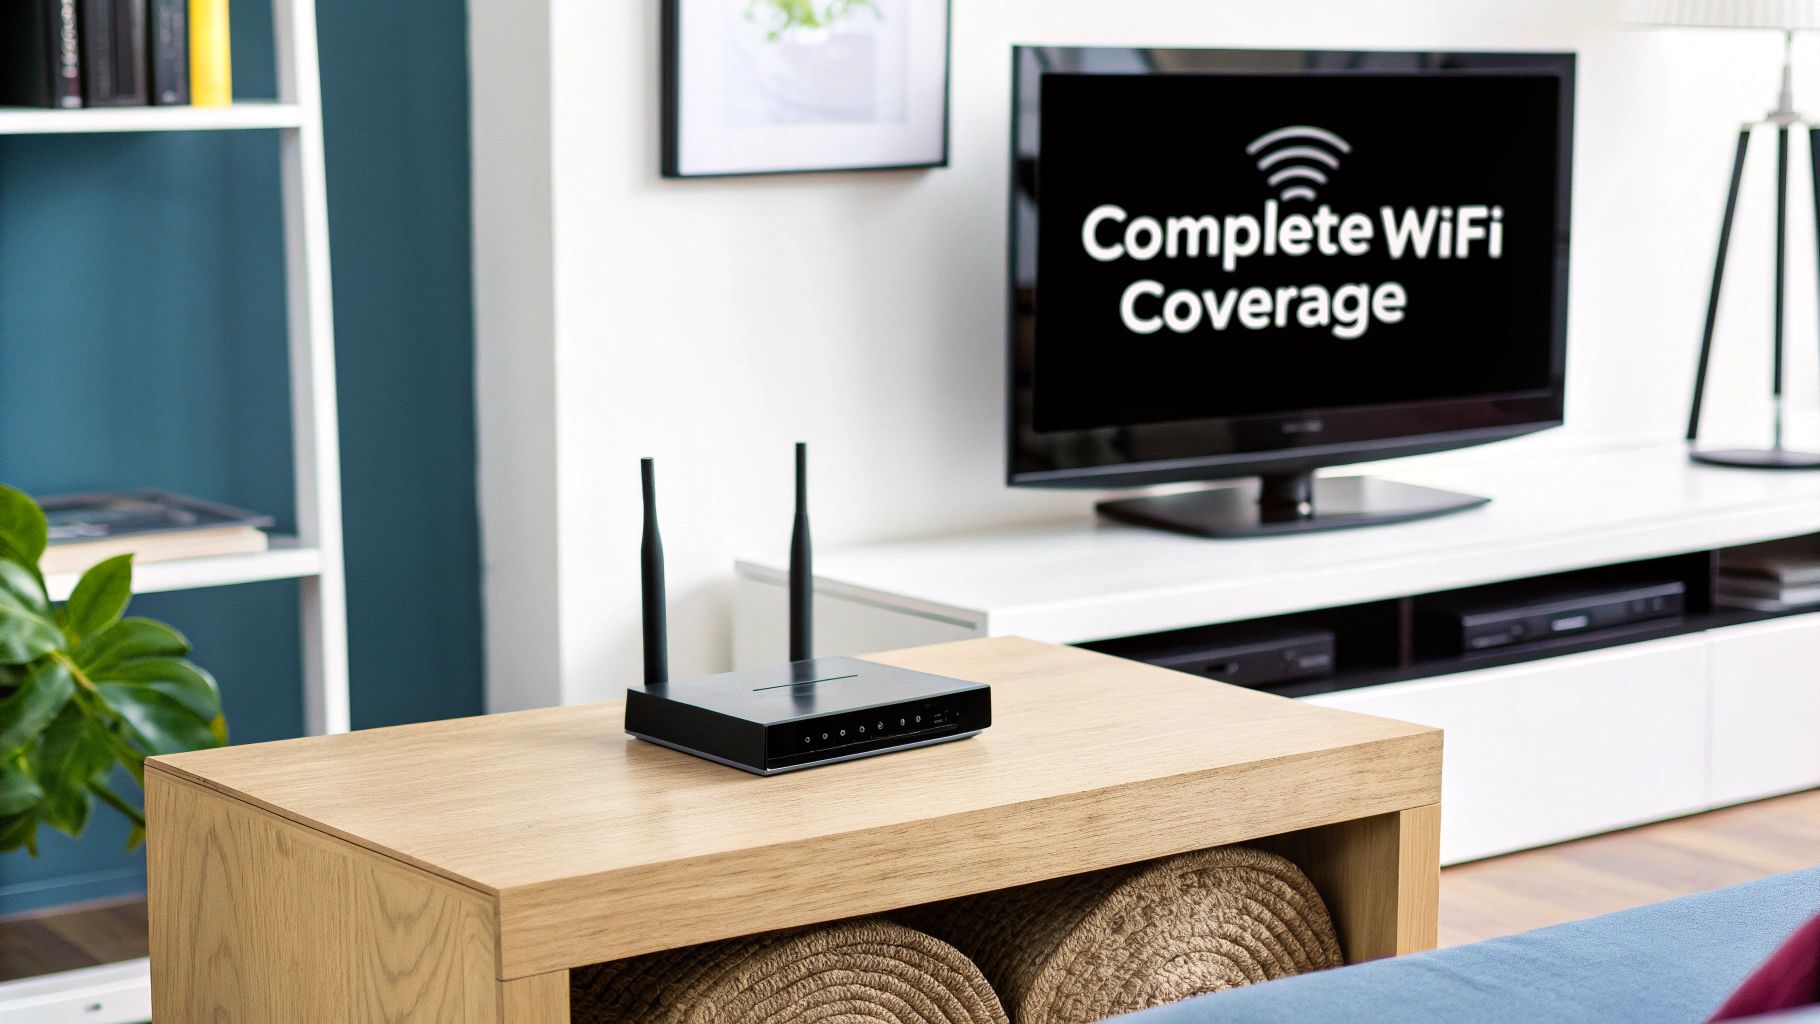
Getting that perfect, seamless Wi-Fi signal across your entire home feels like a battle, but it's one you can win. The signal your router sends out isn't some magical force field; it's a radio wave. Just like the sound from a stereo, it gets weaker the farther you move away and gets muffled by physical objects. This simple fact explains why you can stream a movie flawlessly in the living room but can’t even load a webpage in the upstairs bedroom.
We're going to walk through this together, from understanding why signals drop off to putting real, practical solutions in place. Forget the confusing tech-speak; this is your clear, step-by-step roadmap to building a home network that just works.
Why The "Out-Of-The-Box" Setup Usually Fails
Let's be honest: a single router tucked away in a corner is rarely enough for today's connected homes. In a perfect, open space, a standard router might cover 1,500 to 3,000 square feet. But once you add walls, floors, and furniture into the mix, that number shrinks dramatically.
This limitation is so common that an estimated 70% of US households now rely on extenders or mesh networks to get the job done. For a deeper dive into these trends, check out the market analysis available on maximizemarketresearch.com.
Throughout this guide, you'll get a handle on:
- The culprits that are killing your Wi-Fi signal.
- How to pinpoint the exact dead zones in your home.
- Free, practical tricks to boost the signal you already have.
- Knowing when it's time to upgrade your gear for a truly smart home.
Think of fixing your Wi-Fi less like a technical chore and more like solving a placement puzzle. Once you understand how the signal moves through your space, you can make small, smart adjustments that deliver a huge boost in performance and reliability.
By the end, you'll have the confidence to diagnose and solve your own connectivity problems, making sure your network is ready for everything from 4K streaming to a house full of smart gadgets.
Before we dive into the details, sometimes the simplest fix is the most effective. Many common Wi-Fi frustrations can be resolved in just a few minutes with some basic troubleshooting.
Quick Fixes For Common Wifi Coverage Problems
This table is your go-to cheat sheet for immediate relief. If you're experiencing one of these issues, try the quick solution before moving on to more advanced steps.
| Common Problem | Quick Solution | Why It Works |
|---|---|---|
| Slow Speeds Near The Router | Reboot your router (unplug it for 30 seconds, then plug it back in). | This clears the router's memory (cache) and can resolve temporary software glitches that slow it down. |
| Connection Drops In One Room | Move the router to a more central, elevated location away from walls. | Placing the router in the open helps the signal travel more freely, reducing interference from physical obstacles. |
| Wi-Fi Is Slow On All Devices | Change your Wi-Fi channel in the router's settings. | Nearby networks can compete on the same channel. Switching to a less congested one is like moving to an open lane on the highway. |
| No Signal In The Basement | Point one of the router's antennas horizontally, parallel to the floor. | If you have adjustable antennas, this helps project the signal vertically (downward and upward) to cover other floors. |
These quick fixes often solve the most persistent issues. If your problems continue, don't worry—the next sections will equip you with everything you need to build a truly robust home network.
What Actually Shapes Your Wi-Fi Signal?
To get a grip on your home’s Wi-Fi, you need to understand what’s happening under the hood. It’s not magic—it’s just physics. Your router is a tiny radio station, broadcasting your internet connection using radio waves. How far and how well those waves travel is what determines your Wi-Fi router coverage, and a few key factors are in play.
Think about it like an actual radio station. Its reach depends on its broadcast frequency, the power of its transmitter, the design of its antennas, and whatever stands between the tower and your car stereo. Your router works the same way.
The Two Lanes of the Wi-Fi Highway
Most modern routers broadcast on two frequency bands: 2.4 GHz and 5 GHz. Each has its own strengths and weaknesses, and understanding them is key. It’s like having the choice between a winding country road and a brand-new superhighway.
The 2.4 GHz band is that country road. Its lower frequency means the signal is a real workhorse—it travels farther and does a much better job of punching through walls, floors, and other obstacles. The downside? This road is incredibly crowded. Microwaves, older cordless phones, Bluetooth speakers, and all your neighbors' routers are chugging along in the same lane, which leads to a ton of interference and slower speeds.
Then you have the 5 GHz band, which is the superhighway. It’s wide open, with way more lanes (channels) and much less traffic, so you get dramatically faster speeds. The trade-off is that these higher-frequency waves just don't have the same penetrating power. They get absorbed or blocked by solid objects much more easily. This is exactly why your connection might feel blazing fast in the living room next to the router but slows to a crawl one floor up.
And now there's 6 GHz (the secret ingredient in Wi-Fi 6E and Wi-Fi 7), which is like having your own private express lane on the highway. It’s incredibly fast and almost completely free of interference, but its range is even shorter than 5 GHz.
Physical Barriers: The Signal Sponges
Often, the biggest enemy of a strong Wi-Fi signal is your own home. The very materials it's built from can absorb, reflect, or just plain block radio waves, creating those dead zones that drive you crazy.
A good way to visualize this is to think of your Wi-Fi signal as sound. A drywall sheet is like a thin curtain; it might muffle the sound a bit, but most of it gets through. Wood and plaster are more like thick blankets, soaking up a lot more of it.
But some materials are absolute signal killers:
- Concrete and Brick: These dense materials are the equivalent of soundproof walls. They absorb a massive amount of the Wi-Fi signal.
- Metal: Metal is a mirror for Wi-Fi. It reflects the signals, bouncing them around in unpredictable ways and creating dead spots. Think metal studs in the walls, stainless steel refrigerators, or even certain window tints.
- Water: It might sound strange, but water is a surprisingly effective Wi-Fi blocker. A large fish tank or even the plumbing running through your walls can seriously disrupt the signal.
This is precisely why sticking a router in a basement surrounded by concrete foundation walls is a recipe for disaster. The signal gets trapped before it even has a chance to reach the rest of the house.
Antenna Design and Signal Power
Of course, not all routers are built the same. The power of the router's transmitter and the quality of its antennas make a huge difference. A more powerful transmitter can push the signal farther, but its output is legally capped by government regulations to keep it from messing with other wireless communications.
This makes the antennas incredibly important for shaping and directing that signal.
- Internal Antennas: Many sleek, modern routers hide their antennas inside the casing. They're generally designed for omnidirectional coverage, sending the signal out pretty evenly in all directions, kind of like a bare lightbulb.
- External Antennas: Those routers that look like something from a sci-fi movie, with their adjustable external antennas, give you more control. You can physically point them to focus the signal toward specific rooms or floors. They act less like a lightbulb and more like a spotlight, helping you improve Wi-Fi router coverage right where you need it most.
Once you understand how these pieces—the frequency bands, the physical stuff in your house, and your router's hardware—all fit together, you can stop guessing and start making smart moves to fix your network for good.
How To Find And Map Your Home’s Wi-Fi Dead Zones
We've all been there—those frustrating pockets of the house where the Wi-Fi signal just seems to give up. Before you can fix these "dead zones," you have to know exactly where they are. It’s time to stop guessing and start mapping.
Think of yourself as a Wi-Fi detective on a mission. Instead of just sensing that the connection is slow, you’re going to use simple tools to gather hard evidence. By the end, you won't just suspect you have a dead zone in the upstairs bedroom; you'll have a visual map that proves it.
Arming Yourself with the Right Tools
The best way to get a clear picture of your network is with a Wi-Fi analyzer app. These handy apps for your smartphone or laptop turn your device into a pretty sophisticated signal meter. As you walk through your home, they measure the signal strength in real-time and, best of all, can generate a color-coded "heat map."
A heat map makes understanding your coverage incredibly simple:
- Green Areas: These are your power zones. The signal is strong, stable, and ready for anything you throw at it, from 4K streaming to online gaming.
- Yellow/Orange Areas: Here, the signal is getting weaker. You might start noticing videos buffering or downloads taking a bit longer.
- Red Areas: These are your confirmed dead zones. The connection here is either painfully slow or completely gone.
This visual proof is so much more reliable than just glancing at the Wi-Fi bars on your phone, which can often be misleading.
Conducting Your Home Wi-Fi Audit
Ready to get mapping? This whole process is surprisingly quick, usually taking just 15-20 minutes. Just follow these steps, and you’ll have a crystal-clear picture of your network's performance.
- Download a Wi-Fi Analyzer App: Head to your phone's app store and search for "Wi-Fi analyzer" or "Wi-Fi heat map." You'll find plenty of great options, both free and paid.
- Start Near the Router: Begin your audit in the same room as your router. This gives you a baseline reading of your strongest possible signal.
- Walk and Map Slowly: Move methodically through your home, room by room. Hold your device at the height you normally would, and pause for a few seconds in key spots to let the app get an accurate measurement.
- Test Critical Areas: Make sure to pay extra attention to places where a good connection is a must-have, like your home office, the living room couch, or even that favorite spot on the back patio.
- Check Different Floors: If your home has multiple levels, repeat the process on each floor. This will show you just how well (or poorly) the signal is traveling vertically through ceilings and floors.
The global wireless router market was valued at around $15.64 billion in 2023, and it’s no wonder demand is so high. In places like the US and Canada, dual-band routers account for 43.43% of global revenue. Yet even these powerful devices often struggle to cover more than 2,500 square feet in multi-story homes without some help. This is exactly why mapping your own space is so crucial. You can find more wireless router market insights on theinsightpartners.com.
Once you have your heat map, you possess a powerful diagnostic tool. It’s no longer a mystery why your smart TV buffers; the map will show you that it sits in a weak, orange-colored signal zone, empowering you to apply a targeted solution.
Armed with this data, you're ready to make smart, informed decisions. You’ll know precisely where to reposition your router or place a Wi-Fi extender for maximum impact, finally turning those frustrating red zones into solid green.
Actionable Strategies To Boost Your Wi-Fi Coverage Today
Alright, you've mapped out your home's Wi-Fi and found the weak spots. Now for the fun part: fixing them. The good news is that improving your wifi router coverage doesn't automatically mean spending money on new gear. Some of the most powerful fixes are actually free, simple tweaks you can do in minutes.
We’ll start with the low-hanging fruit—the no-cost adjustments that often solve the biggest problems. From there, we'll dig into your router's settings and then explore the hardware upgrades that can conquer even the most stubborn dead zones.
Start With The Single Most Effective Fix
Before you even think about settings or shopping, let's talk about router placement. Seriously, this is the one thing that can make the biggest difference, and it costs nothing.
Think of your router like the sun in a tiny solar system. You want it in the middle so its signal (sunlight) can reach all the planets (your devices) evenly. Hiding it in a basement closet is like putting the sun in a black hole.
For the best signal, your router needs to be:
- Central: Get it as close to the physical center of your home as you can. This gives the signal the fairest shot at reaching every corner.
- Elevated: Radio waves travel down and out, so get your router off the floor. A bookshelf or a small table is perfect for helping the signal travel over furniture and other obstacles.
- Out in the Open: Don't stuff it in a cabinet or behind your TV. And definitely keep it away from big metal objects like a refrigerator, which is basically a signal-blocking fortress.
I've seen it time and time again: simply moving a router from a corner office to a central hallway shelf can completely transform a home's Wi-Fi, turning dead zones into strong, reliable connection spots. It’s the highest-reward action you can take, period.
Fine-Tune Your Wi-Fi Channels
Once your router is in its new, optimal home, the next free fix is to adjust its Wi-Fi channel. Picture a highway with a dozen lanes. If every router in your neighborhood defaults to using lane 3, you're going to have a massive traffic jam. That’s what happens with Wi-Fi channels.
Your network is likely competing with your neighbors' signals, causing interference that slows everything down. By finding and switching to a less crowded channel, you’re basically moving your data into an empty express lane.
This flowchart is a great visual guide for the troubleshooting process, especially when you're dealing with frustrating dead zones or sluggish speeds.
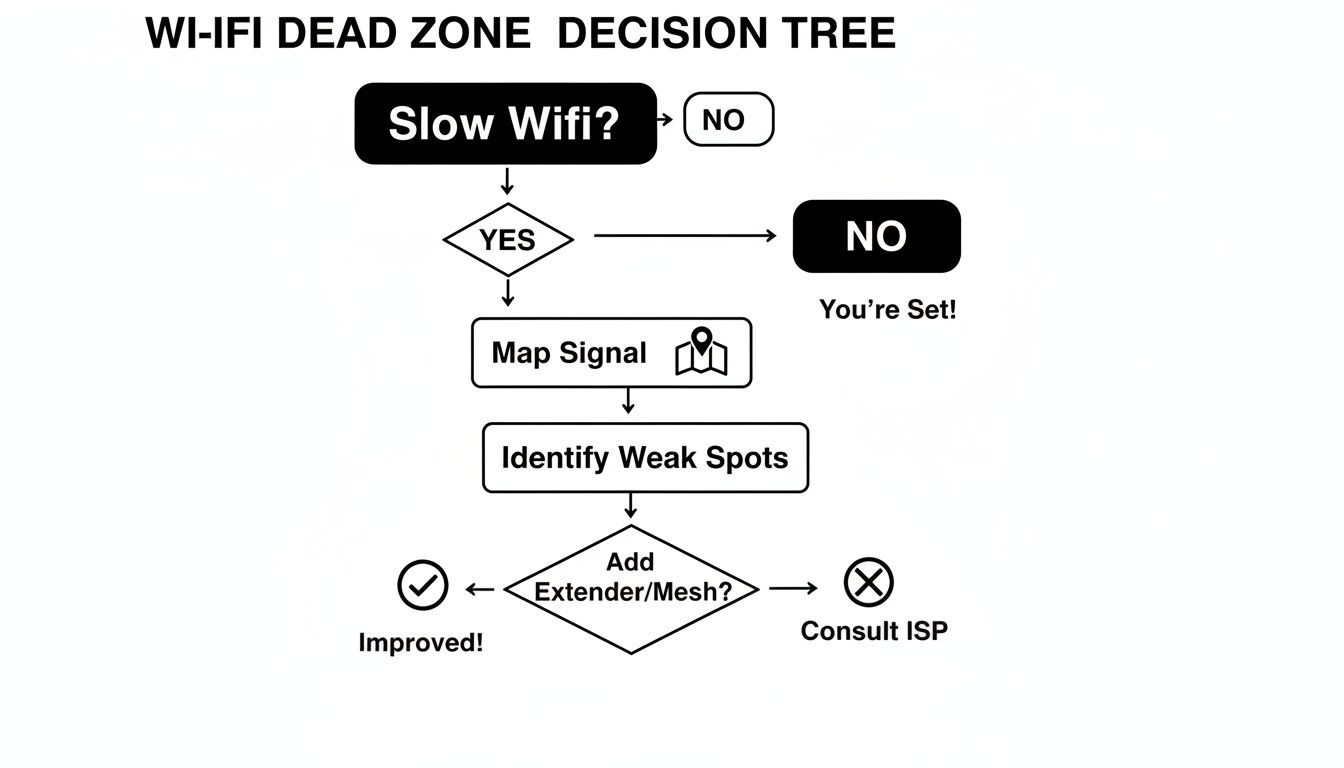
As it shows, the first logical step is always to map your signal to find the problem areas before you start changing things.
You can use a free Wi-Fi analyzer app on your phone or computer to see which channels are packed. For the older 2.4 GHz band, stick to channels 1, 6, and 11. These are the only three that don't overlap, which drastically cuts down on interference. The 5 GHz band has way more channels, so it’s less of an issue, but letting your router auto-select the best one is usually a solid bet.
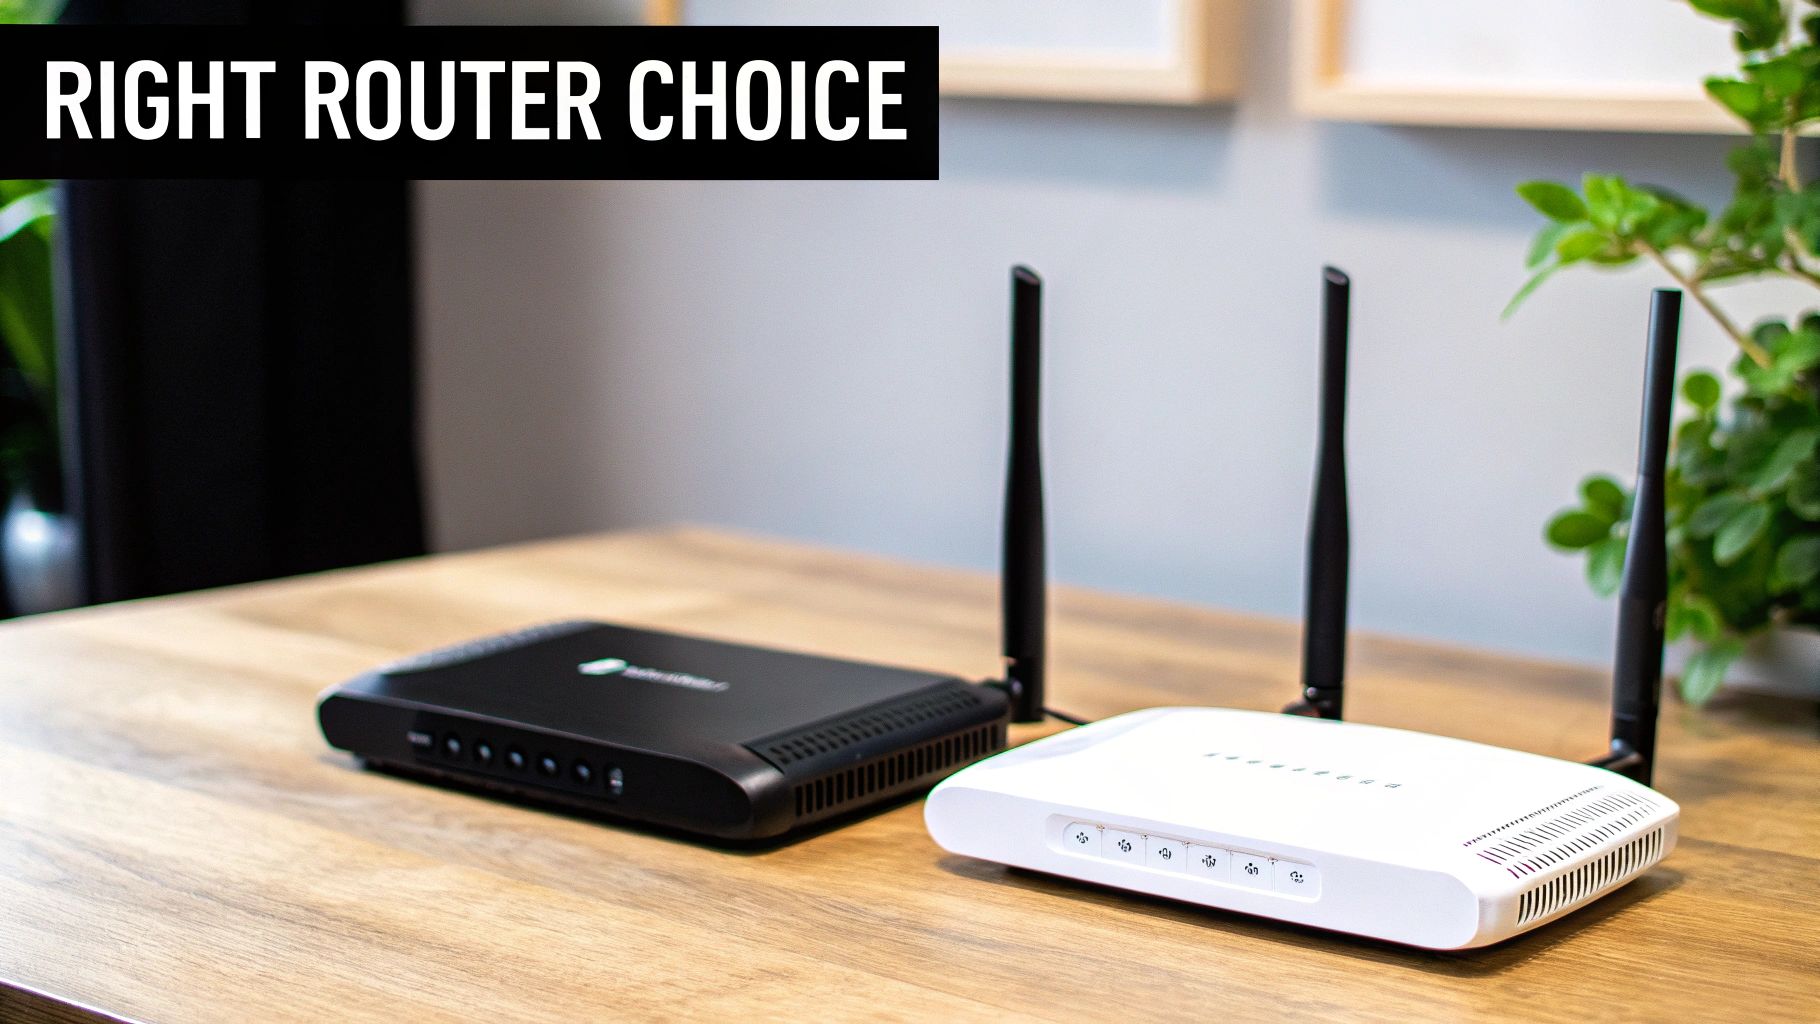
When To Invest In New Hardware
If you've optimized placement and tweaked the channels and still have dead zones, it's time to look at a hardware upgrade. Each type of device is built for a different job, so picking the right one is crucial to actually solving your problem without wasting money.
A study of nearly 1.8 million home networks found a huge number of them were still on the default 192.168.0.0/16 IP range. This just goes to show how few people ever change their router's default settings. It's a perfect example of how small tweaks, like changing a channel, can have a big impact by moving you away from the crowd.
So, when it's time to buy, what are your options? Let's break down the big three.
Comparing Wi-Fi Coverage Solutions Extender vs Mesh vs Powerline
Choosing the right hardware can feel overwhelming, but it really boils down to your specific home layout and problem areas. This table compares the three main solutions to help you decide which one fits your needs best.
| Solution | Best For | Pros | Cons |
|---|---|---|---|
| Wi-Fi Extender | Small homes with one or two specific dead zones. | Inexpensive and simple to set up. | Creates a separate network and can cut speeds by up to 50%. |
| Mesh Wi-Fi System | Medium to large homes or multi-story houses with widespread dead zones. | Provides seamless, whole-home coverage under a single network name. | More expensive and can be overkill for smaller spaces. |
| Powerline Adapter | Homes with thick concrete or brick walls that block Wi-Fi signals. | Uses your home's electrical wiring to transmit the internet signal. | Performance depends heavily on the quality and age of your wiring. |
Ultimately, the best choice is the one that directly targets your issue. An extender is a band-aid, a mesh system is a full network transplant, and a powerline adapter is a clever workaround for impossible walls.
A Wi-Fi extender is the simplest of the bunch. It just grabs your existing Wi-Fi signal and rebroadcasts it. This is fine for lighting up a single dead spot, like a backyard patio. The big catch? It has to talk to the router and your device on the same channel, which slices your potential speed in half right off the bat. If you want to dive deeper into how they work, check out our guide on how to extend your Wi-Fi range.
A mesh Wi-Fi system is a much smarter, more modern approach. You replace your current router with a system of "nodes"—one main one and several satellites you place around the house. They all work together to create a single, powerful network. As you walk around, your phone or laptop is seamlessly handed off to the node with the strongest signal, killing dead zones without you even noticing.
Finally, powerline adapters are the specialist's tool for when Wi-Fi signals just can't penetrate certain walls (I'm looking at you, plaster and lath). One adapter plugs into an outlet by your router, and the other plugs in near the dead zone. The system brilliantly sends your internet signal through your home's electrical wiring, completely bypassing the wall that was blocking your Wi-Fi.
Selecting The Right Router For Your Smart Home
It seems like every day there's a new smart device hitting the market. From speakers and security cameras to thermostats and light bulbs, each new gadget adds another layer of demand on your home network. An older router can quickly become a bottleneck, causing lag, dropped connections, and smart devices that just stop responding.
Choosing the right router isn't just about raw speed; it's about capacity and intelligence. A modern smart home needs a router that can juggle dozens of simultaneous connections without breaking a sweat, ensuring every device gets the bandwidth it needs to work properly. This is where newer Wi-Fi standards really shine.
Wi-Fi 6: The Smart Home Multitasker
Picture your old router as a polite conversationalist who can only talk to one person at a time. It has to rapidly switch between your phone, laptop, and smart TV. When the conversation gets busy, everything slows down.
Wi-Fi 6, on the other hand, is like a skilled party host effortlessly managing multiple conversations at once. It uses a technology called OFDMA (Orthogonal Frequency-Division Multiple Access) to communicate with many devices simultaneously in a much more efficient way. For a home packed with smart gadgets, this is a game-changer that drastically cuts down on lag.
This standard was built for high-density environments, making it the perfect foundation for a modern smart home. It makes sure that high-priority devices, like your 4K TV stream, don’t get bogged down by a smart plug sending tiny bits of data. For a deeper dive into creating a robust smart home network, check out our guide on setting up a wireless mesh network.
Key Features For A Congestion-Free Network
Beyond the main Wi-Fi standard, a few key technologies are crucial for great wifi router coverage and performance. Understanding the basics of hardware engineering helps explain why certain models perform so much better than others. When you're shopping, keep an eye out for these features:
- MU-MIMO (Multi-User, Multiple-Input, Multiple-Output): This lets the router talk to multiple devices at the same time, instead of serving them one by one in rapid succession. Think of it as opening more checkout lanes at a grocery store—more customers get served at once.
- Beamforming: Instead of just blasting a Wi-Fi signal out in all directions, beamforming technology finds where your devices are and focuses the signal directly toward them. It's like switching from a bare lightbulb to a powerful spotlight aimed right where you need it.
These features work in concert to build a more stable and efficient network, which is absolutely critical for devices like security cameras that need a constant, reliable connection.
Upgrading your router for a smart home isn't just about boosting speed—it's about investing in stability. A router with modern technologies like Wi-Fi 6 and MU-MIMO provides a solid foundation that prevents your smart ecosystem from collapsing under its own weight.
Looking Ahead To Wi-Fi 7
While Wi-Fi 6 is the sweet spot for most smart homes today, the next generation has already arrived. Wi-Fi 7 is another massive leap forward, offering even faster speeds and the ability to use multiple frequency bands (2.4 GHz, 5 GHz, and 6 GHz) at the same time for a single, ultra-reliable connection.
This new standard is set to completely change the game for router coverage. The Wi-Fi 7 market is expected to grow at a staggering 61.5% CAGR from 2025-2030, projected to hit $22.9 billion by 2030. It promises theoretical speeds up to 46 Gbps, which in the real world means better signal penetration through walls and support for next-gen applications like AR and cloud gaming.
For now, a quality Wi-Fi 6 router is more than capable of handling even the most demanding smart homes. But if you're looking to future-proof your network for the next decade, a Wi-Fi 7 model is the ultimate choice.
Your Wi-Fi Improvement Action Plan
Alright, let's pull all this theory into a practical, step-by-step game plan. Think of this as your roadmap to finally conquering those Wi-Fi dead zones and building a network you can actually rely on.
Step 1: Play Detective and Diagnose Your Network
Before you change anything, you need to know exactly what you're working with. You can't fix a problem you don't understand, so the first step is always to gather some intel.
- Map Your Signal: Grab your smartphone and download a Wi-Fi analyzer app. Walk through your entire house, room by room, and take notes. You're essentially creating a heat map—where are the strong "green" zones, and more importantly, where are the weak "red" dead spots?
- Run Speed Tests: Now, run a few speed tests in both your best and worst coverage areas. This gives you hard numbers. It's one thing to see a weak signal bar; it's another to see your 500 Mbps connection drop to 10 Mbps in the back bedroom. That’s the data that really tells the story.
Step 2: Make the Easy, No-Cost Fixes
With your signal map in hand, it's time for the quick wins. These are simple adjustments that cost nothing but can make a massive difference.
Relocate Your Router: This is the single most impactful thing you can do. Get your router out of the closet or off the floor. Move it to a central, open, and elevated spot—away from thick walls, fish tanks, and big metal appliances like your fridge.
Change the Channel: Log into your router’s admin settings and look for the Wi-Fi channel settings. For the 2.4 GHz band, try switching to a less crowded channel—1, 6, or 11 are usually the best bets. Think of it as moving your car to an empty lane on the highway.
Update Your Firmware: While you're in the settings, check for a firmware update. Manufacturers are always releasing patches that improve performance and security. It’s a five-minute task that can solve a surprising number of glitches.
Seriously, don't skip these first steps. A well-placed router running on a clear channel fixes well over half of the Wi-Fi problems I see. It can completely transform a frustrating network without you spending a dime.
Step 3: Consider a Hardware Upgrade
If you've tried all the free fixes and still have stubborn dead zones, it’s time to think about new gear. Your diagnostic map will guide you to the right solution.
- For one or two problem spots: A simple Wi-Fi extender can be a cheap and effective way to patch a single dead zone.
- For weak signal everywhere: If your whole house is a patchwork of good and bad spots, a mesh Wi-Fi system is the modern solution for seamless, wall-to-wall coverage.
Frequently Asked Questions About Wi-Fi Coverage
Even with a perfectly placed router, you might still have nagging questions. Getting your Wi-Fi router coverage just right can feel like a constant battle, so let's clear up some of the most common head-scratchers with straightforward answers.
How Often Should I Reboot My Router?
"Have you tried turning it off and on again?" It's a cliché for a reason—it often works. Rebooting your router clears out its short-term memory (RAM) and can resolve all sorts of strange, temporary glitches that are slowing you down. As a bit of preventative care, giving it a quick restart once every month or two is a solid habit.
But if you’re finding you have to reboot it several times a week just to stay online, that’s a red flag. It’s a classic symptom of a deeper issue, like overheating, buggy firmware, or a router that’s just plain overwhelmed by all your smart devices.
Do Wi-Fi Extenders Actually Weaken The Signal?
This is a classic "yes and no" situation. An extender doesn't make the signal coming from your main router weaker. Instead, it captures that signal and then rebroadcasts a new one. The catch? The rebroadcasted signal is almost always slower.
Think of it like making a copy of a copy—each generation loses a little bit of clarity. Because the extender has to talk to your router and your device on the same channel, it effectively cuts its potential speed in half. They're a decent patch for one specific dead spot, but they aren’t the solution for poor performance across your entire home. While you're at it, a strong network is a secure one; check out our guide on home network security best practices.
Will A More Expensive Router Give Me Better Coverage?
In most cases, yes. But it's not the price itself that matters—it's the better technology you're paying for. Pricier routers typically pack a bigger punch when it comes to signal strength and reliability.
What are you really buying?
- More powerful processors that can juggle dozens of connected devices without breaking a sweat.
- Smarter antenna designs and tech like beamforming, which directs the Wi-Fi signal right at your phone or laptop instead of just spraying it everywhere.
- Newer Wi-Fi standards like Wi-Fi 6 or Wi-Fi 7, which are massively more efficient, especially in crowded network environments.
A top-of-the-line router still can't blast through solid concrete, but it will absolutely deliver a stronger, more stable signal at the edges of your home. Rooms that were once Wi-Fi graveyards might suddenly come back to life.
Can Aluminum Foil Really Boost My Wi-Fi Signal?
Ah, the old tinfoil trick. It’s a popular DIY hack, but it’s mostly a myth. The theory is that you can shape foil into a makeshift satellite dish to focus the signal. And while you can technically direct radio waves this way, it's a messy and unpredictable science experiment.
You're far more likely to accidentally block the signal or bounce it into a closet, creating brand-new dead zones. It’s just not a reliable fix. You'll get much better and more predictable results by simply moving your router to a better spot or using a purpose-built extender. Trust me, skip the tinfoil.
At Automated Home Guide, we're committed to helping you build a smarter, more connected home. Explore our expert guides and reviews to find the perfect solutions for your needs.
https://automatedhomeguide.com


Leave a Reply