

Deciding to build your own DIY home security system is about so much more than just saving a few bucks. It’s about taking complete control over your home's safety, crafting a solution that fits your life perfectly, not a one-size-fits-all package. When you build it yourself, you understand every sensor, every camera, and every weak point you're protecting.
Why Build Your Own Home Security System
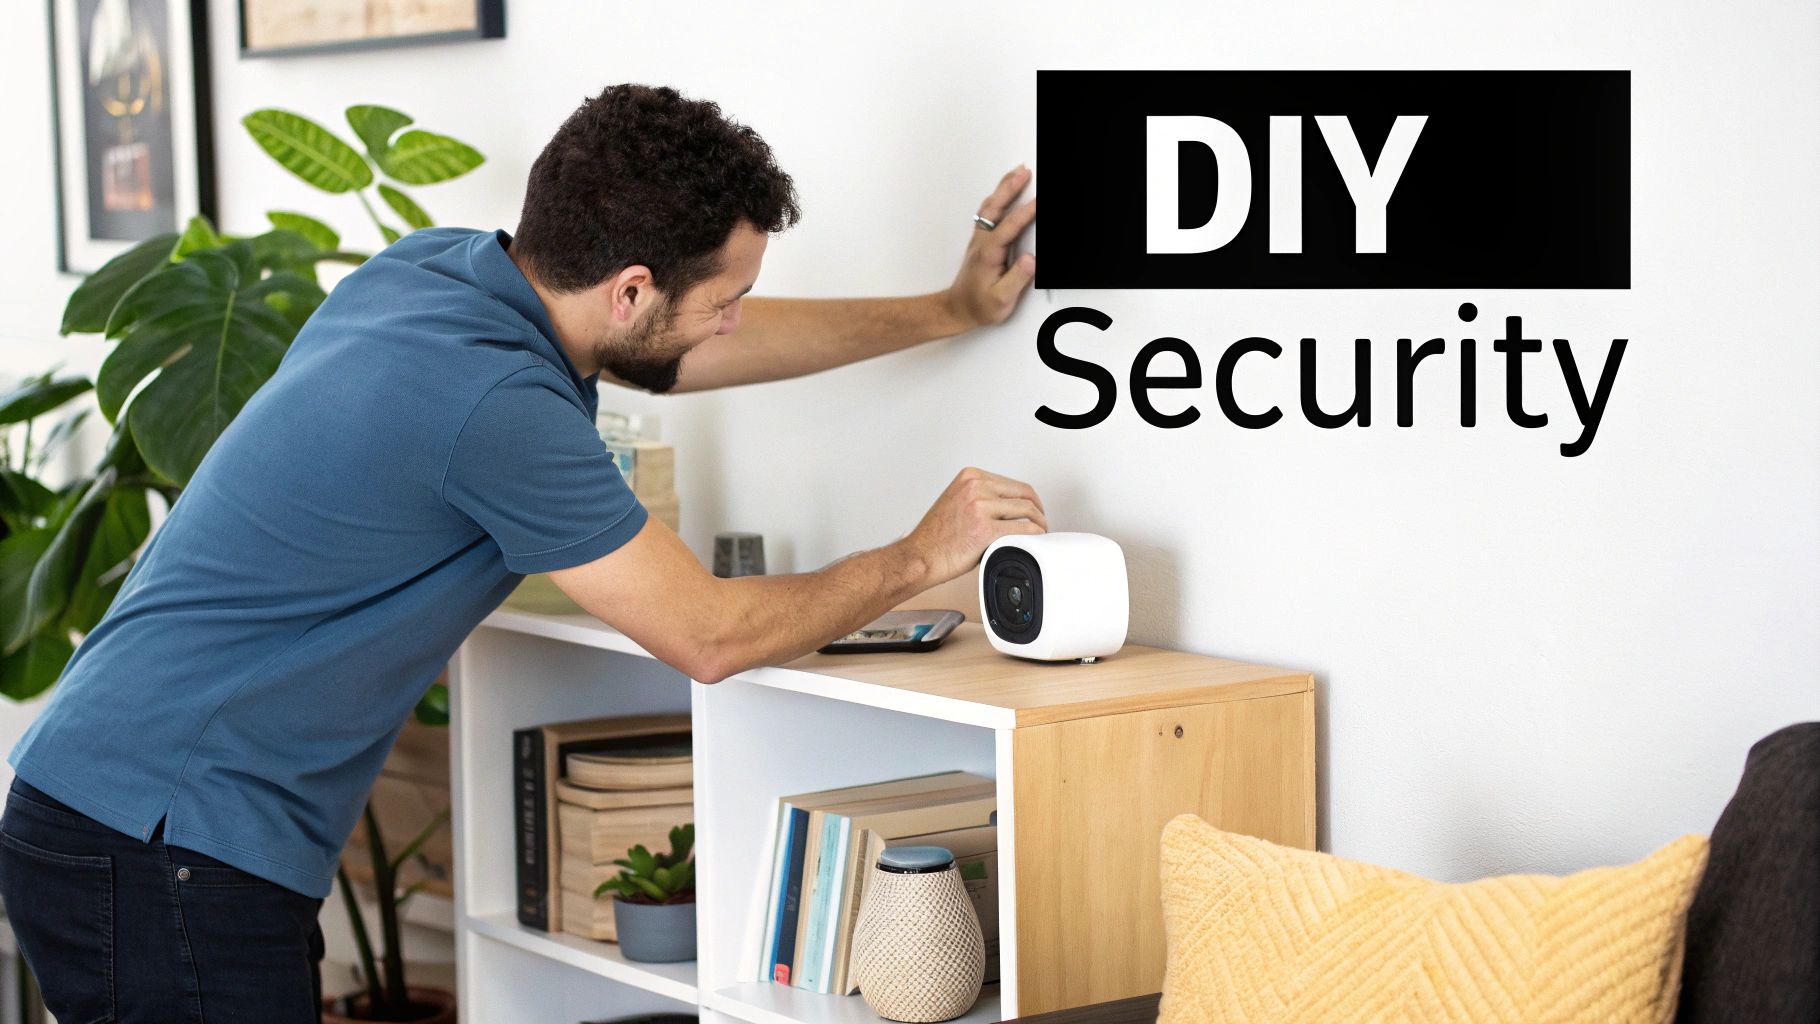
The idea of a DIY setup might seem a little daunting at first, but the rewards are huge. Think about it: professional services often rope you into expensive, multi-year contracts. Going the DIY route puts you in the driver’s seat. You pick the gear, you decide where it goes, and most importantly, you control your own data.
That last point is a game-changer for privacy. With a system you manage, you can opt for local storage, keeping your video footage and personal information safely inside your home network. You never have to worry about a monitoring company having access to your feeds or suffering a data breach.
To get a clearer picture, let's look at how the two approaches stack up side-by-side.
DIY vs Professional Security System Comparison
Here’s a quick breakdown of the key differences you’ll find when comparing a DIY system against a traditional professional service.
| Feature | DIY Home Security System | Professional Security Service |
|---|---|---|
| Upfront Cost | Generally lower; you only buy the hardware you need. | High, often includes installation fees and equipment rental. |
| Monthly Fees | Typically none, unless you opt for optional cloud storage or monitoring. | Almost always required, often locked into long-term contracts. |
| Customization | Extremely high. Mix and match components from different brands. | Limited to the company's proprietary equipment and packages. |
| Installation | You install it yourself, on your own schedule. | Requires scheduling a professional technician for installation. |
| Privacy | You control your data; local storage options are common. | Data is managed by a third-party company; potential for breaches. |
| Flexibility | Easily add, move, or upgrade components as your needs change. | Difficult and expensive to modify the system after installation. |
As you can see, the DIY path offers a level of freedom and control that professionally installed systems simply can't match.
Unmatched Customization and Flexibility
One of the best things about a DIY security system is that it can grow with you. You can start small and add components over time as your needs or budget change.
- First-Time Homeowner? Start with the basics—a few door/window sensors and a central hub. You can always add outdoor cameras later.
- Growing Family? Add pet-immune motion sensors to avoid false alarms from your furry friends, and integrate smoke and CO detectors for total home safety.
- Tech Enthusiast? Dive into smart home automation. Set your lights to flash when an alarm is triggered or get a notification if the garage door is left open.
This incremental approach makes top-tier security accessible to anyone. You invest in what you need, when you need it. It's a major reason the DIY security market is booming—projections show it’s on track to more than double in the next decade.
Real-World Control Over Your Security
A custom system lets you go beyond the standard package to address the unique quirks of your property. Have a detached workshop or a long, dark driveway? No problem. A DIY setup lets you tackle these specific challenges with specialized gear.
The most effective security plan is one that you design yourself. You know your home's weak points better than anyone, and a DIY system gives you the power to fortify them precisely and affordably.
For example, vehicle theft is a huge concern for many people. A generic alarm package won't do much to stop a determined thief, but you can add targeted protection like driveway security bollards against car thieves. This is the kind of specific, practical solution that pre-packaged systems rarely offer. Building your own system isn't just about installing cameras; it's about becoming the architect of your own peace of mind.
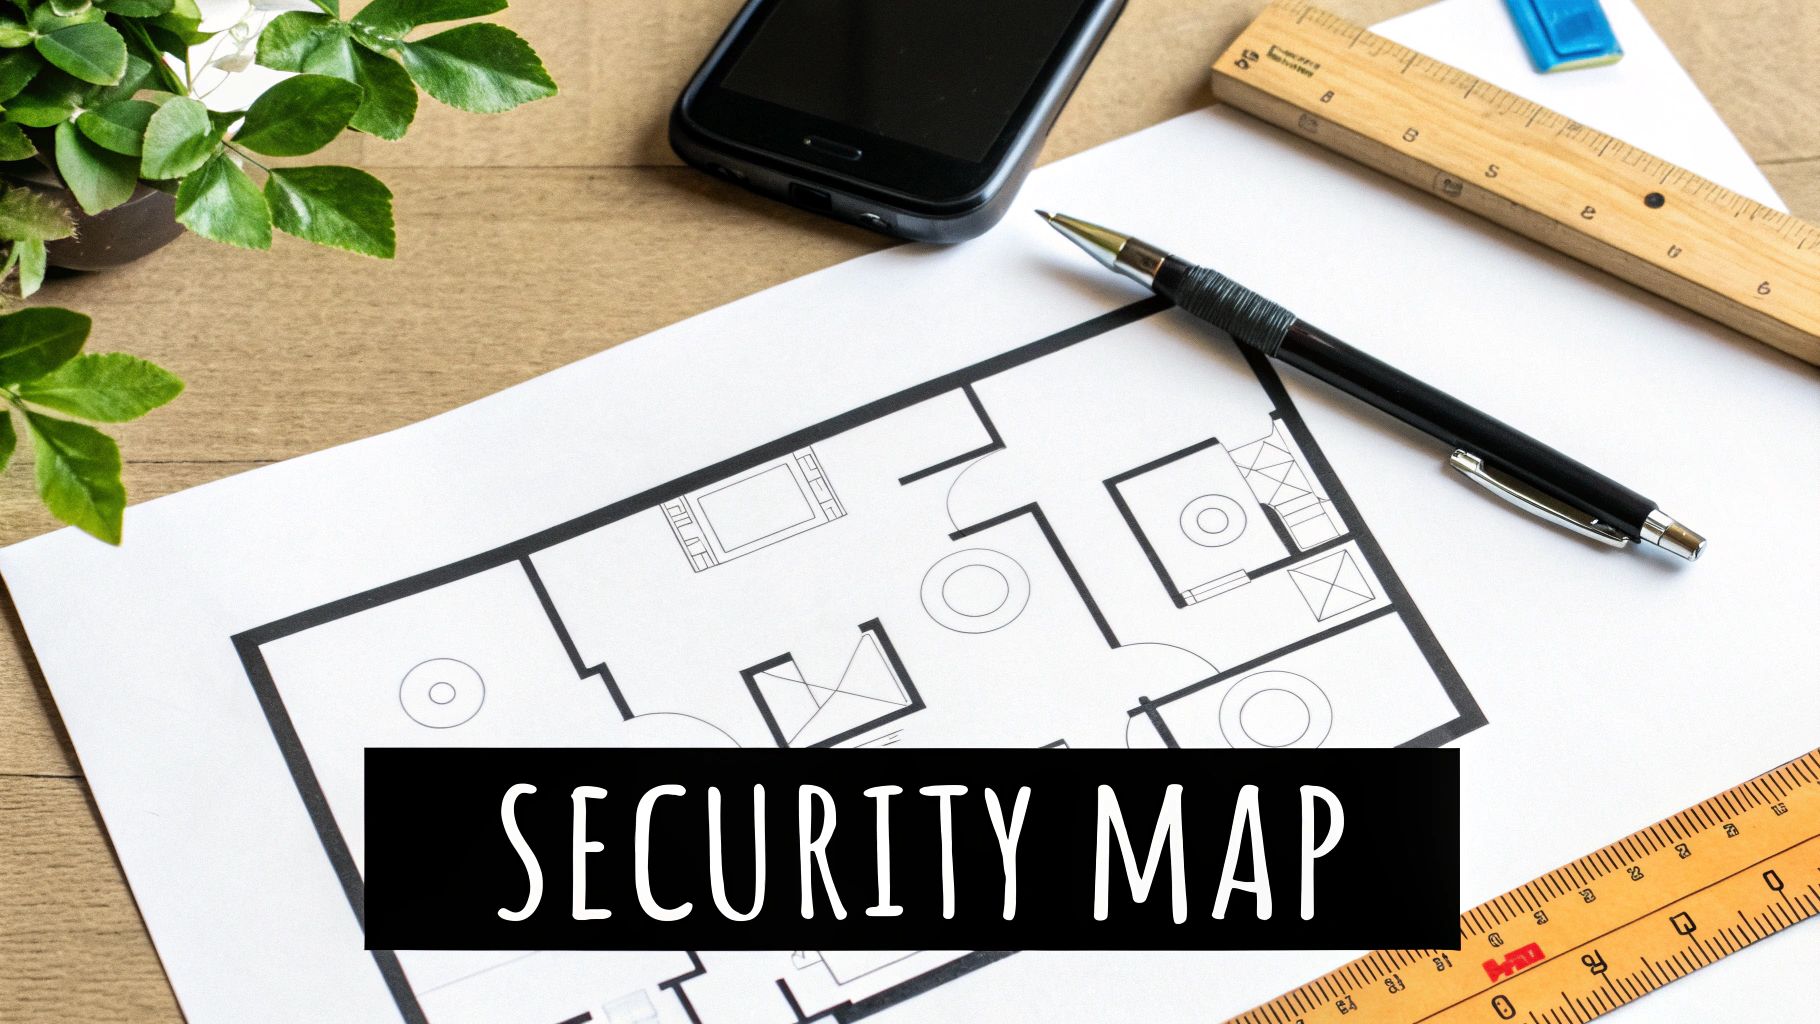
Mapping Out Your Home Security Plan
Before you even think about adding a single sensor to an online shopping cart, take a step back. The single most important part of this whole process is putting together a smart, effective plan. This is where you stop thinking like a homeowner and start thinking like a security architect. A solid plan is what keeps you from buying gear you don't need, prevents frustrating false alarms, and plugs the security gaps that plague a poorly designed DIY home security system.
To get started, just grab a pen and paper. Sketch out a rough floor plan of your home—it doesn't have to be perfect. As long as it shows the basic layout of rooms, doors, and windows, you're good to go. With this simple map in hand, you can start your own security audit.
Think Like An Intruder
The best way to protect your home is to understand how someone might try to get in. So, take a walk around your property, both inside and out, and look for the path of least resistance. Burglars are all about opportunity, which means they're hunting for the easiest, most hidden entry points.
Keep an eye out for these classic vulnerabilities:
- Ground-Floor Windows: Pay close attention to any windows hidden from the street by fences, overgrown bushes, or those located around the back or side of the house.
- Back and Side Doors: These doors are almost always less secure than the front door and are usually out of your neighbors' line of sight.
- Attached Garages: The garage door itself is a massive entry point. On top of that, the interior door leading from the garage into your house is often left unlocked.
- Sliding Glass Doors: The factory-installed locks on these are notoriously weak, making them a top target for a break-in.
As you spot these weak points, mark them on your floor plan. This simple visual guide will become your blueprint for placing every sensor and camera, ensuring you’ve covered the most likely trouble spots.
Create Your Security Zones
A truly effective security system isn't just a random collection of sensors; it's about creating layers of protection. Thinking in "zones" helps you organize everything logically so that every angle is covered. This strategy breaks your defense down into three distinct layers, each with a specific job.
A layered security approach means that even if an intruder bypasses one line of defense, they are immediately met by another. This increases the chances of detection and can be the critical factor that sends them running.
This method transforms your setup from a bunch of gadgets into a cohesive, intelligent security network.
The Perimeter Layer
This is your first line of defense. The goal here is to detect—or even deter—an intruder before they actually get inside. Your main tools for this layer are door and window sensors, sometimes called contact sensors. You'll want to place one on every accessible exterior door and ground-floor window you marked on your sketch.
It's also a good idea to add glass break sensors in rooms with big picture windows or sliding glass doors. These devices are designed to listen for the specific sound frequency of shattering glass, giving you a backup that a contact sensor might miss if an intruder breaks the glass without actually opening the frame.
The Interior Layer
So, what happens if someone gets past your perimeter? That's where the interior layer comes in. The MVP of this zone is the motion detector. These sensors are fantastic for covering large, open areas like living rooms, central hallways, or any other space an intruder would have to cross to get further into your home.
If you have pets, make sure to get pet-immune models to prevent your furry friends from setting off a false alarm every time they walk by. A single, well-placed motion sensor can often cover the same area as several contact sensors, which makes it a really cost-effective part of your system.
The Environmental Layer
Real security is about more than just stopping break-ins; it's about protecting your family and property from threats that can start inside the house. The environmental layer is all about safety and awareness, providing protection even when your main security system is disarmed.
This layer includes life-saving devices you shouldn't overlook:
- Smart Smoke Detectors: Unlike traditional alarms, these connect to your system and shoot an alert straight to your phone if they detect smoke, giving you a heads-up whether you're home or halfway across the country.
- Carbon Monoxide (CO) Detectors: This one is non-negotiable. CO is an odorless, colorless gas, and these detectors are essential for providing the early warning your family needs.
- Water/Freeze Sensors: Tucking one of these in the basement, laundry room, or under a sink can save you from a catastrophic flood. They'll alert you at the first sign of a leak or a frozen pipe, long before it becomes a disaster.
By mapping these three layers onto your floor plan, you’re not just buying security equipment—you’re building a comprehensive blueprint. This upfront planning ensures every dollar you spend goes directly toward making your home a safer, more secure place.
Choosing Your DIY Security Components
With your security map in hand, it's time for the fun part—picking out the hardware. It can feel like being a kid in a candy store, but making smart choices here is what ensures everything will work together flawlessly when you need it most.
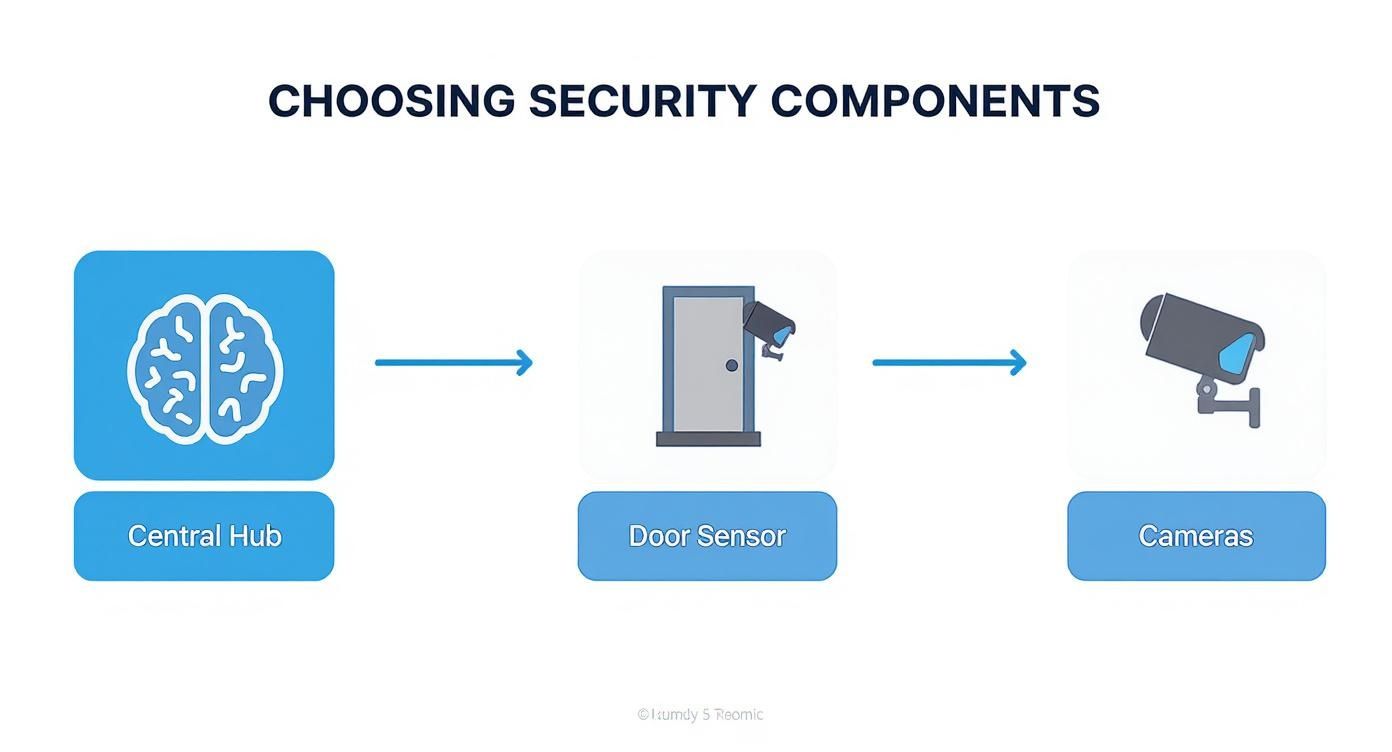
Interestingly, your first big decision isn't about a fancy camera or a high-tech sensor. It all starts with the brain of the operation: the central hub.
The Heart of Your System: The Hub and Its Ecosystem
Think of the hub, or base station, as the command center for your entire security setup. It’s what connects to all your sensors, sends alerts to your phone, and tells the siren to sound off. More importantly, it sets the rules for what "language" your devices will use to talk to each other. This is often called the system's "ecosystem."
You'll mainly see two protocols out there: Z-Wave and Zigbee. Both are fantastic low-power mesh networks built specifically for smart home gadgets. There's also a newer player called Matter, which is aiming to be a universal translator for all smart devices, no matter who makes them.
Picking a hub that supports these open protocols is a game-changer. It means you aren't stuck buying everything from one brand. You can grab a hub you like, mix it with contact sensors from another company, and add a smart siren from a third. They'll all play nicely together in one app. That's the real beauty of a custom DIY system.
Your choice of hub dictates your future options. Opting for a hub with broad compatibility (like Z-Wave, Zigbee, or Matter) ensures your system can grow and adapt as new technology becomes available, preventing you from being stuck in a closed, proprietary system.
Now that we've covered the brains, let's start building out the brawn of your system.
Your First Line of Defense: Core Security Sensors
Here's a breakdown of the essential components you’ll need and what my experience has taught me to look for in each.
Contact Sensors (For Doors and Windows)
These are the backbone of any good security system. They're a simple two-part magnetic sensor—when a door or window opens, the magnetic connection breaks, and the hub gets an alert. When shopping, look for a slim design and strong adhesive. The best ones install in seconds with no drilling. Pay attention to battery life, too; many modern sensors can go years before needing a new coin battery.
Motion Detectors
These are your interior watchdogs. Placing a single motion detector in a high-traffic area, like a living room or main hallway, can cover a huge amount of ground. If you have pets, getting a pet-immune motion detector is an absolute must. Trust me, you don't want your cat setting off the alarm at 3 a.m. These sensors are smart enough to ignore animals under a certain weight, usually 40-80 lbs, which will save you a world of headaches.
Glass Break Sensors
This is the one sensor people always forget, but it's critically important. A glass break sensor doesn't see motion; it listens for the very specific sound frequency of shattering glass. Put them in rooms with big picture windows or sliding glass doors. An intruder could smash the glass and climb through without ever separating the contact sensor on the frame, but a glass break sensor will catch them instantly.
With your perimeter and interior covered, let's look at the components that will make your system truly smart.
Essential DIY Security Component Checklist
Before you start adding items to your cart, it helps to have a clear checklist. This table breaks down the core components, what they do, and the key features I always look for when building a system for myself or others.
| Component | Primary Function | Key Features to Look For |
|---|---|---|
| Central Hub | Communicates with all devices and sends alerts. | Z-Wave, Zigbee, or Matter compatibility; cellular backup. |
| Contact Sensor | Detects when a door or window is opened. | Long battery life (2+ years); compact size; strong adhesive. |
| Motion Detector | Senses movement within an interior space. | Pet immunity (up to 80 lbs); wide detection angle. |
| Glass Break Sensor | Listens for the sound of shattering glass. | Adjustable sensitivity; dual-frequency detection. |
| Security Camera | Provides live and recorded video footage. | 1080p resolution or higher; IR night vision; local storage option. |
| Video Doorbell | Monitors the front door with video and two-way audio. | Wide field of view (160°+); clear night vision; fast alerts. |
| Smart Lock | Allows for remote locking/unlocking and access codes. | Keypad entry; auto-lock feature; integration with hub. |
| Siren/Alarm | Emits a loud audible alert to deter intruders. | 100+ decibels; battery backup; tamper detection. |
Think of this list as your foundation. You can always start with the essentials and add more specialized sensors or cameras down the road as your needs change.
Adding Eyes and Ears: Cameras and Smart Devices
Cameras and other smart gadgets turn a basic alarm into a truly interactive security solution. This is where wireless tech has made DIY security so accessible. In fact, wireless solutions now make up over 72% of the home security market, a boom driven by faster Wi-Fi and universal standards like Matter.
Deciding between wired and wireless gear is a big step. Each has its own benefits when it comes to installation difficulty, long-term reliability, and power. For a deep dive into this topic, our guide on wireless vs. wired security systems will help you figure out what makes the most sense for your home.
Upgrading Your Front Door
A video doorbell is one of the best first investments you can make. It replaces your old doorbell and gives you a live video feed of your porch, motion alerts, and two-way talk. It's an incredible deterrent that lets you answer the door from anywhere in the world.
Take it a step further by pairing it with a smart lock. This combo is fantastic. You can create temporary keycodes for a dog walker, remotely unlock the door for a family member who forgot their key, or even set an automation to lock the door automatically when you arm your system at night.
What to Look For in Security Cameras
When you're shopping for cameras, don't get hypnotized by 4K resolution alone. The practical features are what really matter day-to-day.
- Field of View: How wide of an angle can the camera see? For a big backyard, you’ll want something wide, like 130 degrees or more. For a narrow side yard, a tighter view is fine.
- Night Vision: At a minimum, look for infrared (IR) night vision, which gives you clear black-and-white video in pitch-black conditions. Some higher-end cameras now offer color night vision, which is a nice bonus.
- Power Source: You have three main choices: battery, solar, or wired. Battery-powered cameras are incredibly easy to install, but you have to recharge them. Wired cameras are more work upfront but offer constant, reliable power.
By carefully selecting each component to fit your home's layout and your family's needs, you’ll build a cohesive and powerful DIY home security system where every single piece has a job to do.
Your Hands-On Installation Guide
Alright, this is where the planning stops and the fun begins. It's time to bring your security blueprint to life. Don't worry about those dense technical manuals that come in the box; think of this as a real-world, practical guide to getting everything set up without the headache. We're going to get every part of your new DIY home security system online and working together as a team.
The journey almost always starts with the brains of the operation: the central hub. This is your command center, so find a good spot for it—somewhere central with a strong Wi-Fi signal and an outlet nearby. Most hubs these days are simple plug-and-play devices. Just connect it to power, run the included Ethernet cable to your router, and let the app walk you through the rest.
Powering Up and Placing Your Hub
Getting the hub set up right is the foundation for everything else. Once you've downloaded the manufacturer's app, it will guide you through creating an account and getting the hub onto your home network. Honestly, this part usually takes less than ten minutes and it’s the gateway to adding all your other sensors and cameras.
Once you see that "connected" status light up in the app, you're ready to start building out your security network. We'll kick things off by physically placing your sensors and cameras, because the little details here make a huge difference in how well they work.
This infographic gives you a great visual of the typical workflow. You always start with the hub and then branch out to your other devices.
As you can see, a successful setup really hinges on getting that hub-first approach right. It creates a stable foundation before you start sticking sensors all over your home.
Installing Your Sensors
Now for the hands-on part. Most modern door and window contact sensors are incredibly easy to install, usually with just a pre-applied adhesive strip. The real trick is getting the alignment right.
- Prep the Surface: Before you even think about peeling that backing, grab an alcohol wipe and clean the spot on the door or window and its frame. A clean surface means the adhesive will get a solid, lasting grip.
- Align the Magnets: The two pieces of the sensor need to be close enough to each other to register as "closed"—typically within an inch. I always suggest holding them in place first, without removing the adhesive backing, to test the alignment before you commit.
- Pair with the Hub: Most systems make pairing a breeze. You’ll just tap "Add Device" in the app and then pull a battery tab or press a button on the sensor. The app will give you a confirmation once it's connected.
When it comes to motion detectors, placement is everything. You want to cover a wide area without accidentally setting it up to trigger false alarms. A common mistake I see is people placing them too low.
Pro Tip: Mount your motion detectors about 7 to 8 feet off the ground and angle them slightly down. This height is perfect for pet-immune sensors to correctly tell the difference between a person walking by and your golden retriever wandering into the kitchen. Also, try to avoid pointing them directly at windows, heat vents, or staircases.
Mounting Your Security Cameras
Cameras, especially the outdoor ones, take a little more thought. You’ve got to consider power sources, Wi-Fi signal strength, and the perfect viewing angle. Wireless, battery-powered cameras make the job easier, but you still need to think about how you’ll get up there to recharge them every few months.
When you're mounting cameras outside:
- Test That Wi-Fi First: Before you drill a single hole, take the camera to the exact spot you want to mount it and check the live feed in your app. A choppy or weak signal will only lead to frustration, laggy video, and missed recordings.
- Go for a High Vantage Point: Placing cameras under eaves or overhangs, at least 8-10 feet high, is your best bet. This not only protects them from the elements but also makes them much harder for a potential intruder to reach or tamper with.
- Think About the Sun: Try to avoid pointing a camera directly where the sun rises or sets. That direct glare can completely wash out the image, making your footage useless for a few hours every day.
For a deeper dive into camera positioning and setup, check out our complete guide on wireless security camera installation. It covers everything from picking the right mounting hardware to fine-tuning motion detection settings.
Finalizing the Connections
With all your hardware mounted, the last part is a quick software pairing process. Modern DIY systems have made this part beautifully simple. For most devices, you'll just use your phone's camera to scan a QR code on the component from within the security app.
The app will instantly recognize the device, add it to your system, and ask you to give it a name. Do yourself a favor and take a minute to name everything logically, like "Living Room Motion" or "Back Door Sensor." Trust me, this small step makes managing your system and understanding alerts so much easier down the road. Once every component is paired and named, your system is officially online and ready for its first test run.
Setting Up Smart Rules and Automations
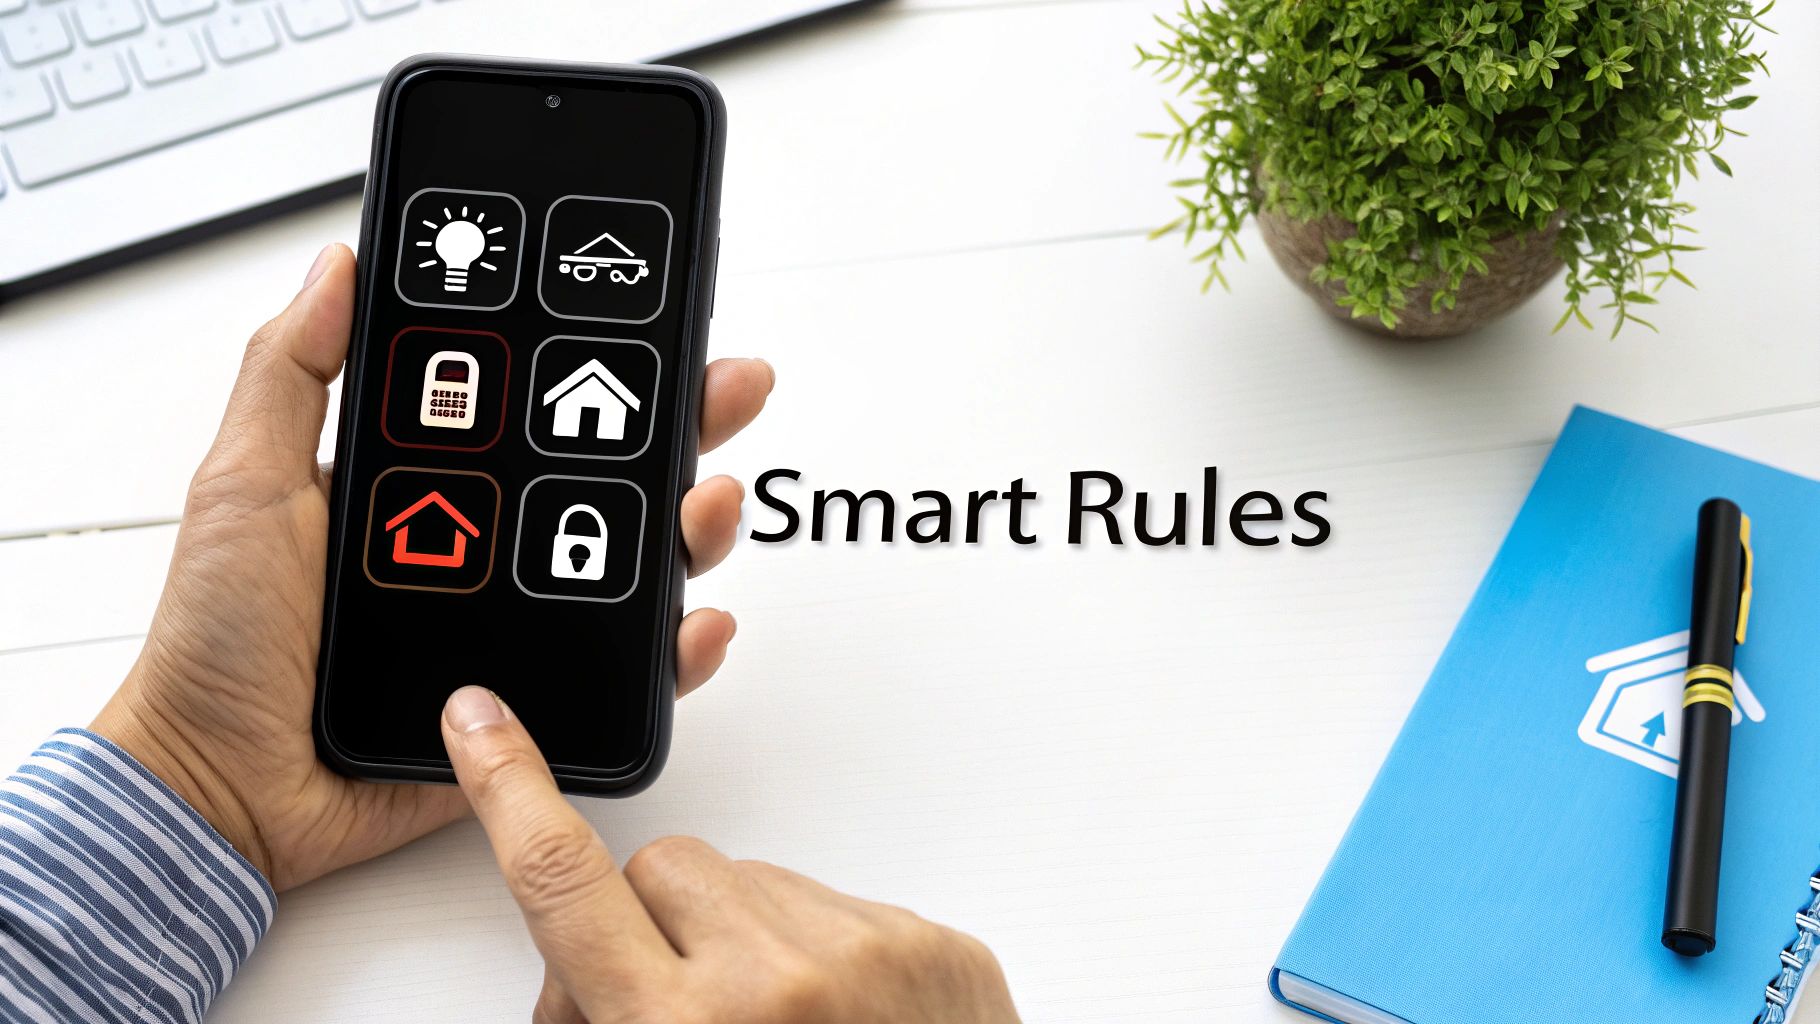
Alright, with all the hardware installed and synced up, your DIY home security system is officially online. But let's be honest, right now it’s just a pile of smart parts waiting for a brain. This is where you bring it to life—transforming it from a simple alarm into an intelligent system that actually works for you.
Setting up automations and smart rules is what gives your system its personality. It’s how you teach it to react to the world based on your habits and schedule. We're moving beyond just arming and disarming. The real goal here is to create a system that works so seamlessly in the background, you almost forget it's there.
Before we dive in, a quick but crucial reminder: all this connectivity relies on your home network. It’s the central nervous system for your smart home, so keeping it locked down is non-negotiable. If you haven't already, check out these expert tips to secure your WiFi network to make sure your commands stay private.
Creating Security Modes for Your Lifestyle
First things first, let's create some "modes." Think of these as security profiles you can activate with a single tap. Instead of fumbling to arm or disarm individual sensors, you create presets for different situations in your life. It’s far more practical.
Here are the essential modes I recommend everyone set up:
- Away Mode: This is your fortress setting. When nobody's home, every single sensor—doors, windows, and interior motion detectors—is active. If anything is triggered, the siren should blare and you should get an instant alert. No exceptions.
- Home Mode: This one’s for when you're inside but still want the perimeter secured. It arms all your door and window sensors but leaves the interior motion detectors off. This way, you and your family can walk around freely without accidentally triggering an alarm.
- Night Mode: Think of this as a tweaked version of Home Mode. It keeps the perimeter sensors armed but might also activate specific motion sensors, like one in the basement or on the main floor. The key is to leave upstairs sensors off so a midnight trip to the bathroom doesn't cause a panic.
By defining these modes, you make managing your home's security dead simple for everyone in the house.
Building Powerful Automation Rules
Now for the fun part—making your devices talk to each other. Automations are the "If This, Then That" recipes that create powerful security responses. You don’t need to be a coder; the app walks you through it. You just need to think through some real-world cause-and-effect scenarios.
The best automations I’ve ever built were born from a specific "what if" worry. Think about what keeps you up at night, and then build a rule that directly tackles that fear. That's how you turn a generic system into your own personal peace-of-mind machine.
For example, a common fear is someone trying the back door late at night. Let's build a rule for that.
- IF: The back door sensor is tripped…
- AND IF: The time is between 10 PM and 5 AM…
- THEN: Turn all downstairs smart lights on to 100% brightness.
- AND THEN: Send a high-priority push notification to my phone.
See what we did there? A simple door sensor just became an active intruder deterrent that also guarantees you wake up and know exactly what's happening.
Fine-Tuning Notifications and Integrations
A system that bombards you with alerts is a system you'll eventually ignore. Dive into your app's notification settings and get picky. You definitely want a loud, urgent alert for a full-blown alarm, but you probably only need a quiet, simple notification when the front door is unlocked with a key code during the day.
This is also where connecting your security setup to your wider smart home really pays off. When your security system can talk to your lights, thermostat, and speakers, the possibilities are endless. Our smart home hub comparison breaks down how different ecosystems work together. With the right integration, you could create a rule that automatically shuts down your HVAC system if a smoke alarm is triggered, preventing the system from spreading smoke throughout your home. That's a level of safety you just can't get from a standalone system.
Answering Your Top DIY Home Security Questions
Diving into a DIY home security project is exciting, but it's natural to have a few questions bubble up. I've heard them all over the years. Getting these things sorted out from the start is the key to building a system that gives you real, honest-to-goodness peace of mind.
So, let's get into the most common things people worry about when they decide to take security into their own hands.
Can I Still Get Professional Monitoring with a DIY System?
This is probably the number one question I get, and the answer is a resounding yes. It's a common myth that going DIY means you're completely on your own if the alarm goes off.
The reality is, most of the best DIY brands today offer optional, no-contract professional monitoring. It’s a fantastic setup that gives you the best of both worlds. You can monitor everything yourself for free right from your phone, but you also have the option to pay a monthly fee for a team of pros to watch over your system.
This flexibility is a game-changer. If a serious alarm gets triggered, a trained professional can step in, verify the emergency, and dispatch the police or fire department for you. You get that critical backup without being locked into the expensive, multi-year contracts that traditional security companies are known for.
What Happens if the Power or Internet Goes Out?
This is where a well-chosen DIY system really proves its worth. Any decent system is built to handle these exact scenarios, but you need to know what to look for.
First, your system's central hub or base station absolutely must have a built-in battery backup. This keeps the brain of your operation running for several hours if the power cuts out.
The second piece of the puzzle is cellular backup. This feature, usually tied to an optional monitoring plan, lets your system hop onto a cellular network to send alerts if your Wi-Fi dies. A smart intruder might try to cut your internet line, so having that cellular connection as a fallback is crucial.
A system without both battery and cellular backup has a major weak spot. Power outages happen, and internet can be unreliable. For my money, these two features are non-negotiable for a truly secure home.
How Do I Stop My Pets from Causing False Alarms?
Ah, the classic pet problem. Good news: this is an easy one to solve with the right gear and a little bit of smart placement. You don't have to choose between your furry friends and your security.
The solution is to use "pet-immune" motion sensors. These aren't just a gimmick; they are specifically designed to ignore movement from animals under a certain weight, typically around 40 to 80 pounds.
Where you place them matters, too. I always recommend mounting sensors a bit higher on the wall, around 7 or 8 feet up, and pointing them away from places your pets love to hang out, like the couch or their bed. You can even fine-tune the sensitivity levels in the app to get it just right for your specific home and pets.
Are Wireless Sensors as Reliable as Wired Ones?
They absolutely are. I understand the hesitation—wired just feels more permanent. But modern wireless technology in security systems is rock-solid. These devices don't use your crowded home Wi-Fi. Instead, they operate on secure, encrypted, low-power frequencies that are incredibly resistant to interference.
Plus, they have built-in fail-safes. You'll get a notification on your phone if a sensor's battery is getting low or if it loses its connection to the hub for any reason. While a fully hardwired system is technically the gold standard for reliability, the sheer ease of installation and advanced dependability of today's wireless components make them the clear winner for virtually every DIY project.
At Automated Home Guide, we're committed to giving you the knowledge to build a smarter, safer home. Explore our guides and reviews to find the perfect solutions for your needs.
https://automatedhomeguide.com


Leave a Reply