

Dipping your toes into do-it-yourself home automation lets you build a truly smart home that works for you, not the other way around. It's about hand-picking the right gear and creating custom routines that genuinely make your life easier, safer, and even more energy-efficient—often for way less than a pro installation. This isn't just about cool gadgets; it's a rewarding project that gives you total control over your home's environment.
Why DIY Home Automation Is Worth Your Time

Starting a DIY smart home project might feel a bit daunting at first, but the payoff is huge and goes way beyond just telling your lights to turn on. At its heart, this is all about taking back control and tailoring your space in ways that pre-packaged systems just can't touch. You get to decide which devices you use, how they all talk to each other, and what "smart" actually means for you and your family.
The most obvious win for most people is the cost. Professional installations can easily set you back thousands, and they often lock you into their ecosystem with pricey hardware and potential monthly fees. Going the DIY route means you can start small—maybe just a couple of smart plugs and a hub—and build out your system as your budget and ideas expand over time.
Gaining Unmatched Control and Customization
When you build it yourself, you’re not stuck with one brand’s idea of a smart home. You can mix and match devices from all kinds of different companies, grabbing the best motion sensor for one job and the perfect smart switch for another. This freedom is what lets you create a truly seamless system that solves your specific problems.
Imagine creating a "good morning" routine that doesn't just fade your lights on. It could also check your calendar for early meetings, kick on the coffee maker, and tweak the thermostat based on the day's forecast. That level of deep, personal automation is what a real smart home is all about.
The Educational and Personal Reward
Beyond the practical perks, putting your own system together is an incredibly fun and satisfying learning experience. You'll pick up a little about networking, maybe some basic programming concepts (often with simple drag-and-drop tools), and how different smart home technologies actually communicate. Every little automation you get working feels like a major victory.
The real magic of DIY home automation isn't just the convenience; it's the empowerment you feel from building a system that perfectly understands and anticipates your needs. You're not just buying a product; you're creating your own smart environment.
This idea is catching on. The DIY smart home market is booming, with projections showing it will grow at a compound annual growth rate (CAGR) of 18.50% between 2024 and 2030. That growth is blowing past the overall home automation market, which tells you a lot about the shift toward consumer-driven solutions. You can dig into more of these smart home market trends on Mordor Intelligence.
When you boil it down, DIY home automation gives you a powerful mix of benefits:
- Financial Savings: You dodge high installation fees and avoid getting locked into expensive, proprietary hardware.
- Total Customization: You can create automations that are a perfect fit for your lifestyle, not some generic template.
- Future-Proofing: It's easy to add new devices or upgrade components as technology changes, without being stuck with one vendor.
- Enhanced Privacy: You can choose local control hubs like Home Assistant that keep your personal data off big tech cloud servers.
How to Plan Your Smart Home Ecosystem
A truly smart home isn’t something you can just buy off a shelf; it’s something you build with purpose. Before you spend a dime on a fancy new gadget, the most important thing you can do is take a step back and really think about your own daily life. This is where you move past the marketing hype and figure out what will actually make a difference for you.
What are the little things that bug you every day? Maybe it's trekking down to the basement to turn off a light you forgot about, or that nagging feeling on your commute that you might have left the garage door wide open. These are the golden opportunities, the perfect starting points for a do it yourself home automation project.
The goal here isn't to collect a bunch of cool but disconnected devices. You're building a cohesive system where everything works in concert, not a messy folder of a dozen different apps on your phone.
Define Your Core Objectives
First things first, you need to figure out your "why." What's the main driver behind this project? Most people's motivations fall into one of three buckets, and knowing yours will clarify every decision that follows.
- Convenience: This is all about smoothing out the rough edges of your day-to-day. Think lights that pop on automatically when you walk into a dark room, or your coffee maker starting up a few minutes before your alarm.
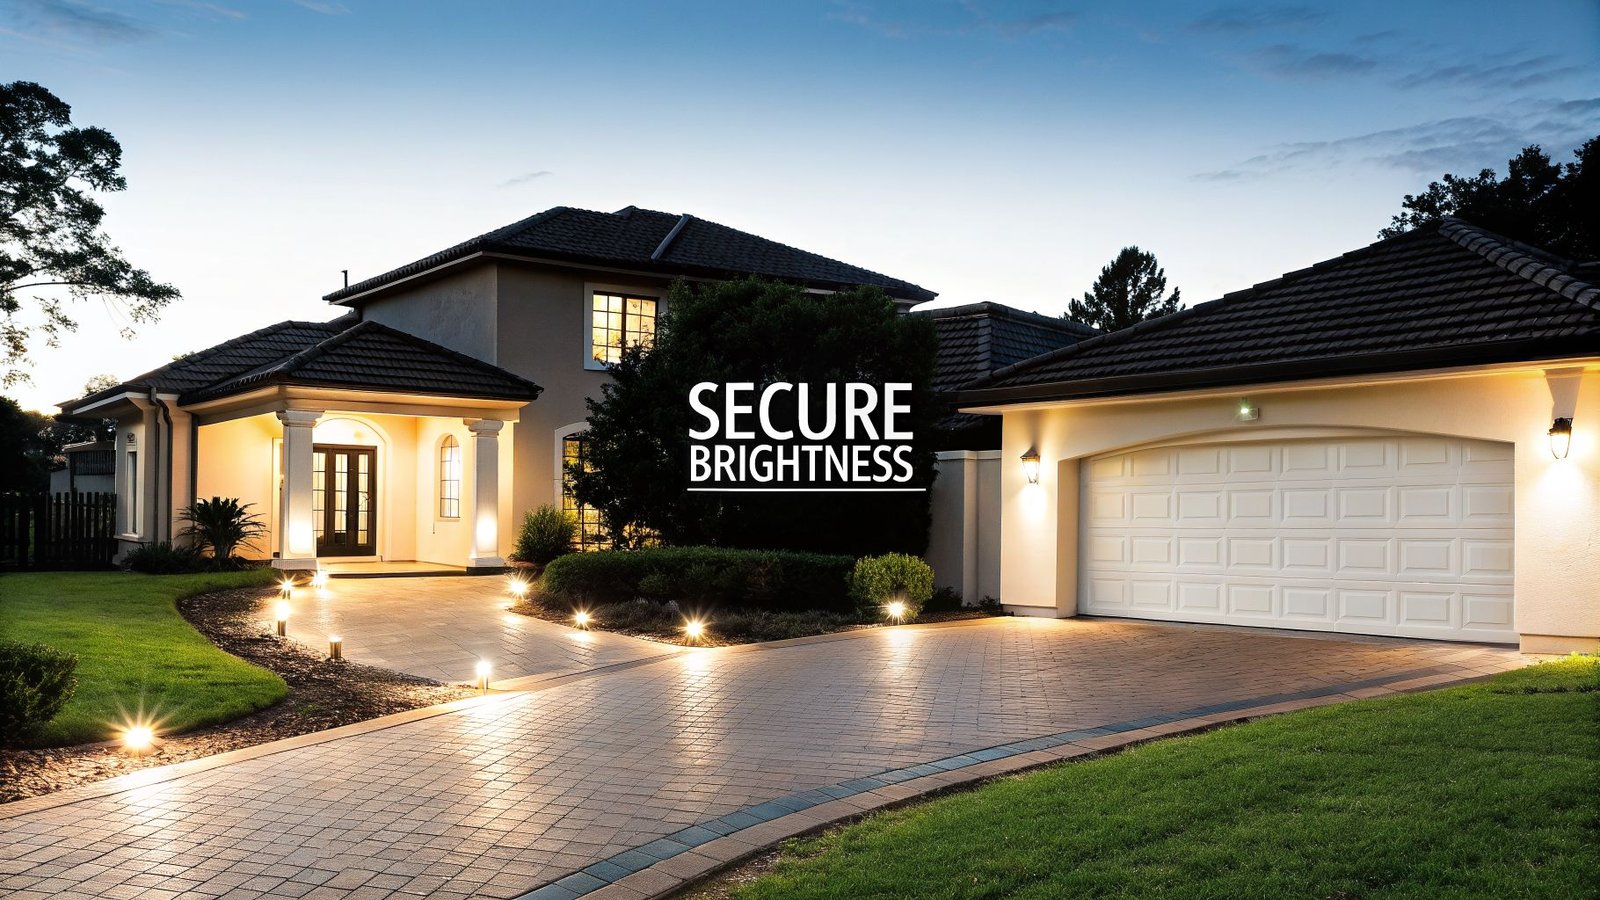
- Security: This is for peace of mind. We're talking door sensors that ping your phone when someone enters, smart cameras that can tell the difference between a person and a raccoon, or lights that mimic your presence when you're on vacation.
- Energy Management: This one's about being smarter with your resources and, let's be honest, saving a few bucks. A smart thermostat that learns your schedule is the classic example, but so are smart plugs that cut power to energy-vampire electronics when they're not being used.
Of course, these goals often bleed into one another. That motion sensor in the hallway can turn on the lights for you (convenience) but also trigger an alarm when the system is armed (security). The important part is to have a primary goal to keep you focused.
The Central Hub vs. The Wi-Fi Route
This is one of the biggest forks in the road you'll face, and it fundamentally changes how your system will perform. You're basically choosing between two very different philosophies for how your devices talk to each other.
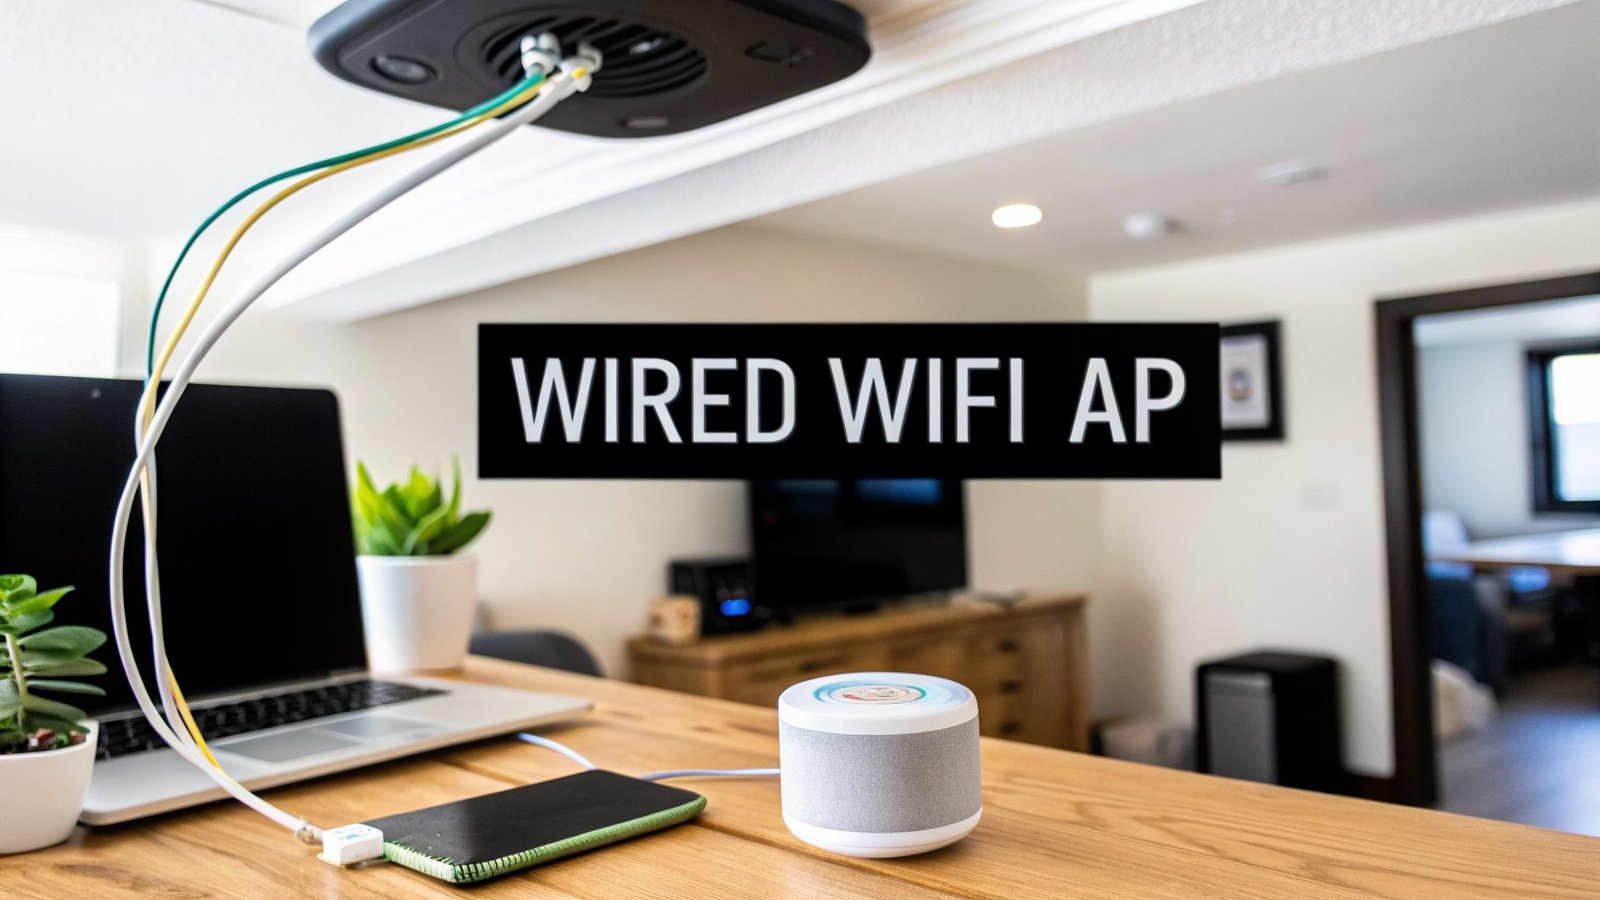
One option is the Wi-Fi-only approach. This is where every smart bulb, plug, and sensor connects directly to your home's Wi-Fi router. It's simple to get started, for sure, but it can lead to major headaches down the line. Your Wi-Fi network can get bogged down with dozens of devices, and you'll be constantly hopping between different manufacturer apps to control everything.
The other, much more robust method involves a central hub. This is a dedicated little computer, like a Raspberry Pi running a platform like Home Assistant, that acts as the brain for your entire operation. It manages everything locally, inside your own home. This is a game-changer because your automations will run instantly, whether your internet is working or not.
A central hub is the foundation for a truly integrated system. It acts as a universal translator, allowing devices from different brands and using different protocols (like Zigbee and Z-Wave) to communicate seamlessly with each other.
This hub-based setup is the heart of true DIY home automation. It gives you a system that's fast, private, and can grow with you. If you're just getting started, you can find a ton of great info on setting up a smart home to help you navigate these crucial early decisions.
Charting Your Room-by-Room Plan
Okay, you've got your goals and you've decided on the architecture. Now it's time to get down to brass tacks. Grab a notebook or open a spreadsheet and start mapping things out, one room at a time.
| Room | Problem | Potential Solution |
|---|---|---|
| Living Room | Forgetting to turn off the TV, lamps, and game consoles at night. | A "Goodnight" scene triggered by one button or voice command that powers down all entertainment devices using smart plugs. |
| Kitchen | Needing under-cabinet lighting when your hands are full or messy. | A motion sensor that activates LED light strips automatically when you approach the counter. |
| Garage | Wondering if the garage door was left open after leaving. | A tilt sensor on the garage door that sends a notification to your phone if it remains open for more than 10 minutes. |
| Bedroom | Waking up to a jarring alarm in a dark room. | An automation that slowly fades on a bedside lamp 15 minutes before your alarm is set to go off. |
Walking through your house like this keeps you from making impulse buys. It ensures every piece of tech you bring home has a job to do and adds real value. For those aiming for a truly self-sufficient setup, you can even extend this planning to include energy resilience by looking into the best home battery backup systems to keep your smart home running no matter what.
Choosing the Right Smart Home Protocols and Hub
Once you have a clear plan, it's time to get into the tech that makes your smart home tick. Getting this part right is crucial for any do it yourself home automation project. Making the right calls now saves you from massive headaches later. It really boils down to how your devices will talk to each other and to the central "brain" of your system.
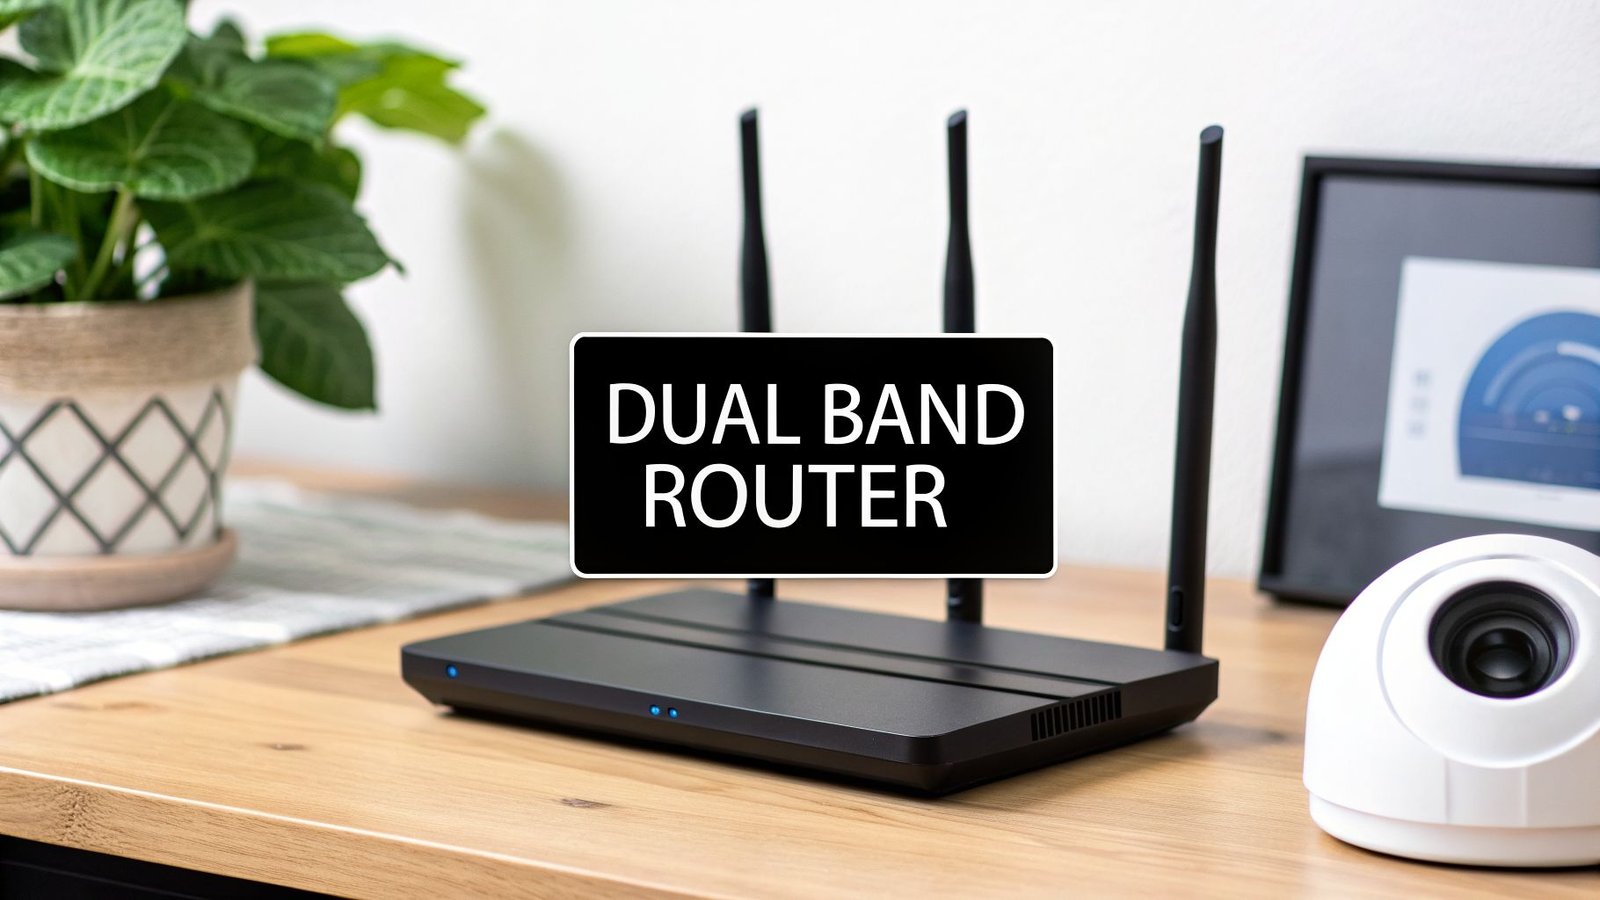
Think of smart home protocols as the languages your devices speak. For them to work together, they have to speak the same language. The three main ones you'll bump into are Wi-Fi, Zigbee, and Z-Wave. Each has its own strengths and is best suited for different jobs.
Understanding the Wireless Languages
Your first thought might be to just throw everything on your home Wi-Fi. It's already there, and it seems simple enough. And for things that need a lot of bandwidth, like a security camera streaming video, Wi-Fi is perfect.
But what happens when you start adding dozens of little sensors, switches, and bulbs? Each one becomes another device competing for your router's attention, which can clog up your network and slow everything down.
This is exactly why low-power mesh networks like Zigbee and Z-Wave were created. They are built specifically for smart home gear. They operate on their own separate network, so they won't interfere with your Netflix stream.
Here’s a quick rundown of the key players:
- Z-Wave: This protocol is a rockstar when it comes to reliability and range. It uses a lower frequency than Wi-Fi, so there’s less chance of signal interference. It’s my go-to for critical devices where you absolutely can't afford a missed signal, like door locks or security sensors.
- Zigbee: Generally a bit more budget-friendly, Zigbee is incredibly versatile. You'll find it in a ton of devices from big names like Philips Hue and Aqara. It does run on the same 2.4 GHz frequency as most Wi-Fi, so you might need to be a little strategic about where you place your hub to avoid any hiccups.
The real magic of these mesh networks is how they expand. Every device that's plugged into the wall—like a smart plug or a light switch—acts as a signal repeater. This strengthens and extends the network, making it super reliable across your whole house. If you want to go deeper, we have a complete guide on how to choose a https://automatedhomeguide.com/smart-home-protocol/.
To make sense of it all, here's a quick comparison of the big three protocols.
Smart Home Protocol Comparison Wi-Fi vs Zigbee vs Z-Wave
| Feature | Wi-Fi | Zigbee | Z-Wave |
|---|---|---|---|
| Primary Use | High-bandwidth devices (cameras, smart speakers) | General purpose (lights, sensors, plugs) | Reliability-critical (locks, security sensors) |
| Power Consumption | High | Low | Very Low |
| Network Type | Star (all devices connect to router) | Mesh (devices can relay signals) | Mesh (devices can relay signals) |
| Frequency | 2.4 GHz / 5 GHz | 2.4 GHz | ~900 MHz |
| Interference Risk | High (competes with many other devices) | Moderate (shares 2.4 GHz with Wi-Fi) | Low (operates on its own frequency) |
| Device Limit | Limited by router capacity | Up to 65,000 | Up to 232 |
This table should give you a solid idea of which protocol is the best fit for the different devices you're planning to install.
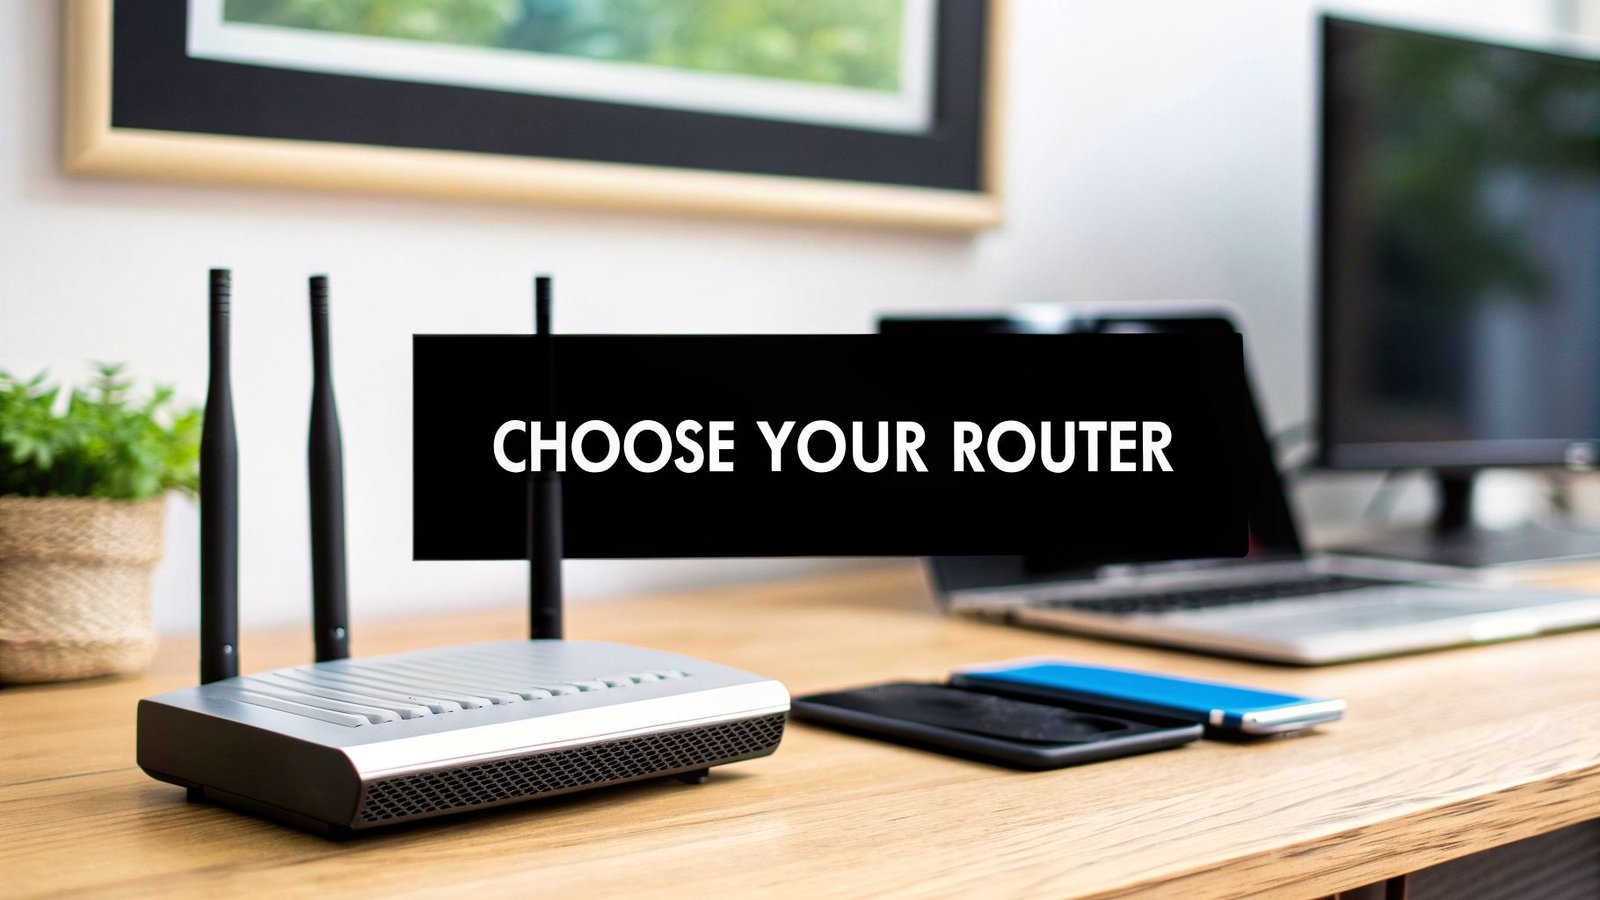
Selecting the Brain of Your Operation: A Smart Hub
After settling on your protocols, you need a hub. This is the central command center that brings everything together. A good hub is like a universal translator, letting your Z-Wave door sensor trigger your Zigbee lights—something they could never do on their own.
You’ve got two main routes to take here: a user-friendly commercial hub or a more powerful, open-source platform.
Hubs like Samsung SmartThings or Hubitat are built for simplicity. They have a guided setup and are a fantastic way to get started. The trade-off is that they can sometimes be a bit restrictive with device compatibility or the complexity of automations you can build.
For the true DIY crowd, open-source platforms like Home Assistant are king. You typically run it on a small, affordable computer like a Raspberry Pi. The payoff is total control. Home Assistant has integrations for thousands of devices across pretty much any protocol you can imagine.
The choice to run a powerful local hub like Home Assistant is what separates a home with a few remote-control gadgets from a truly intelligent, automated home that runs locally and respects your privacy.
This whole decision process can be tough, so here’s a visual to help you figure out which path aligns with your goals. It all starts with what you want to achieve.

As you can see, if you're after deep customization and local control, a powerful open-source hub is the foundation you'll want to build on.
Making an Informed Decision
You’re not alone in this journey. The DIY home automation market is exploding, valued at around USD 45 billion in 2023 and projected to soar past USD 110 billion by 2032. This growth is all about making our homes more efficient and secure. For example, a good smart thermostat can slash your heating and cooling costs by up to 20%.
Beyond the specific tech, it helps to understand the bigger picture. You can learn more about finding the best smart home system for your needs by comparing the features and philosophies of different platforms.
My best advice? Choose a multiprotocol hub that can handle Wi-Fi, Zigbee, and Z-Wave. It gives you the ultimate flexibility and ensures you’re never locked into a single brand's ecosystem.
Your First Installation and Configuration Project

Alright, this is where the rubber meets the road. All that planning is about to pay off as you turn a pile of boxes into a living, breathing smart home. Let's get our hands dirty. We'll be using Home Assistant as our primary example—it’s the go-to platform for any serious do it yourself home automation builder for a reason.
The goal today isn't to automate the entire house in one go. Far from it. We're aiming for a few small, satisfying wins that will build the confidence you need for the bigger stuff later.
We’ll get the software installed, connect your hub, and pair your first couple of devices. By the time we're done, you'll have a genuinely useful automation up and running that showcases what a truly connected home can do.
Getting Home Assistant Up and Running
First things first, let's install the brains of the operation. You have a few options for running Home Assistant, but for a beginner, I always recommend using a dedicated device. Something like a Raspberry Pi or the official Home Assistant Green appliance is perfect.
This approach gives you a self-contained, low-power hub that can run 24/7 without bogging down your personal computer. The process usually involves flashing the Home Assistant OS onto an SD card and simply booting up the device. It's surprisingly straightforward.
Once it powers on and grabs an address from your network, you'll access the web interface from your laptop or PC to start the initial setup. This is where you create your user account and tell it a bit about your home, like its location—which is key for getting accurate sunrise and sunset times for automations.
My Pro Tip: When you first set up the hub, plug it directly into your router with an Ethernet cable. A wired connection is rock-solid and will save you from any potential Wi-Fi headaches during the critical installation and initial device discovery phase.
Connecting Your Protocol Hardware
With the software humming along, it's time to give it a voice. This means plugging in those Zigbee and Z-Wave USB sticks you picked out. One of the best things about Home Assistant is how well it detects new hardware like this.
Just head over to the Settings > Devices & Services area in the interface. More often than not, Home Assistant will have already found the USB sticks and will prompt you to configure them. With a few clicks, you've officially added Zigbee and Z-Wave capabilities to your hub, turning it into a true multiprotocol command center.
This is a huge milestone. Your hub is no longer just software on a circuit board; it's now ready to build out its own network and start talking to the world of smart devices.
Pairing Your First Smart Devices
Let's keep it simple and effective for our first project. I suggest starting with a smart plug and a door sensor. These two devices are a classic combo for creating a meaningful automation right out of the gate.
- Smart Plug: Go with a Zigbee or Z-Wave model. They talk directly to your local hub, making them way more reliable for automations than most Wi-Fi plugs.
- Door/Window Sensor: Same deal—Zigbee or Z-Wave is the way to go. These are small, battery-powered gadgets that do one thing perfectly: report when a door or window opens or closes.
To get them connected, you'll put your hub into "pairing" (or "inclusion") mode from the Z-Wave or Zigbee integration page. Then, you just have to wake up the device itself—usually by pressing a tiny button or pulling a plastic battery tab. The hub will find it, and it'll pop up on your dashboard.
Now for a step that I see beginners skip all the time, and they always regret it: name your devices properly!
Don't you dare leave them as "Z-Wave Smart Switch 7." Immediately rename it to something descriptive, like living_room_floor_lamp or front_door_sensor. This habit, called a naming convention, will be an absolute lifesaver when your system grows from two devices to 20, and then to 50.
Building Your First Practical Automation
Now for the magic. With a lamp plugged into your smart switch and the sensor on your front door, we have everything we need for a super useful automation. Let's build this simple rule: "When the front door opens after dark, turn on the living room lamp."
Inside Home Assistant's automation editor, you'll piece this logic together.
- Trigger: This is what kicks things off. For us, it’s the
front_door_sensorchanging its state fromclosedtoopen. - Condition: This is a check that must pass for the automation to continue. We'll add a condition to verify the sun is below the horizon (i.e., it's nighttime).
- Action: This is what the automation actually does. The action is to call the
turn_onservice for theliving_room_floor_lamp.
Once you save and enable this, your smart home is officially born. The next time you walk through the door after sunset, that lamp will click on to welcome you home. It's a simple but powerful moment that proves this isn't just tech for tech's sake—it's about making your home work for you.
Feeling that momentum? Tackling a smart thermostat is a great next step. You can dive deeper with a dedicated smart thermostat installation guide to keep building on this success.
Creating Automations That Simplify Your Life

Alright, you've got your first few devices online and maybe even created a simple automation. That's the foundation. Now for the fun part: building a do it yourself home automation system that actually makes your life easier. This is where we move beyond just glorified remote controls and into true, hands-off automation.
The real magic isn't just turning on a lamp from your phone. It’s about making multiple devices work together, triggered by a single event, to create a home that anticipates your needs. That’s the difference between a box of gadgets and a genuinely smart home.
Understanding Scenes And Routines
You'll hear the terms "scenes" and "routines" thrown around a lot. They sound similar, but they do different jobs.
- Scenes: Think of a scene as a snapshot of settings you want right now. My "Movie Night" scene, for example, dims the living room lights to 10%, kills the hallway lights, and powers up the smart plug connected to my soundbar. You trigger scenes manually, usually with a voice command or a quick tap on your phone.
- Routines/Automations: These are the real workhorses, operating on "if this, then that" logic. A trigger—like a motion sensor tripping or the clock hitting 7:00 AM—kicks off a series of actions automatically. This might even include activating one of your pre-set scenes.
Getting a handle on both is crucial. Scenes are for setting a mood on demand, while routines handle the quiet, background tasks that make your home feel like it's running itself.
Building Your First Multi-Step Routine
Let's expand on that first project and create a "Good Morning" routine. The goal here is a gentle, automated wake-up call—no blaring alarms needed. This is a perfect example of weaving multiple devices together.
The trigger is straightforward: the time is 6:30 AM on a weekday.
From there, a sequence of events kicks off:
- Bedroom Lamp: Instead of just flicking on, the lamp starts at 1% brightness and slowly fades up to 80% over 15 minutes. It’s like a personal sunrise.
- Thermostat: The system glances at the bedroom temperature sensor. If it's below 68°F, it nudges the heat up to a cozy 70°F.
- Smart Speaker: Once the 15-minute fade-in is complete, a calm morning playlist starts playing at a low volume.
This single routine coordinates lighting, climate, and audio to create an entire experience. It's a fantastic illustration of how combining devices produces something far greater than the sum of its parts.
The best automations are the ones you eventually forget exist. They blend so seamlessly into your day that your home just feels more intuitive and comfortable.
Using Sensor Data To Create A Reactive Home
Now we get to the next level. Instead of just relying on timers or your phone, your system can start reacting to the real world. This is where sensors for motion, light (lux), temperature, and humidity become the eyes and ears of your smart home.
Take a simple motion sensor in a hallway. We can do so much more than just turn on a light.
- During the day: If motion is detected and the hallway's lux sensor says it's dark (like on a rainy afternoon), the lights pop on to 100%.
- After 10:00 PM: If that same sensor detects motion, the lights come on, but only to a dim 20%. It’s just enough light to see for a late-night snack run without blinding you.
See the difference? The system isn't just following a schedule; it's making decisions based on real-time conditions, which makes it infinitely more useful. This kind of practical benefit is a huge reason the home automation market is exploding. In North America alone, the market was valued at USD 40.39 billion in 2024, driven by the affordability and interoperability that DIY systems champion. You can read more about the home automation market on Precedence Research.
My advice? Start small. Pick one little annoyance. Do you always forget to turn off the bathroom fan? Set up an automation to shut it off 20 minutes after motion stops. It’s an easy win and an incredibly satisfying fix. These little sensor-driven improvements add up fast.
Got Questions About DIY Home Automation? We've Got Answers
Jumping into do it yourself home automation is exciting, but it's natural to have a few questions before you start. Getting these sorted out early on can save you a ton of headaches and help you build a system you'll actually love using. Let's dig into some of the most common things people wonder about.
Do I Need to Be a Programmer to Set Up a DIY Smart Home?
This is the biggest myth out there, so let's bust it right now: absolutely not.
Sure, platforms like Home Assistant have a ton of power under the hood for those who enjoy tinkering with code. But for most of us, that’s completely unnecessary. Modern smart home software is all about user-friendly interfaces.
These days, you build most automations in a visual editor. Think dropdown menus, simple toggles, and sliders. You're basically just stringing together logical "if-then" statements—if the motion sensor detects movement, then turn on the smart plug. It’s no more complex than setting up a new app on your phone.
What Happens to My Smart Home if the Internet Goes Down?
This is a fantastic question, and the answer really shows off the power of a local, hub-based system. What happens when the internet cuts out really depends on your setup.
If your whole system is built on Wi-Fi devices that need to phone home to a cloud server, you're out of luck. When your internet goes down, so do your automations, your app controls, and any voice commands.
But if you’ve built your system around a local hub with Zigbee or Z-Wave devices, the magic keeps happening.
Because Zigbee and Z-Wave devices talk directly to your hub over your local network, the internet is totally optional for your core automations. Your motion-activated lights will still turn on, and your temperature sensors will keep controlling the thermostat. Your home stays smart, even when you're offline.
Is It Safe to Use Different Brands of Smart Devices Together?
Yes, and honestly, this is one of the best reasons to go the DIY route. The whole point of communication protocols like Zigbee and Z-Wave is to create a standard that allows different devices to play nicely together. As long as they speak the same "language," it doesn't matter what brand name is on the box.
Think of your hub as the ultimate translator. It lets you mix and match to your heart's content, so you can:
- Use a Samsung motion sensor to trigger your Philips Hue lights.
- Have an Aqara door sensor tell your security keypad to arm.
- Let a Zooz temperature sensor adjust your smart thermostat.
The only real trick is to double-check that a new gadget is compatible with your specific hub before you buy it. Hub manufacturers almost always have a massive, searchable list of supported devices right on their website.
How Much Does It Cost to Start a DIY Smart Home?
One of the greatest things about building your own system is how flexible the budget is. You don't need the massive upfront investment that comes with professionally installed setups. In fact, you can get a meaningful start for well under $100.
For example, you could begin with a simple Raspberry Pi running Home Assistant and a Zigbee/Z-Wave combo USB stick. Add a couple of smart plugs or a door sensor, and you've got a functioning system. From there, you just expand piece by piece, as your needs change and your budget allows. You're in complete control of the pace and the price.
At Automated Home Guide, we're committed to helping you build a smarter, more efficient home. Explore our in-depth articles and reviews to make your home automation project a success. Visit us at https://automatedhomeguide.com to learn more.
Leave a Reply