

So, you're thinking about diving into a DIY home automation project? This isn't about buying a pre-packaged kit from a big box store. This is about building a truly personalized smart home from the ground up, giving you complete control over every switch, sensor, and routine. You get to be the architect, choosing the components and writing the rules for a home that genuinely adapts to your lifestyle.
Starting Your DIY Home Automation Journey
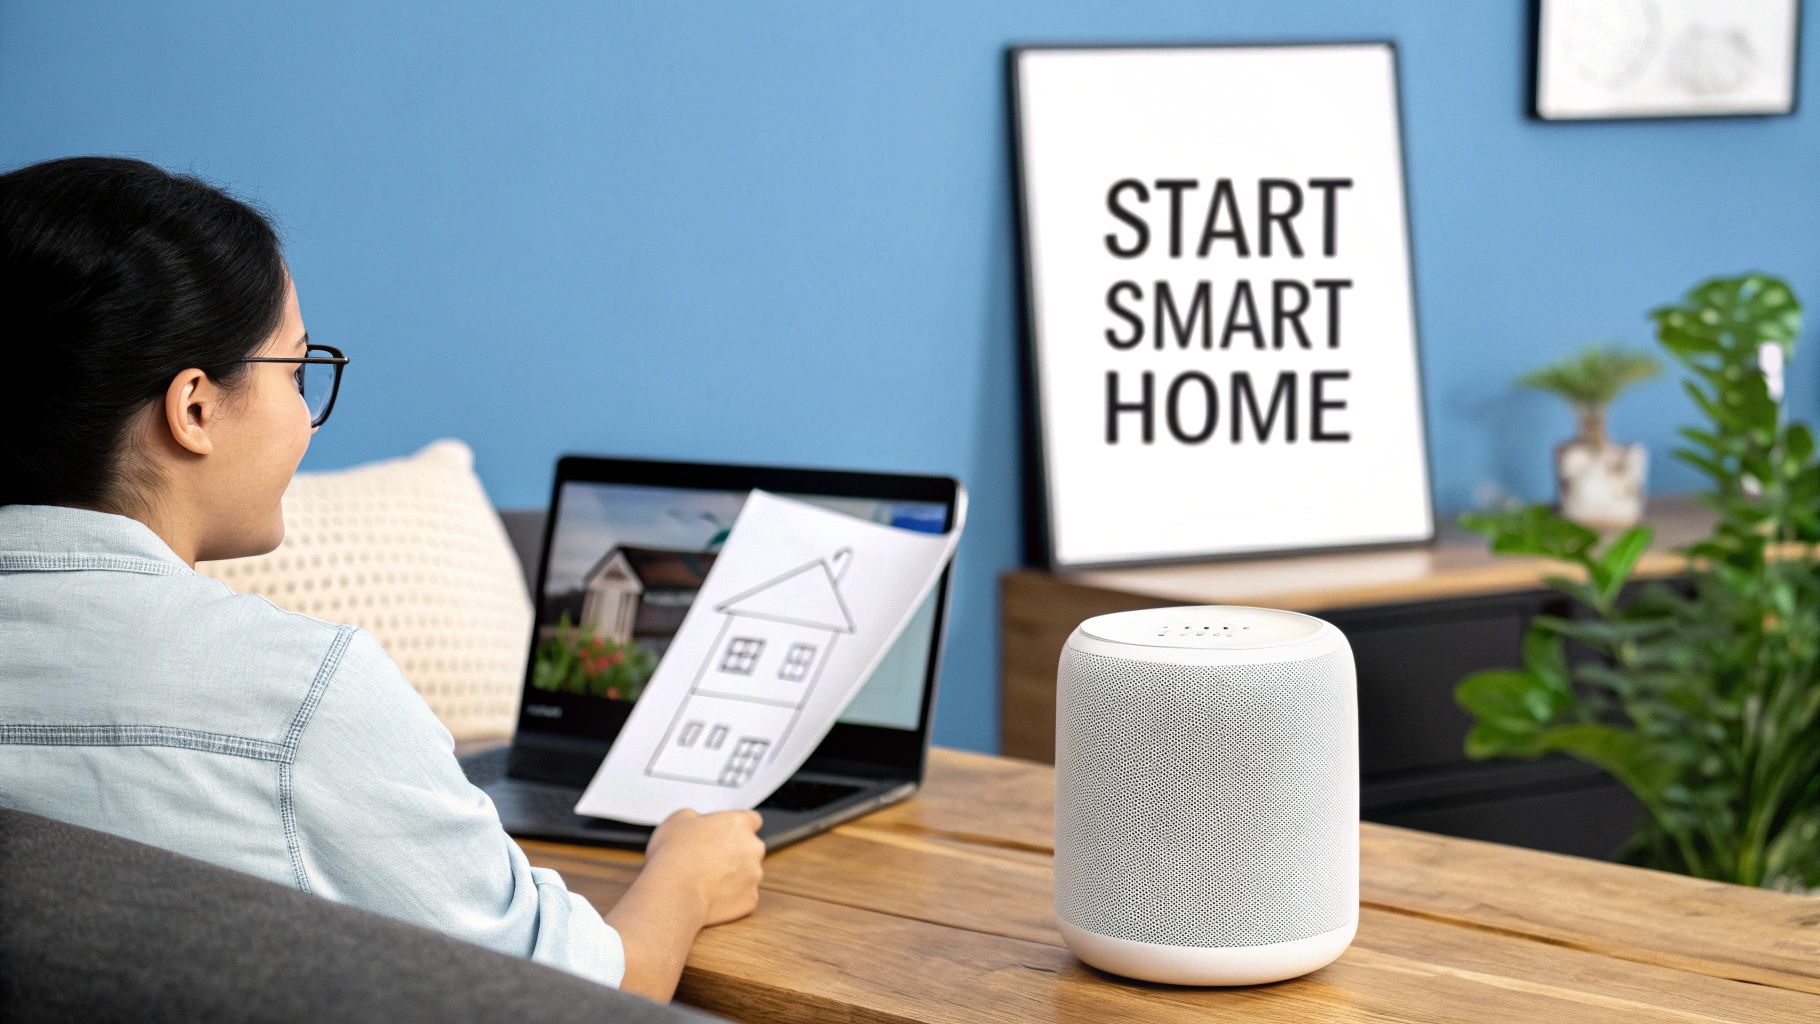
Jumping into the world of do-it-yourself smart homes is an incredibly rewarding experience. It’s a huge leap from just plugging in a smart speaker or a Wi-Fi bulb. Instead, you're creating a cohesive, intelligent environment where all your different gadgets talk to each other to make your life easier, safer, and more efficient.
At the heart of it all is a central "brain" for your home. This is usually a piece of open-source software like Home Assistant running on a small, low-power computer. Think of this hub as the command center, pulling all your smart devices together under one roof, no matter what brand they are or what protocol they use.
Why Build It Yourself
Going the DIY route unlocks a level of power and flexibility you just can't get from the off-the-shelf systems offered by major brands. You’re not trapped in one company's ecosystem or held back by the limitations of their software.
Here’s a taste of what you gain:
- Total Customization: You can design complex automations perfectly suited to your daily life. Imagine a "Good Morning" scene that doesn't just turn on a light, but slowly fades up your bedroom lamps, starts the coffee pot, and has your speaker announce the day's weather.
- Enhanced Privacy: This is a big one. Many DIY hubs, especially Home Assistant, are designed to keep your data local. Your personal information stays on your network, not on a corporate cloud server.
- Cost-Effectiveness: Building your system one piece at a time means you control the budget. You can start with a single, simple project and expand whenever your skills and wallet allow.
- Future-Proofing: When new gadgets and technologies hit the market, you can integrate them yourself. You won't be stuck waiting for a specific company to add support for that cool new sensor you want.
This isn't just a niche hobby anymore, either. It’s a massive trend. The global DIY home automation market hit around USD 63.4 billion in 2024, fueled by a growing demand for both convenience and energy efficiency.
A true smart home isn't just a collection of smart devices; it's a unified system where those devices work together intelligently. The DIY approach is the best way to achieve that synergy.
Understanding The Core Technologies
For everything to play nicely together, your devices need a common language—or at least a good translator. The main communication methods you'll encounter are Zigbee, Z-Wave, and standard Wi-Fi.
While Wi-Fi is great for high-bandwidth devices, Zigbee and Z-Wave are low-power "mesh" networks built specifically for smart home gadgets. They won't slow down your Netflix stream and are incredibly reliable. A good central hub acts as the bridge, allowing a Zigbee motion sensor to seamlessly trigger a Wi-Fi smart plug. It all just works.
If these concepts are new to you, getting a handle on the basics is a great first step. Our detailed explanation of what a home automation system is can provide a solid foundation for your journey.
How to Plan Your First Smart Home Project
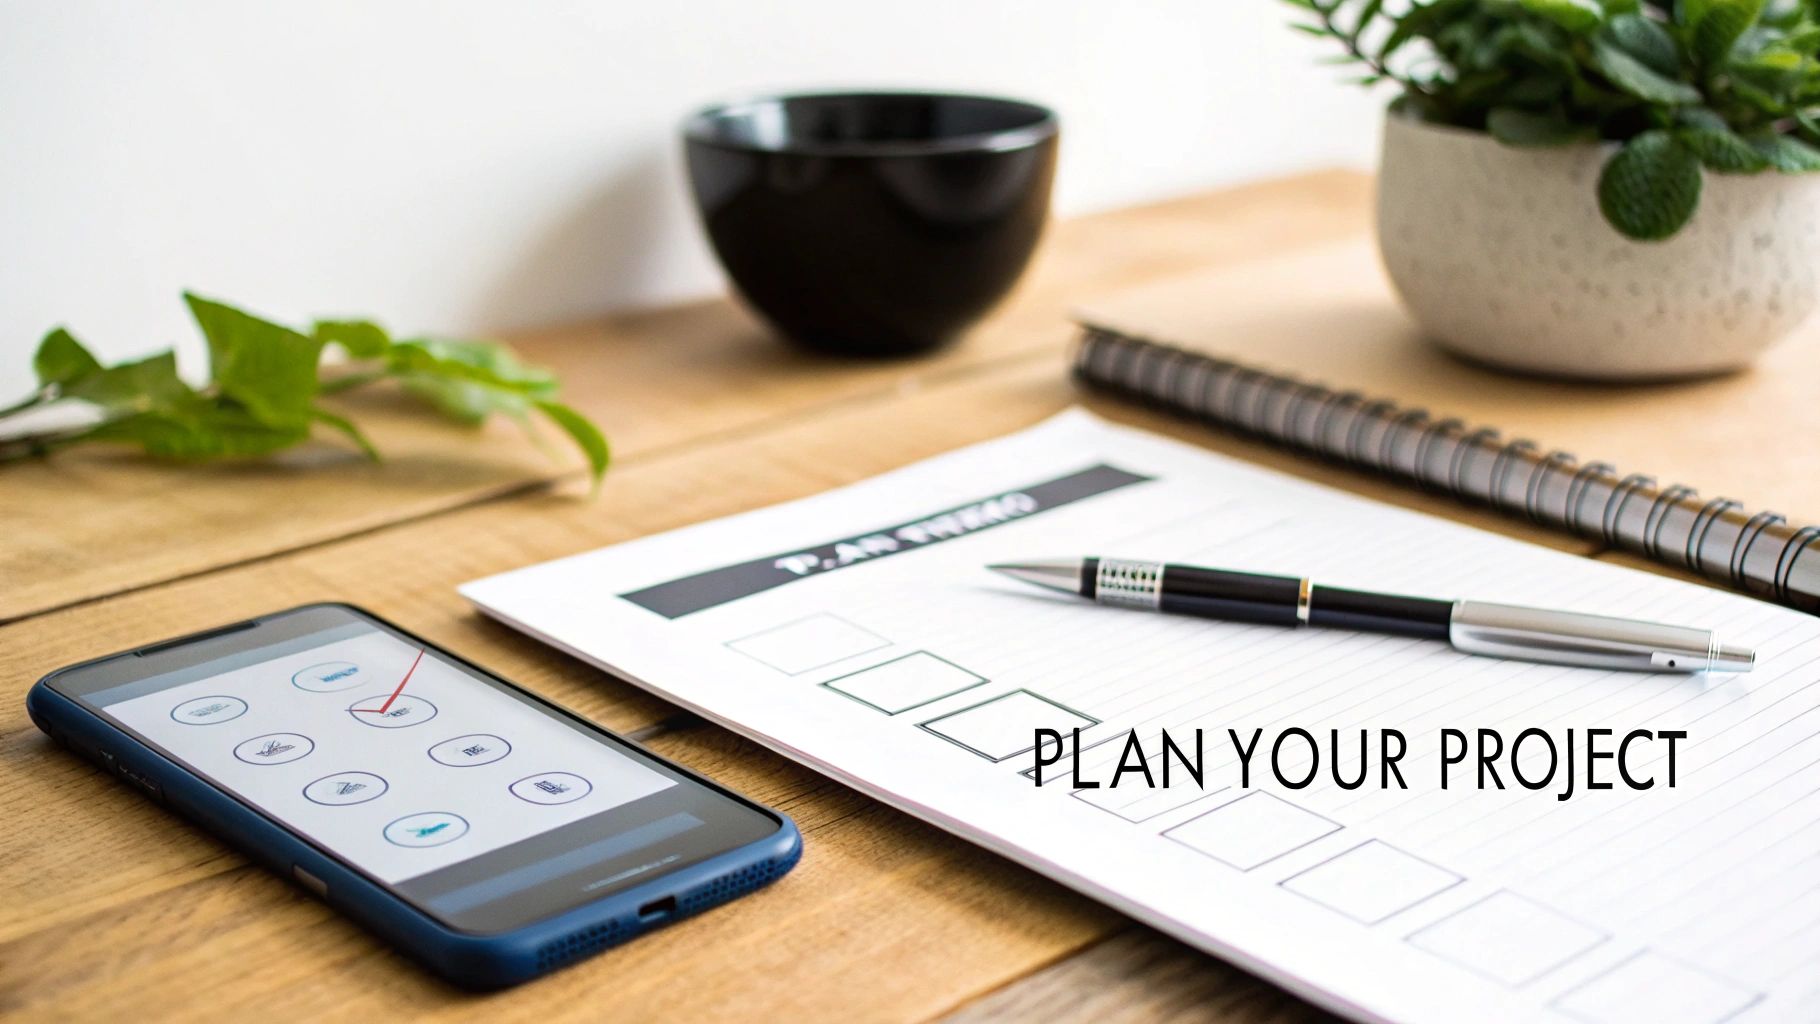
The road to a great home automation DIY setup is paved with good planning, not impulse buys. Before you start loading up a shopping cart with cool-looking sensors and smart plugs, taking a moment to map things out will save you a ton of headaches—and money—down the line.
The real key to success is to start small. I know it's tempting to dream up a fully automated house right out of the gate, but trust me, that's a recipe for frustration. Instead, pick one single annoyance in your daily life and focus on solving just that.
Define a Single, Achievable Goal
What's a repetitive task or minor inconvenience you deal with every day? Maybe it’s fumbling for the light switch when you walk into a dark entryway. Or perhaps you always forget to turn off the living room lamp before heading to bed. These little friction points are the perfect place to start.
Here are a few ideas for simple, focused first projects:
- Automated Movie Night: With one tap, have the living room lights dim down and the TV's accent lighting fade up.
- Front Door Security Alert: Get a notification on your phone if the front door opens between 10 PM and 6 AM.
- Effortless Morning Coffee: Program a smart plug to fire up your coffee maker at 6:30 AM on weekdays, so it's ready when you are.
By choosing a project with a single purpose, you make the whole process feel less intimidating. It's a great way to learn the basic concepts of how automations work—triggers, conditions, and actions—without getting lost in the weeds. Nail that first project, and you'll build the confidence to take on bigger things.
Walking Through a "Welcome Home" Scene
Let's use a real-world example to see how this planning process works. Say you want to create a "Welcome Home" automation that kicks in when you arrive after dark.
The goal is simple: when you get home in the evening, the entryway light turns on by itself. To make this happen, you have to think through the logic. What event should start the automation (the trigger), and under what specific circumstances should it run (the conditions)?
Here’s how you might think through this scenario:
- The Trigger: How will your system know you've arrived? The most popular method is geofencing with your phone. When your phone's GPS enters a pre-defined "home zone" or even just connects to your home Wi-Fi, it can trigger the routine. Another solid option is a smart door lock reporting that it's been unlocked with your specific code.
- The Condition: You don't need the light to come on every single time you get home, especially not in the middle of a sunny afternoon. The critical condition here is that it should only run after sunset.
- The Action: This is the payoff. The action is simple: turn on the smart switch or smart bulb in the entryway.
That's it. By thinking through those three pieces—trigger, condition, and action—you've built the complete logic for an automation without buying a single thing. This simple framework is the foundation for virtually every smart home routine you'll ever create.
Assess Your Home's Infrastructure
Before you click "buy," take a quick look around your house. The reality of your existing setup, especially your Wi-Fi and electrical wiring, will shape what's possible.
Check Your Wi-Fi Coverage
A spotty Wi-Fi signal is the number one enemy of a happy smart home. Grab your phone and walk over to the exact spot you plan to install your new smart device.
Do you have a strong, steady Wi-Fi signal there? If it’s weak or drops out, you’ll need a plan B. That could mean moving your router, adding a mesh Wi-Fi extender, or opting for a device that uses a different protocol like Zigbee or Z-Wave, which create their own reliable mesh networks.
Inspect Your Wiring
This is absolutely critical if your project involves a smart light switch.
Safety First: Always kill the power at the circuit breaker before you open up any switch box. Use a non-contact voltage tester to double-check that the power is well and truly off.
A lot of smart switches need a neutral wire to stay powered on, and not all homes (especially older ones) have them in the switch boxes. The neutral is usually a white wire that allows the switch to draw a tiny amount of power for itself. If you open the box and only see two black wires (or a black and a red), you probably lack a neutral. In that case, you'll need to look for a smart switch specifically designed to work without one.
Finally, come up with a realistic budget. A simple project like our "Welcome Home" scene can easily be done for under $50 with just a single smart bulb or switch. Starting small proves the concept and lets your home automation DIY setup grow as your skills and budget allow.
Choosing the Right Tech and Tools
Once you have a solid blueprint, it's time for the fun part: picking out the gear. This is where your smart home starts to feel real. Making smart choices here will save you a ton of headaches down the road, ensuring your system is reliable and ready for whatever you want to add next. Think of it as stocking your workshop for a big project.
The DIY smart home scene is exploding. It was valued at USD 28.24 billion in 2025 and is expected to hit a staggering USD 247.49 billion by 2034. That incredible growth is because it's easier than ever to add smarts to an existing home without major renovations. You can get more details on this trend from this home automation market report.
Selecting Your Central Hub
Your most critical decision is choosing the central hub—the brain of your entire operation. This little box is what lets a motion sensor from one company talk to a light bulb from another. Get this right, and everything else falls into place.
- Home Assistant: This is the undisputed king for serious DIYers. It's open-source, unbelievably powerful, and works with thousands of devices. The learning curve is a bit steeper, no doubt, but the reward is total control and privacy. I run mine on a simple Raspberry Pi, and it keeps everything inside my own network.
- Hubitat: A fantastic middle-ground, Hubitat gives you a ton of power without the steep learning curve of Home Assistant. Its biggest selling point is a "local first" approach, so your automations are lightning-fast and don't die if your internet goes out.
- SmartThings: Backed by Samsung, this platform is incredibly easy for beginners to get started with. The app is slick and user-friendly, but it does lean heavily on the cloud. That means if your internet connection drops, so do most of your automations.
My two cents? For a truly solid home automation DIY setup, always lean toward local control. When automations run inside your house instead of on a server somewhere, they're faster, more dependable, and aren't at the mercy of a company's uptime.
Understanding Wireless Protocols
Your smart devices need a way to talk to each other, and they do this using different wireless "languages," or protocols. Knowing the basics is key to making sure a new sensor you buy can actually communicate with your hub.
A quick look at the protocols you'll run into most often can help you make sense of the options on the device box.
Comparing Smart Home Protocols
| Protocol | Primary Use Case | Pros | Cons |
|---|---|---|---|
| Wi-Fi | High-bandwidth devices (cameras, smart speakers) | Fast, uses existing network, no hub needed | Can congest your network, high power consumption |
| Zigbee | Sensors, lights, and small battery devices | Low power, fast response, creates a strong mesh network | Can be susceptible to Wi-Fi interference |
| Z-Wave | Locks, thermostats, and critical systems | Excellent range, highly reliable, avoids Wi-Fi band | Devices can be more expensive than Zigbee |
| Matter | Universal device compatibility | Works across ecosystems (Apple, Google, Amazon), secure | Still new, device selection is growing |
This table is just a starting point. Picking the right protocol really depends on what you're trying to build and what's already in your home.
For a much deeper dive, check out our guide on how to choose a smart home protocol—it'll walk you through the nitty-gritty details. When you're planning, remember that almost everything can be integrated. Even specialized gear like motorised skylight blinds for smart home integration typically uses one of these standard protocols to connect to your system.
Essential Physical Tools for Installation
Alright, let's talk about the physical tools. You can't do this all from a keyboard. Having a few basics on hand will make installation work safer, faster, and just plain less frustrating.
For Any Electrical Work (Safety First!)
- Multimeter: This is non-negotiable. Use it to be 100% sure the power is off before you touch a single wire.
- Non-Contact Voltage Tester: A fantastic little pen-sized tool. It lets you quickly check for live wires just by getting it close—no direct contact needed.
- Wire Strippers/Cutters: You need these for clean, solid connections. Don't try to use a pocket knife.
For General Mounting and Setup
- A good set of screwdrivers: You'll be surprised how many different Phillips and flathead screws you'll encounter.
- A small level: Nothing looks worse than a crooked wall switch or sensor. This little guy is your best friend.
- Drill with assorted bits: Absolutely essential for mounting devices, drilling pilot holes, or maybe even running a wire through a cabinet.
Having this basic toolkit ready means you're prepared for the vast majority of smart home projects you'll tackle. By taking the time to pick a solid hub, understand how your devices will communicate, and gather the right tools, you're building a foundation for a truly awesome smart home.
Your First Project: A Step-by-Step Guide
Theory is one thing, but now it’s time to turn your plans into reality. Let's get our hands dirty and build your first home automation diy project from the ground up. We'll start with something simple but incredibly satisfying: automating the living room lights by swapping out a standard light switch for a smart one.
We'll walk through the physical installation first—with a big emphasis on safety—and then jump into the software to bring it all to life. This project is a perfect starting point because it gives you a taste of both the hardware and software sides of the smart home world.
This simple flowchart gives you a bird's-eye view of the decision-making process for any project. It all starts with your central hub, then choosing a communication protocol, and finally, picking the device itself.
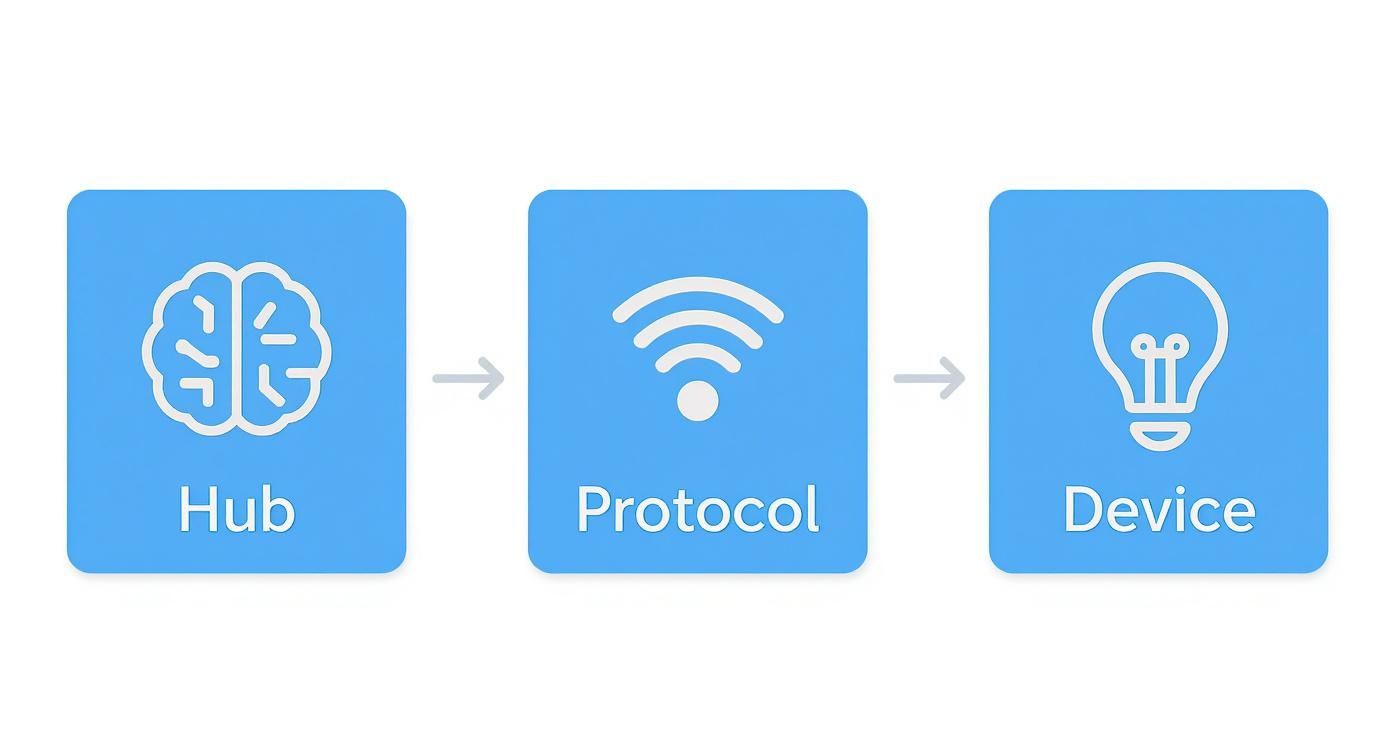
As you can see, every choice builds on the one before it. Following this logic is the key to making sure all your components can talk to each other and work together as a single, cohesive system.
Safely Installing Your Smart Switch
Let’s be crystal clear: working with electricity demands your full attention and respect. Before you so much as touch a screwdriver, your first and most important step is to march over to your breaker box and kill the power to the room you're working in.
Don't just assume you flipped the right switch. Head back to the light switch and flick it on and off a few times to be absolutely sure the light doesn't turn on. For an extra layer of certainty—and this is a pro tip I swear by—use a non-contact voltage tester. Just hold it near the switch. If it stays silent and dark, you're good to go.
Once you’ve confirmed the power is off, you can unscrew the faceplate and then the switch itself from the wall box. Gently pull the old switch out and snap a quick picture of the wiring with your phone. Trust me, that photo will be your best friend in a few minutes, saving you from any "which wire goes where?" guesswork.
Wiring The New Hardware
Now you can carefully disconnect the wires from the old switch. Your new smart switch will have connections for a few essential wires that you'll need to find in your wall box.
- Line (or Hot): This is the black wire that brings power in from your breaker panel.
- Load: This is usually another black or red wire that sends power out to the light fixture.
- Neutral: This is a critical white wire that gives the smart switch the constant power it needs to stay "smart."
- Ground: This is a bare copper or green wire that’s purely for safety.
Following the instructions that came with your new switch, connect each wire securely. I like to use wire nuts and give them a gentle tug to ensure the connection is solid. A loose connection can cause annoying flickering or, far worse, create a fire hazard. Carefully tuck the wires back into the box, screw in the new switch, and pop on the faceplate. Now you can head back and turn the breaker on.
Pairing And Configuring The Device
With the physical work behind us, it's time to handle the software. This is where your smart switch officially joins your home's digital ecosystem. The exact steps will vary a bit depending on your hub (like Home Assistant or Hubitat) and the switch's protocol (Zigbee, Z-Wave, or Wi-Fi), but the core idea is always the same.
First, you'll open your hub's app or web interface and put it into "pairing" or "discovery" mode. Next, you'll follow the switch's instructions to make it discoverable—this often just means pressing a tiny button on the switch. Within a minute or so, the new device should appear on your hub's dashboard, waiting for you to give it a name and assign it to a room.
This is a process millions are getting familiar with. In 2024, an estimated 69.91 million households in the U.S. were already using smart home devices, a huge jump driven by accessible DIY options like this. As more people bring in these technologies for everything from security to energy savings, the market is set to keep growing.
Building Your First Automation
Okay, here comes the magic. We're going to create a "Movie Night" scene. The logic is straightforward: If the TV turns on after sunset, automatically dim the living room lights to a cozy 20% brightness. This simple routine turns a manual task into a seamless, automatic experience.
Inside your hub's automation editor, you'll define three main parts:
- The Trigger: This is the event that kicks the whole thing off. For us, the trigger is the smart TV's status changing to "playing" or "on."
- The Condition: This is a rule that has to be met for the automation to proceed. We only want this to happen at night, so our condition is "after sunset."
- The Action: This is what the automation actually does. The action is to tell the "Living Room Lights" to set their brightness level to 20%.
Key Takeaway: The "Trigger-Condition-Action" framework is the fundamental building block of all home automation. Once you master this concept, you can create powerful routines for just about any scenario you can dream up.
Once you save the automation, it's time to test it. Wait until after sunset, fire up your TV, and watch as your lights gracefully dim. Congratulations—you've officially built your first DIY home automation!
From here, the possibilities are truly endless. You can build on this by adding more devices like smart plugs or motion sensors to create even more useful and personalized routines. This same hands-on approach works for all sorts of projects, from smart thermostats (you can see how in our smart thermostat installation guide) to home security. For those looking to bolster their home's safety, this guide on installing smart locks offers some great, practical steps for another fantastic weekend project.
Testing and Troubleshooting Like a Pro
https://www.youtube.com/embed/bFvgWXkbMU0
You’ve wired everything up and coded the automation. Now comes the part that separates a fun gimmick from a genuinely smart home. The real test isn't just about flipping a switch and seeing if a light comes on. It's about making sure it works every single time, without fail.
After all, a smart home that leaves you fumbling in the dark because the Wi-Fi hiccuped isn't very smart at all.
This final stage is all about stress-testing your creation. Don't just check the box and move on. You need to actively try to break it. Think like a gremlin: what happens if the internet connection drops for a minute? Does the automation recover gracefully when it comes back online, or does it get stuck in a weird state?
A Methodical Approach to Testing
Taking a systematic approach to testing is the best way to uncover weaknesses you wouldn't otherwise find until 3 AM on a Tuesday. The goal here is to simulate real-world failures and oddball scenarios to make sure your system is rock-solid.
First, test the core logic under perfect conditions. Does your "movie night" scene fire off correctly when you turn on the TV after sunset? Perfect. Now, let's start throwing some curveballs.
- Push the Boundaries: What happens if you trigger the automation exactly at sunset? Or one minute before? Does the logic hold up?
- Look for Conflicts: Does another automation get in the way? For instance, does your "good night" scene, which turns all lights off, accidentally override your carefully set movie lighting?
- Simulate Network Chaos: This is a big one. Go unplug your Wi-Fi router for 30 seconds. When it reboots, do your Wi-Fi-based devices reconnect automatically and remember what they were supposed to be doing?
I once had a Zigbee door sensor that would randomly fall off the network, causing the porch light automation to work only 90% of the time. It was maddening. The fix ended up being ridiculously simple: I just had to move the Zigbee USB coordinator a few feet away from a notoriously noisy USB 3.0 hub.
Learn to Love the Logs
When an automation inevitably misbehaves, your system's logs are your best friend. Think of them as the black box flight recorder for your smart home, capturing every single event, trigger, and error message. Instead of guessing what went wrong, the logs give you cold, hard clues.
Platforms like Home Assistant have a dedicated log viewer that becomes indispensable. When you're trying to figure out why something failed, filter the log to the exact time of the incident. You’ll often find revealing messages like "entity not available" or "service call failed," which can point you straight to the problem—maybe a sensor with a dead battery or a smart plug that lost its connection.
The Golden Rule: Always Have a Manual Override
If you take one piece of advice from this guide, let it be this: every single automation needs a simple, physical, manual override. Your smart home should enhance your life, not hold its basic functions hostage.
Just imagine your central hub crashes in the middle of the night and all the lights are stuck on. If the only way to turn them off is through an app that can't connect, you've got a real problem. This is why the physical light switch must always work, no matter what. It's a critical failsafe that ensures your home is still a home, even when the tech fails.
Here are a few override strategies I always build in:
- Use Smart Switches, Not Just Smart Bulbs: A smart switch keeps the physical control right there on the wall. It’s intuitive, and everyone in the house knows how to use it.
- Keep a Physical Remote Handy: For complex scenes, a simple Zigbee button or remote can be a lifesaver if your phone is dead, the app is glitching, or the network is down.
- Program a "Panic Button": I like to have a dedicated scene that shuts down all active automations and sets devices to a neutral, "normal" state. This can be triggered by a single physical button hidden away for emergencies.
Building a dependable smart home is a process. You'll build something, test it, find a flaw, and tweak your logic. This cycle of refinement is what transforms a collection of cool gadgets into a truly intelligent and reliable environment.
Got Questions About DIY Home Automation? Let's Clear Things Up.
Jumping into a home automation DIY project can feel like opening a can of worms, and it's totally normal to have a few questions swirling around. Let's walk through some of the most common things people ask when they're just starting out, so you can get building with a clear head.
Is This Safe If I'm Not an Electrician?
For a huge chunk of projects, the answer is a resounding yes. A lot of the best entry-level gear is all about "plug-and-play." Think about smart plugs that go right into your existing wall outlets, or battery-powered motion sensors you can stick on a wall in seconds. These are as safe as plugging in a toaster.
Now, things get serious when you're talking about swapping out a light switch or wiring up a smart thermostat. This is where you absolutely cannot cut corners. The first and most critical rule is to kill the power at the circuit breaker. Always. Then, grab a voltage tester to double—and triple—check that the wires are 100% dead before your hands go anywhere near them. If you have even a shadow of a doubt, call an electrician. It’s the best money you'll ever spend on your project.
What's the Deal with Zigbee, Z-Wave, and Wi-Fi?
Picture them as different languages that your smart devices use to communicate. Each has its pros and cons.
- Wi-Fi: You already have it, so setting up Wi-Fi devices is a breeze. They just hop onto your home network. The catch? The more devices you add, the more congested your Wi-Fi can get, which might start to interfere with your movie streaming or online gaming.
- Zigbee & Z-Wave: These are the real workhorses of home automation. They create their own dedicated "mesh" network just for your smart gadgets. This network is incredibly efficient and doesn't clog up your Wi-Fi. Zigbee is often praised for its speed, while Z-Wave has a reputation for being ultra-reliable, especially over greater distances. They do require a central hub to bridge their network to your router.
We're also seeing the new Matter protocol gain traction, which is designed to be a universal language that helps all these different devices play nice together.
The big secret? You don't have to choose just one. A good hub, like Home Assistant, acts like a universal translator, letting your Z-Wave door sensor trigger your Zigbee lights without a second thought.
Do I Really Need a Hub like Home Assistant?
If you're just dipping your toes in the water with one smart bulb, then no. But if your goal is to build a truly interconnected smart home that you can expand over time, then yes, a hub is non-negotiable.
It's easy to start with a few Wi-Fi gadgets, each with its own separate app. But before you know it, you're fumbling through five different apps just to turn on the lights and check the front door. None of these devices can talk to each other, which defeats the whole purpose of a "smart" home.
A central hub pulls everything together under one roof. It’s the brain of the operation, unlocking the powerful, creative automations that make your home feel intelligent and seamless. For a system that values privacy, power, and endless customization, a hub is the foundation.
So, How Much Does It Cost to Get Started?
You can get in the game for less than $100, seriously. A Raspberry Pi to run Home Assistant will set you back about $50-70. A good Zigbee or Z-Wave USB stick is around $30, and you can find solid sensors or smart plugs for $10-15 apiece.
A perfect first project—like fully automating the lights in your living room—could easily come in right around that $100 mark. That's the beauty of home automation DIY: it scales with you. You can add one piece at a time, whenever your budget allows or a new idea strikes, without needing a massive upfront investment.
Ready to take control of your home? At Automated Home Guide, we provide the expert tips, in-depth reviews, and clear tutorials you need to build a smarter, safer, and more convenient living space. Start your journey today by exploring our resources at https://automatedhomeguide.com.


Leave a Reply