

Building your own home automation system diy is all about creating a smart home that answers to you, and only you. It’s a rewarding project that goes way beyond simple convenience. You're not just adding gadgets; you're building a responsive, secure, and powerful environment that fits your life perfectly—without being tied to corporate cloud servers or forking over cash for monthly subscriptions.
Starting Your DIY Smart Home Journey
Jumping into a do-it-yourself smart home project is an incredibly empowering move. It puts you firmly in control. Unlike the pre-packaged systems that lock you into one brand’s ecosystem, a DIY approach lets you cherry-pick the best devices from any manufacturer and make them all work together. This is how you create a truly unified system where your lights, sensors, and cameras communicate flawlessly.
The real magic of a home automation system diy is local control. This simple idea means the brain of your smart home operates from a device inside your own house, not from a server farm thousands of miles away. The benefits are huge and you’ll feel them immediately:
- Your Privacy Stays Private: Sensitive data, like when you're home or what your security cameras record, never leaves your network.
- Rock-Solid Reliability: Your automations will run without a hitch, even when your internet is down. The Wi-Fi can go out, but your lights will still turn on.
- Lightning-Fast Response: Commands happen instantly. There's no lag waiting for a signal to bounce from your house to a server and back again.
- Limitless Customization: The only thing holding you back is your own imagination, not the limited feature set of a big tech company.
The Growing Appeal of DIY Automation
This move toward self-hosted smart homes isn't just for tech hobbyists anymore. What was once a niche corner of the market has exploded into a mainstream movement. The global market recently hit a value as high as USD 63.4 billion, with forecasts showing it's only going to get bigger. People are catching on.
When you build your own system, you get to bypass the restrictions and recurring fees of commercial products. The result is a more powerful and personalized setup that can grow and change right along with you, making it a smart investment for the long haul.
As you get started, remember that the best systems are built on a solid foundation. Our guide on setting up a smart home walks you through those crucial first planning steps. A key part of that foundation is a stable network—it's the central nervous system of your smart home, and understanding the importance of data network installation is critical.
Ultimately, this is about more than just hooking up a few cool gadgets. It's about building a smarter, more efficient home that truly works for you.
Picking the Brains and Language of Your Smart Home
Every solid DIY home automation system comes down to two key choices you make right at the start: the central hub that acts as the brain, and the communication protocols that work as its language. Nail these decisions upfront, and you'll save yourself a ton of headaches down the road, ending up with a system that's reliable, private, and seriously powerful.
This video gives a fantastic rundown of the core ideas you'll want to get familiar with.
https://www.youtube.com/embed/rJR7tr5XFDQ
The first big question to tackle is where your system's "smarts" will live. Will it be inside your home on a dedicated device (local control), or will it rely on a company's servers in the cloud (cloud-based)? Cloud services are often easier to set up initially, but they come with strings attached—namely, your system goes down if your internet does, and you're at the mercy of the company's long-term support. A local-first approach puts you firmly in control.
This decision flowchart breaks down that fundamental choice between a cloud-dependent system and a local one.
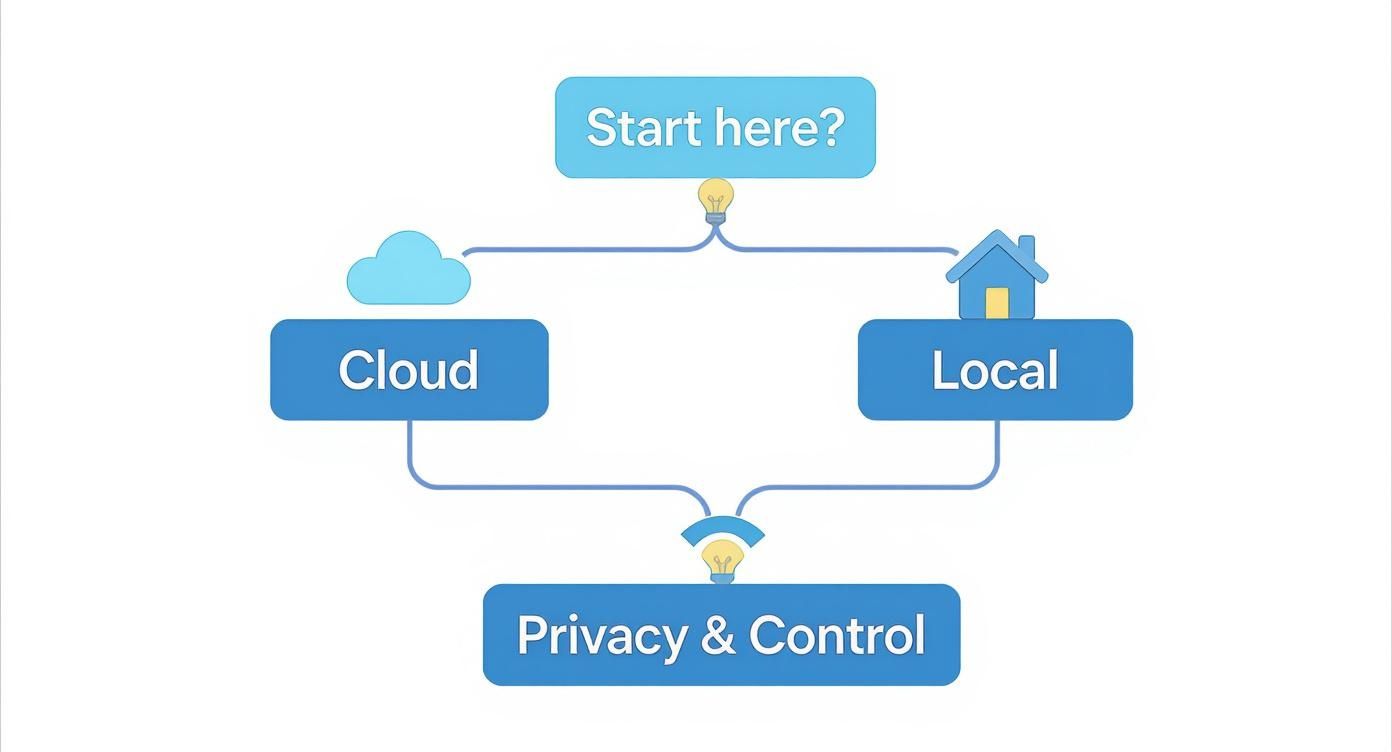
The main takeaway here is pretty clear: if you prioritize privacy and want a system that won't just stop working one day, local control is the way to go.
Selecting Your Central Hub Software
The hub is the software that brings everything together, the conductor of your smart home orchestra. For a true DIY setup, open-source platforms are the undisputed kings. They offer unmatched flexibility and, most importantly, don't depend on some company's server to function.
The biggest name in the game is Home Assistant. It's an incredibly powerful and versatile piece of free software with a massive, helpful community. It also has integrations for literally thousands of devices from hundreds of different brands. You can throw almost anything at it, and it will find a way to make it work.
Other great options are out there, too:
- OpenHAB: Another heavyweight in the open-source world, known for its robust rule engine and wide device support. It's been around for a long time and is incredibly stable.
- Hubitat: A fantastic middle ground. It's a commercially available hub that is built from the ground up for local control, offering a more user-friendly, out-of-the-box experience than its open-source cousins.
Your choice really boils down to your technical comfort level. Home Assistant gives you the ultimate power to customize but has a steeper learning curve. Hubitat is easier to get started with but is a bit more constrained. At their core, these platforms function as an IoT gateway, a central point for managing all communication. For a deeper look into what makes these hubs tick, this guide on IoT Gateways for Energy Management Systems is a great resource.
Decoding Device Communication Protocols
Once you've chosen a brain, your devices need a way to talk to it. While many gadgets just use your home's Wi-Fi, dedicated low-power mesh networks like Zigbee and Z-Wave are often a much better choice for home automation. These protocols were designed from the ground up for this exact purpose, leading to better reliability and way longer battery life for your sensors.
Think of it this way: Wi-Fi is a busy, multi-lane highway built for heavy data like streaming movies. Zigbee and Z-Wave are more like quiet, dedicated bike paths built for small, quick messages—like "the door is open" or "turn the light on."
Understanding what each protocol is good at is key to building a rock-solid system. For a full technical breakdown, you can check out our in-depth guide to smart home protocols.
To make it simple, here's a quick comparison of the main wireless protocols you'll encounter.
Smart Home Protocol Comparison
This table breaks down the big three players, helping you decide which technology to use for which device.
| Protocol | Best For | Pros | Cons |
|---|---|---|---|
| Zigbee | Battery-powered sensors (motion, door), smart bulbs, and outlets. | Very fast, energy-efficient, and often cheaper. There's a huge ecosystem of affordable devices. | Can sometimes get interference from crowded 2.4 GHz Wi-Fi networks. |
| Z-Wave | Critical devices like door locks, thermostats, and in-wall light switches. | Extremely reliable with almost no interference since it uses a lower frequency. Devices must pass strict certification, ensuring they work well. | Devices are usually more expensive than their Zigbee equivalents. |
| Wi-Fi | High-bandwidth devices like security cameras, or things placed where your Wi-Fi signal is already strong. | No extra hardware needed per device; it just uses your existing network. | Can clog up your network, and battery-powered devices die quickly. Every device is another potential security risk on your network. |
Honestly, the best DIY home automation system usually ends up being a hybrid. You might use Z-Wave for the bulletproof reliability of your front door lock, a bunch of cheap and fast Zigbee motion sensors all over the house, and Wi-Fi for your high-definition security cameras.
Your central hub, like Home Assistant, is the magic ingredient that ties them all together, making the underlying protocol totally invisible in your day-to-day use. This mix-and-match approach ensures every device in your home is playing to its strengths.
Selecting Your Smart Devices and Hardware
Alright, you've figured out your platform and the protocols you'll use. Now for the fun part: picking the actual hardware. This isn't just a shopping spree; it’s about carefully choosing the components that will become the backbone of your smart home. The goal is to find reliable gear that adds real value and, most importantly, plays nicely together.
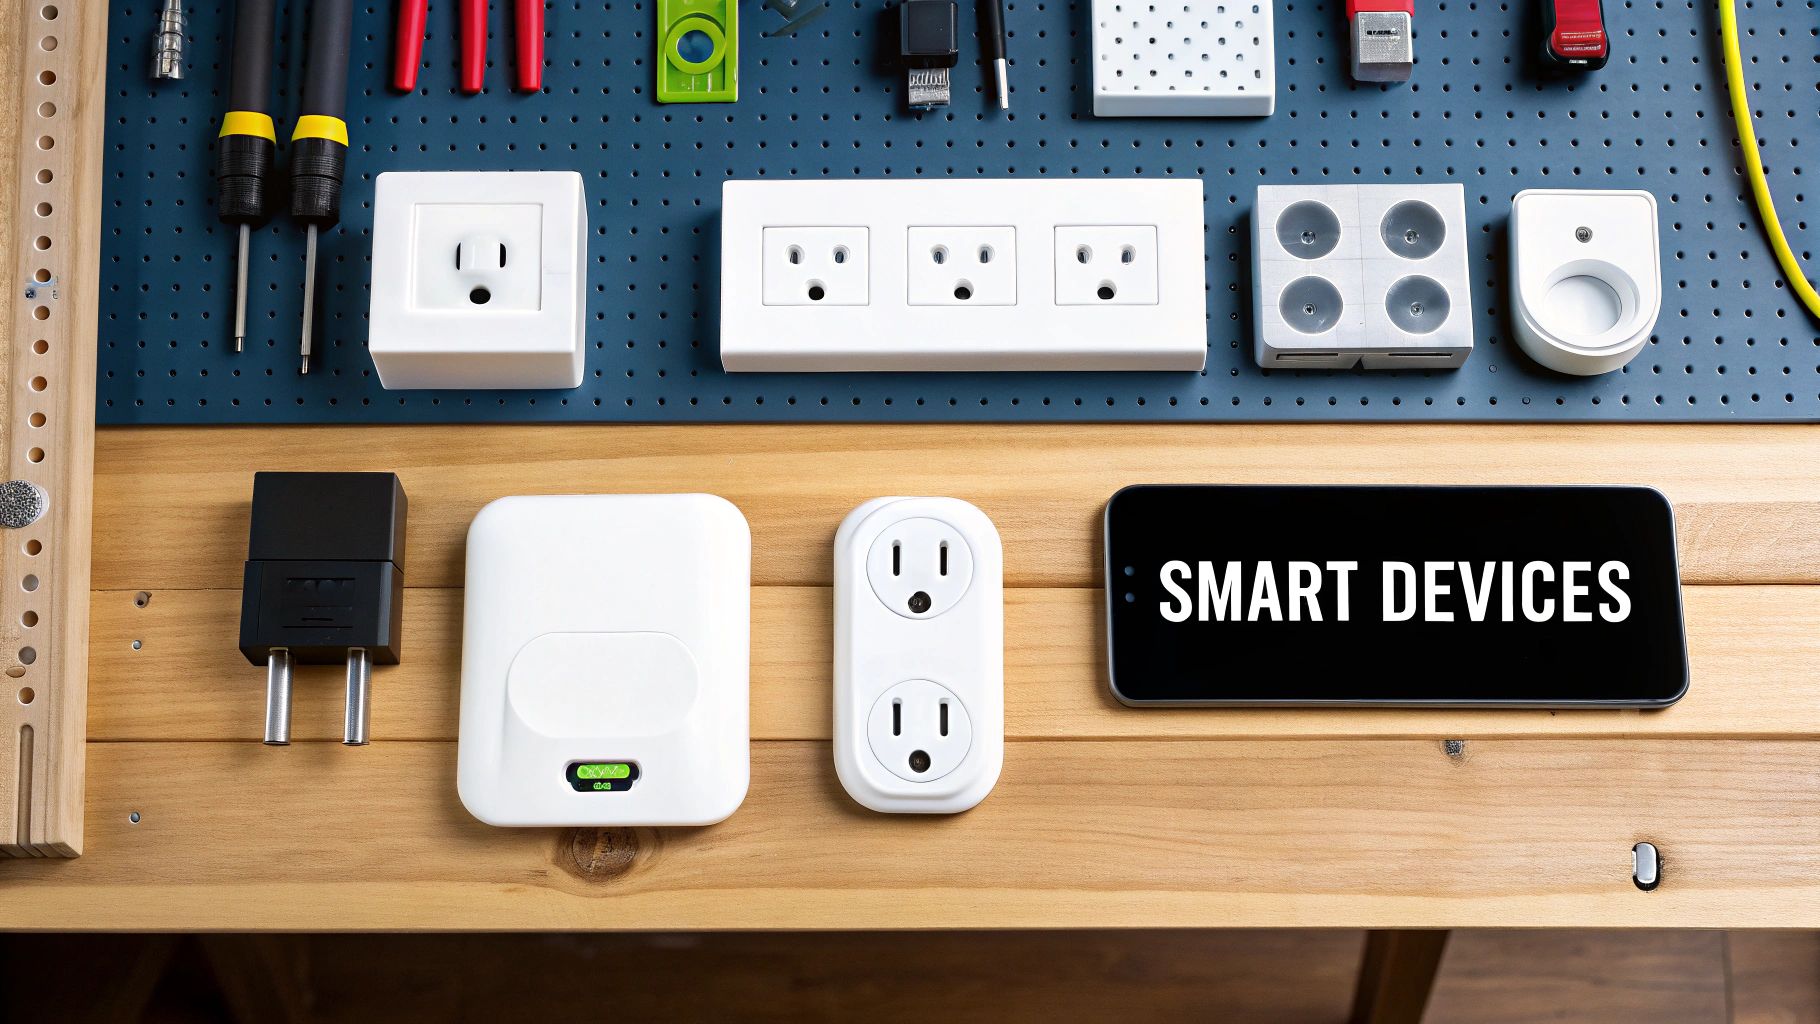
The market is absolutely flooded with gadgets, but a smart DIYer knows to start with the essentials. If you build a solid foundation first, you can always expand later.
Foundational Sensors: The Eyes and Ears of Your Home
Sensors are the magic ingredient that elevates a bunch of remote-controlled devices into a truly automated home. They feed your system the data it needs to make smart decisions on its own, without you lifting a finger.
- Door & Window Sensors: These are your go-to for security and basic automation. A simple magnetic contact sensor can alert you if a door opens while you're away, or it can be the trigger to automatically turn on the pantry light. Simple, but powerful.
- Motion & Presence Sensors: This is where a little extra investment pays huge dividends. Basic Passive Infrared (PIR) sensors are cheap and great for detecting broad movement, like turning on a light as you walk down a hallway. But for true presence detection—knowing someone is sitting still in a room—millimeter-wave (mmWave) sensors are king. They can detect tiny movements like breathing, which means the lights won't frustratingly switch off while you're engrossed in a book.
A classic rookie mistake is grabbing a 10-pack of the cheapest PIR sensors you can find. They have their uses, for sure. But trust me, investing in one or two mmWave sensors for your main living areas or office will completely change the game for your presence-based automations.
Smart Lighting: Making the Right Call
Automated lighting is the gateway drug for most home automators. The big debate? Smart bulbs versus smart switches. While smart bulbs seem easy—just screw them in—they have a major flaw. The moment someone instinctively flips the physical light switch, the bulb loses power and becomes dumber than a rock.
Smart switches and relays, on the other hand, replace your existing wall switch. They stay powered on, letting your hub control the lights no matter what position the switch is in. This is, by far, the more reliable and intuitive way to go for the long haul.
- Smart Bulbs: Best for table lamps or specific fixtures where you want to play with color and just need a simple, screw-in solution.
- Smart Switches/Relays: The clear winner for any overhead lighting or ceiling fans. You get to keep that familiar manual control at the wall while ensuring your automations never fail.
Control and Utility Devices
Beyond the basics, a few other workhorse devices add a ton of utility and are perfect for getting started.
Smart plugs are the Swiss Army knife of home automation. You can plug almost any "dumb" appliance into one and bring it into your system. Hook one up to a fan and have it kick on when a temperature sensor reads too high. Or my personal favorite: put one on the coffee maker to have a fresh pot waiting for you when you wake up.
Security cameras are another popular choice. When you're building a DIY system, the key is to find cameras that support local streaming protocols like RTSP. This lets your hub, like Home Assistant, pull the video feed directly without relying on a company's cloud server. This is a massive win for privacy and lets you dodge those monthly subscription fees.
Picking the right hardware from the get-go is critical. To get a head start, check out our curated guide on the best smart home devices that we know integrate well with DIY platforms. Making these strategic choices now will ensure you build a system that’s not just clever, but also stable and secure for years.
Alright, you’ve done the research and picked your gear. Now for the fun part: bringing the brain of your home automation system diy to life. This is where the planning stops and the real hands-on work begins. We're about to set up the core software, plug in the essential hardware, and pair your very first devices to see this thing actually work.
This process isn't as intimidating as it sounds. We'll walk through getting the software running, connecting the radios that let it talk to your gadgets, and making sure it's all secure.
Getting Your Hub Software Installed
First things first, let's get your chosen software installed. For most people getting started, this means firing up the incredibly popular Home Assistant. The exact steps depend on your hardware, but the end goal is always the same: create a dedicated, always-on server for your smart home.
- For Raspberry Pi Users: This is the classic, go-to method. You'll use an imager tool to "flash" the Home Assistant Operating System (HAOS) onto a microSD card. Pop the card into your Pi, plug in an Ethernet cable, and power it up. It's really that simple.
- For Mini-PCs or Old Laptops: If you're using something with a bit more muscle like an Intel NUC or an old computer, you have options. You can run Home Assistant in a virtual machine (VM) or even install it directly as the machine's only operating system for maximum performance.
Once it boots up for the first time, you can jump on another computer on your network, open a web browser, and find the setup page. This is where you'll create your account and get the basic configuration rolling. The whole process is surprisingly smooth and designed to get you from zero to running in no time.
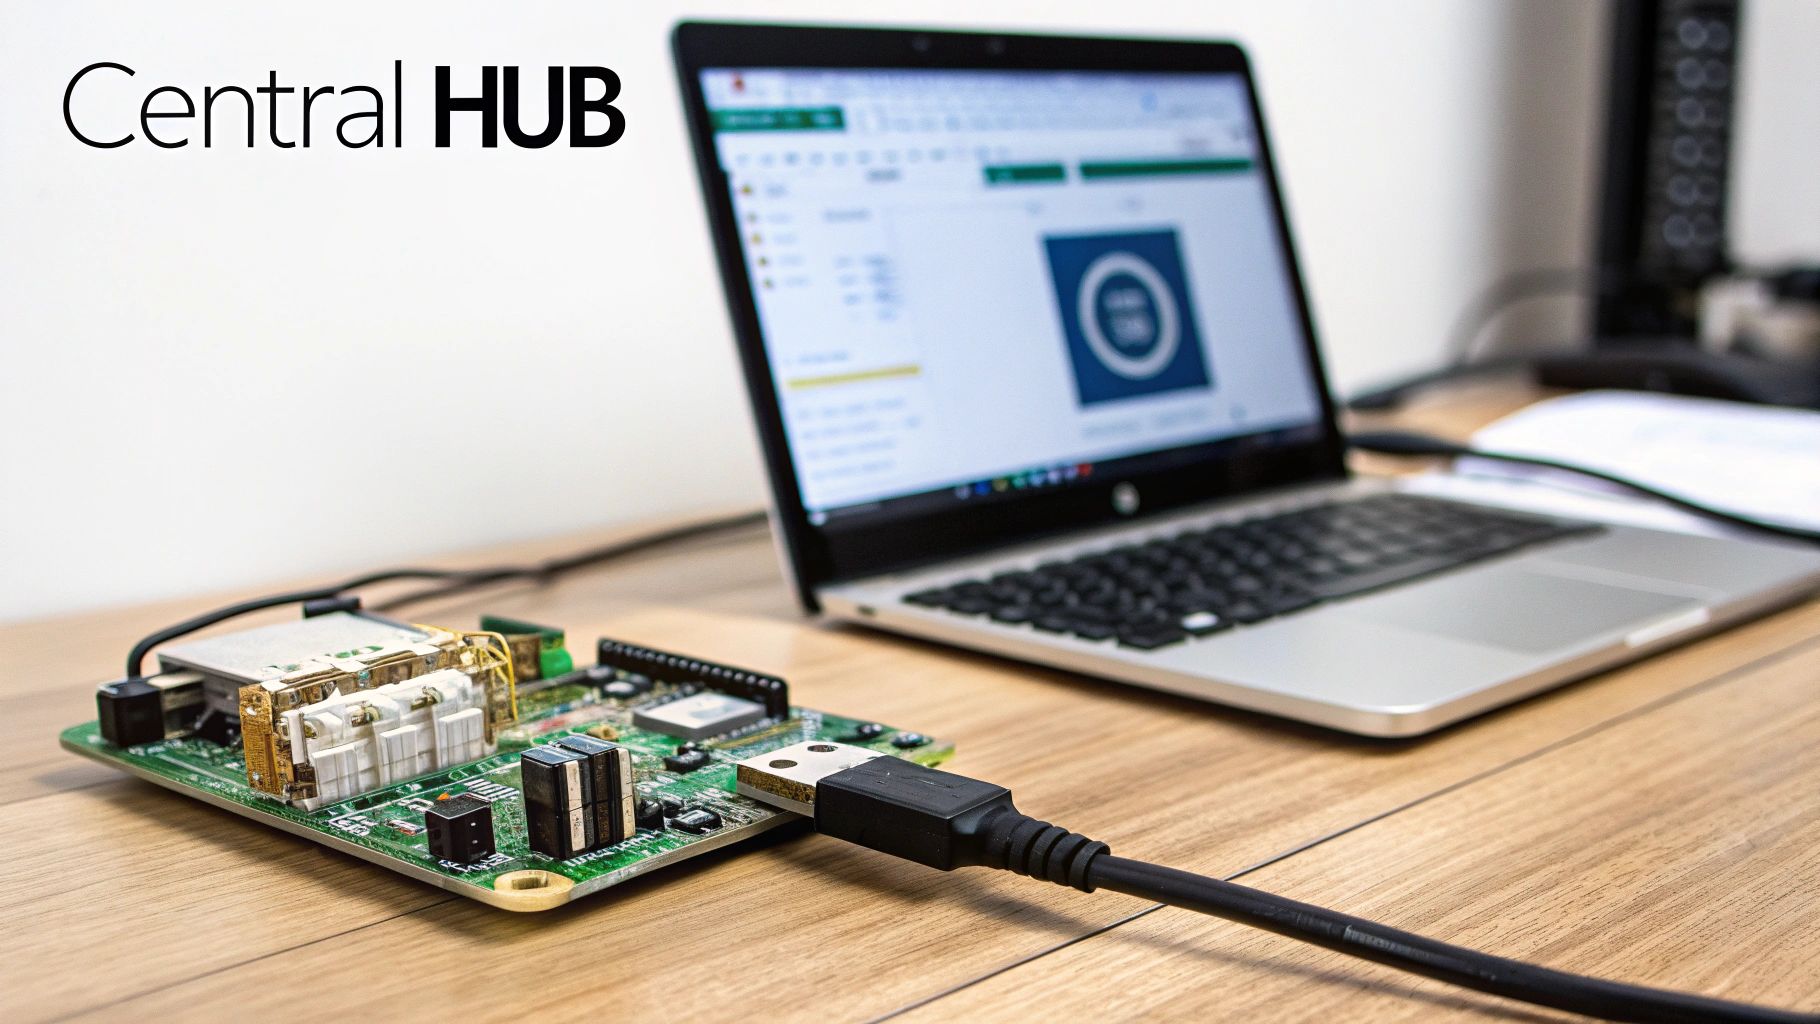
Connecting Your Communication Hardware
Your hub software is smart, but it doesn't speak Zigbee or Z-Wave out of the box. For that, it needs a translator—a USB coordinator, often called a "stick." Think of this little device as the bridge between your computer and the wireless networks where all your sensors and switches live.
Getting it connected is usually just a matter of plugging it in. You’ll plug the USB stick (something like an Aeotec Z-Stick or a Sonoff Zigbee Dongle) into an open USB port on your Pi or PC. I strongly recommend using a short USB extension cable to move the stick away from the computer itself. The electronic noise from the computer can create a surprising amount of radio interference.
Pro Tip: Whatever you do, try to avoid plugging your Zigbee or Z-Wave stick directly into a USB 3.0 port. The 2.4 GHz frequency from USB 3.0 can seriously mess with the Zigbee signal, leading to a frustratingly unreliable network. A simple USB 2.0 port or a USB 2.0 extension cable is your best friend here.
After it's plugged in, you’ll head into your hub’s software settings and add the integration for Z-Wave JS or Zigbee2MQTT. The software will find the USB stick, and just like that, your hub is now bilingual and ready to communicate with a whole world of new devices.
Securing Your Smart Home Network
Now is the perfect time to think about network security, before you start adding dozens of devices. The best practice is to wall off your IoT gadgets from the main network where your personal computers and phones live. This simple step prevents a potential vulnerability in a cheap smart plug from giving an attacker a backdoor to your sensitive data.
Most modern routers make this easy by letting you create a "Guest Wi-Fi" network or a separate VLAN (Virtual Local Area Network). Stick all your Wi-Fi-based smart devices on this isolated network. They can still talk to your hub, but they're firewalled from everything else.
Pairing Devices and Building Your First Dashboard
With the hub up and secure, the real magic begins. Pairing (or "including") a device is your first taste of what this system can do.
- Put the Hub in Pairing Mode: Inside your hub's interface, go to the Z-Wave or Zigbee control panel and start the "add device" or "discover" process.
- Activate the Device: Grab your sensor or switch and follow the manufacturer's instructions. This usually just means pressing a tiny button a few times or pulling a battery tab to wake it up.
- Watch it Appear: In a few seconds, your hub will see the new device. You can then give it a sensible name (like "Living Room Motion Sensor") and tell the system which room it's in.
Do this for your first few devices—maybe a door sensor, a smart plug, and a motion sensor. As you add them, you can start building a simple dashboard. Most platforms let you just drag and drop the new controls onto a blank canvas. Seeing the status of a door flip from "Closed" to "Open" in real-time on your own screen is that first "aha!" moment where your DIY home automation system truly comes alive.
Creating Your First High-Impact Automations
Okay, your hub is up and running, and you've paired a few devices. You've officially laid the groundwork for your home automation system diy. Now comes the part where we inject the "smart" into your smart home.
Automations are the lifeblood of a system that truly works for you. They transform a collection of gadgets you can control with your phone into a responsive environment that anticipates your needs.

This is where the real fun begins. We’re moving beyond just flipping switches remotely to build routines that genuinely improve your daily life.
The Building Blocks of Automation
Every single automation, from the dead simple to the incredibly complex, is built on three core ideas. Once you start thinking in this framework, you can build just about anything you can dream up.
-
Trigger: This is the event that kicks everything off—the "when." A trigger could be a motion sensor spotting movement, a door contact sensor opening, the clock hitting 8:00 PM, or your phone’s GPS realizing you're pulling into the driveway.
-
Condition: This is a powerful, optional filter. It checks if specific criteria are true after the trigger fires but before any actions run. Think of it as the "only if" part of the logic, stopping an automation from running when you don't want it to.
-
Action: This is what the automation actually does. It's the end result. Actions can be anything from turning on a light and adjusting the thermostat to sending a notification to your phone or running a complex "scene" that involves a dozen devices.
Getting comfortable with this Trigger -> Condition -> Action mindset is the secret to unlocking your system's true power. It's the logic that separates a smart home from a merely connected one.
Practical Automation Example: The "Welcome Home"
Let's put this theory into practice with a classic "Welcome Home" routine. The goal is to have your house react to your arrival, making that transition from the outside world seamless and comfortable. No more fumbling for light switches in the dark with your hands full of groceries.
Here's how we'd build it:
- Trigger: Your smartphone connects to your home's Wi-Fi. It’s a rock-solid way to know you’ve just walked through the door.
- Condition: Only if the sun has set. There’s no point in blasting the lights on if you get home in the middle of a sunny afternoon.
- Action: Turn on the entryway light, set the living room lamp to a soft 50% brightness, and kick the thermostat to your preferred "home" temperature.
This simple bit of logic creates a high-impact experience you'll appreciate every single day.
My personal "Welcome Home" automation also checks if it's a weekday. If so, my office lights turn on to a dim "end of day" setting, which is my little cue to plug in my work laptop. It's these small, personalized touches that make a DIY system so rewarding.
Creating a Scene for Movie Night
Automations aren't just about utility; they're also about setting a mood. A "Movie Night" scene is the perfect example of using your system to create a whole experience with a single command, whether that's a tap on your phone or a shout to your voice assistant.
Let’s design a routine that gets the living room prepped for a film.
- The Trigger: Tapping a virtual button on your smart home dashboard labeled "Movie Night."
- The Actions:
- Dim the main living room lights to a cozy 10%.
- Turn the bright kitchen lights off completely.
- Power on the TV and soundbar (using a smart plug or an infrared blaster).
- Set the LED strips behind the TV to a soft, warm white.
With one tap, the entire atmosphere of the room shifts. It's so much more elegant than running around flipping five different switches. You can even build a companion "Movie Over" scene to gently bring the lights back up when you're finished. This is how a well-planned home automation system diy adds a touch of everyday luxury to your life.
Protecting and Caring for Your DIY System
Alright, you’ve put in the work to build a powerful DIY smart home. Now comes the part that’s just as important: keeping it secure and running smoothly. When you're the one in charge, you're also the head of IT and security. Think of it like building digital walls around the amazing, locally-controlled ecosystem you just created. It's a responsibility, but it's totally manageable.
The absolute foundation of good security is solid password hygiene. I can't stress this enough: never reuse passwords, especially not for your main hub. A good password manager is a non-negotiable tool here. It'll generate and remember complex, unique passwords for every single device and service you connect.
On top of that, enable two-factor authentication (2FA) on your hub immediately. It's probably the single most effective thing you can do. It adds that critical second layer of defense, meaning even if a password gets compromised, a hacker can't get in without also having your phone.
Keeping Your System Healthy and Safe
Just like your computer or phone, your smart home needs regular updates. Developers are always finding and fixing security holes, so keeping your hub software (like Home Assistant) and all its add-ons up to date is your best line of defense against new threats.
It’s no surprise that security is a huge deal for people getting into smart homes. In fact, 41% of consumers say it's one of their main reasons for buying smart tech in the first place. This just goes to show how vital it is to be proactive. You can read more about what's on people's minds in these smart home consumer trends on geeksfl.com.
But if there’s one maintenance task you absolutely cannot skip, it’s setting up automated backups. This is your ultimate insurance policy. If an SD card dies or a software update goes haywire, a recent backup can get your entire setup—every device, every dashboard, every automation—back online in minutes.
Most platforms have simple add-ons that handle this for you. You can set it to create a full backup and send it to cloud storage automatically, say, every night at 3 AM. This little "set-it-and-forget-it" process is the difference between a minor headache and a total disaster that forces you to rebuild everything from the ground up. Seriously, don't put this one off.
Got Questions About Your DIY Smart Home? Let's Get Them Answered
Diving into a DIY home automation system for the first time usually sparks a few questions. I've heard the same ones pop up time and time again, so let's clear the air and get you started on the right foot.
Do I Really Need to Be a Coder?
Honestly, not anymore. While knowing a little YAML can open up some really advanced customization options down the road, it's definitely not a prerequisite.
Modern platforms like Home Assistant have come a long way. Their visual editors are incredibly powerful, letting you build out sophisticated automations just by dragging and dropping elements. You can set up triggers, add conditions, and define actions, all without touching a single line of code.
What's the Best Hardware to Run Everything On?
A Raspberry Pi 4 or 5 is a fantastic and popular starting point. They're cheap, sip power, and have more than enough muscle for a typical smart home setup.
However, if you're already dreaming big—think running dozens of add-ons, processing multiple security camera streams, or just wanting peace of mind for future expansion—you might want to look at something beefier. A dedicated mini-PC like an Intel NUC or even an old laptop you have lying around can provide a serious boost in processing power and overall reliability.
A word of advice from experience: don't underestimate your future ambitions. Spending a little extra on more powerful hardware now can save you from a massive headache when you have to migrate everything later. Think of it as an investment in your system's long-term stability.
Can I Make My Existing Smart Gadgets Work with This?
Absolutely! This is where DIY systems truly shine. One of the biggest advantages of platforms like Home Assistant or openHAB is their massive library of integrations.
They connect with thousands of devices from countless brands. So, that collection of Philips Hue bulbs or your Google Nest thermostat can finally be pulled into one unified dashboard. A huge bonus is that you often gain local control over devices that were previously stuck in the cloud, making them faster and more reliable.
At Automated Home Guide, our goal is to give you the confidence to build a smarter, more secure home. We have plenty more guides to help you make the best decisions on your automation journey. You can find everything at https://automatedhomeguide.com.


Leave a Reply