
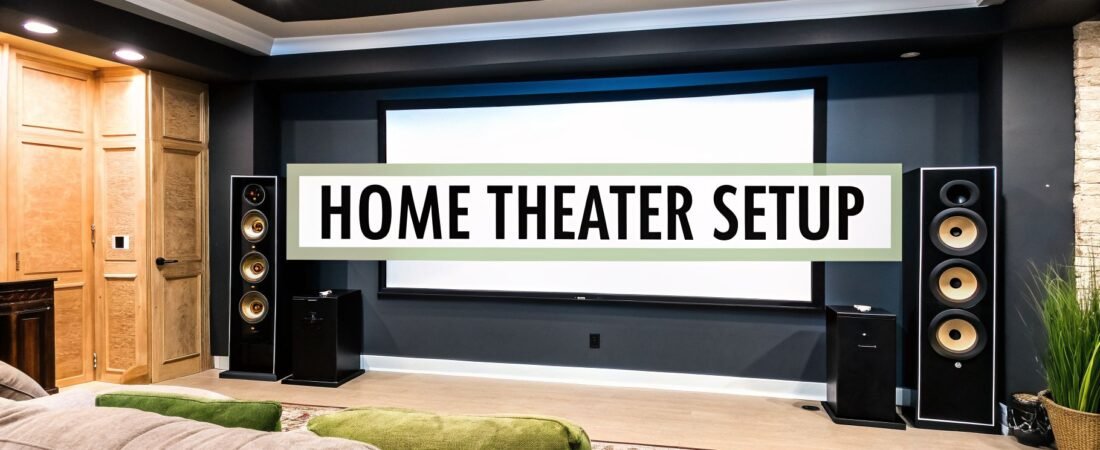
A great home theater design and installation isn’t just about buying the biggest screen you can find and pairing it with some powerful speakers. It's about making a room feel like a cinema. It’s a delicate balance of acoustics, smart component placement, and thoughtful design that pulls you right into the action on screen.
Crafting Your Ultimate Home Cinema Blueprint

Imagine hitting a single button and watching the lights dim, the screen come to life, and the sound envelop you. That's the goal. And with today’s technology, creating that personal escape is more accessible than ever. This guide is all about getting past the basics and into the details that truly make a home theater sing.
After designing countless media rooms, I've learned that every successful project starts with a solid plan. It really boils down to three key areas you need to get right from the start:
- The Room Itself: Your space is the foundation. Its size, shape, and ability to control light and outside noise will dictate everything else you do.
- Audio-Visual Harmony: This is the core of the experience. It’s where your screen, projector, and speakers stop being individual components and start working together to create a single, powerful impact.
- Effortless Integration: A modern theater isn't just for movies. It's a smart space where lighting, shades, and all your gear respond to one command to create the perfect "movie night" scene.
Why Now Is the Perfect Time to Invest
There's a reason so many people are diving into home theater projects right now. The market data tells the story: the global home theater system market was valued at USD 11.42 billion in 2026 and is expected to jump to USD 17.81 billion by 2031.
That massive growth is pushing companies to innovate, bringing us better, more affordable products like high-fidelity wireless audio and seamless smart home controls. What was once a niche hobby for the wealthy is now a realistic and rewarding project for many homeowners.
A well-designed home theater is more than just a room for watching movies. It's an investment in your home and your family's quality of life, creating a dedicated space for shared experiences and creating lasting memories.
As you begin mapping out your blueprint, don't be afraid to think bigger. A home theater can be the heart of a larger entertainment zone. For some great inspiration, check out these ultimate man cave ideas, which often integrate incredible home cinemas.
In the sections ahead, we’re going to break down every part of the home theater design and installation process. Let’s turn that dream into a reality.
To give you a clearer picture of the journey ahead, here’s a quick overview of the main phases we'll be covering.
Key Stages of Home Theater Design and Installation
| Phase | Key Objective | Main Considerations |
|---|---|---|
| 1. Planning & Design | Create a detailed blueprint for the entire project. | Room selection, layout, seating arrangement, and overall aesthetic. |
| 2. Component Selection | Choose the right AV gear for your space and budget. | Projector/screen, speakers, AV receiver, and source devices. |
| 3. Pre-Wiring & Construction | Run all necessary cables before finishing the walls. | Speaker wire, HDMI, Ethernet, and electrical power. |
| 4. Installation | Physically install all components, from speakers to seating. | Mounting the screen, placing speakers, and setting up furniture. |
| 5. Calibration & Integration | Fine-tune audio and video for optimal performance. | Speaker calibration, picture settings, and smart home programming. |
Think of this table as your roadmap. Each stage builds on the last, and getting the early steps right is crucial for a smooth and successful project.
Choosing and Preparing Your Perfect Theater Space
Long before you unbox a single speaker or plug in a projector, the most important decision you'll make is choosing the room itself. I can't stress this enough: getting the space right is the foundation for everything that follows. It makes every other part of the process easier and is the single biggest factor in achieving that truly immersive cinematic feel.
The first thing to figure out is whether you're building a dedicated, purpose-built theater or a multi-use media room that has to coexist with daily life. A dedicated room, like a finished basement or a spare bedroom, is the dream scenario. It gives you total control. In a shared space, like a family room, the game is about striking a smart balance between high-performance AV and a comfortable, everyday aesthetic.
Room Dimensions and Shape Matter More Than You Think
The physical size and shape of your room have a massive effect on sound quality. If there’s one thing to avoid, it’s a perfect cube. I’ve seen it time and time again—sound waves bounce endlessly between parallel walls, creating nasty "standing waves" that make bass boomy and dialogue muddy. Rectangular rooms are a much safer bet.
Ideally, you want a room where the length, width, and height aren't simple multiples of each other. For example, a room that’s 10 feet wide, 20 feet long, and 10 feet high is going to cause acoustic headaches. A space that’s 12 feet wide, 19 feet long, and 8 feet high is a much better starting point. Those irregular dimensions help break up sound waves naturally before they can build up and distort the audio.
The biggest mistake I see people make is choosing a huge room over a well-proportioned one. A smaller, acoustically balanced room will almost always sound better than a cavernous space full of echoes.
This process really boils down to three core tasks for preparing the environment.

Nailing these three things—the room itself, the light, and the acoustics—is what separates a great home theater from just a big TV in a spare room.
Waging War on Light and Noise
With a room picked out, your next job is to control light and unwanted noise. Ambient light is the enemy of a good picture. It doesn't matter if it's from a window, a hallway, or even a shiny piece of decor; it will wash out a projector's image or create distracting glare on a TV screen.
Here are your two best weapons in the fight against light:
- Window Treatments: This is non-negotiable. You need blackout shades or heavy, light-blocking curtains. If you can swing it, motorized shades are a fantastic touch, letting you plunge the room into darkness with a single button press.
- Wall Color: Ditch the white and beige paint. Dark, matte finishes are your friend here. Shades of gray, navy, or even a deep burgundy will absorb stray light from the screen instead of reflecting it, which dramatically improves perceived contrast.
Just as crucial is keeping the outside world out and the movie sound in. You don't want the rumble of the washing machine to interrupt a quiet, dramatic moment. On the flip side, you also don’t want your late-night action movie to wake up the whole house.
A few simple tricks for sound isolation go a long way:
- Swap out any hollow-core doors for a solid-core model.
- Use weatherstripping around the door frame to seal any air gaps.
- If you're doing any construction, add a second layer of drywall with a damping compound like Green Glue sandwiched in between. The difference it makes is staggering.
Taming the Sound Inside the Room
Sound isolation stops noise from getting in or out, but acoustic treatment is all about controlling the sound inside your theater. Think of your drywall, hardwood floors, and windows as mirrors for sound. Without any treatment, sound waves bounce all over the place, creating echo and reverb that smears audio detail and makes dialogue hard to understand.
Your goal is a healthy mix of absorption and diffusion.
- Absorption panels are the workhorses. These fabric-covered panels soak up sound energy, killing echoes and reverb. The most critical placement is at the "first reflection points"—the spots on your side walls and ceiling where sound from the front speakers would bounce on its direct path to your ears.
- Diffusion panels have irregular, bumpy surfaces that scatter sound waves in all directions. Instead of just soaking up the sound, they break up harsh reflections and help the room sound more spacious and alive. These are fantastic for the back wall.
As a starting point for a typical room, try placing absorption panels on the side walls, about halfway between your main speakers and your primary seating spot. And don't forget the corners. Placing thick bass traps (a specialized type of absorber) in the room's corners will do wonders for tightening up muddy, boomy bass—which is often the trickiest frequency range to get right.
Placing Your Audio and Visual Components

With your room prepped and ready, it's time for the fun part of your home theater design and installation: putting the screen and speakers in place. This is where the empty space finally starts to feel like a real cinema. Getting the placement right is a mix of science and personal preference, but following a few key guidelines will make a world of difference.
The first big decision you need to make is about your visual anchor. Are you going with a projector and screen, or a massive flat-panel TV? There’s no single right answer here—it really boils down to your room, your budget, and how you plan to use the space.
Projector vs Large TV Which Is Right for Your Home Theater
To help you decide, let's break down the pros and cons of each. A projector can deliver an absolutely massive image that TVs just can't touch, but it has its own set of demands.
| Factor | Projector | Large-Screen TV |
|---|---|---|
| Ideal Room | Dedicated, light-controlled space. | Multi-use living areas or brighter rooms. |
| Screen Size | Unmatched scale, easily exceeding 120 inches. | Generally tops out around 98 inches. |
| Picture Quality | Excellent for movies, but ambient light is the enemy. | Bright, punchy images with deep blacks (OLED). |
| Cost | Can be more cost-effective for very large screen sizes. | High cost for largest sizes, but no screen purchase needed. |
| Installation | Requires more complex mounting and alignment. | Simpler to wall-mount or place on a stand. |
Ultimately, a projector gives you that larger-than-life, authentic movie theater feel, but it truly needs a dark room to shine. On the other hand, modern OLED and QLED TVs produce breathtakingly bright and vibrant images that hold up well even in a family room with the lights on.
Finding the Perfect Screen Size and Height
Once you've picked your display, it's time to figure out how big it should be and where it should go. Getting the optimal TV positioning right is absolutely critical for an immersive experience. A common mistake I see is people buying the biggest screen they can afford without thinking about how far away they'll be sitting.
A great rule of thumb for screen size is to multiply your main viewing distance (in inches) by 0.84. So, if your couch is 10 feet (120 inches) from the wall, you should be looking for a screen around 100 inches diagonally.
The goal is to have the screen fill a significant portion of your field of view without forcing you to scan your eyes back and forth to see the whole picture. It should feel immersive, not overwhelming.
Height is just as important. When you're seated, your eye level should hit the bottom third of the screen. Mounting a TV way up high over a fireplace is a classic design mistake that guarantees neck strain and a sub-par viewing angle.
Getting to Grips With Surround Sound Speakers
Incredible audio is what elevates a room with a big TV into a genuine home theater. Modern formats like Dolby Atmos and DTS:X are designed to create a 3D bubble of sound, putting you right inside the movie. A basic 5.1 setup is a fantastic starting point, but a 7.1.4 Dolby Atmos system can be a truly transformative experience.
Here’s a quick rundown of what each speaker does:
- Front Left/Right Speakers: These are the workhorses, handling the musical score and main sound effects to create a wide soundstage.
- Center Channel: This is arguably the most important speaker in your entire system. It’s responsible for almost all of the dialogue.
- Surround Speakers: Placed to your sides and slightly behind you, they create ambient effects and make the sound field feel expansive.
- Subwoofer: This is all about feeling the movie. The subwoofer handles the low-frequency effects (LFE) channel for every explosion, rumble, and thumping bass note.
- Atmos "Height" Speakers: These are installed in the ceiling or are built to fire sound upward, bouncing it off the ceiling to create overhead effects like rain or a helicopter flying by.
Of course, a full surround system can feel complex and take up a lot of space. This reality is driving a huge trend toward simpler audio solutions. In North America, soundbars are the top-selling audio product, with the market expected to jump from USD 3,627 million in 2024 to USD 7,127 million by 2033. This boom highlights how many people are opting for compact, easy-to-set-up audio, especially for living rooms where a full speaker array just isn't practical. You can explore more about this trend in the home audio market on researchandmarkets.com.
The Art of Precise Speaker Placement
Here’s the thing: even the most expensive speakers will sound bad if you just plop them down anywhere. The goal is to create a seamless, cohesive sound field that's perfectly centered on your main seat—the "money seat."
For a standard 5.1 or 7.1 system, picture a circle around your primary chair.
- The front left, center, and right speakers should create an arc in front of you.
- Angle the left and right speakers inward ("toe-in") so they point directly at your head.
- The center channel needs to be as close to the screen as possible, right above or below it.
Your surround speakers should be on your sides and just a bit behind you, positioned slightly above ear level. This setup makes sure off-screen noises and ambient soundscapes feel completely natural. As for the subwoofer, you have more flexibility, but a front corner of the room is often a great starting point to help reinforce those deep bass frequencies.
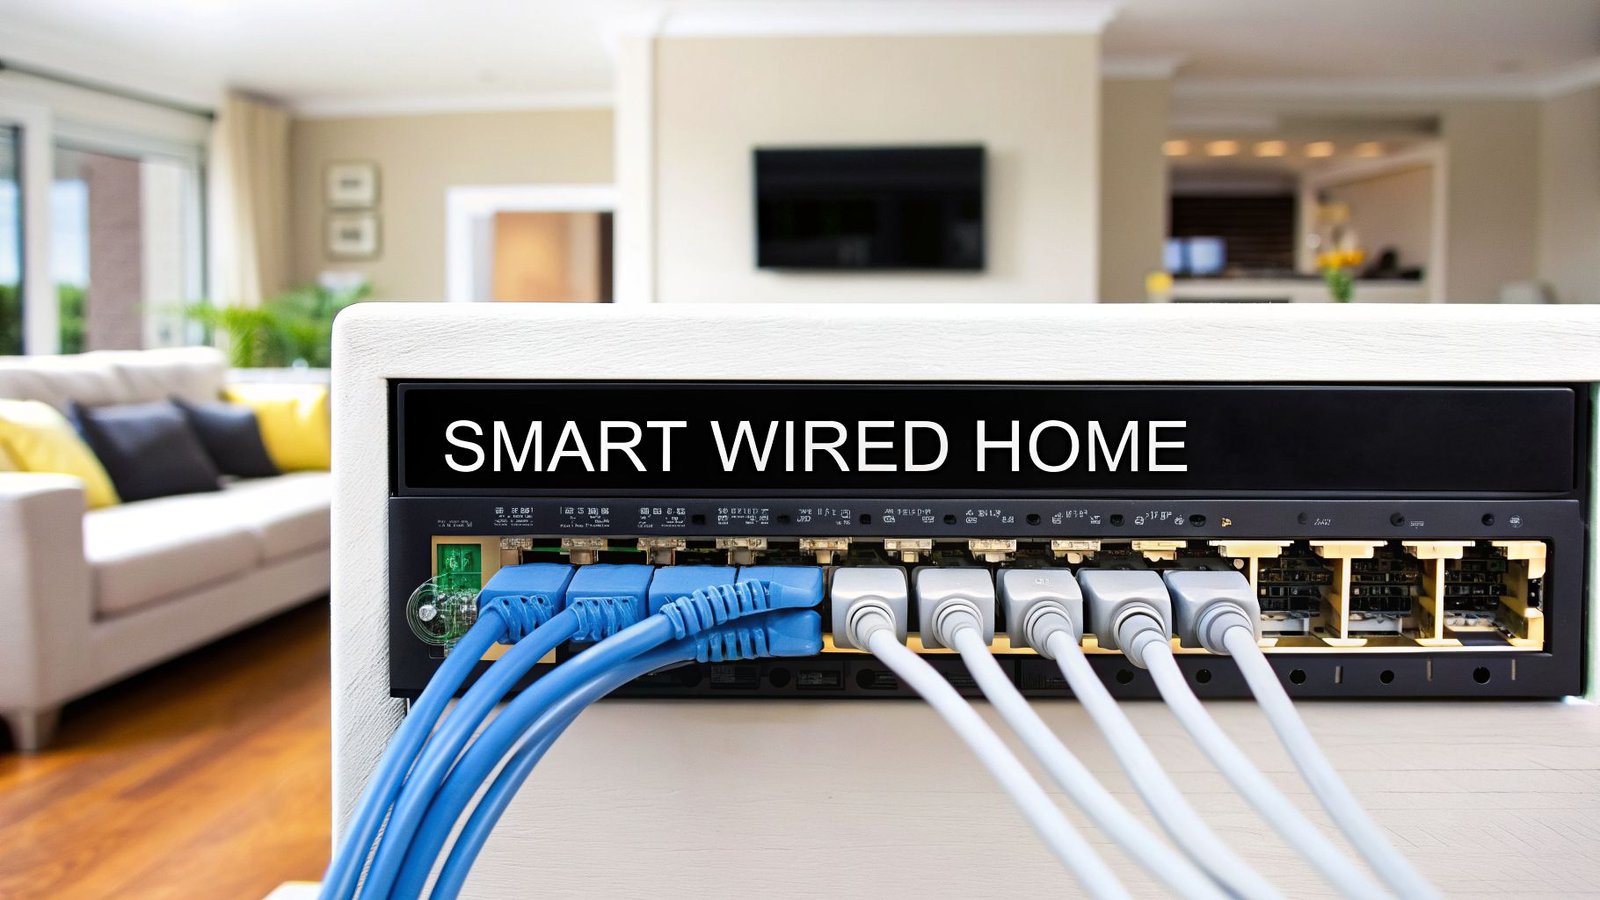
Wiring and Power for a Clean, Professional Look

I’ve seen it a hundred times: a stunning room with a top-tier projector and amazing speakers completely ruined by a visible “rat’s nest” of cables. Getting the wiring and power right is the unsung hero of any serious home theater design and installation. It’s what separates a slick, integrated space from a messy DIY project.
Sure, wireless tech is getting better, but for a truly reliable, high-performance theater, hardwired connections are still king. The pros know this, which is why wired systems are projected to make up 61.20% of sales—a staggering USD 6.39 billion—by 2025. We prefer the rock-solid reliability you can only get from a physical cable, often running them inside the walls during construction for a completely invisible setup. You can dig into the numbers in this home theatre system market report.
This focus on wiring pays dividends in both performance and aesthetics. It’s also the backbone for any future smart home ambitions. If you’re thinking bigger, our guide on wiring for home automation shows how to lay the right groundwork from the start.
Choosing the Right Cables Without Overspending
The AV cable market is full of confusing marketing and wildly inflated prices. Let me be clear: for digital signals like HDMI, a cable either works or it doesn’t. You don't need to spend a fortune, but you absolutely need to buy cables that meet the correct specifications for your equipment.
- HDMI Cables: Forget the fancy marketing and just look for the Ultra High Speed certification. This is the official rating that guarantees the cable can handle the massive bandwidth required for 4K at 120Hz and even 8K video. It’s a must-have for modern gaming and future-proofing.
- Speaker Wire: The gauge, or thickness, is what matters here. For most setups with cable runs under 50 feet, standard 14-gauge or 16-gauge copper wire is all you’ll ever need. Only consider thicker 12-gauge wire for extremely long runs or if you're driving very demanding, low-impedance speakers.
- Subwoofer Cable: Don't overthink it. A simple, well-shielded single RCA cable is perfect. The shielding is key, as it helps prevent that annoying electrical hum from creeping into your low-frequency effects.
My best advice is to buy certified cables from reputable but affordable brands. Ignore the hype about gold-plated connectors or exotic materials that promise a "night-and-day" difference. Focus on certified speed and the right wire gauge for the job.
Concealing Wires for a Flawless Finish
Hiding cables is what transforms a setup from functional to phenomenal. Your approach will depend on whether you’re working with open walls or a finished room.
If you’re lucky enough to be building or renovating, running wires inside the walls is the way to go. Use low-voltage wall plates for your speaker and HDMI connections to create clean, professional-looking ports. Here’s a pro tip: always run conduit (flexible plastic tubing) along with your cables. It makes pulling new wires in the future an absolute breeze, saving you from ever having to cut open your drywall again.
Working in a finished room? You still have excellent options for a clean look:
- Cable Raceways: These are adhesive plastic channels that you can stick right onto your baseboards or walls. Run the wires inside, snap the cover on, and paint the raceway to match your wall. They practically disappear.
- Behind the Rack: Tame the cable monster behind your AV cabinet with a healthy supply of zip ties, velcro straps, and cable sleeves. Most importantly, label both ends of every single cable. Trust me, you’ll thank yourself later when you need to troubleshoot or upgrade.
The Importance of Clean Power
The power coming from your wall outlets is rarely as clean or stable as you think. Small fluctuations, electrical "noise" from appliances like your refrigerator or air conditioner, and power surges can all hurt your system's performance and even permanently damage your expensive gear.
This is where a dedicated power conditioner becomes one of the smartest investments in your entire theater. It acts as a final filter and bodyguard for your components, cleaning up noisy electricity, providing a stable voltage, and protecting against catastrophic surges.
A good conditioner doesn't just offer peace of mind; it can genuinely improve your picture and sound by lowering the system's overall noise floor. Think of it as giving your entire home theater a clean, solid foundation to perform its best.
Integrating Smart Tech and Calibrating Your System
You’ve got all your gear wired up, which is a huge step. But getting everything connected is one thing; making it all work together beautifully is another. This is where the real magic happens—turning a pile of electronics into a true, seamless home theater experience through smart home integration and system calibration.
Think about what you want to happen when it's movie time. With the press of a single button or a simple voice command like "Movie Night," the whole room comes to life. The lights dim to a perfect cinematic level, blackout shades glide down, your AV receiver and projector fire up, and the right inputs are automatically selected. This isn't just a cool party trick; it's the kind of polish that makes your theater feel truly special.
Bringing Your Theater to Life with Automation
The key to this effortless control is linking your theater components to a smart home system. Whether you're using something accessible like Amazon Alexa or Google Home, or a more dedicated platform like Control4, you can create automated "scenes" or "routines." These are pre-programmed sequences that bundle multiple actions into one simple trigger.
This level of automation isn't just about convenience. It adds a professional touch and makes the system foolproof for the whole family. In fact, blending entertainment with home automation is a fast-growing trend, with the smart theater market seeing 9.2% growth in the U.S. in 2025. You can even tie in other household functions, like having a security camera feed pop up on-screen or adjusting the thermostat with your voice. Modern systems are also getting smarter about energy, with some offering eco-solutions that can cut power consumption by 15-20% using features like auto-shutdown when no one is in the room.
Here are a few automation ideas I've seen clients love:
- Movie Time: Dims lights to 10%, lowers shades, and powers on the projector and receiver.
- Intermission: Brings lights up to 50% and pauses the film.
- Gaming Mode: Switches the TV to its low-latency picture mode and changes the input to your favorite console.
- All Off: Shuts down all AV equipment and brings the lights back on.
The Critical Role of System Calibration
With everything connected and automated, there's one final, absolutely crucial step: calibration. This is the process of tuning your audio and video settings specifically for your room's unique acoustics and lighting. It ensures you're experiencing movies and shows exactly as their creators intended.
Calibration isn't about cranking up the bass or making the picture pop with oversaturated colors. It's about accuracy. The goal is to reproduce colors that are true-to-life and sound that is balanced and detailed, pulling you deeper into the story.
Thankfully, most modern AV receivers come with impressive room correction software built right in. Names like Audyssey, Dirac Live, and YPAO are common. These systems use a small microphone (usually included in the box) to listen to how sound behaves in your space. The receiver then creates a custom EQ profile to tame problems like boomy bass, harsh echoes, or dialogue that gets lost in the mix.
The process is pretty straightforward:
- Position the Mic: Place the calibration microphone on a tripod right where you'll be sitting—your main listening spot—at ear level.
- Run the Tones: Your receiver will send a series of chirps and whooshes through each speaker, one by one.
- Let the System Work: The software analyzes how those sounds bounce around your room and automatically applies corrections to create a balanced, clear soundfield.
Fine-Tuning Your Visuals
Video calibration does the same thing for your picture, making sure your projector or TV displays accurate colors, brightness, and contrast. While hiring a professional calibrator with specialized gear will always give you the absolute best results, you can get surprisingly far on your own.
The easiest first step is to dive into your display's settings and find the picture mode. Look for presets named "Filmmaker," "Cinema," or "Calibrated." These modes are designed to get you as close as possible to the industry standard by turning off a lot of the artificial sharpening and motion processing that can make movies look unnatural.
From there, you can pick up a calibration disc like the Spears & Munsil UHD Benchmark. It contains a series of test patterns that walk you through setting essentials like brightness, contrast, and color, taking a lot of the guesswork out of the process.
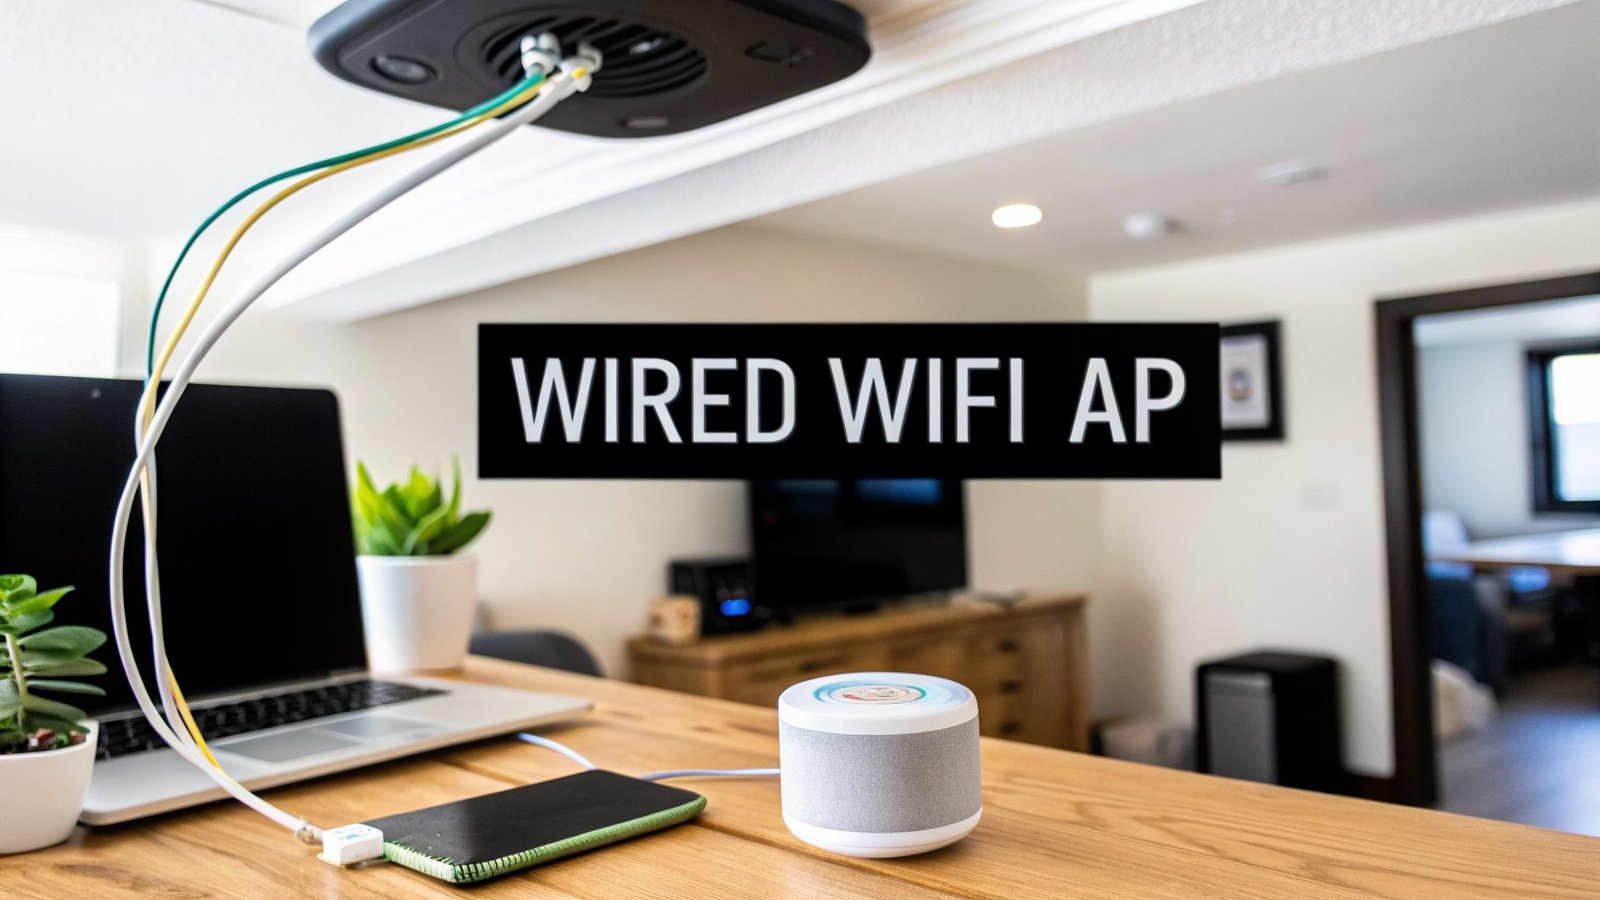
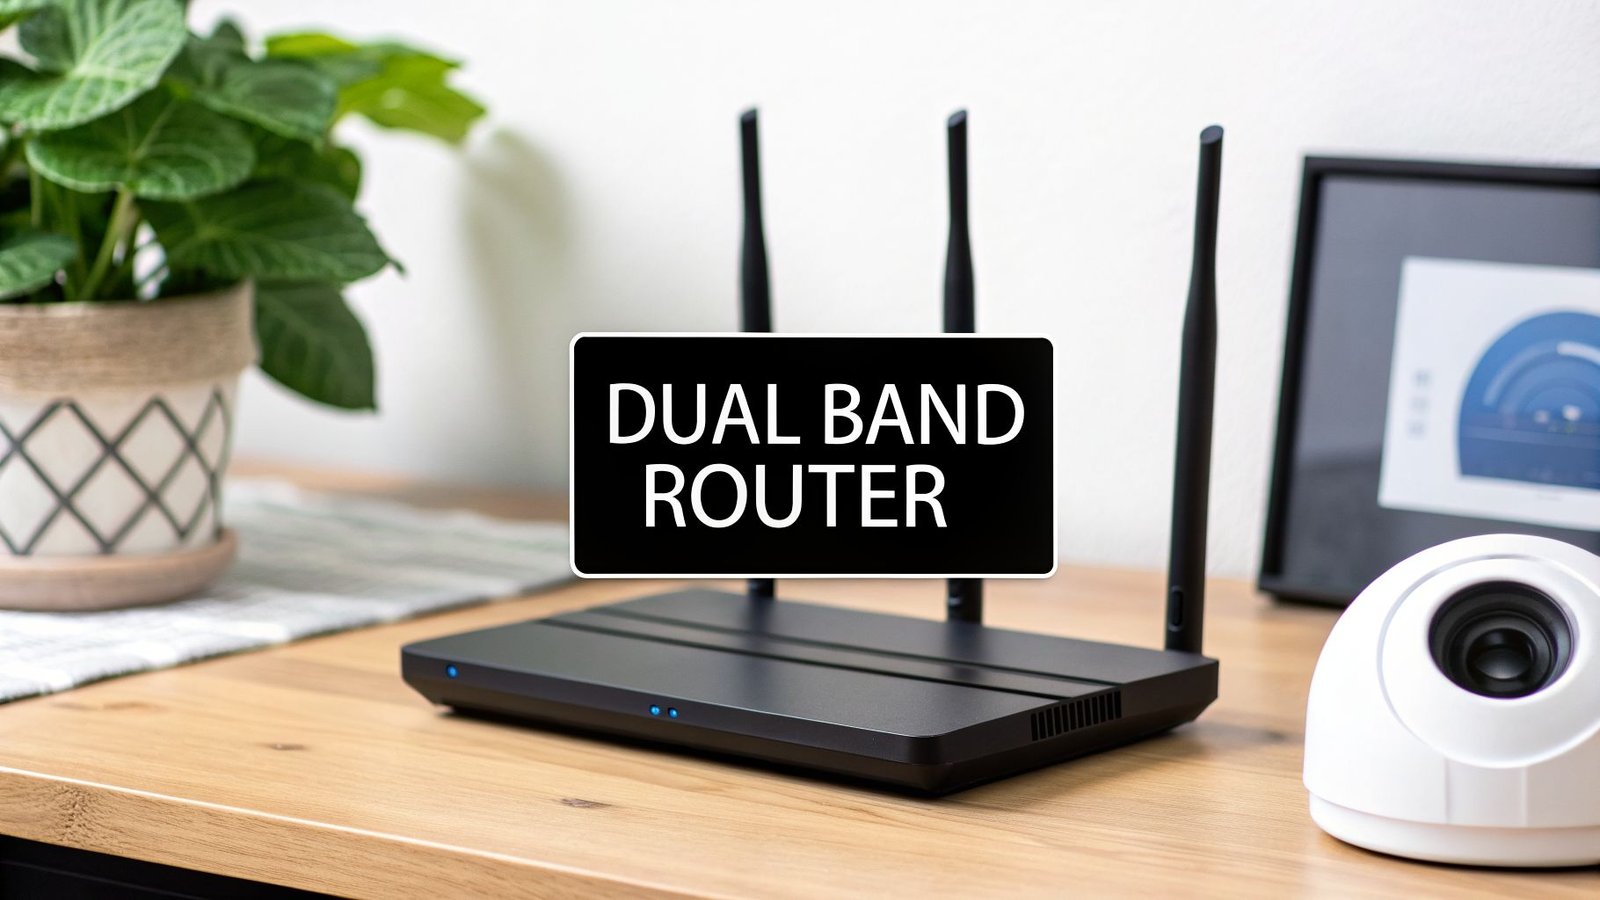
Finally, none of this smart automation or high-bitrate streaming works without a solid network. A powerful and stable Wi-Fi connection is the backbone of any modern home theater. If you’re experiencing buffering or your smart commands are lagging, your network might be the bottleneck. If you suspect that's the case, you might find our guide on how to choose a WiFi router for your home helpful. Getting these final details right is what separates a good setup from a truly great one.
DIY vs. Pro Installation: Making the Right Call
This is where the rubber meets the road. You’ve planned the room, picked your gear, and now it's time to decide: are you rolling up your sleeves for a DIY project, or are you calling in a professional? There’s no wrong answer here—it all comes down to the complexity of your theater, your personal skill set, and your budget.
The Case for Going DIY
There’s a special kind of pride that comes from building something yourself. Kicking back to watch that first movie in a theater you built with your own hands is an incredible feeling. For simpler setups in a living room or den, going the DIY route is often the most budget-friendly path.
However, a successful DIY home theater design and installation demands more than just enthusiasm. It requires patience and a certain level of technical comfort.
Are You Ready to DIY?
Be honest with yourself about what the job entails. Are you comfortable drilling into walls, meticulously running and hiding wires, and troubleshooting when your brand-new receiver isn't making a sound?
A DIY approach is probably a great fit if you:
- Have a good handle on basic tools like a drill, level, and wire strippers.
- Genuinely enjoy the process of learning and following technical guides.
- Are starting with a more straightforward system, like a quality soundbar or a basic 5.1 speaker package.
- Have the flexibility to work on the project over a few weekends without a hard deadline.
It's also worth noting that modern gear is making DIY more accessible than ever. The rise of high-quality wireless speakers and modular systems helps sidestep some of the biggest installation headaches, which deter an estimated 20-30% of potential buyers, according to market analysis from SNS Insider.
When to Bring in a Professional
While DIY can be empowering, some jobs are just better left to the experts. A seasoned professional brings years of on-the-job experience, specialized calibration tools, and an installer's knack for making everything work together seamlessly. They can solve problems you haven't even thought of yet.
Hiring a professional isn't giving up; it's a strategic move to ensure a flawless, reliable, and perfectly polished result. They tackle the headaches so you can just enjoy the show.
You should strongly consider hiring a pro if your dream theater involves any of the following:
- Complex in-wall wiring or any modifications to your home's structure.
- Ambitious speaker layouts, especially for Dolby Atmos.
- Precise projector mounting and screen calibration.
- Tying the theater into a larger smart home automation system.
- You simply want a guaranteed, stress-free outcome.
A good installer can also save you money by preventing expensive mistakes and making sure you’ve bought the right components for your space. Professional installation costs can vary quite a bit, so it's a line item you'll want to plan for. If you're trying to figure out what to expect, our guide to smart home installation cost offers some great benchmarks. This decision really boils down to balancing your budget against your desire for an expertly executed home theater.
Frequently Asked Questions About Home Theater Design
As you start planning your dream home theater, a few key questions always seem to come up. Let's tackle some of the most common ones I hear from people diving into their first big installation project, from budgeting concerns to making sure your investment stands the test of time.
What Is a Realistic Budget for a Good Entry-Level Home Theater?
Honestly, you can get a genuinely impressive entry-level setup for somewhere between $3,000 and $5,000. That number gets you into the game with quality components that will feel like a massive leap forward.
This budget should comfortably cover a solid 4K TV or an affordable projector, a capable AV receiver to act as the brains of the operation, a 5.1 surround sound speaker package, and all the cabling to tie it together. My advice? Start there. You can always upgrade individual pieces—like getting a more powerful subwoofer or a brighter projector—down the road as your budget allows.
Do I Really Need Acoustic Treatment for My Room?
Need it? Maybe not. But if you're asking about the single biggest "bang for your buck" upgrade for audio quality, this is it. An untreated room, especially one with hardwood floors and bare walls, is an acoustic nightmare of echo and reverb that will turn movie dialogue into mud.
Even just a few well-placed absorption panels to catch the first sound reflections and some bass traps tucked into the corners will work wonders. The improvement in clarity is something you have to hear to believe. For anyone serious about good sound, it's a no-brainer.
How Can I Future-Proof My Home Theater Installation?
Future-proofing isn't about guessing the next big thing; it's about smart planning, especially with the stuff you can't easily change later. Think infrastructure.
- Run Conduit in the Walls: This is my number one tip. If you're running wires in the walls, put them inside a plastic pipe (conduit) that's wide enough to pull new cables through later. Upgrading from one HDMI standard to the next becomes a simple pull instead of a drywall project.
- Get a Modern Receiver: Your AV receiver is the heart of the system. Make sure it supports the latest standards, especially HDMI 2.1 for 8K video and high frame rates for next-gen gaming.
- Check Your Format Support: Don't get stuck with gear that can't handle modern video and audio. Look for support for key HDR formats like Dolby Vision and HDR10+, and immersive audio like Dolby Atmos.
Also, choosing components that play nice with smart home systems ensures your theater won't feel dated as the rest of your home gets smarter.
At Automated Home Guide, we're dedicated to helping you build a smarter, more enjoyable living space. Explore our comprehensive resources to make your home automation projects a success. Learn more at https://automatedhomeguide.com.


Leave a Reply