
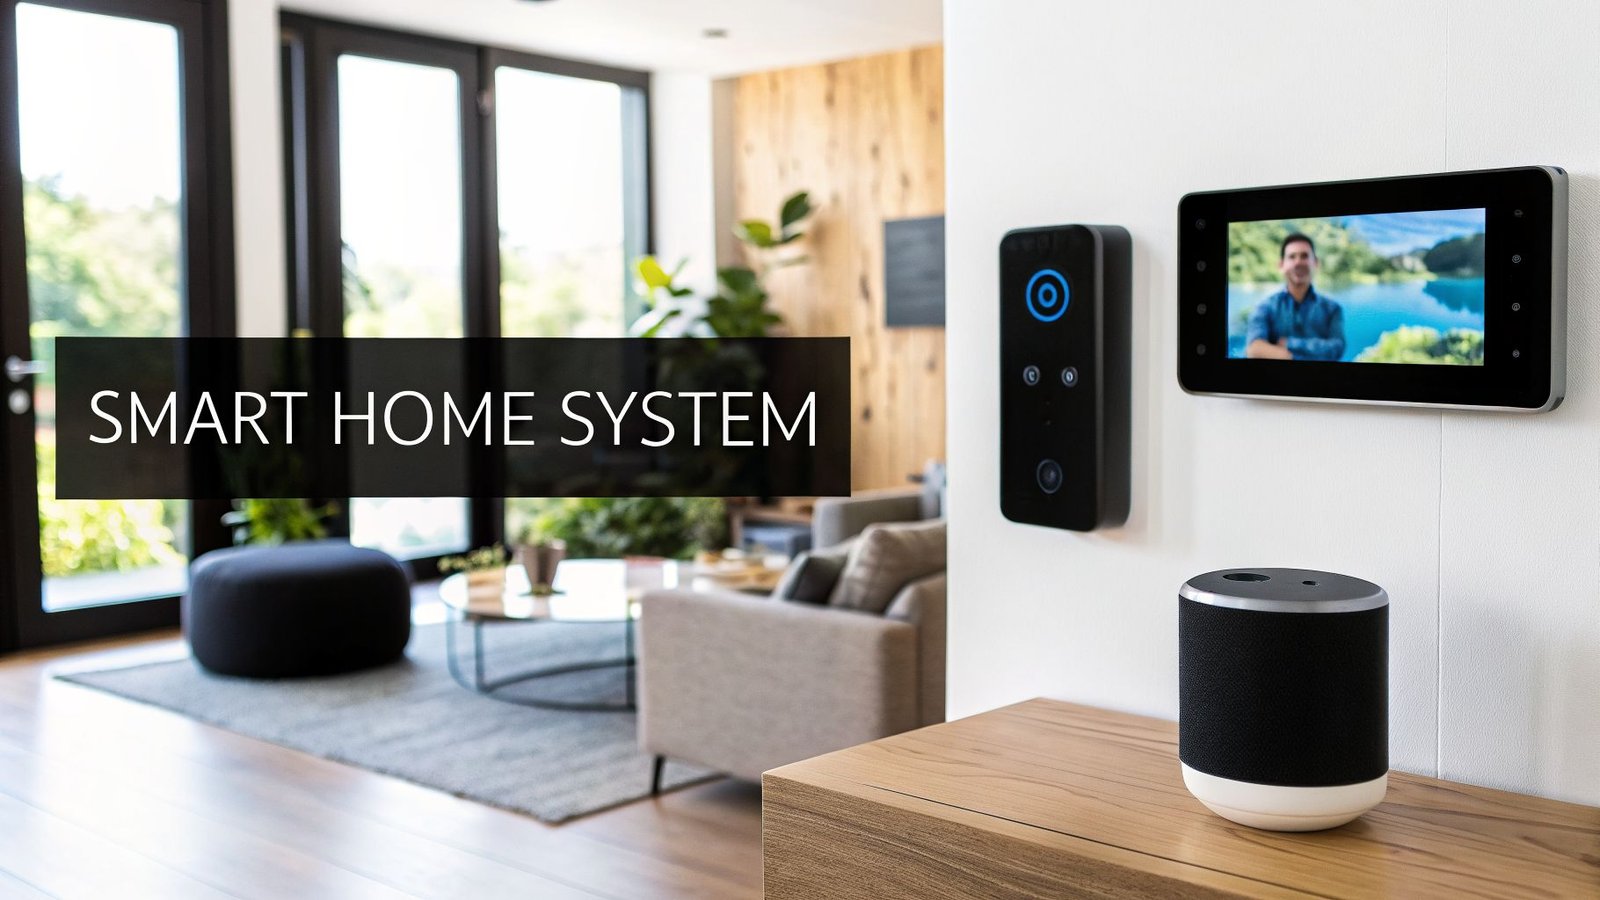
Think of your iPhone as more than just a phone. With HomeKit, it becomes a secure remote control for your entire house. HomeKit is Apple’s smart home system, built right into the iOS software, that lets you manage everything from lights and locks to cameras and thermostats using the Home app that's already on your device.
This means the iPhone you carry everywhere can act as the brain for a smarter, more responsive living space.
What HomeKit for iPhone Actually Means for Your Home

So, what is HomeKit, really? It's the common language that lets smart home products from different brands talk to each other and, most importantly, talk to your Apple devices. Instead of fumbling through a dozen different apps for your smart bulbs, thermostat, and security cameras, HomeKit unites them all in one clean interface: the Home app.
But it’s about more than just turning things on and off from one place. The real power of HomeKit for iPhone is in its ability to make your home intelligent. It’s about creating a living space that works for you, anticipating what you need and reacting to your daily routines automatically.
The Power of an Integrated Ecosystem
HomeKit’s biggest advantage is how deeply it's woven into Apple's world. This isn’t some third-party app you have to download; it's a core piece of iOS. That means it works seamlessly with the tools you already use every day, like Siri, Shortcuts, and even your iPhone's location.
This tight integration opens up some incredibly useful possibilities:
- Voice Control: Simply tell Siri on your iPhone or Apple Watch, “Hey Siri, I’m home,” and watch as your entryway lights turn on and the thermostat kicks in.
- Geofencing: Your home can use your location to prepare for your arrival. As you pull into the driveway, your garage door can open, and the porch lights can switch on automatically.
- Event-Based Triggers: A sensor on your back door can trigger the hallway lights to turn on when it's opened after sunset. Or, if a window is opened while the AC is running, HomeKit can automatically shut the air conditioning off to save energy.
HomeKit is a key part of how the iPhone interacts with Apple's broader smart device ecosystem, creating a connected experience across all your gadgets.
The table below breaks down the key features of using HomeKit with your iPhone and what they mean for you.
HomeKit at a Glance Key Features for iPhone Users
| Feature | Benefit for iPhone Users |
|---|---|
| Centralized Control | Manage all your smart devices—lights, locks, cameras, thermostats—from the single, pre-installed Home app. |
| Siri Integration | Use your voice to control accessories individually or trigger entire scenes with simple commands on any Apple device. |
| Secure Foundation | Enjoy end-to-end encryption for all communication, ensuring your data and home activity remain private. |
| Powerful Automations | Create rules based on time, location, or sensor triggers to make your home react automatically to your life. |
| Remote Access | Control and monitor your home from anywhere in the world, as long as you have a Home Hub (HomePod or Apple TV). |
| Easy Setup | Pairing new accessories is as simple as scanning a QR code with your iPhone's camera. |
Essentially, these features come together to create a smart home that's not only powerful but also incredibly intuitive and secure, all managed from the device you already know and trust.
More Than Just Convenience
While telling Siri to turn off all the lights from your bed is a great perk, the true value of a HomeKit setup goes much deeper, especially regarding security and efficiency.
Take HomeKit Secure Video, for example. This feature processes your security camera footage locally on your HomePod or Apple TV before it's encrypted and stored in your iCloud account.
At its heart, HomeKit is designed with privacy as a foundational principle. All communication between your iPhone and your accessories is end-to-end encrypted, meaning Apple can't see what's happening in your home.
This local processing is a huge deal for privacy. It means you can set up cameras inside and outside your home with the confidence that the footage is secure and viewable only by you and the people you explicitly invite. This focus on security is a major differentiator from other platforms and offers real peace of mind. Ultimately, HomeKit helps you build a home that's not just smarter, but genuinely safer.
Building a Rock-Solid HomeKit Foundation
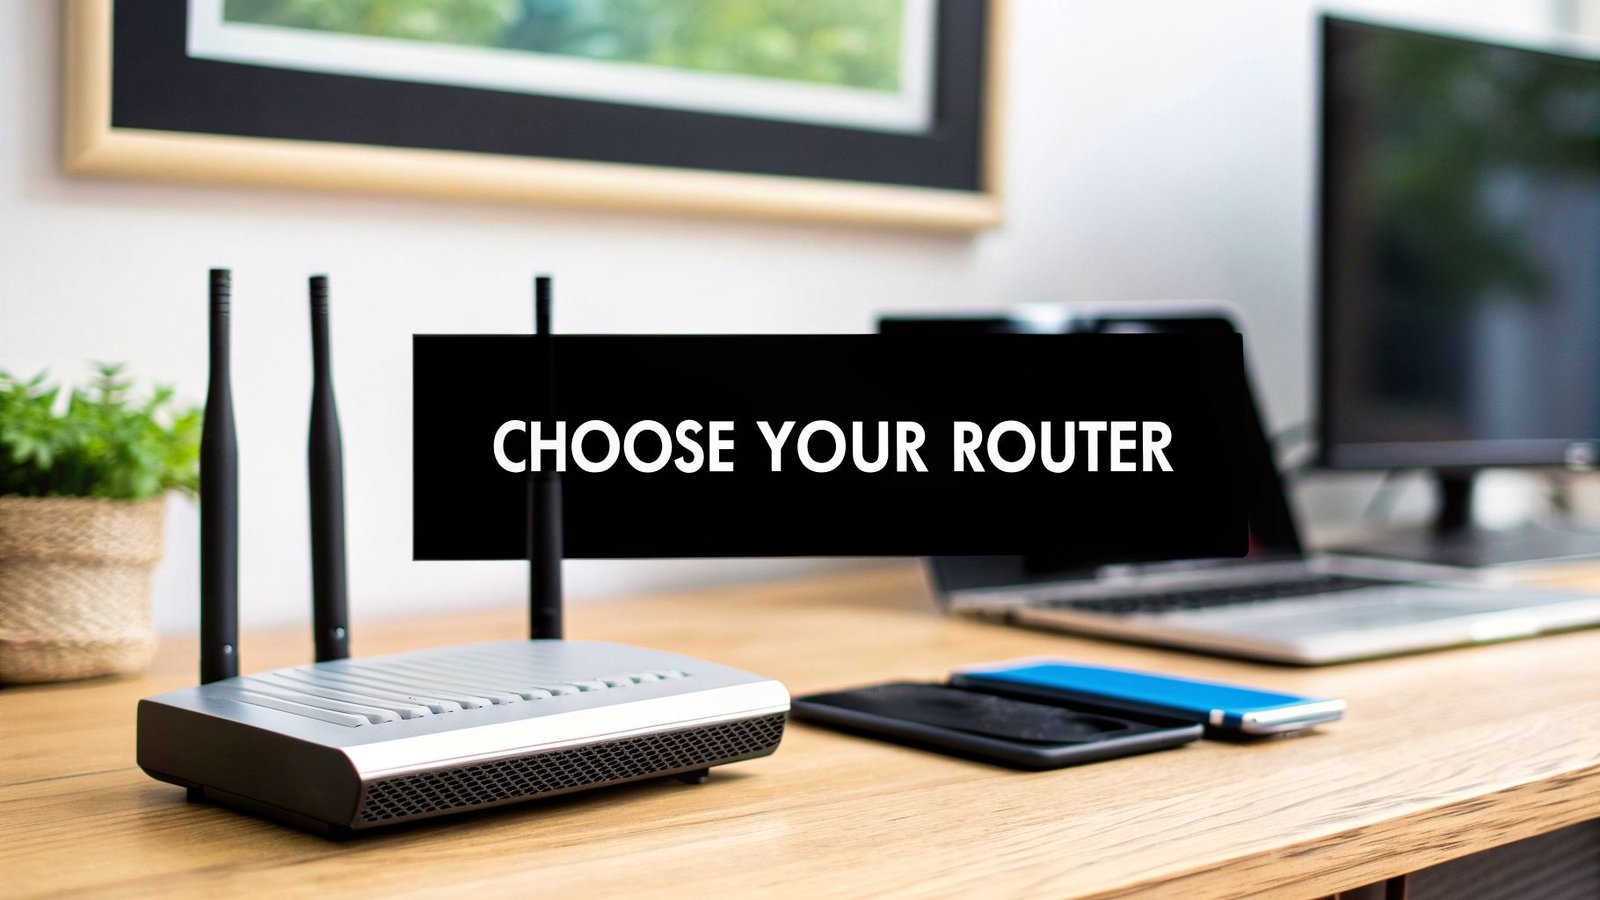
Before you get caught up in the fun of adding your first smart bulb or plug, let's talk about what really makes a smart home work: the foundation. A responsive and reliable experience with HomeKit for iPhone isn't just about the gadgets; it’s built on the strength of your home’s digital plumbing. Honestly, skipping this part is the number one reason people get frustrated and give up.
It all starts with your Wi-Fi network. Every single command you send from your iPhone, every automation that runs, and every status update you get depends on a stable connection. That single router your internet provider gave you, probably tucked away in a corner, is rarely up to the task. It often leads to those dreaded "No Response" errors in the Home app—a headache I see all the time.
Strengthen Your Network with a Mesh System
For the vast majority of homes, the best fix is a mesh Wi–Fi system. Instead of one router trying to do all the work, a mesh system uses several "nodes" or "points" that you place around your house. They all work together to create one big, seamless Wi-Fi network that covers your entire property with a strong, consistent signal.
Think of it like this: you wouldn't try to light your whole house with a single lamp in the living room. A mesh network does the same thing for your Wi-Fi, wiping out dead zones and making sure your HomeKit devices always have the signal they need to respond instantly. This becomes absolutely critical as your smart home grows.
The Brain of Your Smart Home: The Home Hub
Once your Wi-Fi is solid, the next piece of the puzzle is a Home Hub. This isn't just a nice-to-have accessory; it's the central nervous system for your entire HomeKit setup. Without a hub, you can only control your devices when your iPhone is on your home Wi-Fi.
A Home Hub—which can be a HomePod, HomePod mini, or an Apple TV—unlocks HomeKit's most powerful features:
- Remote Access: It securely connects your home to the internet, letting you control everything from anywhere. Check your cameras from the office, lock the front door after you’ve left, or turn off a forgotten light, all just as easily as if you were on your couch.
- Automations: The hub is what runs all the "smart" stuff. It’s what processes the rules you create—like turning on the lights at sunset or locking the doors when you leave—so your home can take care of itself, even when you're not there.
My personal advice for anyone starting out is to begin with a HomePod mini. It’s a cost-effective powerhouse that not only serves as an excellent Home Hub but also includes support for Thread, a next-generation wireless protocol designed specifically for smart home devices.
Setting up a Home Hub couldn't be easier. As long as your HomePod, HomePod mini, or Apple TV is signed into the same Apple ID as your iPhone, it automatically becomes a hub. There's nothing to configure; it just works. You can learn more about the differences and find the best fit for your needs by checking out our detailed smart home hub comparison.
Why Thread Support Is a Game Changer
Newer devices like the HomePod mini and the latest Apple TV models support Thread, a mesh networking technology that works alongside Wi-Fi. Instead of every device connecting directly to your router, Thread-enabled accessories can talk to each other, creating their own self-healing, low-power network.
This has a few major advantages:
- Faster Response Times: Commands feel snappier because they can hop between nearby devices instead of traveling all the way back to the router.
- Improved Reliability: If one device goes offline, the network automatically finds a new path. It’s incredibly resilient.
- Better Battery Life: Thread is super efficient, which is a huge benefit for battery-powered devices like door sensors and locks.
By starting with a robust Wi-Fi network and a Thread-enabled Home Hub, you're building a fast, reliable, and future-proof foundation for your HomeKit for iPhone setup. Putting in this initial effort will pay off for years to come with a smart home that just works, without all the frustration.
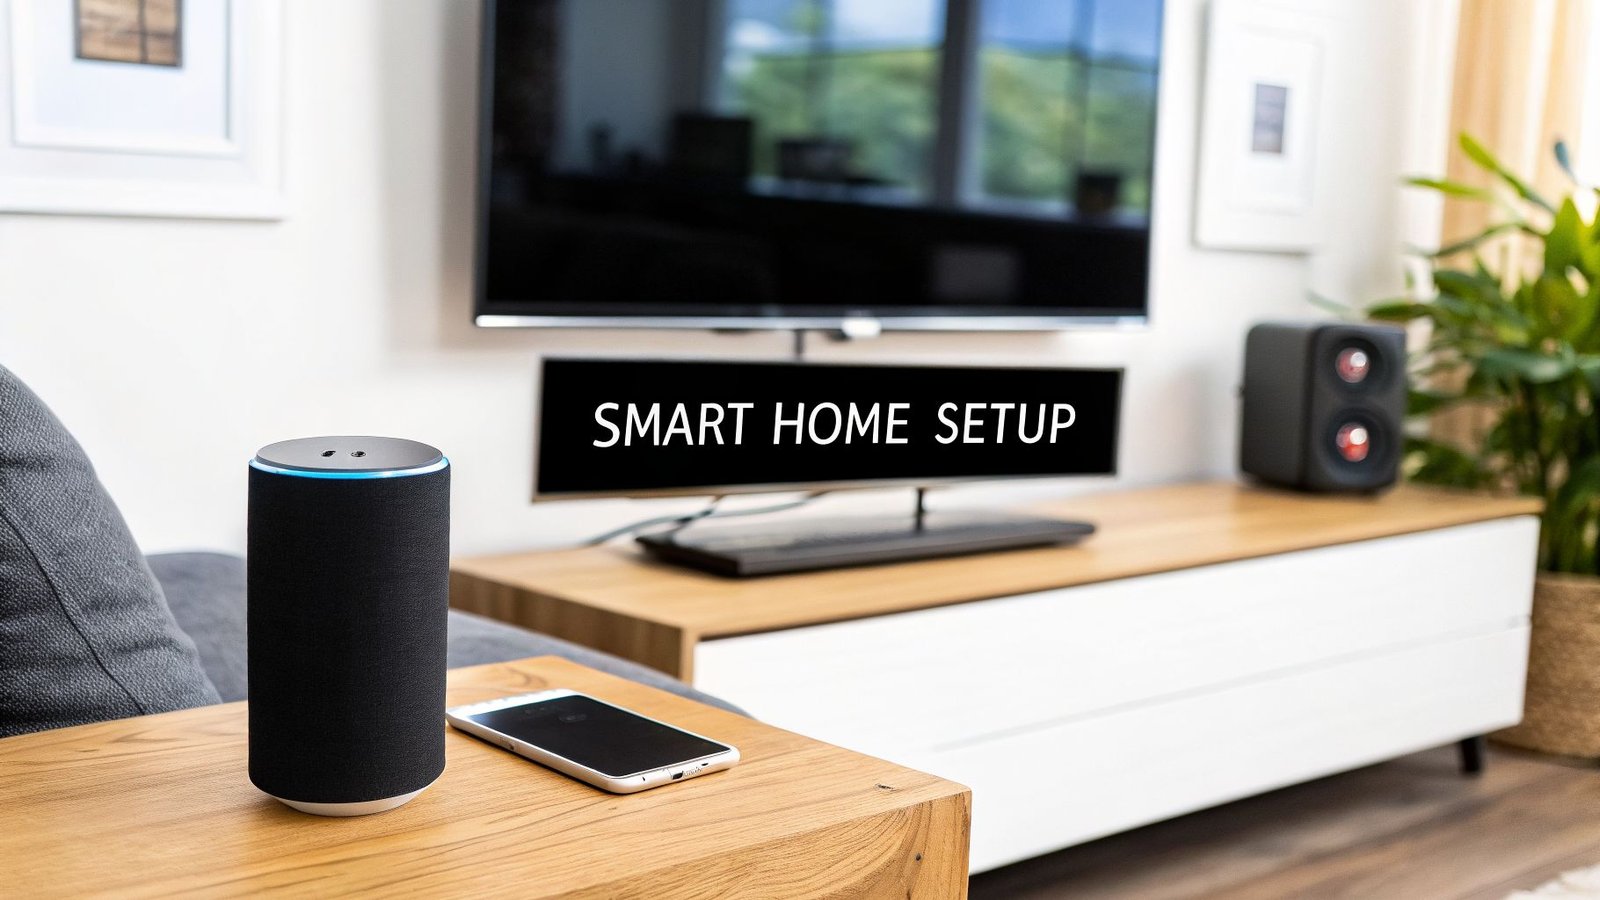
Adding and Organizing Your First Smart Devices
Alright, this is where the real fun begins. With the groundwork laid, you can start adding devices and watch your house transform into a truly smart home. Integrating your first gadget into HomeKit is designed to be ridiculously easy—most of the time, it's as simple as pointing your iPhone's camera at a code.
The general idea is to make sure your Wi-Fi is good to go, your Home Hub is up and running, and then start pairing your new accessories.

This flowchart shows the clean progression from your network to the hub and finally to the device. But let's be honest, real-world setups can throw a curveball now and then. A little extra know-how can make all the difference.
The Pairing Process Made Practical
Ideally, you'd open the Home app, tap the '+' icon, pick "Add Accessory," and scan the eight-digit code or QR code on the device or in its manual. Seconds later, your new smart light or plug pops up, ready to go.
But what happens when it doesn't? Here’s what I’ve learned to do when I hit a snag:
- Update the Firmware First: A lot of accessories, especially from brands like Philips Hue or Eve, need you to use their own app before anything else. This is usually to download a critical firmware update that actually enables HomeKit support. Always check the manufacturer's guide and have their app handy.
- The Code Won't Scan: It happens. Bad lighting, a smudged camera lens, or a tiny, poorly printed code can make scanning impossible. No need to panic. The Home app always gives you an option to "Enter Code Manually." Just type in the eight-digit number, and you're back in business.
- No Code in Sight: If you’ve misplaced the manual and the code isn't on the device, you might still be in luck. Some newer accessories use NFC for setup; just bringing your iPhone close to the device is enough to kick off the pairing process.
Here's a pro tip that will save you a world of headaches: Always look for the "Works with Apple Home" badge when you're shopping. This little logo is your guarantee that the device was built and tested to meet Apple's strict standards for security, reliability, and dead-simple setup.
Organizing Your Digital Home
Once you start adding more than a few devices, your Home app can turn into a messy, scrolling list. This is where a little organization becomes your best friend. HomeKit's system of Rooms and Zones is brilliant for keeping everything tidy and intuitive.
When you add a new accessory, the app will ask you to assign it to a room. Be specific here! Don't just use "Bedroom"—use "Master Bedroom" or "Guest Bedroom." This small detail makes controlling your home with Siri feel much more natural and precise.
For instance, you can group all the lights and plugs in your main living space into a "Living Room." This lets you say, “Hey Siri, turn off the Living Room lights,” and have all of them shut off at once, without touching anything in the kitchen or hallway.
As your smart home expands, you're joining a massive community. In fact, the HomeKit ecosystem has seen huge adoption, with integrations climbing to over 125 million connected devices globally as of early 2026.
Supercharge Control with Zones and Scenes
After you have a few rooms set up, you can take it a step further by grouping them into Zones. Think of a Zone as a collection of rooms. This is incredibly powerful for controlling large areas of your house with a single command.
Imagine creating a Zone called "Upstairs" that includes the Master Bedroom, Office, and Hallway. Now, instead of turning off each room's lights one by one before bed, you can just say, “Hey Siri, turn off everything Upstairs.” Simple.
From there, you can build Scenes for custom, multi-device actions. Scenes are hands-down one of the most powerful features in HomeKit, letting you set multiple accessories to your exact liking and trigger them all at once.
- Example "Movie Night" Scene: In your "Living Room," a "Movie Night" scene could dim the main lights to 20%, turn off a specific floor lamp, and switch on the smart plug powering your TV's bias lighting. You can launch this entire sequence instantly with a tap or by saying, “Hey Siri, it’s movie night.”
Organizing your devices into rooms, zones, and scenes is what elevates your setup from a handful of cool gadgets into a genuinely smart, cohesive home. For a deeper look at what's possible, check out our guide on the best Apple Home automation devices to expand your ecosystem.
Creating Powerful Scenes and Automations

This is where the real fun begins. Once your accessories are paired and organized into rooms, you can start teaching them to work together. This is the step that turns a collection of smart gadgets into a truly responsive smart home. The magic happens through two key features in Apple’s Home app: Scenes and Automations.
It’s crucial to understand the difference. A Scene is a group of device settings you trigger yourself, either with a quick tap in the app or a simple Siri command. An Automation, on the other hand, runs all by itself based on a trigger—like the time of day, your location, or a sensor detecting something.
Let's dig into some practical examples you can set up right now.
Crafting Your First HomeKit Scenes
Scenes are your shortcuts for setting a specific mood or getting a task done in an instant. The best scenes solve a small, repetitive annoyance. You can create them in the Home app by tapping the '+' icon and choosing "Add Scene."
A perfect one to start with is a "Good Night" scene. Forget walking through the house flipping switches and checking locks.
- Scene Name: Good Night
- Trigger: “Hey Siri, good night.”
- Actions:
- Turn off all downstairs lights.
- Dim the bedroom lamp to a soft 10%.
- Lock the front door.
- Make sure the garage door is closed.
With that single command, your house is secured for the night. I use this every single evening from my nightstand. You can create scenes for anything: "Movie Night" could dim the lights and turn on the TV, while "Focus Time" might brighten your office and turn on a fan.
Building Intelligent Automations
Automations are where your HomeKit for iPhone setup truly comes alive. They are the "if this, then that" rules that make your home feel like it's anticipating your needs. You'll find this in the "Automation" tab of the Home app. The triggers you can use are surprisingly powerful.
At its best, a well-designed automation is invisible. It’s the porch light turning on just as you pull into the driveway or the thermostat adjusting before you even feel chilly. It’s your home anticipating your needs without you having to ask.
A fantastic first automation is a "Welcome Home" routine that uses your iPhone's location to get things ready for your arrival.
Location-Based Automation: The "Welcome Home"
The idea is simple: your home should prepare for you as you get close.
- Head to the Automation tab and select "When People Arrive."
- Choose "Home" as the location. You can even fine-tune the geofence radius. You also get to decide if it triggers for "The First Person Arrives" or just for you.
- Now, set the actions you want to happen:
- Unlock the front door's smart lock.
- Turn on the entryway and living room lights.
- Set the temperature to your preferred 72°F.
Now, as you approach your house, these things just happen. It's a small touch of magic that feels incredible after a long day. When you're ready to design more advanced climate routines, you'll find that dedicated devices like smart thermostats open up even more possibilities for comfort and energy savings.
Using Sensors to Drive Your Automations
While time and location are great, sensor-based automations create a home that truly reacts to what's happening within it. A humble motion sensor or a simple door contact can become the brain behind incredibly useful routines.
For instance, I have a motion sensor in my kitchen. A blast of full-power light at 2 AM is the last thing I want. So, I built a time-based automation around it.
- Trigger: Kitchen Motion Sensor detects motion.
- Condition: Only between 10:00 PM and 6:00 AM.
- Action: Turn the under-cabinet lights on to a dim 5%.
It's just enough light to grab a glass of water without being blinded. A second, separate automation uses the same sensor during the day to turn the main kitchen lights on to 100%.
You can also have one accessory trigger another directly. This one is a game-changer.
- Trigger: When the Front Door unlocks.
- Condition: Only after sunset.
- Action: Turn on the Foyer Light.
Simple, right? But it means you never fumble for a light switch with your hands full in the dark again. As you add more devices, you can build these little chains of logic that solve real-world annoyances. The key is to start small, identify a problem, and build an automation to fix it.
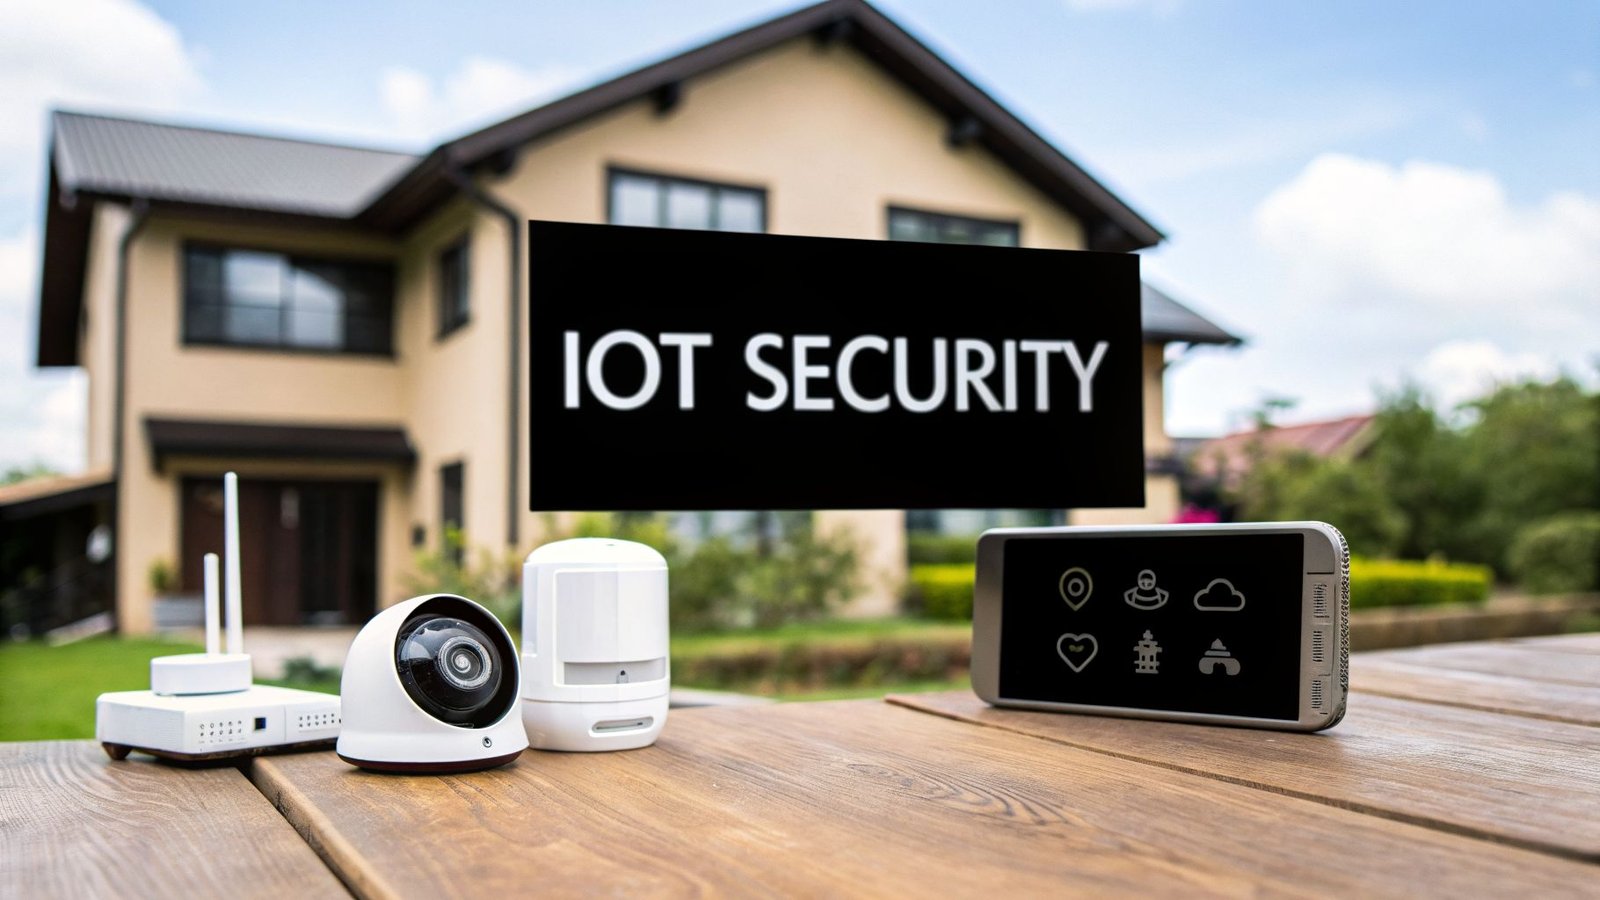
Mastering HomeKit Security and Remote Access
When you build a smart home using HomeKit on your iPhone, you’re doing more than just adding convenience. You're opting into a system where privacy isn't an afterthought—it's the foundation. With so many other smart platforms, security feels like an add-on, but with HomeKit, it's baked into the core of how everything communicates.
The real magic behind this is end-to-end encryption. This is a powerful concept that basically means all the chatter between your iPhone, your Home Hub, and your accessories is completely scrambled. No one can decipher it except you and the people you've explicitly invited into your Home. Not even Apple can access this data, which means what happens in your home, stays in your home.
The Home Hub: Your Secure Gateway
Your Home Hub—whether it's a HomePod, HomePod mini, or Apple TV—does a lot more than just run your automations. It serves a crucial role as the secure gateway between your home and the outside world. This is what allows you to safely access your devices remotely without ever putting them directly on the public internet.
I like to think of it as a highly-trained doorman for your digital home. When you send a command from your iPhone while you're at the office—say, to lock the front door—that request doesn't go straight to the lock. Instead, it travels through Apple's secure servers, gets authenticated, and is then passed to your Home Hub. The Hub then tells the lock what to do from inside your private home network. This setup prevents a smart light or lock from ever being visible online, which drastically cuts down its vulnerability to attacks.
HomeKit's philosophy is simple: your home's data is your own. By processing as much as possible locally and encrypting everything that leaves your network, Apple ensures your smart home's intelligence doesn't come at the cost of your privacy.
This secure connection is what lets you lock your doors, check your cameras, and tweak the thermostat from anywhere on the planet, all with the peace of mind that the connection is completely protected.
A Closer Look at HomeKit Secure Video
Nowhere is this privacy-first approach clearer than with HomeKit Secure Video. If you own compatible security cameras, this feature completely redefines how your video footage is managed. Instead of your camera streaming video directly to some third-party cloud server for analysis, the heavy lifting happens right inside your own home.
Here’s a breakdown of how it works in practice:
- Local Analysis: Your Home Hub (a HomePod or Apple TV) does all the video analysis locally, right on the device. It uses its own on-device intelligence to figure out if it's seeing people, pets, or vehicles.
- Secure Encryption: Only after that local analysis, and only if the camera spots something you’ve flagged as important, does it encrypt the video clip.
- iCloud Storage: That encrypted clip is then uploaded to your personal iCloud account. It's stored securely, and yes, it does count against your storage plan.
Since the video is encrypted before it ever leaves your house, no one can view it—not even Apple. You are in total control. For more ways to lock down your digital life, our article on home network security best practices has some excellent tips that go hand-in-hand with this.
Securely Sharing Control with Your Family
A smart home is rarely for just one person, and HomeKit makes it simple to share access without handing over the keys to the kingdom. As the person who set up the home, you're the Administrator with full control. From there, you can invite anyone with an Apple ID to become a member of your home.
When you send an invitation, you get to decide exactly what they can and can't do:
- Control Accessories: This lets them view and operate devices—turn on lights, adjust the thermostat, etc.
- Add and Edit Accessories: This higher level of permission allows them to add new gadgets, rename devices, and reorganize rooms.
You also get to choose whether they can control accessories remotely or only when they’re at home and connected to your Wi-Fi. This granular control is perfect for giving kids, guests, or a house sitter just the right amount of access they need, while you keep the ultimate authority over your home's security. It's a system designed to be both incredibly simple and powerfully secure.
Your HomeKit Questions Answered
Even after you get everything set up perfectly, you'll probably have a few questions pop up as you start living with your new smart home. The world of HomeKit for iPhone is incredibly powerful, but that doesn't mean it's without its quirks. Let's tackle some of the most common questions I hear from people, with real-world answers to get you sorted.
Think of this as your personal troubleshooting guide. From weird connectivity issues to figuring out what gadgets to buy next, we'll clear up the confusion so you can get the most out of your setup.
What Happens If My Wi-Fi Goes Down?
This is a classic concern, but the answer is better than you might think. If your internet service goes out but your Wi-Fi router is still powered on and running, you're mostly fine. You can still control all your HomeKit devices with your iPhone as long as you're home. That's because the commands are happening over your local network, which doesn't need the internet to function.
What you'll lose is any remote access—so no checking your cameras or unlocking the door from the office. Automations that depend on an internet connection, like a trigger based on the sunset time or a weather forecast, will also pause. The great news? Devices that use Thread or Bluetooth can often keep working locally even if the router is completely off, giving your system an impressive layer of resilience.
Can I Use Alexa or Google Assistant Devices with HomeKit?
Out of the box, the answer is a firm no. Devices made for Amazon Alexa or Google Home just aren't built with the security chips and software needed to talk to Apple's Home app. It’s like they speak different languages, and Apple is very intentional about keeping its ecosystem exclusive to maintain its high privacy standards.
But, for those who like to tinker, there's a fantastic workaround. Open-source projects like Homebridge or HOOBS (which stands for Homebridge Out Of the Box) can act as a bridge. This software runs on a small, low-power computer (a Raspberry Pi is perfect for this) and essentially translates commands, making many non-compatible gadgets show up in your Home app as if they were native HomeKit devices. It’s a more advanced route, but it opens up a massive universe of smart products.
The whole point of HomeKit is to offer a secure, curated ecosystem. While this limits native compatibility to certified products, it's also what guarantees the privacy and reliability Apple is known for.
Is a HomePod Mini Powerful Enough for a Large Home?
Absolutely. Don't let its tiny size fool you. A single HomePod mini is more than capable of acting as the central Home Hub for a large house packed with dozens of accessories. I've seen them flawlessly manage complex automations and handle multiple HomeKit Secure Video camera streams at the same time.
In fact, it gets even better when you add more than one. When you have multiple HomePod minis, they work in concert to create a more resilient and responsive smart home network. This is especially true for Thread devices, since each HomePod mini also functions as a Thread Border Router. This helps extend the reach and reliability of your self-healing Thread mesh network. For most people, it's the perfect, most cost-effective hub you can get.
How Do I Choose the Best HomeKit Accessories?
Picking the right gear is the secret to a frustration-free smart home. Here’s the simple checklist I follow when I'm looking for new devices:
- Look for the Badge: First and foremost, always look for the "Works with Apple Home" badge on the box or the online product page. This is non-negotiable and your guarantee that it will work.
- Solve a Real Problem: Don't just buy a smart gadget because it looks cool. Think about a specific pain point you want to solve. Do you always forget if you locked the back door? Get a smart lock. Want your lights to turn on automatically when you get home? Smart bulbs are your answer.
- Read Recent Reviews: Focus on reviews from late 2025 or 2026 if you can find them. A device's performance can change dramatically with firmware updates, so what someone said two years ago might be completely irrelevant today.
- Consider the Connection Type: While Wi-Fi is everywhere, accessories that support Thread are a smart, future-proof choice. They create their own super-fast mesh network that gets stronger and more reliable with every Thread device you add. When paired with a Thread-enabled hub like a HomePod mini, the experience is simply superior.
What If My Automations or Settings Randomly Reset?
This can be frustrating, but it does happen from time to time, usually after a major iOS update. For instance, some users reported that after a big update, their notification settings for HomeKit cameras all reverted to the default, which led to a constant flood of alerts.
If you notice something has gone haywire, the fix is almost always manual. You'll need to open the Home app and simply re-configure that specific automation or setting. It’s annoying, but thankfully it’s rare and usually tied to a significant software release. I've gotten into the habit of doing a quick spot-check of my most important automations after any big iPhone update, just to be safe.
At Automated Home Guide, we're dedicated to helping you build a smarter, safer, and more convenient home. For more expert tips, in-depth reviews, and practical guides, visit us at our website.

Leave a Reply