
Getting started with HomeKit is actually pretty simple. All you really need is an iPhone or iPad, a HomeKit-compatible device, and Apple's own Home app. But to really unlock the magic—like controlling things when you're not home and setting up automations—you'll need a Home Hub. This is usually an Apple TV or a HomePod.
Laying the Foundation for a Flawless HomeKit Setup
Before you start unboxing smart plugs and light bulbs, it pays to spend a little time on the fundamentals. I've found that getting the foundation right from the start is the single best way to avoid those frustrating little glitches later on. Think of it as your pre-flight check before launching your smart home.
The smart home world is crowded, but Apple has carved out a serious space for itself. As of 2025, Apple HomeKit holds about 20% of the market share for smart home platforms, sitting comfortably behind Google and Amazon. Its tight integration with the Apple ecosystem and a rock-solid focus on privacy are what keep people coming back.
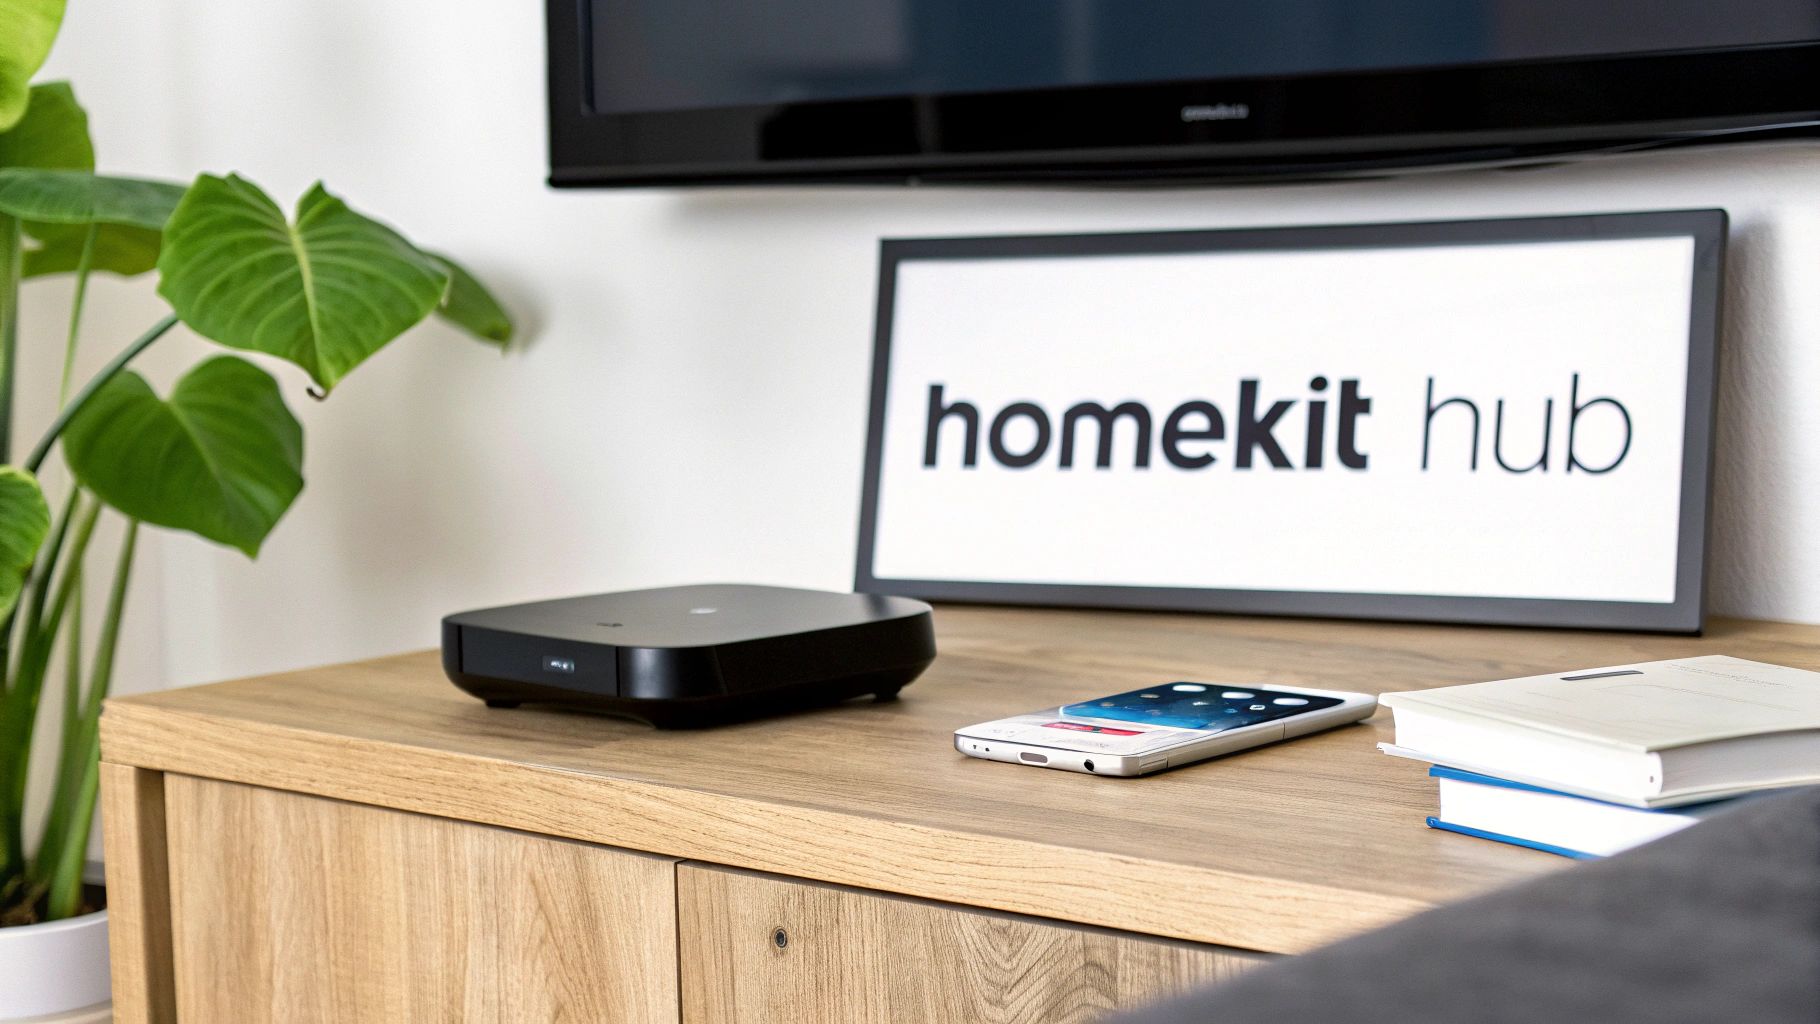
The Heart of Your Home: A HomeKit Hub
You can technically control your devices from your iPhone when you're connected to your home Wi-Fi without a hub. But for the real smart home experience, a Home Hub is absolutely essential. It’s the brain of the operation, giving you secure access to your home from anywhere and, more importantly, running all your automations behind the scenes.
Apple gives you a couple of solid options for a hub:
- Apple TV: If you're already in the market for a top-tier streaming box, this is a perfect two-for-one. It's a powerful device that sits in your entertainment center and reliably runs your smart home.
- HomePod or HomePod mini: These smart speakers are fantastic, always-on hubs. They deliver great sound, give you instant Siri access, and keep your HomeKit devices connected.
If you're wondering which one to get, check out this table I've put together. It breaks down the best use case for each.
Choosing Your HomeKit Hub
| Hub Device | Primary Function | Best For | Key Feature |
|---|---|---|---|
| Apple TV 4K | Media Streaming | Central living room setups where a powerful media player is also needed. | Wired Ethernet port for the most stable connection. |
| HomePod (2nd Gen) | High-Fidelity Audio | Music lovers who want premium sound and a robust hub. | Thread border router and built-in temperature/humidity sensors. |
| HomePod mini | Smart Speaker | Spreading hubs throughout the house for better coverage and affordability. | Excellent value and acts as a Thread border router. |
Ultimately, the best choice depends on your space and needs. An Apple TV is a no-brainer for the living room, but a couple of HomePod minis sprinkled around the house can create an incredibly strong and responsive mesh for your accessories. If you're still weighing the options, our detailed smart home hub comparison can help you make the final call.
A Strong Wi-Fi Network is Non-Negotiable
From my experience, a spotty Wi-Fi signal is the number one culprit behind those dreaded "No Response" errors in the Home app. Every smart device you add puts a little more strain on your network, so a stable connection is crucial for everything to work instantly.
Your smart home is only as reliable as the network it runs on. Before adding dozens of devices, do a quick Wi-Fi audit. Walk around your house with your phone and use an app to find dead spots, especially where you plan to put outdoor cameras or sensors.
For bigger homes or areas with notoriously bad signal, upgrading your Wi-Fi is a must. A little research into how Wi-Fi extenders work can make a world of difference and ensure every device stays connected.
Keep Your Apple Devices Updated
This one sounds obvious, but it’s so important. Make sure your iPhone, iPad, Mac, and Apple Watch are all running the latest version of their software. Apple is constantly rolling out updates with security patches, bug fixes, and new HomeKit features. An out-of-date device can easily cause weird compatibility issues with newer smart gadgets. It's a two-minute check that saves you from potential headaches.
Adding and Naming Your First Smart Accessories
Alright, with the groundwork laid, we get to the fun part: adding your very first smart accessory. This is where your smart home starts to feel real. Apple has made this process incredibly simple, turning what could be a technical headache into a quick, satisfying win.
The HomeKit ecosystem has absolutely exploded, now supporting over 125 million connected devices around the world as of early 2025. This isn't surprising when you see things like an 11% jump in HomePod mini sales—it’s clear that more and more people are getting their homes connected.
To get started, just grab your iPhone or iPad and open the Home app. You’ll see a plus (+) icon. Tap it, then hit Add Accessory. Your camera will pop up, ready to go.
The HomeKit Code: QR vs. Manual Entry
Every certified HomeKit device has a unique setup code, which you'll find as a little QR code sticker with an 8-digit number. Think of this as the secure key that lets the device join your home's network.
You’ll usually find this code in one of a few places:
- Right on the accessory itself.
- On a card or in the manual that came in the box.
- Sometimes printed on the side of the packaging.
The fastest way to pair is just to point your camera at that QR code. The Home app spots it instantly and kicks off the setup. 99% of the time, this is all you'll need to do.
But what if you can't get to the code? I've been there. Maybe you've already installed a smart switch and the code is now sitting behind the wall plate. Or the smart plug is tucked behind a heavy bookshelf. No problem. In the app, just tap "More options…" and you can manually type in that 8-digit code. It’s a great fallback that ensures you're never stuck.
Assigning Accessories to Rooms
Once your new gadget is paired, the Home app will ask you to assign it to a room. This step is way more important than it seems. Getting your room assignments right is the secret sauce for making Siri control feel completely natural.
For instance, if you put a new smart bulb in the "Living Room," you can just say, "Hey Siri, turn on the living room lights." HomeKit gets it. If there are three smart lights in that room, it turns them all on. It's this spatial awareness that elevates the system from a simple remote control to a truly smart home.
Take a minute to organize your digital home to match your physical one. Create rooms like "Kitchen," "Master Bedroom," or "Den." This little bit of organization upfront makes a huge difference in how you interact with your home every day.
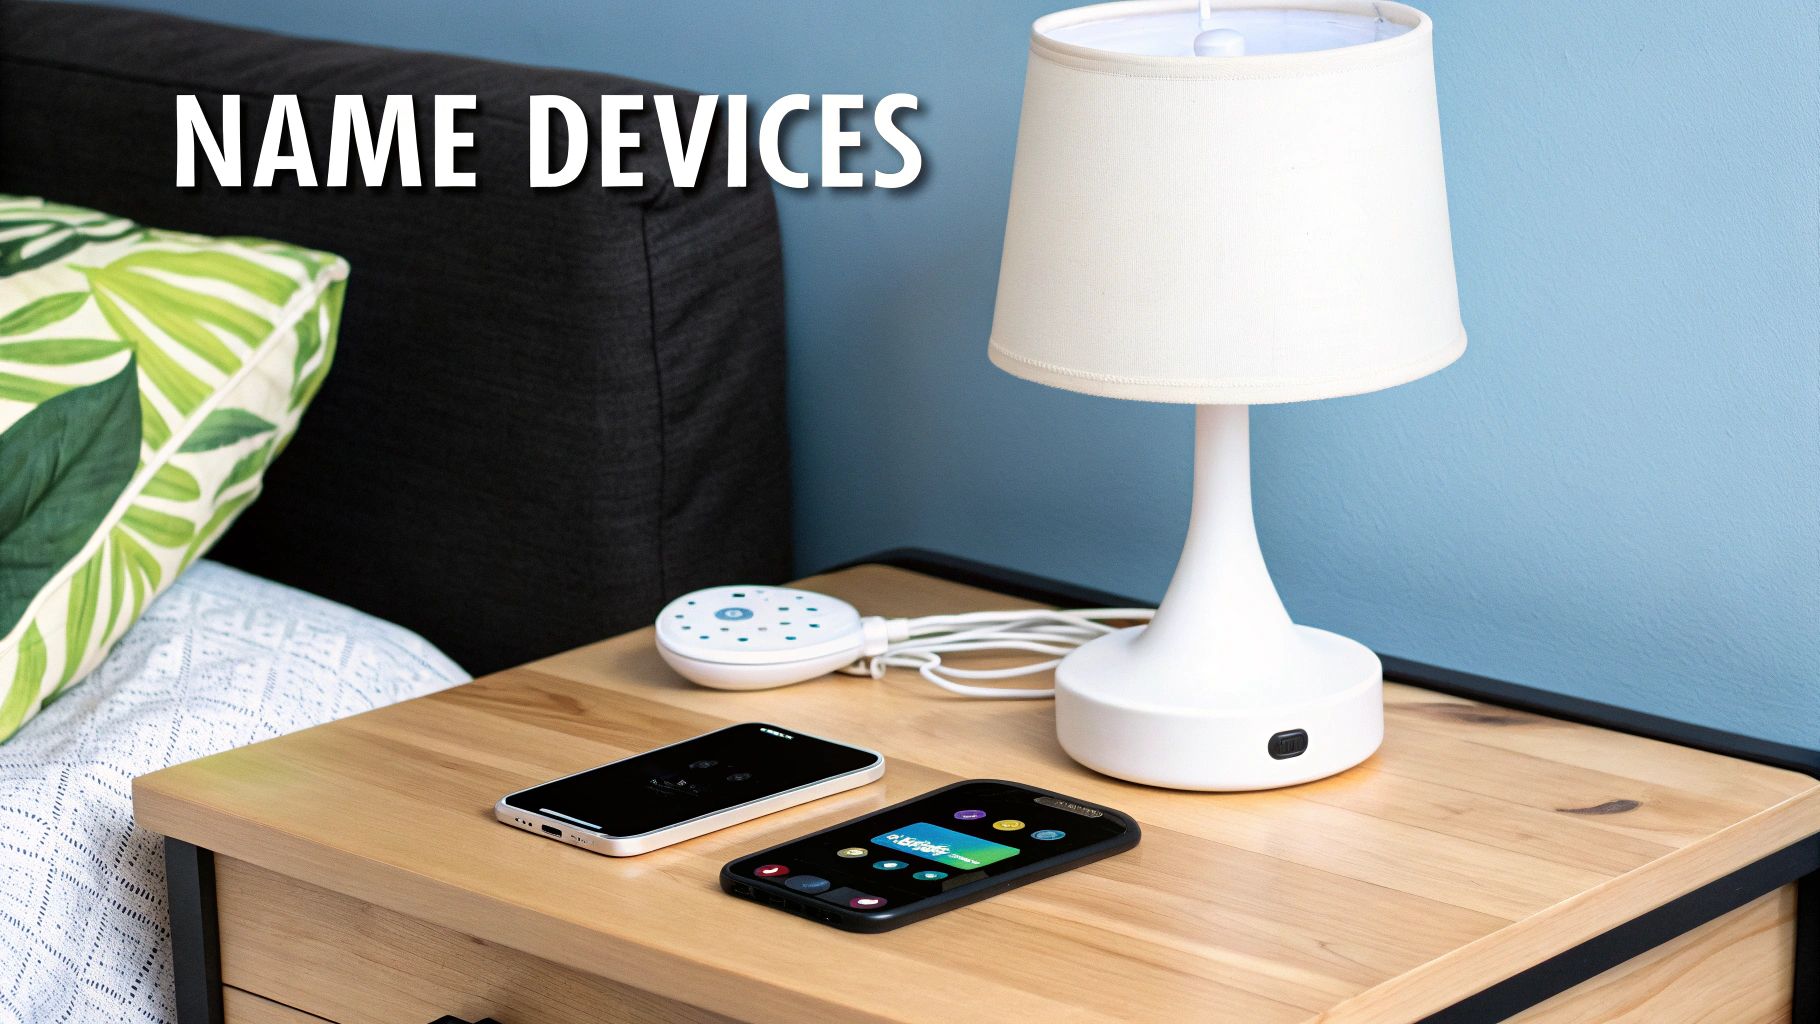
Giving Your Devices Meaningful Names
The last step is giving your new device a name. Out of the box, they have generic factory names like "LIFX Color A19 84B3" or "Smart Plug 2." Renaming them is absolutely essential for practical voice control.
Think about what the device actually does. That generic smart plug powering the fan on your desk becomes a lot more useful when you name it "Desk Fan." Now, you can just say, "Hey Siri, turn on the Desk Fan." It just works.
Here are a couple of real-world examples:
-
Default Name: "Eve Energy 1A2B"
-
Function: It's plugged into the floor lamp next to your reading chair.
-
Better Name: "Reading Lamp"
-
Default Name: "Meross Smart Switch"
-
Function: It controls the main overhead lights in your garage.
-
Better Name: "Garage Lights"
This is how you make your smart home truly yours. If you're wondering what to add next, our guide to the best smart home devices has some great ideas to get you started. Once you’ve added and named that first accessory, you’ll have the confidence to build out a home that’s genuinely connected and responsive.
Get Your Digital House in Order for Effortless Control
Once you've started adding a few smart devices, you'll quickly realize that organization is everything. A tidy digital home is an intuitive one. It's the key difference between scrolling through a long, confusing list of accessories and controlling entire parts of your house with a single tap or voice command.
Think of the Home app as the digital twin of your actual home. The first thing it does is nudge you to put your accessories into Rooms. This isn't just for neatness; it's what gives Siri its context and power. When you assign your "Reading Lamp" to the "Living Room," you're teaching HomeKit where things are.
Master Your Layout with Rooms and Zones
Creating rooms is the ground floor of smart home control. It’s what lets you say, "Hey Siri, turn off the kitchen lights," and have it know exactly which lights you mean. This simple spatial awareness is fundamental.
But what happens when you want to control more than just one room? That's where Zones come into play. Zones are a somewhat hidden but incredibly useful feature for grouping multiple rooms.
For instance, you could create an "Upstairs" Zone that includes the Master Bedroom, Office, and Hallway. Now, when you're heading to bed, a single command like, "Hey Siri, turn off everything upstairs," just works. It’s a game-changer.
Here are a few other practical Zone ideas I've used:
- Downstairs: Tie together the Living Room, Kitchen, and Dining Room.
- Outdoor: Combine the "Patio" and "Backyard" rooms to manage all your exterior lights and plugs at once.
- Entertainment Area: Group a "Media Room" and "Game Room" for coordinated control when it’s time to unwind.
Zones shift your control from micromanaging individual rooms to issuing broad, area-based commands. It’s a simple setup step that pays off every single day.
Keep in mind that this level of organization relies on a solid network to relay commands quickly. If you notice that controlling a large Zone makes some devices lag behind others, it could be a sign that your Wi-Fi is struggling. You might want to learn more about how to choose a WiFi router that can keep up with a growing smart home.
Create One-Tap Magic with Scenes
Rooms and Zones are all about grouping devices by location. Scenes, on the other hand, are about grouping actions. A Scene is basically a preset that tells multiple accessories what to do at the same time, no matter which room they're in.
This is where your smart home really starts to feel personal and automated. Instead of individually turning off three lights, locking the door, and lowering the thermostat every night, you can build a single "Goodnight" scene that does it all for you.
Let’s walk through a couple of real-world examples to see how powerful this is.
Example 1: The "Movie Night" Scene
You're about to settle in for a movie. With one tap or command, you can trigger a "Movie Night" Scene that instantly sets the perfect mood.
| Accessory | Room | Action |
|---|---|---|
| Living Room Lamp | Living Room | Dim to 15% |
| Overhead Lights | Living Room | Turn Off |
| Smart Blinds | Living Room | Close |
| Apple TV | Living Room | Turn On |
Boom. The entire vibe of the room changes without you having to touch four different apps or switches. This is the kind of convenience that makes all the setup worth it.
Example 2: The "I'm Leaving" Scene
Rushing out the door is stressful enough. The last thing you need is to run through a mental checklist of everything that needs to be shut down or secured. A scene like "I'm Leaving" can handle it all in one shot.
- All Lights: Turn off, everywhere.
- Thermostat: Set to an energy-saving "Away" temperature.
- Front Door Lock: Lock automatically.
- Smart Plugs: Turn off non-essential gadgets like fans or coffee makers.
Scenes are the heart and soul of a well-run HomeKit setup. Take a little time to create them for your daily routines—waking up, leaving, arriving home, and going to bed. You’ll be amazed at how much time you save and how much smarter your home feels.
Building Automations That Genuinely Help You
Scenes are great for controlling a bunch of devices with a single tap, but the real magic of HomeKit happens when your house starts doing things for you automatically. This is where you graduate from a collection of remote-controlled gadgets to a genuinely smart, automated home. Automations are the simple “if this, then that” rules that bring it all to life.
Think of an automation as having two parts: a trigger (the event that kicks things off) and an action (what your accessories do in response). It's less about you flipping a switch and more about your home anticipating what you need.
The organizational layers we've already set up—Rooms, Zones, and Scenes—are the perfect building blocks for these automations.
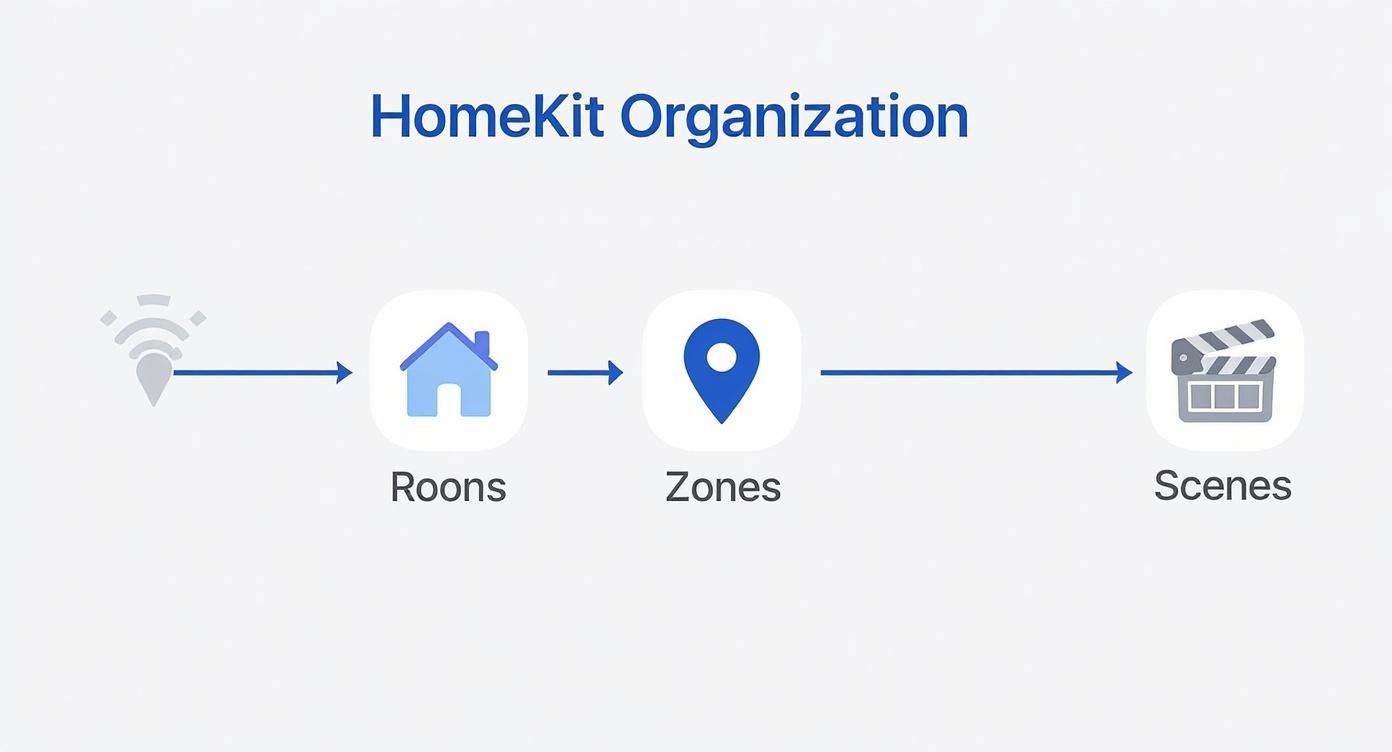
As you can see, once you have devices logically grouped into Rooms and Zones, you can build powerful Scenes that then become the core actions for your automations.
Exploring Different Automation Triggers
HomeKit gives you a few different kinds of triggers, and picking the right one is the key to creating automations that feel natural and useful, not annoying.
- Time of Day: This is the most straightforward trigger. You can kick off an action at a specific time, like 7:00 AM, or have it happen dynamically based on the sun. A classic example is having your landscape lights turn on at sunset and shut off at 11:00 PM.
- Location-Based (Geofencing): These automations react to you (or your family members) arriving or leaving home. Imagine your thermostat bumping up to a comfortable temperature and the entryway lights switching on the moment you pull into the driveway.
- An Accessory is Controlled: This one lets your smart devices talk to each other. For instance, when your smart lock is unlocked after dark, it can trigger the hallway lamp to turn on. No more fumbling for a light switch with your hands full.
- A Sensor Detects Something: This is where your home gets really clever. A motion sensor in the pantry can turn on the light when you walk in and off again after a minute of no activity. A simple door sensor on a closet can do the same.
The best automations are the ones you set up once and completely forget about because they just work, seamlessly. My advice? Start with one small, predictable part of your day—like waking up or heading out for work—and build an automation around that.
To take things a step further, think about how automations can make your home more efficient. For example, by integrating energy-efficient smart window coverings, you can create an automation that closes the blinds automatically during the hottest part of the day, saving you money on cooling costs.
Putting It All Together: A Real-World Example
Let's walk through building a practical, multi-layered automation from scratch. This will show you how to combine triggers with conditions to make them even smarter.
The Goal: We want a "Welcome Home" automation that only runs when it's actually needed. The plan is to have the living room lamp and entryway light turn on, but only if it's dark outside and only when the first person gets home. This prevents the lights from flashing on and off every time someone comes and goes if the house is already occupied.
Here's how you'd build that in the Home app:
- Start with the Trigger: Head to the Automation tab, tap the plus (+) icon, and choose "People Arrive."
- Specify Who and Where: This next step is crucial. Select "The First Person Arrives." Choosing "Anyone Arrives" would trigger the automation every single time someone with access to your HomeKit setup returns, which can get old fast.
- Pick Your Accessories: Now, choose what you want to happen. In this case, select the "Living Room Lamp" and "Entryway Light" and set their action to "Turn On."
- Add a Time Condition: This is the secret sauce. We only want this to run when it's dark, so tell the automation to only run "at Night" or, for more precision, between "Sunset and Sunrise."
- Add a Turn-Off Timer (Optional but Smart): To keep from wasting energy, you can have the accessories turn off automatically. Add a "Turn Off after" timer, maybe for 15 minutes. This is perfect for an entryway where you're just passing through.
And that's it. Now, your home will intelligently welcome the first person home after dark, creating a safe and inviting atmosphere without anyone having to lift a finger. This kind of thoughtful, layered logic is what makes a HomeKit setup so incredibly powerful.
Sharing Access and Controlling Your Home Remotely
https://www.youtube.com/embed/UKuspy3XRco
A smart home isn't very smart if only one person can use it, or if you can only control it when you're standing in the living room. Thankfully, HomeKit is designed from the ground up to handle this beautifully. Remote access and family sharing are baked right in, and it's all managed securely by your Home Hub.
Your Apple TV or HomePod acts as a secure bridge to your home network. It encrypts your commands and sends them to your devices, so you can check your security cameras from work or turn up the heat on your way back from a trip. It’s a seamless experience that doesn't require any complex network tinkering.
Inviting Family Members to Your Home
Once your home is set up, getting your family on board is simple. The goal is to give everyone the control they need without handing over the keys to the entire kingdom.
To get started, just open the Home app. Tap the three-dots icon (…) in the top right corner and choose Home Settings. Under the "People" section, tap Invite People. You’ll send an invitation using their Apple ID, and as soon as they accept, they’re in.
But the real magic is in managing what they can do.
You're not just adding a user; you're defining their role in your smart home. This granular control is essential for both security and convenience, especially in a busy household with kids.
You can decide if someone can only control accessories or if they can also add and edit them. This is a critical distinction. It's the difference between letting your teenager change the color of their lights and preventing them from accidentally deleting the front door lock.
Fine-Tuning Access Levels
HomeKit lets you get really specific with permissions, which is perfect for giving kids or guests access without compromising your home's security.
Here’s a quick breakdown of the permissions you can set for each person:
- Control Accessories: This is the basic level. They can turn lights on, adjust the thermostat, and open the blinds, but they can't change any settings, rename devices, or mess with automations.
- Add and Edit Accessories: This is essentially admin-level access. You should only give this to a spouse or trusted family member, as it allows them to add new gear, create automations, and change device settings.
For extra security on things like locks and garage door openers, you can add another layer of protection. In each person's settings, you can require their iPhone to be physically at home to operate those devices. This is a great feature to prevent a child from unlocking the front door while they're at school, for example.
Setting Up Smart Notifications
Beyond just controlling things, a truly connected home keeps the right people in the loop. You can customize notifications for specific events so that important alerts go to the right person at the right time.
For example, if a water leak sensor goes off, you probably want everyone in the home to get an immediate alert. But what about the garage door being left open after 10 PM? You might only want that notification to go to the adults.
By diving into the settings for each accessory, you can tailor these alerts perfectly. This ensures crucial information gets delivered without creating a storm of notification spam for the whole family.
Solving Common HomeKit Problems
Let's be honest, even the best smart homes have their off days. While HomeKit is famously reliable, you're bound to hit a snag eventually. The good news is that most issues are surprisingly easy to fix once you know where to look.
The classic culprit is that dreaded "No Response" error. It’s a frustratingly vague message, but it almost always boils down to a communication problem between your iPhone, your Home Hub, and the device itself. Before you start frantically unplugging things, take a deep breath and run through a quick mental checklist.
Restoring Accessory Communication
First, the basics. Is your iPhone on the same Wi-Fi network as your accessories? Is your Apple TV or HomePod actually powered on and online? You'd be surprised how often that's the issue. A simple reboot of your Wi-Fi router, followed by your main Home Hub, will solve more than 50% of these connection hiccups. It just clears out any digital cobwebs.
Don't forget about physical distance, either. That smart plug crammed behind a heavy oak entertainment center or a security camera at the far edge of your yard might just be struggling to get a good signal. I've found that moving a HomePod mini just a few feet can dramatically improve the reliability of nearby devices.
Think of a "No Response" error as your smart home's check-engine light. It's not a disaster; it's just telling you to find the weak link in the communication chain.
Another common headache is when a new accessory just won't add to your home. You scan the code, and… nothing. This usually happens for a few key reasons:
- Outdated Firmware: Always pop into the manufacturer's own app first (like the Philips Hue or Eve app). The device might be waiting on a crucial firmware update before it can join HomeKit.
- Already Paired: If you bought the gadget secondhand or are moving it from another system, it's likely still "locked" to its old home. A quick factory reset is usually all it needs.
- Network Overload: Is your router struggling? Try briefly turning off a few non-essential smart devices to free up some bandwidth while you add the new one.
Learning these simple troubleshooting steps is becoming more important every day. The smart home market was valued at a staggering USD 137.3 billion in 2024, showing just how deeply woven this technology is into our lives. You can find more details on the growth of the smart home market on grandviewresearch.com. A little patience goes a long way, and you'll be able to solve almost any problem that comes your way.
Answering Your Top HomeKit Setup Questions
As you dive into the world of HomeKit, you'll probably run into a few questions that pop up time and time again. Let's clear the air and tackle some of the most common ones right off the bat. Getting these sorted will make the rest of your setup a whole lot smoother.
Do I Really Need a Home Hub?
This is probably the number one question I get, and the short answer is yes. While you can technically control your accessories when you're on the same Wi-Fi network, a home hub is what truly brings your smart home to life. Think of it as the central brain—it’s an Apple TV, a HomePod, or a HomePod mini.
Without one, you're missing out on the two biggest perks of a smart home: remote access and automations. The hub is what lets you turn off the lights from your office or have your thermostat adjust itself when you leave the house. Honestly, if you're serious about building a smart home, a hub isn't optional; it's essential.
What's the Difference Between HomeKit and Matter?
It's easy to get these two confused. The simplest way to think about it is that HomeKit is Apple's specific smart home world—the language, the rules, and the Home app you use on your iPhone.
Matter, on the other hand, is like a universal translator. It's a newer standard that allows devices from different companies (think Google, Amazon, Samsung) to all communicate with each other.
This is fantastic news for anyone building a smart home. Now, when you see a device that supports both Matter and Thread, you know it will slot right into your HomeKit setup without any fuss. This opens up a massive new world of product choices that just wasn't available a few years ago.
The rise of Matter doesn't replace HomeKit; it enhances it. By breaking down the walls between ecosystems, it gives you the freedom to choose the best device for the job, regardless of the brand.
Can I Add Non-HomeKit Devices to My Home?
Absolutely, though it does take a little extra effort. For those who don't mind a bit of tinkering, a platform called Homebridge is a game-changer. It acts as a virtual bridge, tricking your Home app into seeing unsupported devices as if they were official HomeKit products.
It’s an amazing solution if you have older smart gadgets or a specific device you love that doesn't have the HomeKit logo. Just be aware that this route can sometimes require a bit more hands-on maintenance than sticking with officially supported gear. It’s powerful, but it’s not always a simple plug-and-play experience.
At Automated Home Guide, we're dedicated to helping you build a smarter, more connected home. Find more expert tips and in-depth reviews on our website.


Leave a Reply