
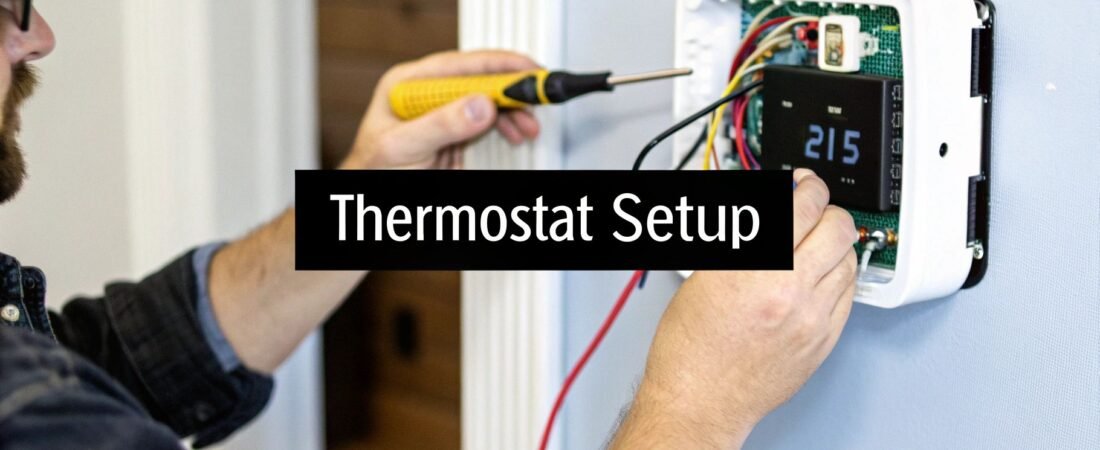
Diving into a smart thermostat installation? It's a great weekend project that most people can knock out in about 30 to 60 minutes. You'll move through four main stages: doing some crucial prep work, taking out the old thermostat, wiring up the new one, and getting it configured. With just a few common tools, you can handle this yourself and start saving energy right away.
Your Pre-Installation Safety and Compatibility Check
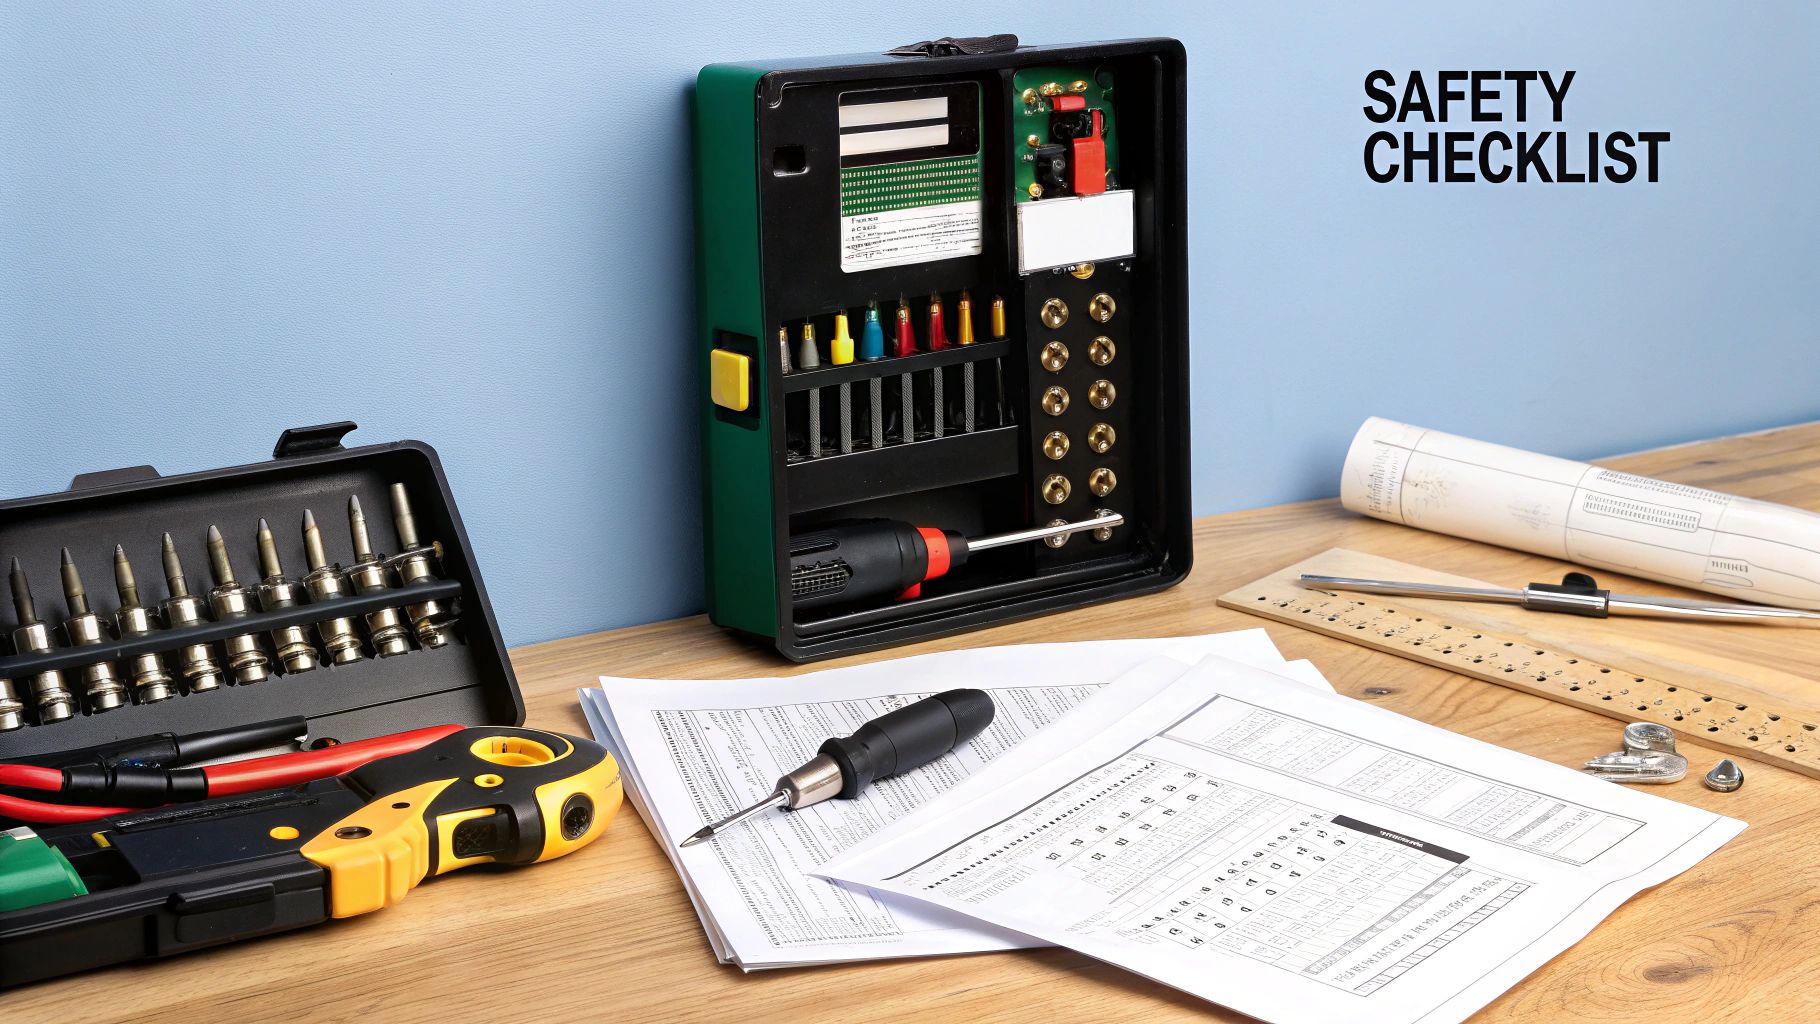
Before you even think about touching a wire, let's talk prep. This is hands-down the most important part of the job. Spending a few minutes here will save you from major headaches like blown fuses, fried equipment, or a system that just won't turn on. Seriously, don't skip this.
Essential Tools and Compatibility Checklist
Getting your tools and checking a few key things first will make the whole process go much smoother. You don't need a full-blown electrician's bag, but having the right gear within reach is a game-changer. I've put together a quick checklist to make sure you're ready to go.
| Item | Purpose | Pro Tip |
|---|---|---|
| Phillips Screwdriver | Removing the old thermostat's mounting screws. | A multi-bit screwdriver is great, just in case you run into a flathead screw. |
| Smartphone | Taking a picture of the old wiring setup. | Don't trust your memory! This photo is your most valuable reference. |
| Non-Contact Voltage Tester | Safely confirming the power is off. | An inexpensive but essential safety tool. Never assume the power is off. |
| C-Wire Check | Verifying you have a common wire for power. | Look for a wire connected to the "C" terminal on your old thermostat. |
| Wi-Fi Signal Strength | Ensuring the thermostat can connect to your network. | Hold your phone where the thermostat will be and check for at least two bars of Wi-Fi. |
This quick check ensures you have everything you need and that your system is compatible, setting you up for a frustration-free installation.
A Closer Look at Compatibility
The biggest stumbling block I see people run into is the wiring—specifically, the C-wire, or "common wire." This little wire provides the constant 24V power that smart thermostats need to keep their screens lit and their Wi-Fi connected.
Pro Tip: Pop the faceplate off your current thermostat before you kill the power. Take a peek inside. If you see a wire connected to the terminal labeled "C," you're in great shape.
No C-wire? Don't panic. Many smart thermostats now include a power adapter kit in the box. It’s a simple device you install down at your furnace control board, and it solves the problem. The key is to check for this before you buy, so you know exactly what you're getting into. It's no surprise that by 2024, Wi-Fi models held over 66% of the market, a trend driven by these user-friendly installation features and app-based guides. If you want to dive deeper, you can find more insights on smart thermostat technology.
A thermostat is often the command center for your home's climate, but it can also integrate into a bigger smart home system. To see how it all fits together, check out our smart home hub comparison.
Alright, last step before we get our hands dirty. Find your breaker box and shut off the circuit that powers your HVAC system. It’s usually labeled "HVAC," "Furnace," or "Air Conditioner." Flip it off, then go back and make sure your old thermostat's screen is blank. Now you’re officially ready to start the installation.
Taking Off the Old Thermostat and Figuring Out the Wires
Alright, with the power cut, you’re at the most critical stage of the whole process: getting the old unit off the wall and making sense of the wiring. This isn't just about yanking something off the wall; you're creating the blueprint for your new smart thermostat. I've seen it time and again—rushing this part is the number one reason installations go wrong.
Most older thermostat faceplates will pop right off if you give them a gentle pull. Some have a little button or tab on the bottom you'll need to press. Once the cover is off, you'll be looking at the backplate, where a mess of colored wires is screwed into different terminals. Stop right there. Before you touch a single thing, pull out your phone.
The One Step You Cannot Skip
Take a clear, well-lit picture of how everything is wired right now. Get close enough so you can easily read the tiny letters next to each screw terminal. This photo is your ultimate safety net. If you get turned around later on, this picture will be your single source of truth.
This quick infographic really nails the workflow for this part of the job.
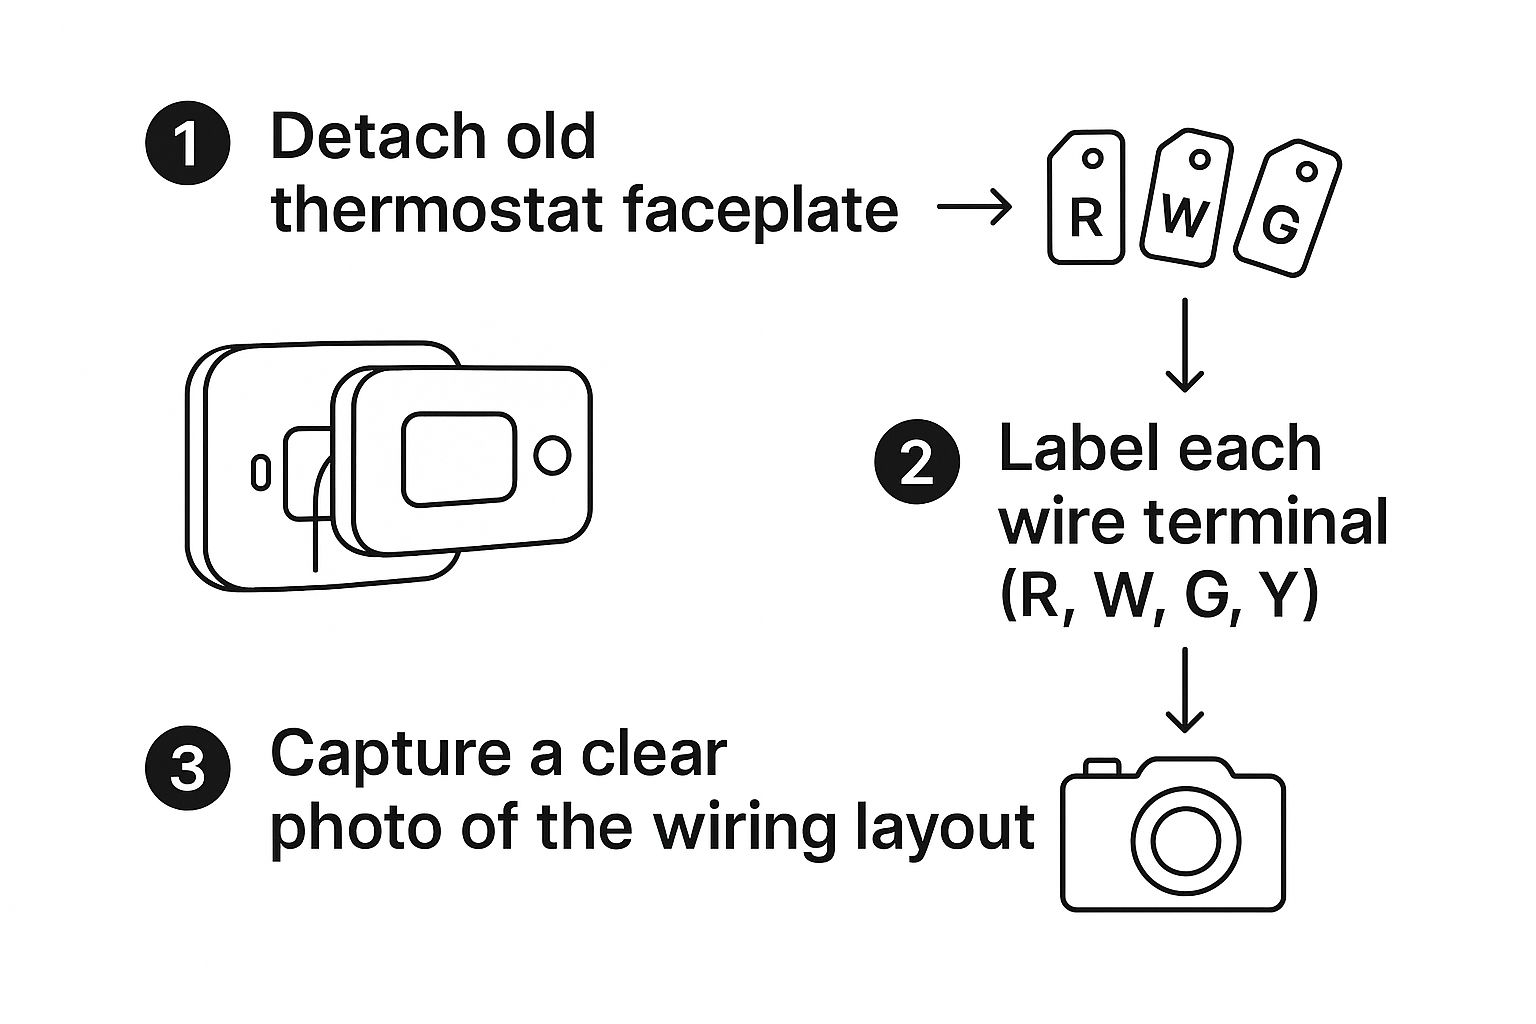
Following this simple sequence—detach, label, photograph—ensures you have all the intel you need before you even think about disconnecting anything. It’s a game-changer.
With your photo saved, grab those little sticker labels that came in your new thermostat's box. Carefully stick a label on each wire that corresponds to the terminal letter it's currently connected to. So, the wire going into the "R" terminal gets the "R" sticker, the one in "G" gets the "G" sticker, and so on.
Trust the Terminal, Not the Color.
If you take away one piece of advice from me, let it be this. While there are common color codes, you can't assume a red wire is always power or green is always the fan. The only thing that matters is the letter on the terminal of your old thermostat. That's the ground truth.
What Do These Wires Actually Do?
Getting the connections right means knowing what you're looking at. While you should always refer to your photo, it helps to understand the general thermostat wiring color codes. Here’s a quick rundown of the usual suspects you'll find behind your old thermostat:
- R, Rh, or Rc Wire: This is your main power line, carrying 24V from the system transformer. Most of the time you’ll just have one "R" wire. If you see two, "Rh" is power for the heat and "Rc" is power for the cooling.
- C-Wire: The "common" wire. This is what gives your new smart thermostat a constant flow of power to keep its fancy screen and Wi-Fi radio running. It’s often blue or black.
- G-Wire: This one controls the fan, letting you turn it on by itself without the heat or AC. It’s almost always a green wire.
- Y-Wire: This wire kicks on your air conditioning compressor. You can bet on this one being yellow.
- W-Wire: This is the wire that tells your furnace or heating system to fire up. It's typically white.
Once every single wire has its matching label, you can go ahead and loosen the terminal screws and gently pull them out. A pro tip: don't let the wires fall back into the wall! It’s a real pain to fish them out. I usually wrap them lightly around a pencil to keep them from disappearing.
Now, you can finally unscrew the old backplate from the wall and set it aside. You're left with a clean slate, ready to get your new smart thermostat mounted.
Mounting and Wiring Your New Smart Thermostat
With the old unit out of the way and your wires neatly labeled, we're at the main event. This is where your new smart thermostat physically becomes part of your home, and it’s a really satisfying part of the process.
Let's start with the new backplate. Grab it from the box and carefully thread your bundle of thermostat wires through the large opening in the middle. You’ll see it has a few different slots for screws, which gives you some wiggle room for positioning.
Securing the Backplate
Getting the backplate on the wall is more than just screwing it in. The first thing you need to do is get it perfectly level. Honestly, a crooked thermostat will drive you crazy every time you walk by it. Luckily, most models come with a tiny, built-in bubble level—use it!
Once it's straight, mark the screw holes with a pencil. If you're lucky, you can reuse the old holes, but you'll probably need to drill new ones. If you're going into drywall, definitely use the included wall anchors. They'll keep the thermostat from pulling loose over time. With the anchors set, go ahead and screw the backplate firmly to the wall.
A Pro Tip on Tidiness
Sometimes the new thermostat is smaller than the old one, leaving you with an unpainted patch or ugly screw holes. That's what the optional trim plate (sometimes called an escutcheon plate) in the box is for. It covers up those blemishes for a much cleaner, more professional look.
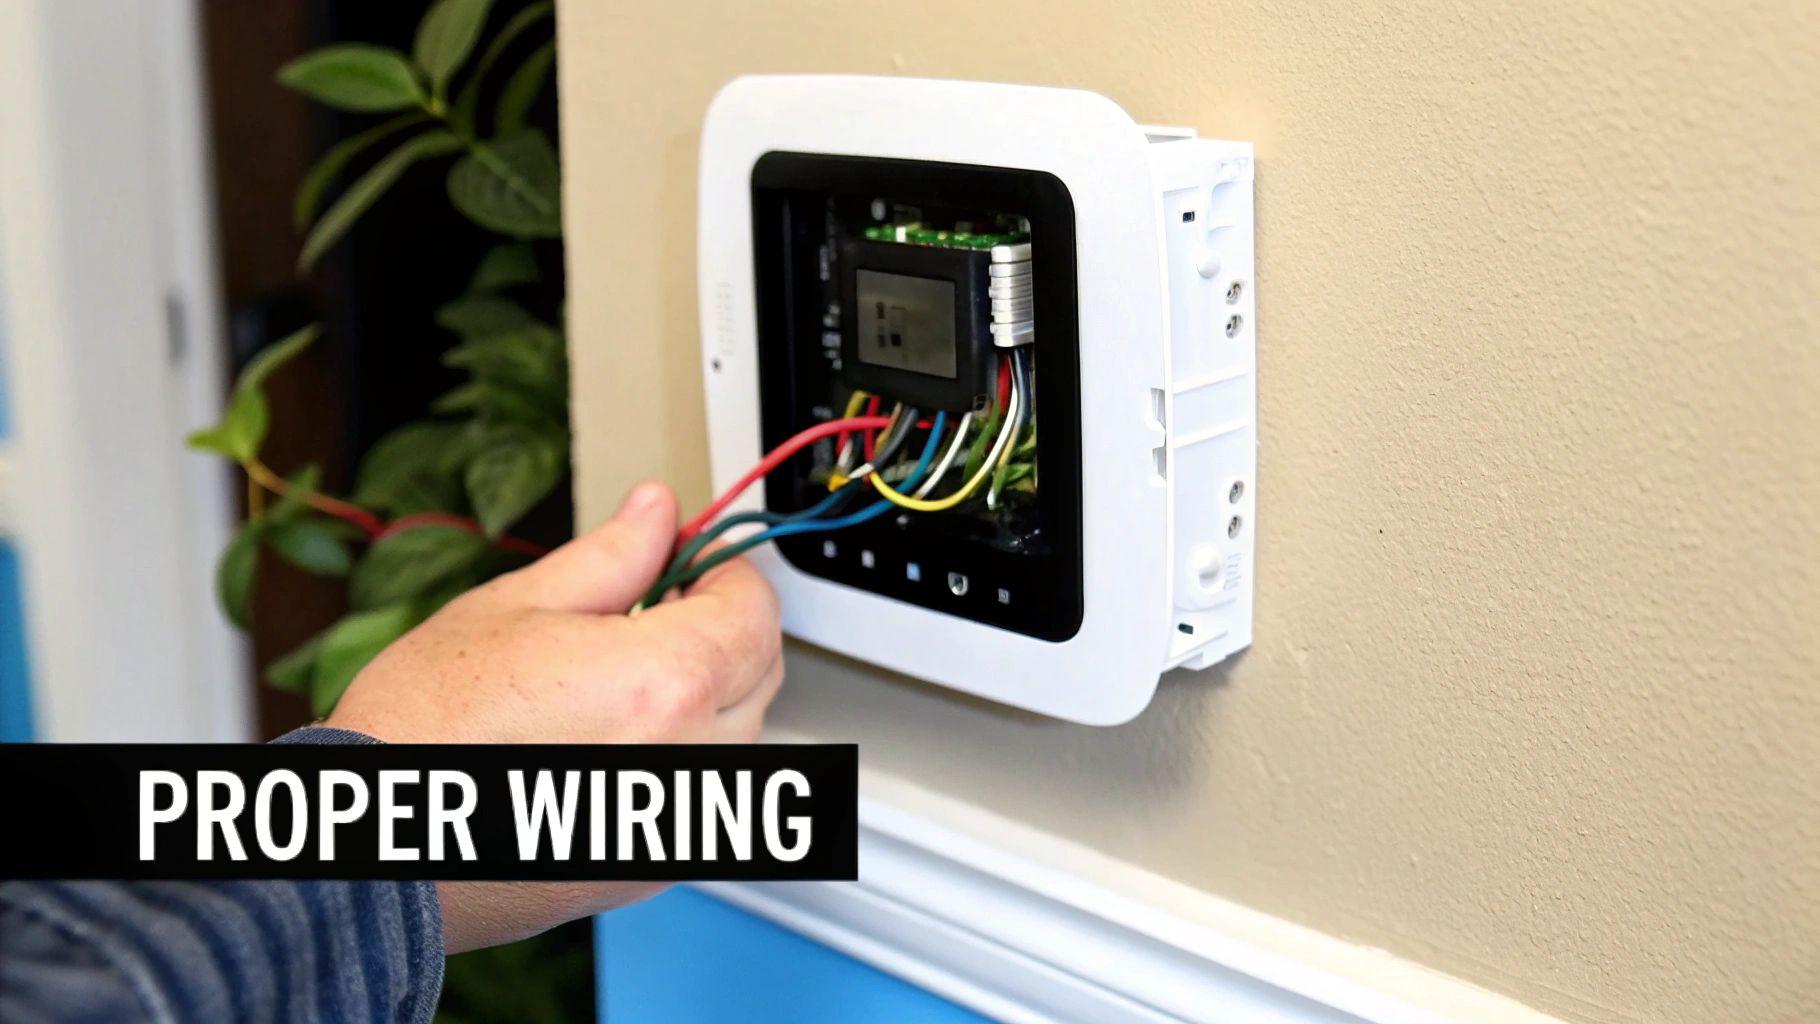
Connecting the Wires
Now for the part that seems intimidating but is actually pretty straightforward, thanks to your diligent labeling. You're basically playing a matching game.
Take each labeled wire and connect it to the terminal with the corresponding letter on the backplate. The wire you labeled "R" goes to the "R" terminal, "G" to "G," and so on. Most modern thermostats make this easy with simple push-in terminals. Just press a small tab, slide the bare copper end of the wire in, and release.
Give each wire a gentle tug afterward. You want to make sure it's snug. A loose connection is the number one reason a new thermostat doesn't work right after installation.
Common Connections to Expect:
- R, Rh, or Rc: This is your main power wire, coming from the HVAC system's transformer.
- C: The "common" wire is crucial. It provides continuous 24V power to run the display and Wi-Fi.
- G: This wire controls the fan.
- Y: This is what tells your air conditioning to kick on.
- W: And this one is for the heat.
For a deeper dive into how all this fits into a larger smart home setup, check out our complete guide on home smart wiring solutions.
Finally, deal with the slack. Don't just shove the extra wire back into the wall. Gently and neatly tuck the excess back into the wall cavity. You want to make sure no wires are bulging out, as that can prevent the thermostat's faceplate from snapping on correctly.
With the wires connected and neatly tucked away, it's time for the final touch. Align the thermostat's faceplate with the backplate and push it on gently until it clicks into place. Now you're ready to turn the power back on and get this thing configured.
Powering On and Configuring Your System
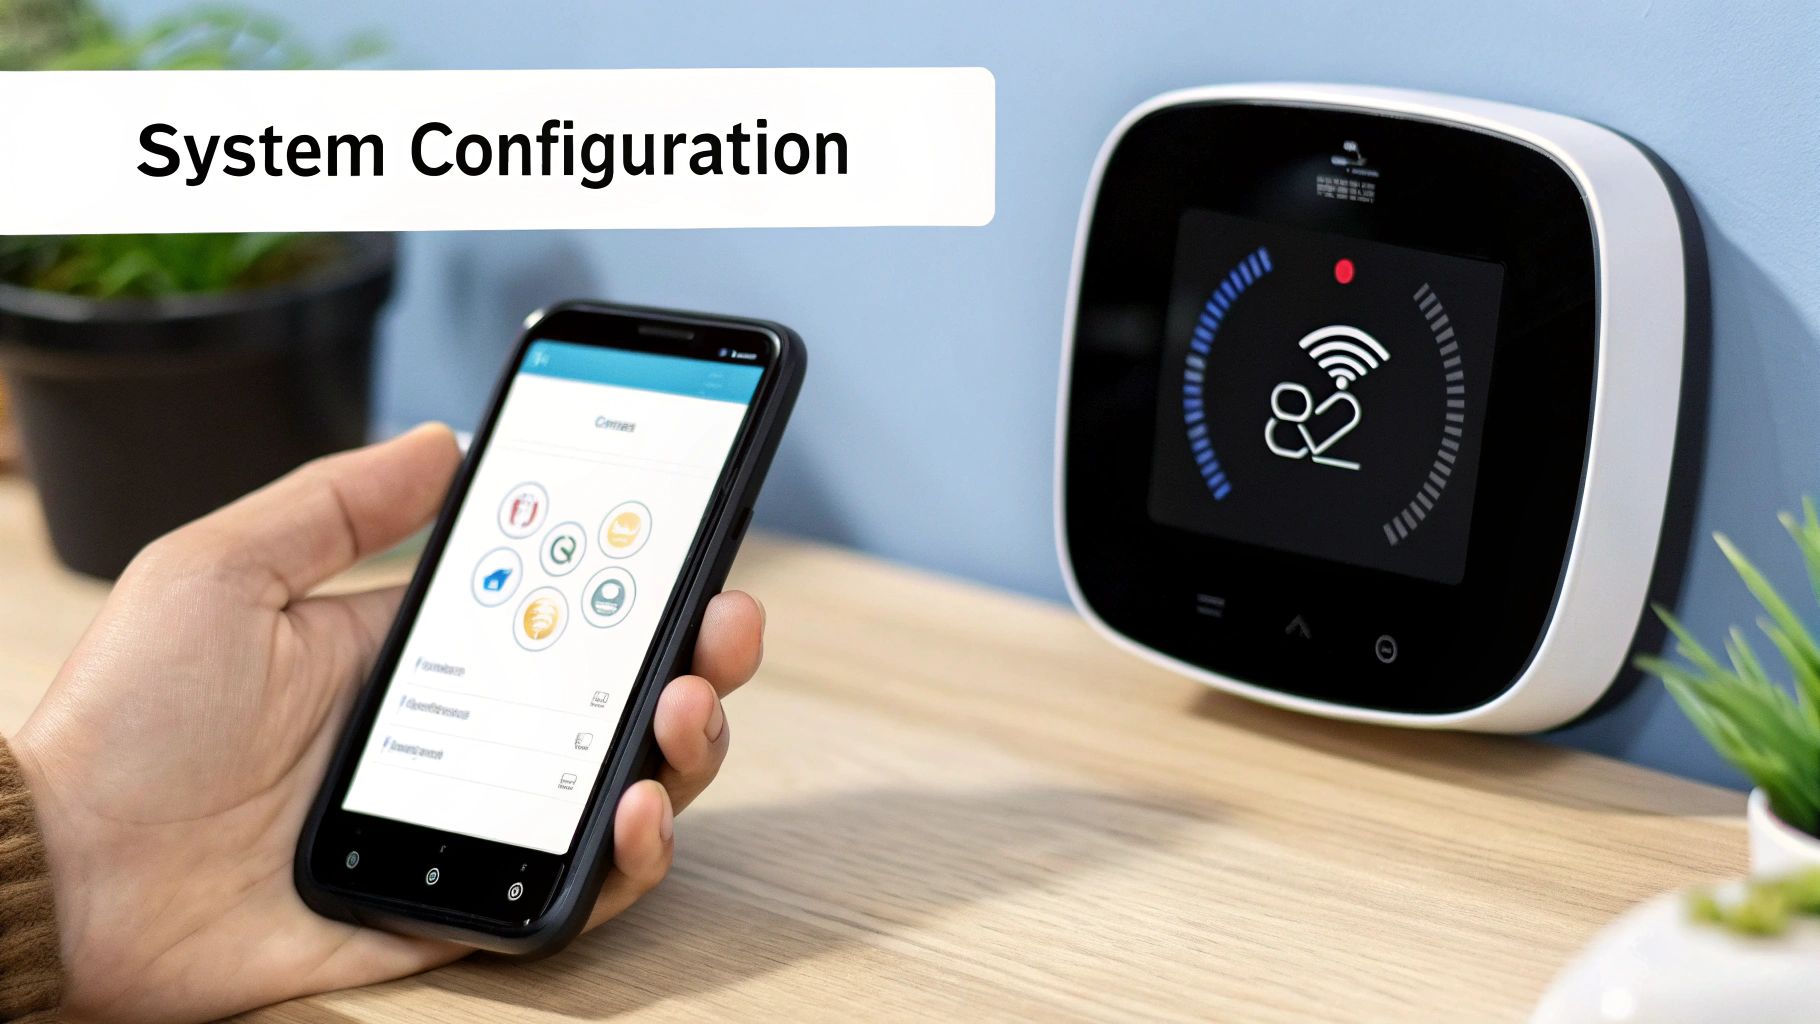
Alright, the physical installation is done, and the new faceplate is snapped securely onto the wall. Now for the fun part—bringing your new gadget to life and telling it all about your home's HVAC system.
Head back to your breaker box and flip that switch you turned off earlier back to the "ON" position. When you return to your thermostat, you should be greeted by a bright welcome screen. Give it a minute or two to boot up; it's running some internal checks before it's ready for you.
Connecting and Configuring
First things first, you'll need to get it online. The on-screen wizard will prompt you to connect to your home's Wi-Fi network. This is a crucial step—without an internet connection, you’ve essentially just installed a fancy digital thermometer, not a smart one. Pick your network from the list and carefully punch in your password.
Once it's connected, the setup guide will begin asking you a series of questions. This is where you introduce the thermostat to your specific HVAC equipment.
Getting this initial setup right is non-negotiable. The thermostat has to know whether it's managing a gas furnace with central air, an electric heat pump with auxiliary heat, or something else entirely. Correct information ensures it runs efficiently and, more importantly, prevents potential damage to your system.
It's no surprise these devices are popping up everywhere. The global smart thermostat market was valued at a whopping USD 5.04 billion in 2024 and is on track to reach USD 27.61 billion by 2034. Homeowners are clearly catching on to the benefits of better control and energy savings. You can discover more insights on this market growth to see the full picture.
During the setup process, you'll be asked to define how your system operates. Here’s a quick rundown of the most common settings you'll likely encounter.
Common Setup Configuration Settings
This table breaks down some of the key settings you'll be asked about and why they matter for your system's performance.
| Setting | Common Options | What It Controls |
|---|---|---|
| System Type | Gas, Electric, Oil, Propane | Determines the primary fuel source and how the thermostat calls for heat. |
| Forced Air | Yes / No | Informs the thermostat whether you have a furnace that circulates air through vents. |
| Heat Pump | O / B / None | Configures the reversing valve, which switches a heat pump between heating and cooling cycles. |
| Fan Control | Thermostat / HVAC | Sets whether the thermostat manages the fan independently or if the furnace controls it during a heat cycle. |
Getting these details right ensures your thermostat and HVAC components work together perfectly from day one.
Performing a System Test
After you've answered all the questions, the thermostat will want to run a system test. Whatever you do, don't skip this. It's your final confirmation that everything is wired and configured correctly.
The test will cycle through each function of your HVAC system one by one. You should hear the fan kick on, feel cool air coming from the vents when it tests the AC, and then feel warm air when it tests the heat.
Once all the tests pass, you're officially done with the installation. Now you can grab your phone, download the companion app, and start exploring all the cool features like scheduling, energy reports, and remote control.
Troubleshooting Common Installation Hiccups
Even with the best preparation, you can still hit a snag when you flip the power back on. It happens. The good news is that most smart thermostat installation problems are surprisingly simple to fix, so don't panic. Let's walk through some of the most common issues I've seen over the years.
The most frequent "uh-oh" moment is when the thermostat screen is completely blank. Before you start thinking you got a lemon, remember the issue is almost always about power. Your first stop should be the breaker panel. Did you flip the right one back on? It’s an easy mistake to make, especially in a poorly labeled panel.
If the breaker is definitely on, the next place to look is your C-wire connection. This little wire is the lifeline for your thermostat, providing the constant 24V power it needs to stay smart. Check that it's pushed all the way in and securely screwed down on both the thermostat base and the furnace control board.
Diagnosing Power and Wiring Problems
Okay, so the screen lights up, but something is wrong. Maybe it's blowing hot air when you've set it to cool, or the fan won't turn off. This is almost always a simple case of mixed-up wires. Remember that photo you took of the old wiring? It's about to become your best friend.
Gently pop the thermostat's faceplate off the wall and compare your new connections to that "before" picture. The most common slip-up is swapping the Y-wire (which controls your air conditioner) with the W-wire (for heat). I've also seen plenty of confusion around the heat pump's O/B terminal, which tells the system whether to be in heating or cooling mode.
If you're comfortable with one, a multimeter can end the guesswork for power issues.
- Set your multimeter to AC voltage (the V~ symbol).
- Carefully touch one probe to the R-wire terminal and the other to the C-wire terminal.
- You're looking for a reading somewhere between 22-26V.
No voltage reading? The problem isn't your thermostat; it's upstream at the HVAC unit. This often points to a small, tripped fuse on the furnace control board. It's a safety feature that can get triggered if wires accidentally touched during the install.
Tackling Wi-Fi Connection Errors
What if the thermostat is controlling your heat and AC just fine but refuses to connect to your Wi-Fi? This is a network issue, not a wiring one. Many smart home gadgets can be a bit finicky with modern Wi-Fi.
First, cover the simple stuff. Did you type the password correctly? It's case-sensitive, after all. Next, try the classic "turn it off and on again" trick with your router.
If you're still stuck, the issue might be your Wi-Fi band. Most smart thermostats only operate on the 2.4 GHz frequency. Many modern routers broadcast both 2.4 GHz and 5 GHz networks under a single Wi-Fi name, which can confuse these devices. The best solution is often to log into your router's settings and create a separate, dedicated 2.4 GHz network just for your smart home devices.
Frequently Asked Smart Thermostat Questions
Even when an installation goes smoothly, it's normal to have a few questions rattling around in your head. Let's tackle some of the most common ones that come up, so you can finish your project feeling like a pro.
What’s a C-Wire, and Do I Really Need One?
The "C-wire," which stands for "common wire," is your smart thermostat's lifeline. It delivers a steady stream of 24V AC power, which is essential for running power-hungry features like a backlit touchscreen, Wi-Fi radio, and the onboard processor. It's what keeps your smart thermostat, well, smart.
Some thermostats claim they can work without one by "power stealing" from other wires, but I've seen this lead to weird issues over time—things like your furnace clicking on and off randomly or the thermostat rebooting. If you don't see a C-wire tucked into the wall, your best bet for reliable, long-term performance is to install a C-wire adapter.
Can I Install This Myself, or Should I Call a Pro?
If you're comfortable with basic home DIY projects, you can absolutely install a smart thermostat yourself. The manufacturers have gone to great lengths to make it user-friendly, with color-coded labels and app-based instructions that walk you through every step. Honestly, if you can handle a screwdriver and follow a guide, you've got this.
That said, there are times to call in a professional. If you're looking at your wiring and feeling a knot in your stomach, have a complicated HVAC system (like a dual-fuel heat pump), or the thought of opening up your furnace to install a C-wire adapter is just too much, don't hesitate. Hiring an HVAC tech is a small price to pay for peace of mind and knowing it’s done right.
The golden rule for any DIY project is to trust the original terminal labels on your old thermostat, not just the wire colors. A quick, clear photo of your original setup is the most important troubleshooting tool you'll have.
Why Don’t My Wire Colors Match the Terminal Letters?
This is a classic "gotcha" that trips up a lot of first-timers. While there are standard thermostat wiring color codes, they're more of a suggestion than a hard-and-fast rule. I’ve seen some wild combinations in older homes.
The key is to completely ignore the color of the plastic insulation and focus only on the letter of the terminal the wire was connected to on your old thermostat. This is exactly why that "before" picture is so crucial—it's your map to getting everything right.
Getting a handle on your thermostat is a huge step in building a smarter, more efficient home. It’s often the gateway to discovering the broader benefits of smarthomes for living, and it's certainly one of the fastest ways to see real smart thermostat energy savings.
At Automated Home Guide, we're committed to helping you make your home smarter and more efficient. Explore our resources to get the most out of your smart home technology.


Leave a Reply