
Yes, you can absolutely install a smart switch even if you don't have a neutral wire in your switch box. It's a common issue in older homes, but manufacturers have come up with some clever solutions. These specialized wifi light switch no neutral models are designed to draw a tiny bit of power through the light fixture itself, just enough to keep them connected to your network without having to rewire your walls.
The No Neutral Wire Problem and Your Smart Home Solution

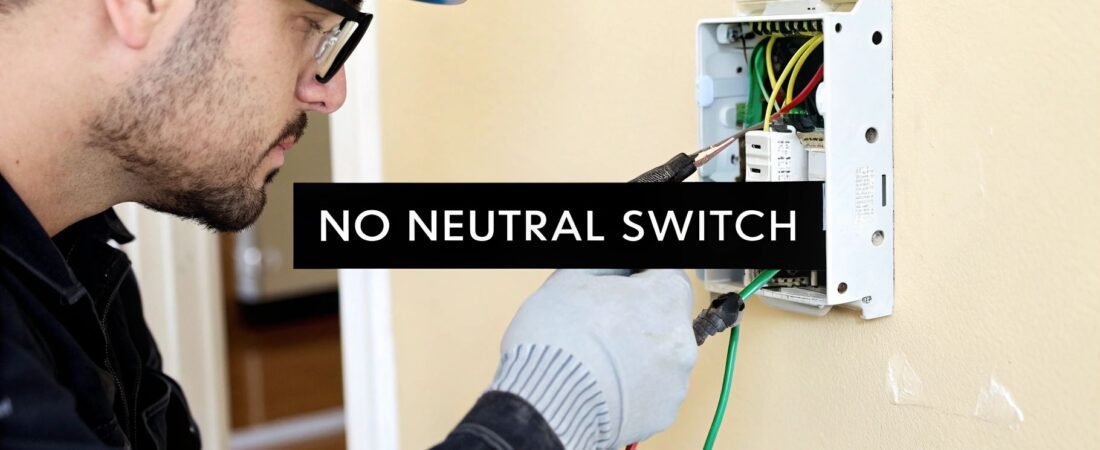
If you've ever popped open a light switch in a home built before the 1980s, you might have felt that sinking feeling. Instead of a nice bundle of wires, you see just two: one bringing power in (hot) and one sending it to the light (load). This is the classic "no neutral" scenario, a frequent roadblock for smart home enthusiasts.
So, what’s the story here? Back in the day, the wiring was all about simplicity. To turn a light off, you just needed to interrupt the power. A basic switch does this perfectly by breaking the connection on the "hot" wire. The neutral wire, which is essential for completing the circuit by returning current to the panel, wasn't considered necessary inside the switch box. It was often run straight to the light fixture to save a bit of copper and time.
Why Standard Smart Switches Need That Neutral
A standard smart switch isn't just a dumb on/off toggle; it’s a tiny computer that’s always on. It needs a constant trickle of power to keep its Wi-Fi radio running, listen for commands from your app or voice assistant, and stay connected to your home network.
This is where the neutral wire is so important. It provides a stable, continuous return path for that small amount of electricity, letting the switch power itself without affecting the light bulb. Without a neutral, a regular smart switch has no way to stay powered up when the light is supposed to be off.
The Clever Workaround for No Neutral Wires
This is where the magic of a wifi light switch no neutral model comes into play. These devices are specifically engineered to solve this problem. They work by sending a minuscule, completely unnoticeable amount of current through the light fixture's wiring to complete the circuit. This trickle of power is far too low to make the bulb glow, but it’s just enough to keep the switch's smarts online.
The key takeaway is this: A no-neutral switch "borrows" the light fixture's wiring to create the return path it needs, a brilliant workaround that bypasses the need for dedicated neutral wiring in the switch box.
This innovation has been a total game-changer for retrofitting smart tech into older homes. The global smart light switch market was valued at around USD 7.8 billion in 2023 and is expected to hit USD 18 billion by 2031, with much of that growth driven by the need for these kinds of easy-to-install solutions.
To get a better handle on your options, here’s a quick comparison of the different ways you can tackle this.
Smart Switch Options for Homes Without a Neutral Wire
| Solution Type | Installation Complexity | Best For | Typical Cost |
|---|---|---|---|
| No-Neutral Smart Switch | Low-Moderate (DIY friendly) | Direct replacement of existing switches; maintaining a traditional look. | $25 – $50 per switch |
| Smart Relay Module | Moderate (Requires wiring knowledge) | Hiding tech behind the existing switch; tight spaces; multi-switch panels. | $15 – $30 per module |
| Smart Bulbs + Remote | Very Low (Plug-and-play) | Renters; simple, non-permanent setups; individual bulb control. | $10 – $20 per bulb |
Each of these paths offers a solid way to add smart control, so it really comes down to your comfort level with wiring and what you want the final result to look and feel like.
Solving the no-neutral puzzle is just one piece of a much larger picture. The world of intelligently controlled lighting offers endless possibilities. You can explore more smart home lighting solutions to see how you can automate and personalize your living spaces even further. Understanding the "why" behind the wiring is the first step to successfully bringing smart control to any room in your house.
How to Safely Check Your Switch Box for a Neutral Wire
Before you run out and buy a new wifi light switch no neutral, you need to be absolutely sure that’s what your home needs. Guessing what’s hiding behind that wall plate is a surefire way to buy the wrong product and end up completely frustrated. Let's walk through how to safely take a peek inside your switch box and figure out your wiring situation once and for all.
Working with electricity can feel intimidating, but with the right precautions, this is a very manageable task for a DIYer. Your safety is the absolute top priority here. We won't touch a single wire until we're 100% certain the power is off.
The Right Tools for the Job
Getting your tools together first makes everything go much more smoothly. You don't need a professional-grade kit, just a few essential items.
- Non-Contact Voltage Tester: This is a non-negotiable safety tool. It's a cheap, pen-shaped device that lights up or beeps near a live wire, letting you confirm the power is off without making physical contact.
- Screwdrivers: You’ll almost certainly need a flathead for the faceplate and a Phillips head for the switch itself.
- Flashlight or Headlamp: Switch boxes are dark, cramped spaces. Good lighting is critical to actually see what you're doing.
- Needle-Nose Pliers (Optional): These can be handy for gently moving wires around to get a better look without yanking on them.
If you’re new to this, it’s a good idea to quickly review the concepts behind basic electrical switch repairs. It helps build confidence and reinforces those crucial safety habits before you even touch a screwdriver.
A Step-by-Step Guide to a Safe Inspection
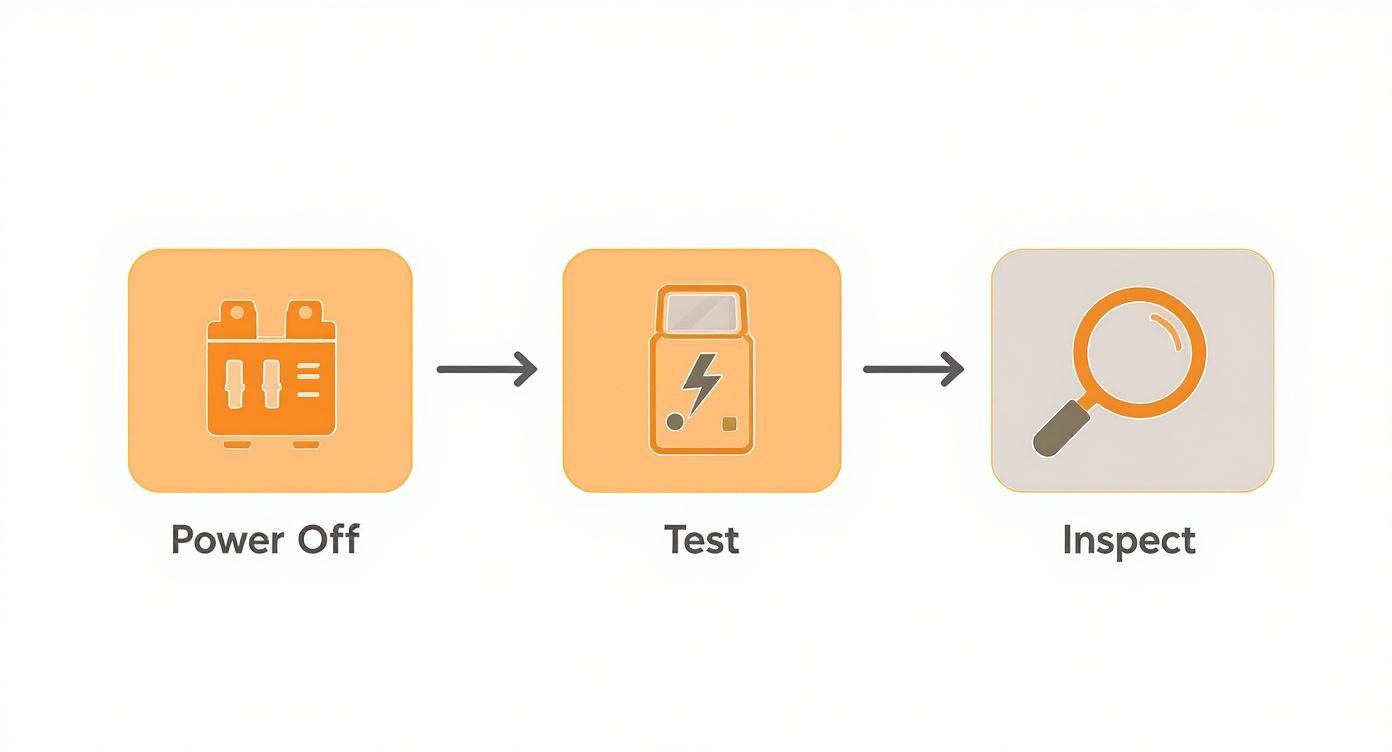
Okay, first thing's first: kill the power. Head to your home's circuit breaker panel, which is probably in the garage, basement, or a utility closet. If your breakers aren't labeled (a common headache), you’ll need a helper.
Have your helper stand in the room with the light switched on. Start flipping breakers off one by one until that light goes out. That’s your circuit. For peace of mind, I always put a piece of tape over the breaker switch. It’s a simple trick to prevent someone from accidentally flipping it back on while you're working.
Now, head back to the switch. Even though you flipped the breaker, you must verify. This is where your non-contact voltage tester comes in. Hover the tip near the screws on the sides of the switch and around the wires entering the box. It should stay completely silent and dark. Only when you've confirmed no voltage is present should you proceed.
Safety First: Always test for voltage before touching any wires, even after flipping the breaker. It's a simple, five-second step that prevents serious injury. Double-checking costs you nothing and ensures your well-being.
With the power verified as off, go ahead and unscrew the wall plate. Next, remove the two mounting screws holding the switch in the box. Gently pull the switch straight out from the wall to give yourself enough slack to see the wiring behind it.
What Am I Looking For? Identifying the Wires
Once the switch is out, you'll see a few different colored wires. Here's a quick rundown of what they are:
- Hot & Load Wires: These are almost always black. One wire brings power in from the panel (the "hot" or "line" wire), and the other sends that power on to the light fixture (the "load" wire). On a standard light switch, they’re attached to the two main screw terminals.
- Ground Wire: This is purely for safety. It will be a bare copper wire or sometimes have green insulation. You'll see it connected to a green screw on the switch or screwed directly to the metal electrical box.
Now for the main event—finding that elusive neutral. You need to look past the switch, deep into the back of the box. A neutral wire is almost always white (or sometimes gray).
What you’re hoping to see is a bundle of two or more white wires capped off together with a wire nut. They'll be just sitting in the back, not connected to your old switch at all. If you see that bundle, congratulations! You have a neutral wire.
If all you see are the two black wires on the switch and a ground wire, then you officially have a "no neutral" setup. This is your green light to start shopping for a smart switch designed specifically for this wiring. For a more detailed look at how all this wiring fits into your home's larger electrical system, our guide on home smart wiring can give you some great background information.
Your Guide to Installing a No-Neutral Wi-Fi Light Switch
Alright, so you've popped open your switch box and confirmed what you suspected: no neutral wire in sight. Don't worry, you're not out of luck. Now for the fun part—getting that new smart switch installed. This is where you'll see how these clever no-neutral Wi-Fi light switches are engineered to work with older wiring. The whole process really boils down to working in two spots: the light fixture itself and the wall switch.
We'll kick things off with the tiny, unsung hero of this operation: the capacitor. This little component is the key that unlocks smart functionality, allowing the switch to power its Wi-Fi chip without a dedicated neutral. Let's walk through it as if we're upgrading the light switch for your entryway hall.
First, a Quick Trip to the Light Fixture
Before you even think about touching a wire at the light fixture, we need to talk safety. You're going to repeat the exact same steps you took at the switch box. March over to your circuit breaker, flip the correct one to 'Off', and then double-check with your non-contact voltage tester to make absolutely certain the power is dead at the fixture.
With the power confirmed off, it's time to get to the fixture's wiring. For a typical ceiling light, this just means removing the glass shade and unscrewing the base to expose the electrical box. Inside, you’ll find the fixture's wires joined to your home's wiring with wire nuts.
The capacitor that came with your switch needs to be wired in parallel with the light bulb. In simple terms, this means one of its wires will connect to the neutral (white) wires, and the other will join the hot/load (black) wires.
- Find Your Connections: Look for the wire nuts. You should see a set of white wires twisted together and a set of black wires twisted together.
- Install the Capacitor: Unscrew the wire nut off the white wires, add one of the capacitor's leads to the bundle, and screw the nut back on tight. Do the exact same thing for the black wires with the other capacitor lead.
Gently tuck the capacitor and all the wiring back into the ceiling box and put your light fixture back together. That's it for the ceiling work. You've just created the return path that will keep your new smart switch powered up.
Think of that tiny capacitor as a bridge. It allows a minuscule amount of current to trickle through the circuit—just enough to keep the smart switch's brain online 24/7, but not nearly enough to make the bulb glow.
Now, Back to the Wall Switch
With the capacitor in place, we can head back to the switch box. The good news is, this is the easy part. Your old switch was connected to two black wires, and your new no-neutral switch is designed to connect to those same two wires.
Start by completely disconnecting the old switch. You'll have a "Line" wire bringing in power from the breaker and a "Load" wire that carries that power up to the light. The new smart switch will have clearly marked terminals for each.
- Connect the Line wire (the one that's always hot) to the terminal labeled "Line" or "L" on the smart switch.
- Connect the Load wire (the one going to the light) to the "Load" or "L1" terminal.
- Don't forget the ground wire! Connect the bare copper or green wire to the green screw on the new switch.
This simple installation process is a big reason the smart lighting market is exploding. It's projected to jump from USD 22.98 billion in 2025 to an incredible USD 56.63 billion by 2030. A huge driver is Wi-Fi technology, which commands a 37.8% revenue share because it lets devices like these integrate into homes without expensive rewiring. For the 30-40% of us in older homes, this is what opens the door to smart home tech. You can dig into the full research on these smart lighting market trends to see where things are headed.
The Final Steps: Powering Up and Pairing
Here’s a tip from experience: smart switches are a lot deeper than their "dumb" counterparts. When you're ready to put everything back, you'll need to carefully fold and push the wires into the back of the box to make room. It can be a tight squeeze, so be patient and avoid pinching or crimping any wires.
Once the switch is flush, screw it into the box, pop on the faceplate, and go turn the power back on at the breaker.
You'll likely see the switch start to blink, which means it’s ready to pair. From here, just grab your phone and follow the manufacturer's guide. The steps are usually pretty standard:
- Download the switch's app.
- Create an account.
- Make sure your phone is on your home's 2.4GHz Wi-Fi network (most smart devices require this).
- Follow the app's instructions to find and connect to your new switch.
After a minute or two, it should connect. Give it a test! You should now be able to turn your entryway light on and off from both the app and the physical switch. You've officially bridged the gap between your home's old-school wiring and today's smart technology.
Smart Alternatives That Don’t Require Rewiring
While a wifi light switch no neutral is a brilliant fix for many older homes, sometimes it’s not the right tool for the job. Maybe you’re looking for something simpler, faster, or just don't want to mess with the wiring in your walls.
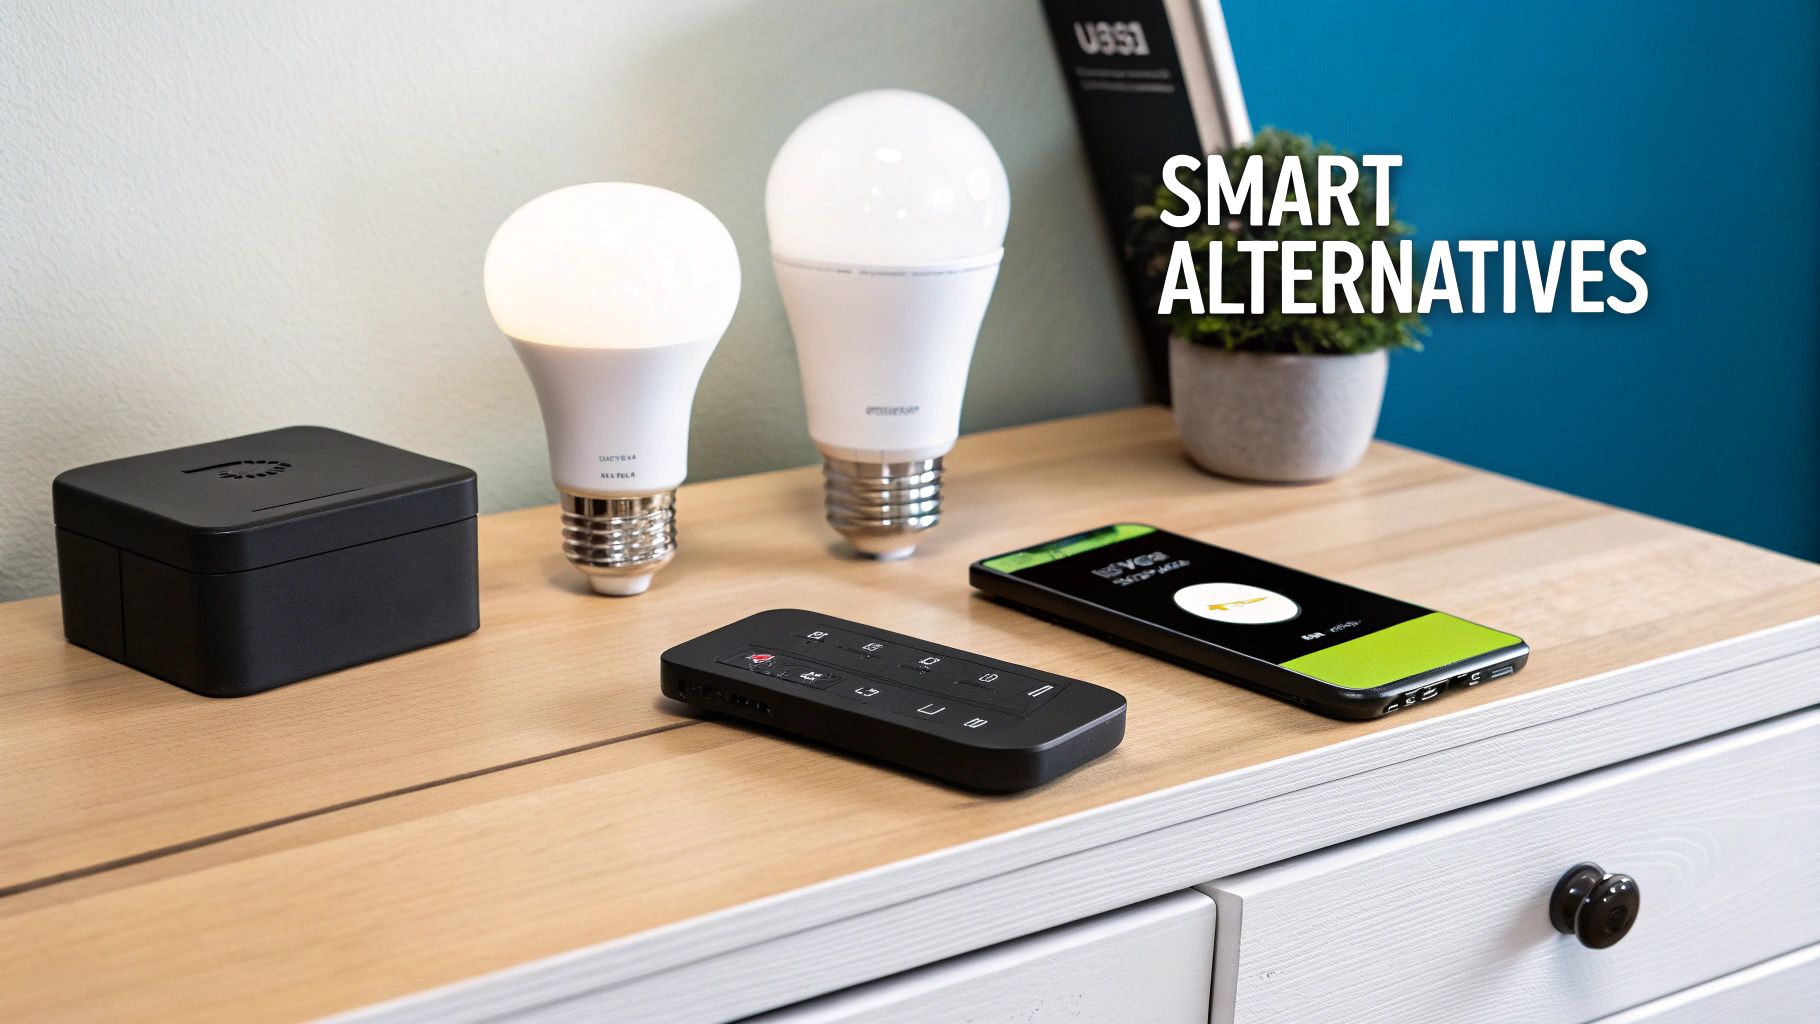
Fortunately, you can get smart lighting control by bypassing the switch box altogether. Instead of making the wall switch smarter, you put the intelligence right into the light fixture itself. This strategy completely sidesteps the neutral wire problem and opens up a whole different set of smart home features. It’s also a perfect solution for renters or anyone who wants a less invasive upgrade.
Embracing Smart Bulbs and Their Ecosystems
The most straightforward alternative is swapping your old bulbs for smart ones. Brands like Philips Hue, Wyze, and LIFX have built impressive systems around this idea. You just screw in a new bulb, fire up a smartphone app, and connect it to your Wi-Fi or a dedicated hub. The whole process takes just a few minutes.
The biggest win here is simplicity. You don't have to touch a single wire or even remove a faceplate. Plus, smart bulbs offer tricks most smart switches can't, like changing colors or shifting from a warm, cozy white to a cool, energizing daylight.
There's one major catch, though: the physical wall switch has to stay on. All the time. If someone flips it off out of habit, the bulb loses power, and your app or voice commands won't work. This can get old fast, especially with family or guests who aren't used to the setup.
The Power of Wireless Remotes and Buttons
To get around that "don't touch the switch" problem, you can pair your smart bulbs with battery-powered wireless remotes. These controllers, like the Philips Hue Dimmer Switch or the clever Lutron Aurora, can be mounted right next to—or even over—your existing light switch.
These remotes talk directly to your bulbs or their hub, giving you a physical controller that feels just like a traditional switch. It’s the best of both worlds: you get all the cool features of smart bulbs and the intuitive feel of a wall switch that just works.
A wireless remote is the missing piece that makes a smart bulb system truly user-friendly. It provides that familiar point of control and stops people from accidentally cutting the power, keeping your smart lights reliable and ready to go.
This modular approach is a big reason why the smart lighting market is booming. In fact, the global market for light control switches was valued at USD 6.6 billion in 2020 and is on track to hit USD 10.2 billion by 2025. You can dig deeper into these trends in the light control switches market report on marketsandmarkets.com.
Feature Breakdown No Neutral Switch vs Smart Bulb
Deciding between a smart switch and smart bulbs can be tricky. This table breaks down the key differences to help you choose the right path for your home.
| Feature | No-Neutral WiFi Switch | Smart Bulb Solution |
|---|---|---|
| Installation | Requires some basic wiring; fits in existing switch box. | Screw-in installation; no wiring needed. |
| Cost | Higher upfront cost per switch. | Lower cost per bulb, but can add up for multi-bulb fixtures. |
| User Experience | Looks and feels like a traditional switch; intuitive. | Wall switch must stay on; relies on app, voice, or remote. |
| Special Features | Primarily on/off and dimming control. | Color-changing, tunable whites, and special effects. |
| Fixture Compatibility | Works with any standard dimmable or non-dimmable bulb. | Only the smart bulb itself is controlled. |
| Best For | Common areas, kitchens, hallways, and anywhere you want a classic switch feel. | Accent lighting, bedrooms, and rooms where you want color control. Ideal for renters. |
Ultimately, both are great options. The no-neutral switch gives you a clean, integrated solution, while smart bulbs offer flexibility and fun features.
Choosing the Right Path for Your Home
So, what's the verdict? It really boils down to how and where you use your lights.
- Go with a no-neutral switch if: You want a seamless, traditional experience that anyone can use without thinking. It's perfect for high-traffic areas where guests and family expect a normal switch to work.
- Opt for smart bulbs if: You’re renting, crave color-changing lights, or just want the easiest installation possible. Just remember to pair them with a wireless remote to solve the usability puzzle.
It also helps to know a little about the technology making all this work. Many devices use Wi-Fi, but others run on Zigbee or Z-Wave, which can affect performance and compatibility. To get a handle on how these systems communicate, take a look at our guide on choosing the right smart home protocol.
Either way you go, you’re on the path to a smarter, more convenient home. The key is picking the solution that best fits your lifestyle and technical comfort level.
Troubleshooting Common Installation Hiccups
Even with the best-laid plans, a DIY project can hit a snag. After you've carefully wired up your new smart switch, you might run into a few odd behaviors as it powers on for the first time. Don't worry—this is pretty normal. Most of these issues are minor and can be sorted out with a few simple tweaks. Let's walk through what you're most likely to see.
The most common issue I hear about with a wifi light switch no neutral is a flickering or buzzing light. This is almost always a sign of an incompatibility between the switch and your light bulbs, especially with low-wattage LEDs. These switches need a minimum electrical load to work properly, and some of today's hyper-efficient LEDs just don't pull enough power to keep them happy.
For example, many popular no-neutral switches from brands like Sonoff require a minimum load of around 3 watts. If your single LED bulb falls below that, the switch's internal electronics can struggle, leading to that annoying flicker.
Tackling Flickering and Buzzing Lights
Your first and easiest fix is to simply swap the bulb. Try installing a high-quality, dimmable LED from a reputable brand. Even if your switch doesn't dim, these bulbs are built to handle the kind of power fluctuations that smart switches can produce, which often solves the problem instantly.
If a new bulb doesn't do the trick, it's time to re-check the capacitor you installed at the light fixture. A loose connection there is a classic cause of erratic behavior. Make sure the wire nuts are on tight and the capacitor’s leads are making solid contact with both the neutral and hot/load wires.
When the Switch Won’t Connect to Wi-Fi
It can be incredibly frustrating when you've followed the app's instructions to the letter, but the switch just refuses to connect to your Wi-Fi. Before you start pulling your hair out, run through this quick mental checklist.
- Check Your Wi-Fi Band: This is the big one. Almost every smart home gadget, including these switches, only works on the 2.4GHz Wi-Fi band. Your phone often defaults to the faster 5GHz band, which will cause the setup to fail. You need to go into your phone’s Wi-Fi settings and manually force it to connect to your 2.4GHz network before starting the pairing process.
- How Strong is the Signal? Walls are the enemy of Wi-Fi. Plaster, metal lath, and even thick insulation can kill the signal before it reaches your switch box. If the switch is on the other side of the house from your router, the connection might just be too weak. As a test, try moving your router closer to the switch. If it connects, you've found the culprit. A Wi-Fi extender or a mesh system is probably the best long-term solution.
- The Classic "Turn It Off and On Again": Sometimes, the simplest fix is the most effective. Head to your breaker panel and kill the power to that circuit for about 30 seconds. This forces a hard reset on the switch and can clear up any temporary glitch that was preventing it from pairing.
A rock-solid Wi-Fi network is the foundation of any good smart home. If you're constantly fighting with devices dropping offline, it might be a sign that your network needs an upgrade. For more on this, check out our in-depth guide on how to choose a WiFi router that’s up to the task.
Managing a Crowded Electrical Box
One thing you'll notice right away is that your new smart switch is a lot chunkier than the old-school mechanical one it's replacing. This can turn the final step of pushing it into a shallow or already-crowded electrical box into a real puzzle.
The trick is to be patient and tidy with your wires. Don't just cram everything in. Take a moment to neatly fold the wires accordion-style and gently push them toward the very back of the box. I usually try to arrange them around the edges—top, bottom, and sides—to create an open pocket in the middle for the switch's body to slide into.
Whatever you do, never force the switch into place. That's a surefire way to damage the delicate electronics or, worse, create a loose and unsafe wire connection.
Common Questions About No-Neutral Smart Switches
Alright, so you've either just installed your no-neutral switch or you're deep in the research phase. Either way, you probably have a few questions rolling around in your head about how these things actually work day-to-day. It’s one thing to get it wired up, but it’s another to live with it.
Let's tackle some of the most common questions I hear from people making this exact upgrade.
Do No-Neutral Switches Work With Any Light Bulb?
This is a big one, and the short answer is no, not always. The compatibility with your light bulbs is probably the most critical detail to get right.
While these switches play nice with old-school incandescent bulbs, they can be pretty finicky with low-power LEDs. The switch itself needs to sip a tiny bit of power to stay connected to your Wi-Fi, and it does this through the light fixture's circuit. The problem is that the minimum power it needs is often around 3 to 5 watts.
Some super-efficient LED bulbs just don't draw that much power, which leads to all sorts of weirdness—flickering, buzzing, or that faint, ghostly glow when the light is supposed to be off. To sidestep these headaches:
- Opt for Dimmable LEDs: Even if your switch isn't a dimmer, dimmable LEDs are built to handle fluctuating power levels. This makes them far more stable in a no-neutral setup.
- Check the Minimum Load: Before you buy a switch, look at its specs. Make sure the bulb you plan to use (or the total wattage of all bulbs on that one switch) is higher than the switch's minimum load requirement.
- Stick to Reputable Brands: I've found that high-quality bulbs from brands you recognize tend to perform much more reliably with smart home gear. It's often worth the extra couple of bucks.
If you're already seeing flickering, the easiest first step is to simply try a different brand or a slightly higher-wattage LED bulb.
Can I Install a No-Neutral Switch in a 3-Way Setup?
This comes up all the time for hallways, staircases, and big rooms where two switches control the same light. For the most part, a standard no-neutral switch won't work here. The vast majority are designed for simple single-pole circuits—one switch, one light.
However, the industry is catching on. A few brands now offer specific 3-way compatible no-neutral kits. These usually include a main smart switch and a second battery-powered or companion remote that replaces your other switch. You absolutely have to read the box and the product page. Look for explicit wording like "3-way compatible" or "multi-switch support" before you add it to your cart.
Don't try to force a standard no-neutral switch into a 3-way circuit. It's not a "maybe it'll work" situation—it flat-out won't, and you could end up damaging the switch.
Is That Little Capacitor Thing Really Necessary?
Yes, 100% yes. That small capacitor or adapter that comes in the box is not an optional extra—it's the magic ingredient that makes the whole thing work.
You install it up at the light fixture itself, connecting it between the neutral and live wires. This clever little component completes the circuit, allowing a tiny trickle of electricity to flow back to the switch to power its brains (the Wi-Fi radio and processor) without actually lighting up the bulb. If you skip installing the capacitor, the switch gets no power and becomes a useless piece of plastic on your wall.
What Happens to a No-Neutral Switch When the Power Goes Out?
When the power cuts out, your smart switch is just as dumb as a regular switch. It's completely dead and unresponsive because it has no electricity.
The good news is what happens when the power comes back on. Any decent smart switch will automatically power up and start looking for your Wi-Fi network to reconnect. Most also feature a "power-on state" memory, which is a fantastic feature. It means the switch will remember if it was on or off before the outage and return to that state. This is what prevents all your lights from blasting on at 3 AM after a momentary power flicker.
At Automated Home Guide, we're all about helping you make your home smarter with clear, expert advice you can actually use. Dig into our other resources to find the right solutions for your next project. https://automatedhomeguide.com


Leave a Reply