
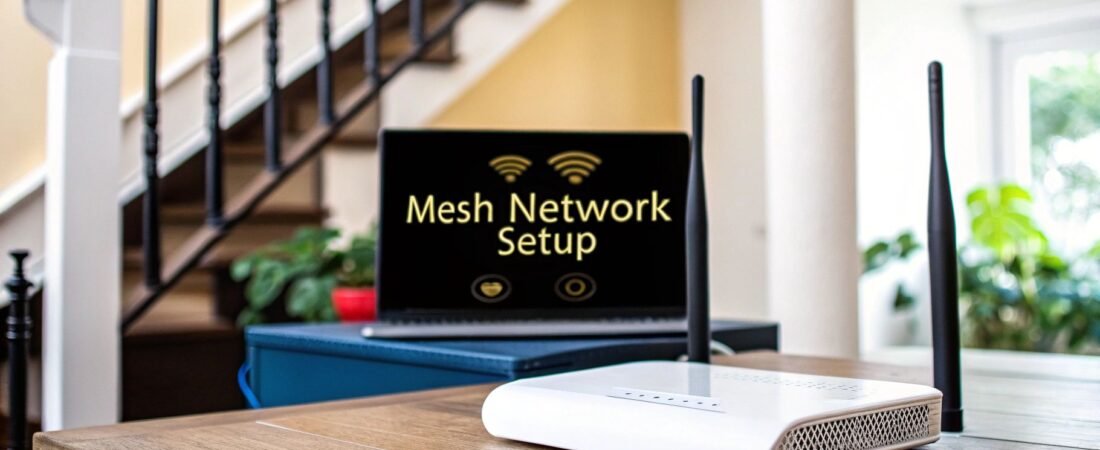
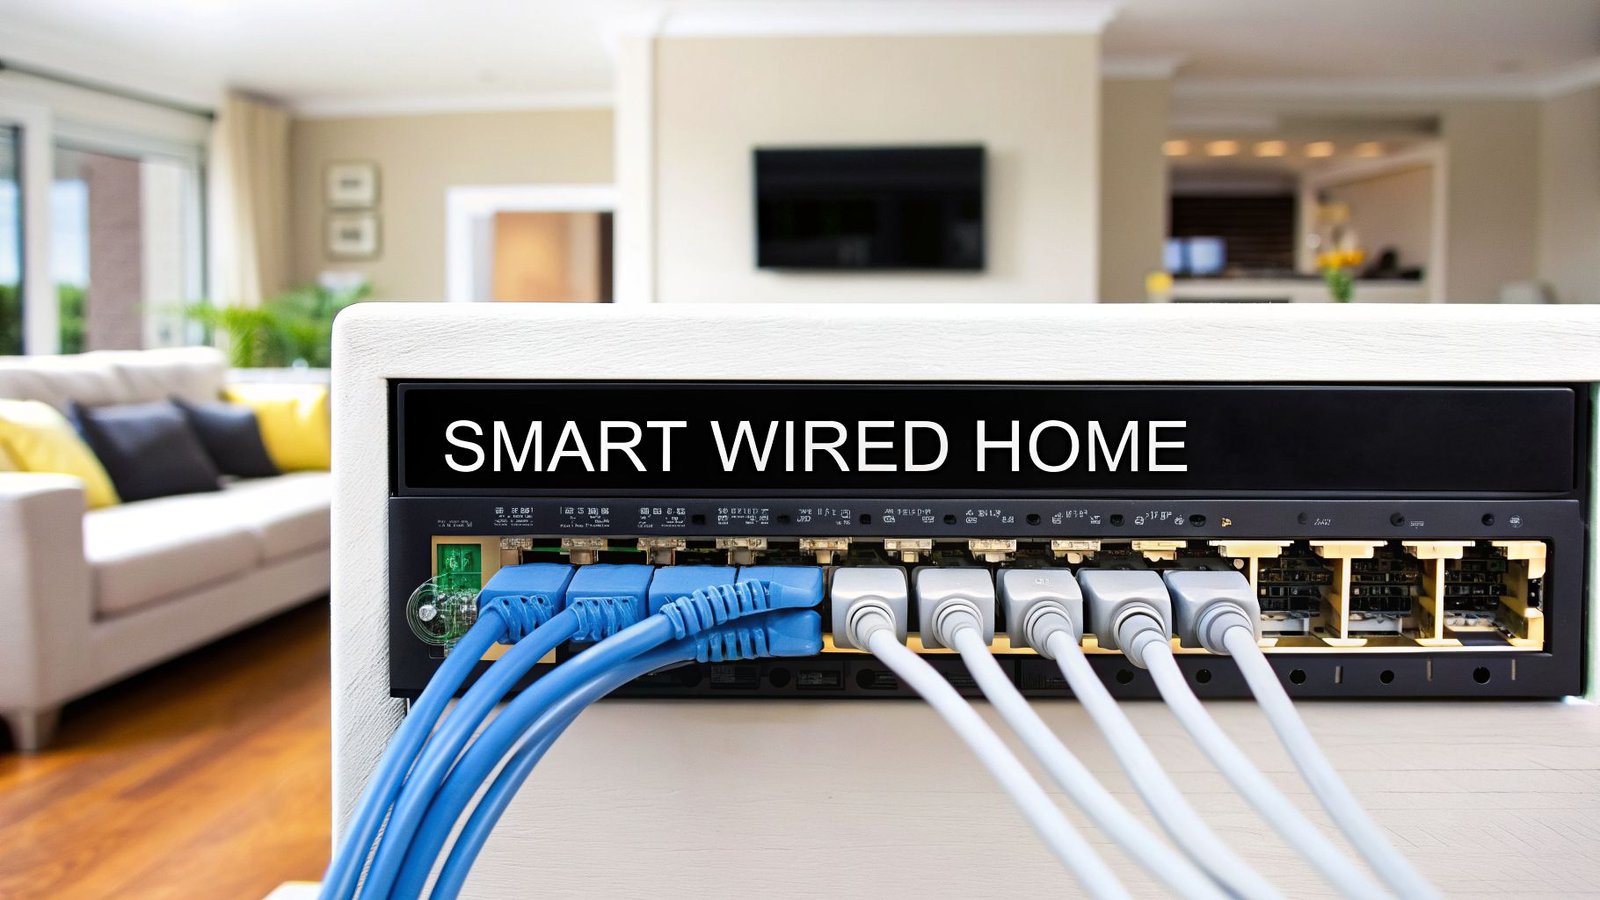
Setting up a wireless mesh network means swapping out your old, single router for a team of interconnected "nodes" or "points." These nodes work together to wrap your entire home in one, seamless Wi–Fi signal. This approach finally kills off those frustrating dead zones and gives you a rock-solid connection for every device you own, which is a total game-changer in a modern smart home.
It’s a massive upgrade from the old router-and-extender model.
Why a Mesh Network Is Your Smart Home's New Best Friend
Before we get into the "how-to," let's talk about why a mesh system has become an essential part of any connected home. If your video call has ever frozen the second you stepped onto the back patio, or your smart thermostat suddenly went offline, you know the limits of traditional Wi-Fi.
A single router, no matter how powerful, is like a megaphone in one corner of a stadium. The signal gets weaker the farther you are from it, and it really struggles to push through common household materials like brick walls, plaster, or even large appliances. The old fix was a Wi-Fi extender, but honestly, that's just a band-aid. Extenders usually create a second, separate network, forcing your devices to clumsily jump between them. It’s anything but smooth.
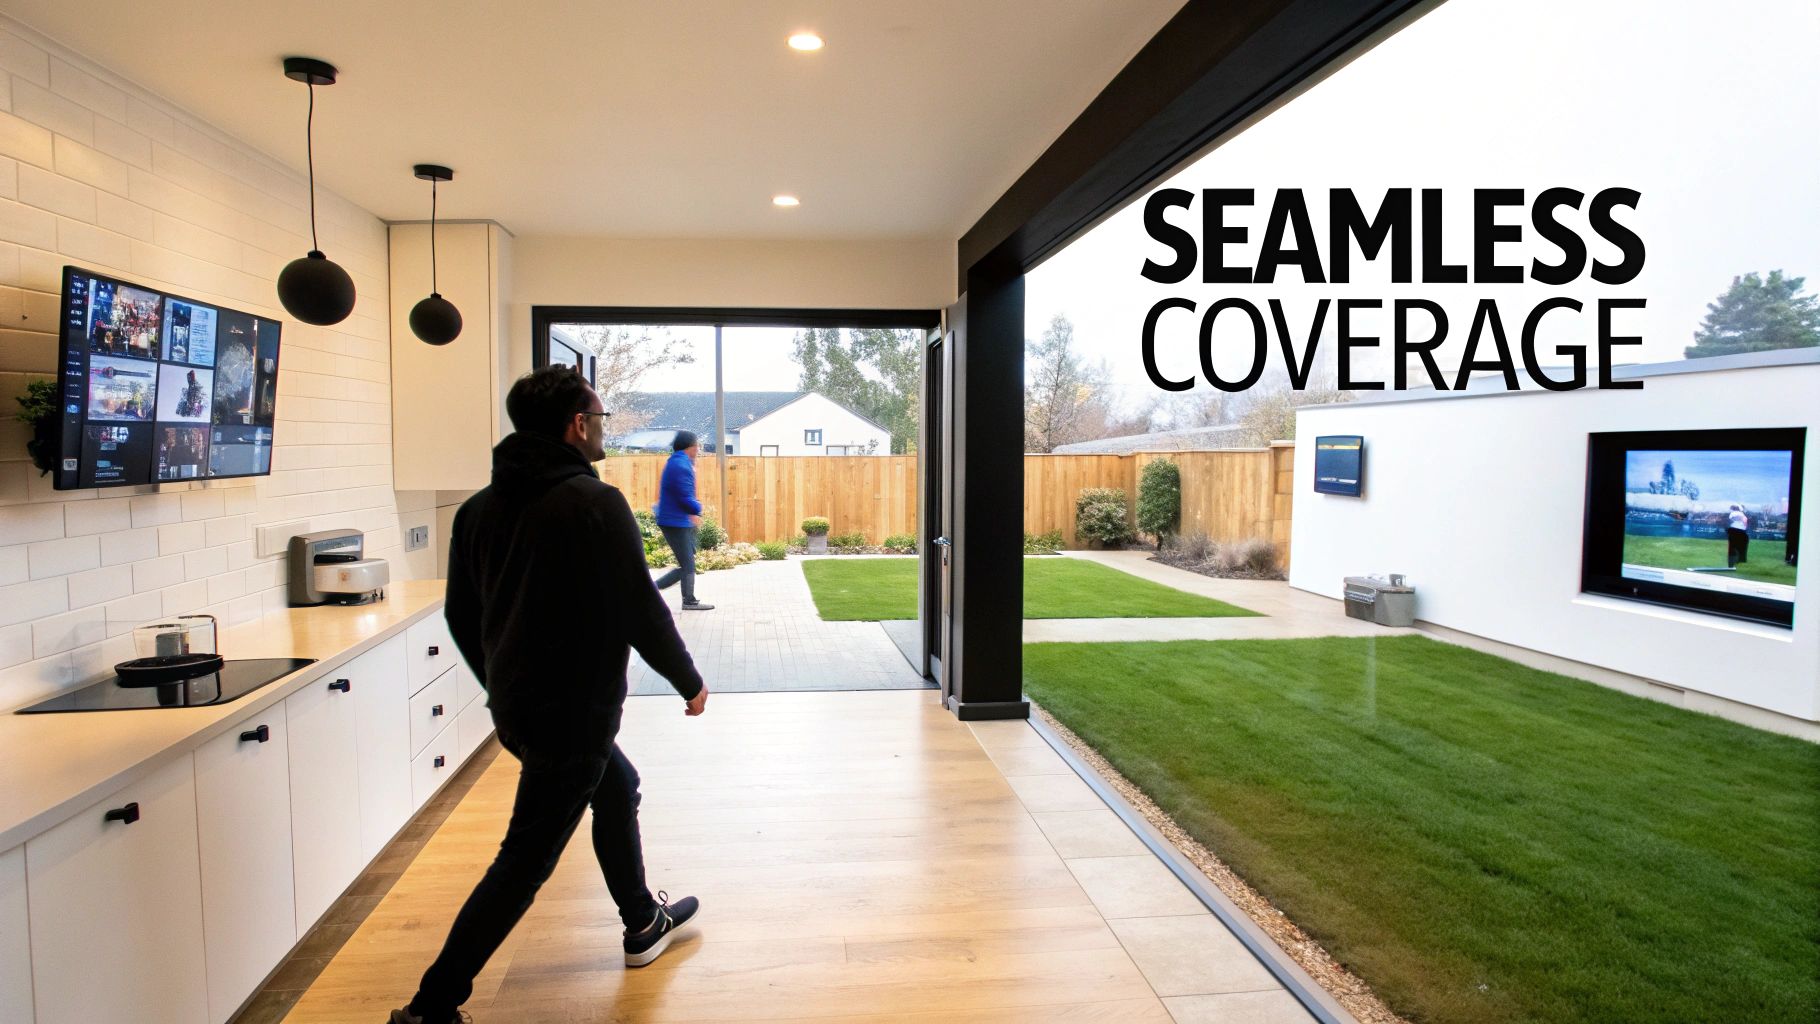
A mesh system doesn't just stretch your Wi-Fi; it blankets your home in it. It’s the difference between having one bare bulb in the hallway and having recessed lighting in every single room. Every corner gets consistent, reliable coverage.
Built for the Demands of a Modern Home
The real genius of mesh Wi-Fi is how it handles dozens of devices all at once. Think about a typical smart home today: you might have a 4K TV streaming a movie, a laptop on a Zoom call, a few smart speakers playing music, security cameras running, and a bunch of smart plugs and lights all vying for bandwidth.
A standard router can easily get overwhelmed and become a bottleneck. A mesh system, on the other hand, is built for this chaos.
- Intelligent Traffic Routing: The nodes are smart. They constantly talk to each other to find the fastest and clearest path for data to travel from your device to the internet and back.
- A Single, Unified Network: You get one network name (SSID) for your entire property. As you walk around, your phone or laptop will automatically hand off its connection to the strongest node without you ever noticing a drop.
- Scalable Coverage: Is your Wi-Fi weak in the garage or that new backyard office? Just add another node. You don’t need to configure a new network; it just joins the team.
This robust design provides the stable backbone you need to truly automate your home the smart way and ensures all your gadgets just work.
A Forward-Looking Investment
From a bigger-picture perspective, mesh networks are becoming the standard for home connectivity. You just have to look at the market growth to see where things are headed. One global forecast valued the wireless mesh network market at USD 9.39 billion in 2024 and predicts it will hit USD 18.97 billion by 2032. The consensus is clear: the market is set to more than double in less than a decade, cementing mesh as the go-to solution.
At the end of the day, a proper wireless mesh network setup isn't just about faster speeds. It’s about stability and capacity—the digital foundation that makes sure every smart device you bring home performs exactly the way you expect it to.
Choosing the Right Mesh System Without Overspending
Diving into the world of mesh Wi-Fi can feel like trying to learn a new language. You're hit with terms like "tri-band," "Wi-Fi 6E," and "dedicated backhaul," and it’s easy to get lost in the marketing noise. The real risk? You either overspend on features you don't need or, worse, buy a system that can't handle your home's demands.
Let’s cut through the jargon. Picking the right system isn't about buying the most expensive box on the shelf. It’s about matching the technology to your actual life—the size of your house, the number of devices you own, and what you do online. A system that's complete overkill for a two-bedroom apartment might be absolutely essential for a sprawling multi-story house.
Mesh has quickly become the go-to solution for reliable home Wi-Fi. Back in 2019, hybrid mesh systems already accounted for over 5% of the global market and were projected to explode with a nearly 20% compound annual growth rate through 2026, according to data on gminsights.com. It's clear this isn't just a trend; it's the new standard for a reason.
Decoding Wi-Fi Standards and Bands
Your first big decision usually revolves around the Wi-Fi standard: Wi-Fi 6, 6E, or the very new Wi-Fi 7. Think of these like different generations of a car engine—each one is faster, more powerful, and more efficient than the last.
-
Wi-Fi 6 (802.11ax): This is the sweet spot for most people right now. It's the current mainstream standard and was specifically built to handle a house full of competing devices—phones, laptops, smart speakers, thermostats—without bogging down. It’s a solid, reliable choice for the typical modern smart home.
-
Wi-Fi 6E: This is Wi-Fi 6 with a major perk: access to the brand-new 6 GHz band. Imagine this as a private, multi-lane superhighway for your newest gadgets, completely free from the traffic jams on the older 2.4 GHz and 5 GHz bands. It's fantastic if you own cutting-edge devices that can actually use it, but keep in mind that your older tech can't even see this network.
-
Wi-Fi 7: This is the latest and greatest, building on 6E with even wider channels and the ability to combine multiple bands at once for mind-blowing speed. Honestly, it’s premium-priced and only really makes sense if you have a multi-gig internet plan and the next-gen devices to match. For most of us, it’s overkill for now.
Along with the standard, you'll see systems labeled "dual-band" or "tri-band." A dual-band system has two radios (one 2.4 GHz, one 5 GHz). A tri-band system has three, adding either a second 5 GHz band or the new 6 GHz band. That extra band is a true game-changer.
The Power of a Dedicated Backhaul
So, why does that third band matter so much? In most tri-band systems, it’s used as a dedicated wireless backhaul.
Think of it as a private communication channel just for the mesh nodes to talk to each other. In a dual-band system, the nodes have to share the same Wi-Fi lanes that your phone and laptop are using. This creates a bottleneck, often cutting your available speed in half with every "hop" a satellite makes away from the main router.
A dedicated backhaul gives the nodes their own private lane, so they can communicate at full speed without congesting the Wi-Fi bands your devices rely on. This single feature makes a massive difference in performance, especially in larger homes.
If you have a big house, a lot of devices, or do demanding things like 4K streaming and competitive online gaming, a tri-band system with a dedicated backhaul is absolutely worth the investment. It’s the key to getting fast, stable speeds in every corner of your home.
To help you decide, here’s a quick breakdown of which technology is right for different situations.
Mesh System Feature Comparison
| Feature | Best For | Consideration |
|---|---|---|
| Dual-Band Wi-Fi 6 | Smaller homes & apartments (<2,000 sq ft), moderate device counts, budget-conscious buyers. | Performance can drop off significantly at the farthest nodes due to a shared backhaul. |
| Tri-Band Wi-Fi 6 | Medium to large homes (>2,000 sq ft), dozens of smart devices, demanding use (4K streaming, gaming). | The dedicated backhaul is a huge performance booster, making this the best all-around choice for most. |
| Tri-Band Wi-Fi 6E | Tech enthusiasts with 6E-compatible devices (new phones, laptops), homes with heavy Wi-Fi congestion. | The 6 GHz band is lightning-fast but has shorter range. Older devices can't use it. |
| Wired Backhaul | Homes with existing Ethernet wiring, users who need the absolute best speed and reliability possible. | The ultimate in performance, but requires running cables between your mesh nodes. |
Of course, if your home is already wired with Ethernet jacks in every room, you can connect your mesh nodes with cables to create an even faster and more reliable "wired backhaul." But for most people upgrading their wireless setup, a tri-band system is a huge and noticeable leap forward.
For a deeper dive into the nitty-gritty, you can explore our complete guide on how to choose a Wi-Fi router.
The Art and Science of Placing Your Mesh Nodes
Getting node placement right is hands-down the most critical part of setting up a mesh network. Honestly, you can buy the most expensive system on the market, but if you get this step wrong, you’ll be looking at frustratingly slow speeds and dropouts. A lot of guides give you the generic advice to just stick a node halfway between your router and a dead zone. That’s a massive oversimplification that completely ignores how Wi-Fi signals actually behave in the real world.
Think of it this way: you’re creating overlapping "bubbles" of strong Wi-Fi. Your main node—the one plugged into your modem—creates that first big bubble. You need to place each satellite inside that bubble, where the signal is still strong and clean. It then takes that great signal and rebroadcasts it, creating its own bubble farther out. If you put a satellite in a weak spot, all you’re doing is shouting a weak, garbled signal, which doesn't help anyone.
And please, don't stuff your nodes behind the TV or hide them in a cabinet. Wi-Fi signals thrive in open air. The best spots are usually in a central hallway, on a bookshelf, or even a side table where the signal has a clear shot to the next node and your devices.
Start with Your Main Node
Your first decision, and it's a big one, is where to put the primary node. This is the new brain of your home network. It needs to be wired directly to your modem and, if at all possible, placed in a central, open area on your home's main floor. Resist the urge to tuck it away in a basement corner or a closet at the far end of the house.
Positioning it centrally makes its initial "Wi-Fi bubble" as big and robust as possible. This gives your satellite nodes a much stronger foundation to build on. Remember, every satellite’s performance is completely dependent on the quality of the signal it gets from this main unit.
Identify and Avoid Wi-Fi Killers
Before you even plug in the satellites, do yourself a favor and take a quick tour of your home. Your mission is to spot the common culprits that murder Wi-Fi signals. Just being aware of these obstacles will save you a ton of headaches.
- Dense Building Materials: Concrete, brick, plaster, and stone are absolute signal killers. That beautiful brick fireplace sitting between two nodes? It can cripple their connection.
- Large Metal Appliances: Think of your refrigerator, oven, or even a big metal filing cabinet as Wi-Fi shields. They create dead zones right behind them.
- Water: It sounds weird, but water actually absorbs Wi-Fi signals. Large fish tanks and radiant floor heating systems can cause some really bizarre interference.
- Mirrors: That metallic film on the back of a mirror acts like a bouncer for your Wi-Fi, reflecting signals and making them bounce around unpredictably.
The goal here is to get as close to a clear "line of sight" between nodes as you can. A signal that only has to pass through a couple of drywall sheets will be exponentially stronger than one trying to punch its way through a concrete wall.
Strategic Satellite Placement
Alright, time to place the satellites. Start with the one that will be closest to the main node. Power it up and grab your phone—the mesh system's app is your best friend here. It will have a simple signal strength indicator, usually color-coded like a traffic light (green for great, yellow for okay, red for poor). You’re aiming for a solid green or, at worst, a strong yellow.
If the app shows a weak signal, you’ve gone too far. Move the node closer to the primary router. If the signal is maxed out, try inching it a bit farther away to extend its reach without sacrificing that crucial connection quality. Repeat this little dance for each satellite, building your network outward from the center.
For multi-story homes, remember to think vertically. Placing a node on the second floor directly above a node on the first is almost always better than putting it at the opposite end of the upstairs hallway. For a deeper dive on this, our guide on how to extend your Wi-Fi range has more great tips. This methodical, test-as-you-go approach is the secret to making sure every link in your mesh chain is rock-solid.
Bringing Your New Mesh Network to Life
You've planned your layout and placed your nodes—now for the fun part. Setting up a modern mesh system is a world away from the clunky, browser-based interfaces of old routers. Today, it’s all done through a slick smartphone app that holds your hand the whole way.
First things first, grab the node you've designated as the main router. Connect it directly to your modem with an Ethernet cable, plug it into a power outlet, and give it a minute or two. You're waiting for its status light to signal that it's powered on and ready to be configured. This single physical link is the new gateway for your entire home's internet.
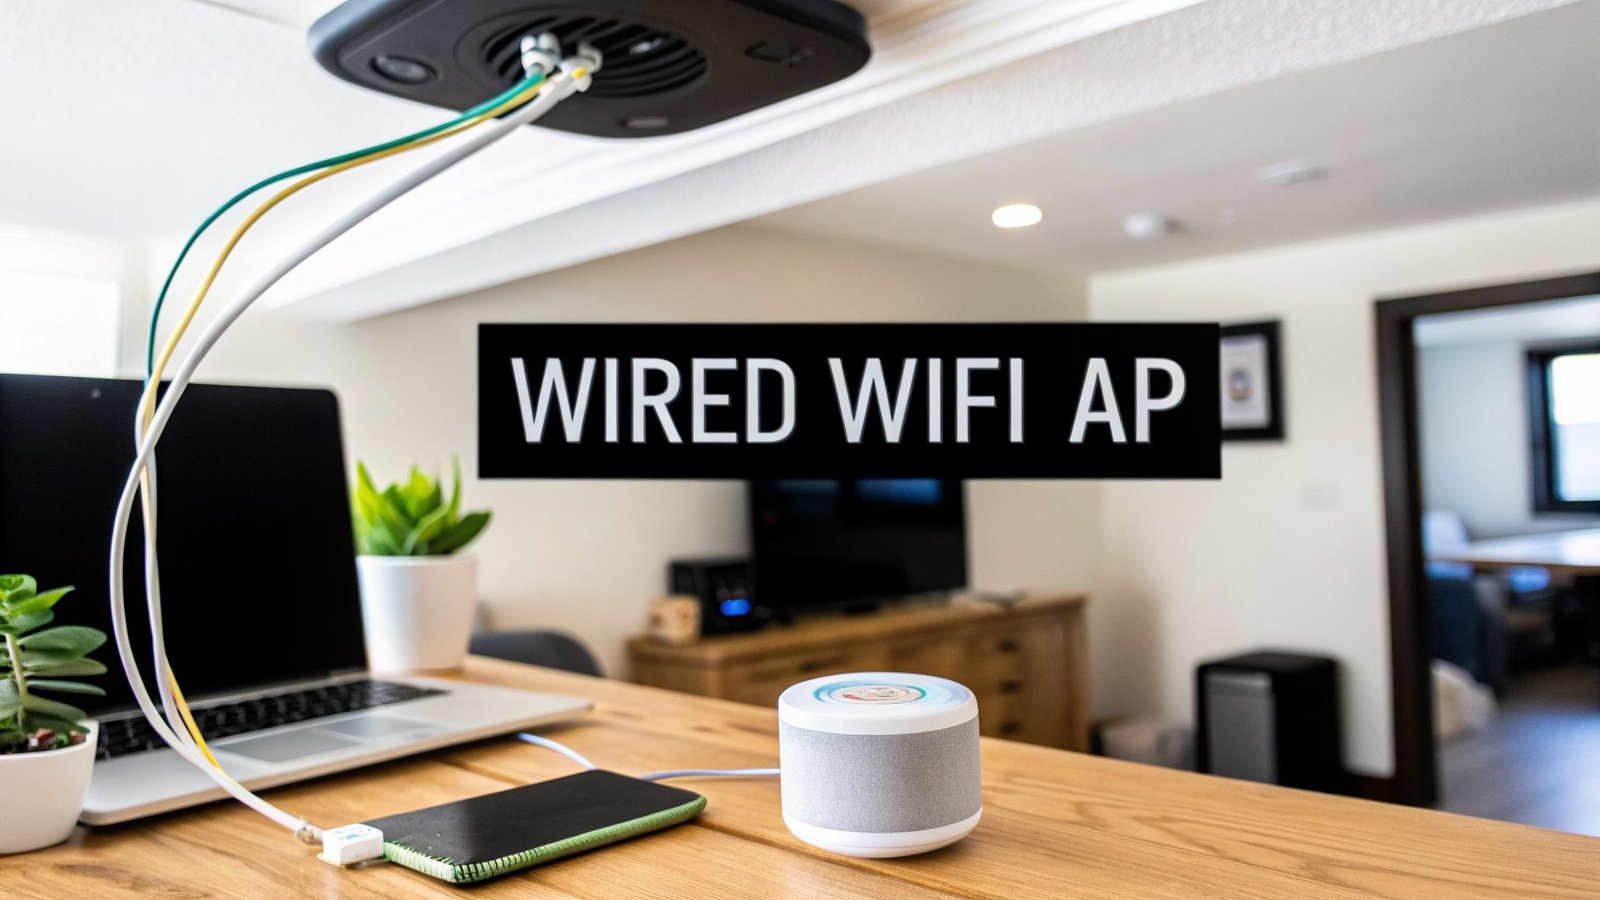
This diagram shows you exactly how the connection flows from your modem to the main node and then wirelessly out to your satellites.
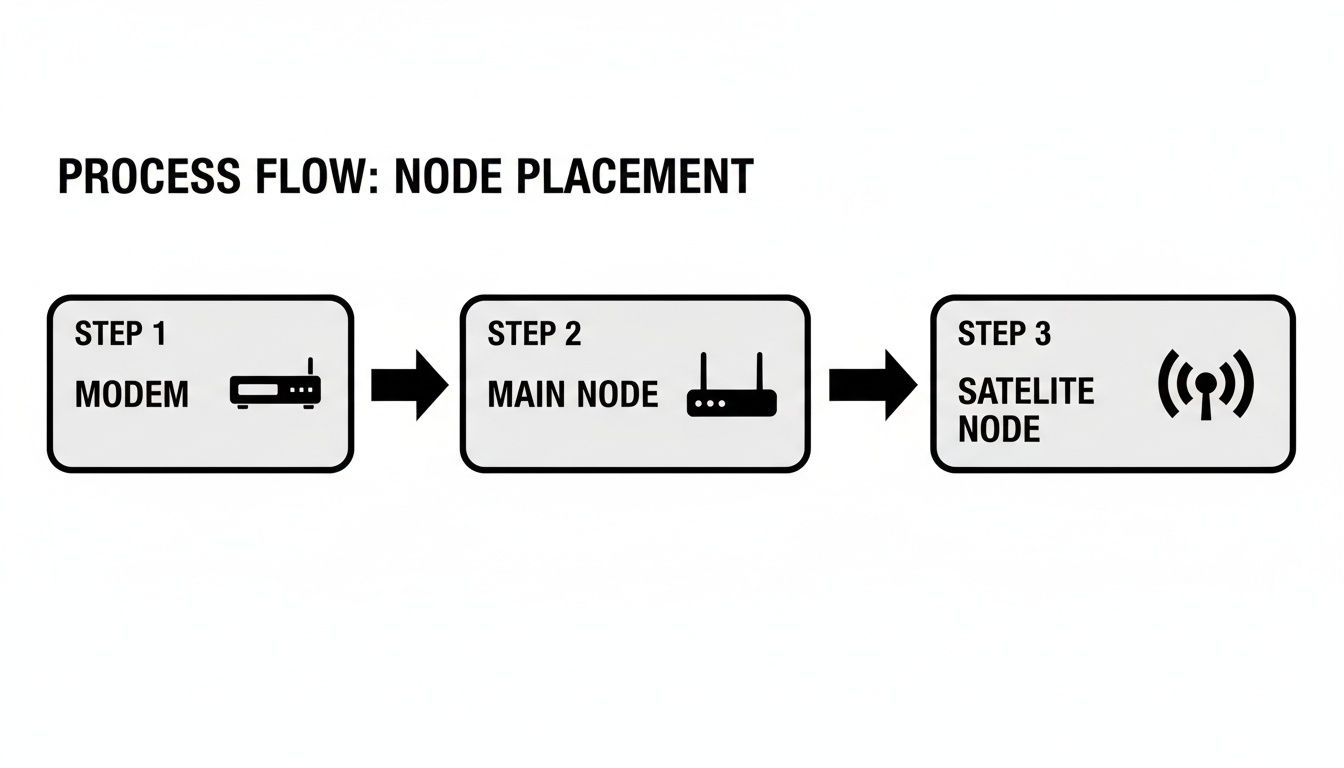
Think of it as the internet coming into your home, hitting the main hub, and then being broadcast everywhere else by the team of satellite nodes.
Getting Started with the App
Once you've downloaded the manufacturer's app, it will likely use your phone's Bluetooth to automatically find the primary node you just plugged in. From there, the setup wizard will kick in, prompting you to create your new Wi-Fi network.
You'll need to make a couple of key decisions here that will define your network. For a deeper dive into the fundamentals before you start, checking out a comprehensive network setup guide can give you a lot of confidence.
The app will ask for two main things:
- Network Name (SSID): This is what you'll see in your list of available Wi-Fi networks. Make it something you can easily recognize.
- Wi-Fi Password: Don't skimp here. A strong password using a mix of letters, numbers, and symbols is your first line of defense.
My Advice: Let the mesh system do its job. It might be tempting to create separate SSIDs for the 2.4 GHz and 5 GHz bands like you did with old routers, but don't. The real magic of mesh is its ability to automatically "steer" devices to the optimal band. A single network name is what makes that seamless roaming experience possible.
What's Going On Under the Hood?
Your mesh system uses different radio frequencies, and understanding them helps. The 2.4 GHz band is still a huge player, making up 40.43% of the North American mesh market in 2023. Its longer range is fantastic for smart home gadgets like thermostats and smart plugs that are often tucked away in corners. On the other hand, the faster 5 GHz band is where the growth is, offering the raw speed needed for streaming and gaming with less interference.
After you've set up the main node, the app will ask you to add the satellites. Just plug them into their designated spots around your house, and the system should find and integrate them into the network automatically. It's usually that simple.
Router Mode vs. Bridge Mode: A Critical Choice
One of the most important settings you'll encounter is the operational mode. Your decision here boils down to whether you're keeping your existing router from your Internet Service Provider (ISP).
| Mode | When to Use It | What It Does |
|---|---|---|
| Router Mode (Default) | This is the best choice for most people. Use this if the mesh system is replacing your old router. | The main mesh node acts as the brain of your network. It manages traffic, assigns IP addresses, and handles all security and routing. |
| Bridge Mode (AP Mode) | Use this if you have to keep your ISP's router (for TV service, etc.) or want to add mesh to an existing setup. | Your ISP's router stays in charge, and your mesh nodes simply act as powerful access points to spread a strong, unified Wi-Fi signal. |
For the absolute best performance and access to all the bells and whistles your new system offers, I almost always recommend running it in Router Mode. Just be sure to turn off the Wi-Fi broadcast on your old ISP modem/router combo to prevent signal interference.
Fine-Tuning Your Network for Peak Performance and Security

Alright, your mesh network is up and running. Devices are connected, and the Wi-Fi signal is reaching places it never could before. It’s tempting to call the job done, but this is where a little extra effort transforms a good network into a truly exceptional one.
The first thing I always do is a quick performance audit. Grab your phone and a speed test app—I usually use Ookla or Fast.com—and do a walk-through of your house. Check the speeds in all the important spots: the home office, the kids' rooms, the living room, and especially that one dead zone you were trying to fix.
If you hit a spot that’s disappointingly slow, don’t worry. The fix is often simple. It usually means the nearest satellite node is just a little too far from its neighbor to get a strong signal. Try inching it a few feet closer to another node in the mesh and run the test again. This bit of fine-tuning is what really creates that seamless blanket of Wi-Fi.
Prioritizing Your Digital Traffic
Now, let's get into the settings. One of the most underrated features of modern mesh systems is Quality of Service (QoS). Think of QoS as the traffic controller for your home's internet, letting you decide which devices and activities get to go first.
For instance, you can mark your work laptop as a high-priority device. This tells the network that when you’re on a critical video call, it needs to get all the bandwidth it needs, even if someone else starts streaming a 4K movie or downloading a huge game update. It's a small tweak that can be the difference between a crisp, professional presentation and a choppy, pixelated mess.
Most mesh system apps make this incredibly simple, often giving you presets like:
- Video Conferencing: Keeps your work-from-home meetings smooth and clear.
- Gaming: Slashes lag and latency, which is crucial for competitive online play.
- Streaming: Makes sure your Netflix binge isn't interrupted by that dreaded buffering wheel.
Setting Up a Secure Guest Network
When you have friends or family over, offering them Wi-Fi is just good hospitality. But you don't need to hand over the keys to your entire digital home. This is precisely what a guest network is for.
A guest network creates a completely separate, walled-off connection to the internet. Your visitors can get online without ever gaining access to your personal computers, smart home hubs, or that backup drive with all your family photos. It’s usually just a single toggle in the app, but it adds a massive layer of security.
By creating a separate lane for guests, you ensure that any potential malware on a visitor's device stays sandboxed and can’t spread to your trusted home devices. It’s a non-negotiable for a secure modern home.
One quick tip: some devices, like Sonos speakers, can get a bit confused by guest networks. After you turn it on, just do a quick check to make sure everything is still working as expected.
Hardening Your Network Security
With performance tuned, the final step is to lock everything down. Your wireless mesh network setup is the new front door to your digital life, so let’s make sure it’s secure.
First, and I can't stress this enough, change the default administrator password for your mesh system. This is the password for the app itself, the one that controls all the settings. Leaving the factory default is like leaving your keys in the front door.
Next, dive into the security settings and make sure you're using the latest encryption standard. You're looking for an option called WPA3. It's a huge step up from the older WPA2 protocol and makes it significantly harder for anyone to eavesdrop on your network traffic.
Finally, find the setting for automatic firmware updates and turn it on. Manufacturers constantly release updates to patch security holes and improve how the system runs. Automating this process means your network is always protected from the latest threats without you ever having to think about it. For a deeper dive, take a look at our complete guide on home network security best practices.
Your Mesh Network Questions, Answered
Even the simplest tech can throw a curveball or two. When you're setting up a wireless mesh network, you're bound to run into a few head-scratchers, especially if you're coming from a single, traditional router. Let’s walk through some of the most common questions I hear all the time.
Getting these details sorted out is often the final piece of the puzzle. It’s what takes your network from "working" to "working flawlessly."
Can I Use a Mesh System with My Existing ISP Router?
Yes, absolutely. This is probably the number one question people have, and you've got two solid options here. The best choice really just depends on your setup.
Your first move, and the easiest one, is to put your new mesh system into "Access Point (AP) Mode." You'll sometimes see this called "Bridge Mode." When you do this, your existing ISP router stays in charge—it keeps managing traffic and assigning IP addresses. Your new mesh nodes just become powerful Wi-Fi signal extenders, blanketing your home in one seamless network.
The second option is to run your mesh system in its standard "Router Mode." This is what I usually recommend for the best performance. You’ll log into your ISP's box, turn off its Wi-Fi, and let your new mesh system take over the whole show. This way, you get the full benefit of the mesh system's more powerful hardware and all its features, like guest networks and parental controls. The only reason to avoid this is if you have specific services from your ISP, like a proprietary TV box, that demand their router be in control.
What Is a Wired Backhaul and Should I Use It?
Think of "backhaul" as the private conversation your mesh nodes have with each other. It's the dedicated channel they use to shuttle data back and forth. By default, this is a wireless connection, usually using one of the Wi-Fi bands.
A "wired backhaul," or "Ethernet backhaul," is when you physically connect your mesh nodes with Ethernet cables. If your home is already wired with Ethernet jacks in the walls, this is the hands-down, undisputed champion of network performance.
Using a wired backhaul frees up 100% of your wireless bandwidth for what matters: your phones, laptops, and streaming devices. The result is blazing-fast speeds, super-low latency, and a network that's as stable as a rock.
It's a total game-changer, especially if you're trying to place a satellite node on the other side of a brick fireplace or a concrete wall that just murders Wi-Fi signals. If you have the wiring, use it. You won’t regret it.
How Do I Connect My Old 2.4 GHz Smart Home Devices?
Ah, the classic smart home problem. Most modern mesh systems are pretty clever, using a feature called "band steering" to broadcast a single network name (SSID) for both the 2.4 GHz and 5 GHz bands. The system then automatically directs devices to the best frequency.
The problem is, some older smart plugs, cameras, and light bulbs are a bit… simple. They were built to only look for a dedicated 2.4 GHz network and get completely confused when they see the combined one.
Don't worry, the manufacturers know all about this. If you dig into your mesh system's app, you'll almost always find a way to handle it. Look for an option to:
- Temporarily disable the 5 GHz band: Many apps have a button that turns off the 5 GHz signal for about 10-15 minutes. This forces everything onto the 2.4 GHz band, giving your stubborn device a chance to connect.
- Enable a dedicated IoT or guest network: Some systems let you set up a separate network that runs only on 2.4 GHz. This is a perfect, permanent solution for those finicky gadgets.
Once your old device is connected using one of these methods, you can turn the 5 GHz band back on. The smart device will stay happily put on the 2.4 GHz network it needs, and all your other high-speed devices will go back to normal.
At Automated Home Guide, we are dedicated to helping you create a smarter, more connected home. Explore our other guides for more expert tips and in-depth reviews on the latest smart home technology at https://automatedhomeguide.com.


Leave a Reply