
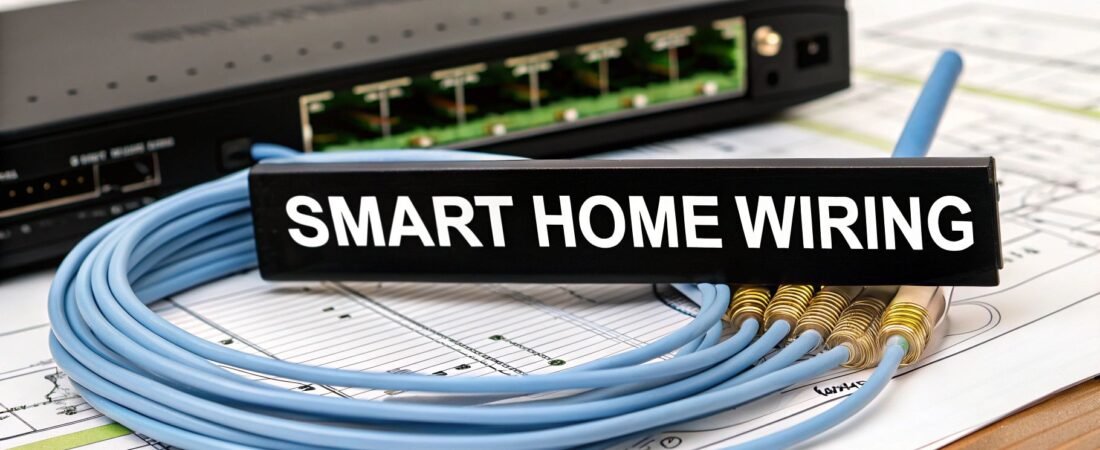
When you first start thinking about wiring a smart home, the big question is always wired versus wireless. While wireless tech is fantastic and getting better every day, if you want rock-solid reliability and speed, a planned, wired foundation is absolutely essential. This is the secret to building a smart home that just works—not just today, but for whatever cool tech comes out next.
Why A Wired Foundation Is The Gold Standard
Relying entirely on Wi-Fi for every single smart device is a common mistake that almost always leads to headaches down the road. Think about it: your wireless network is constantly battling for airtime with your neighbor's Wi-Fi, your microwave, and even thick concrete walls. This interference causes lag and dropped connections, which is a massive pain for data-hungry devices like 4K security cameras or your main media streamer.
A structured wiring system using Ethernet cables is the solution. It's like giving your most important devices their own private, multi-lane expressway straight to the internet, while everything else navigates the busy city streets of your Wi-Fi network. This hybrid approach is what the pros do, and it’s the best way to get peak performance. You can get a great overview of the basics in our guide on what smart house technology is.
The Case For A Central "Brain"
A proper wired setup is built around a central hub or network closet. This is your home's command center, where the router, network switches, and patch panels all live. By running cables from this single point to every key location in your house, you create a system that's clean, easy to manage, and simple to troubleshoot.
This centralized strategy pays off in several huge ways:
- Unbeatable Reliability: Hardwired connections don't drop. This means your security system, automation hubs, and other critical gear will always be online.
- Blazing Speed: Ethernet is just plain faster than Wi-Fi. For anything that needs high bandwidth, from streaming to gaming, wired is the only way to go.
- Tighter Security: It’s much harder for someone to hack into a wired network than a wireless one, which adds a serious layer of security.
- Future-Proofing Your Home: The best time to run cable is when the walls are open. Pulling a few extra Ethernet lines or running empty conduit now makes it incredibly easy to add new tech later without a major renovation.
The decision between wired and wireless isn't always black and white. Each has its place in a modern smart home, and understanding their strengths helps you build a better system.
| Attribute | Wired Infrastructure (e.g., Ethernet) | Wireless Infrastructure (e.g., Wi-Fi, Zigbee) |
|---|---|---|
| Reliability | Excellent. Not susceptible to interference. | Good to Fair. Can be affected by congestion and physical barriers. |
| Speed | Excellent. Consistently high speeds for demanding devices. | Good. Speeds can fluctuate based on signal strength and network traffic. |
| Security | High. Physically secure and less prone to unauthorized access. | Moderate. Requires strong encryption and passwords to secure. |
| Installation | Complex. Best done during construction or major renovation. | Simple. Easy to set up and expand without running cables. |
| Mobility | Low. Devices are physically tethered to a port. | High. Devices can be placed and moved anywhere within range. |
| Cost | Higher upfront cost for cables, ports, and labor. | Lower upfront cost, but may require extenders or mesh systems. |
Ultimately, the smartest approach is a hybrid one: a robust wired backbone for all your stationary, high-demand devices, complemented by a strong wireless network for everything else. This gives you the best of both worlds.
By investing in a solid wired backbone, you're not just installing gadgets; you're building a resilient and scalable platform for the future of home technology. It’s the single most important step in creating a smart home that truly works for you.
The smart home market is growing at an incredible pace, projected to jump from USD 147.52 billion in 2025 to a staggering USD 848.47 billion by 2034. That growth is fueled by an estimated 500 million new devices shipped in 2024 alone. A powerful wired infrastructure is the only way to ensure your home can handle that future.
To really dig into why this is so critical, check out the advantages of wired networking. Putting in the effort upfront guarantees your smart home will be seamless and dependable for years to come.
Designing Your Smart Home Wiring Architecture
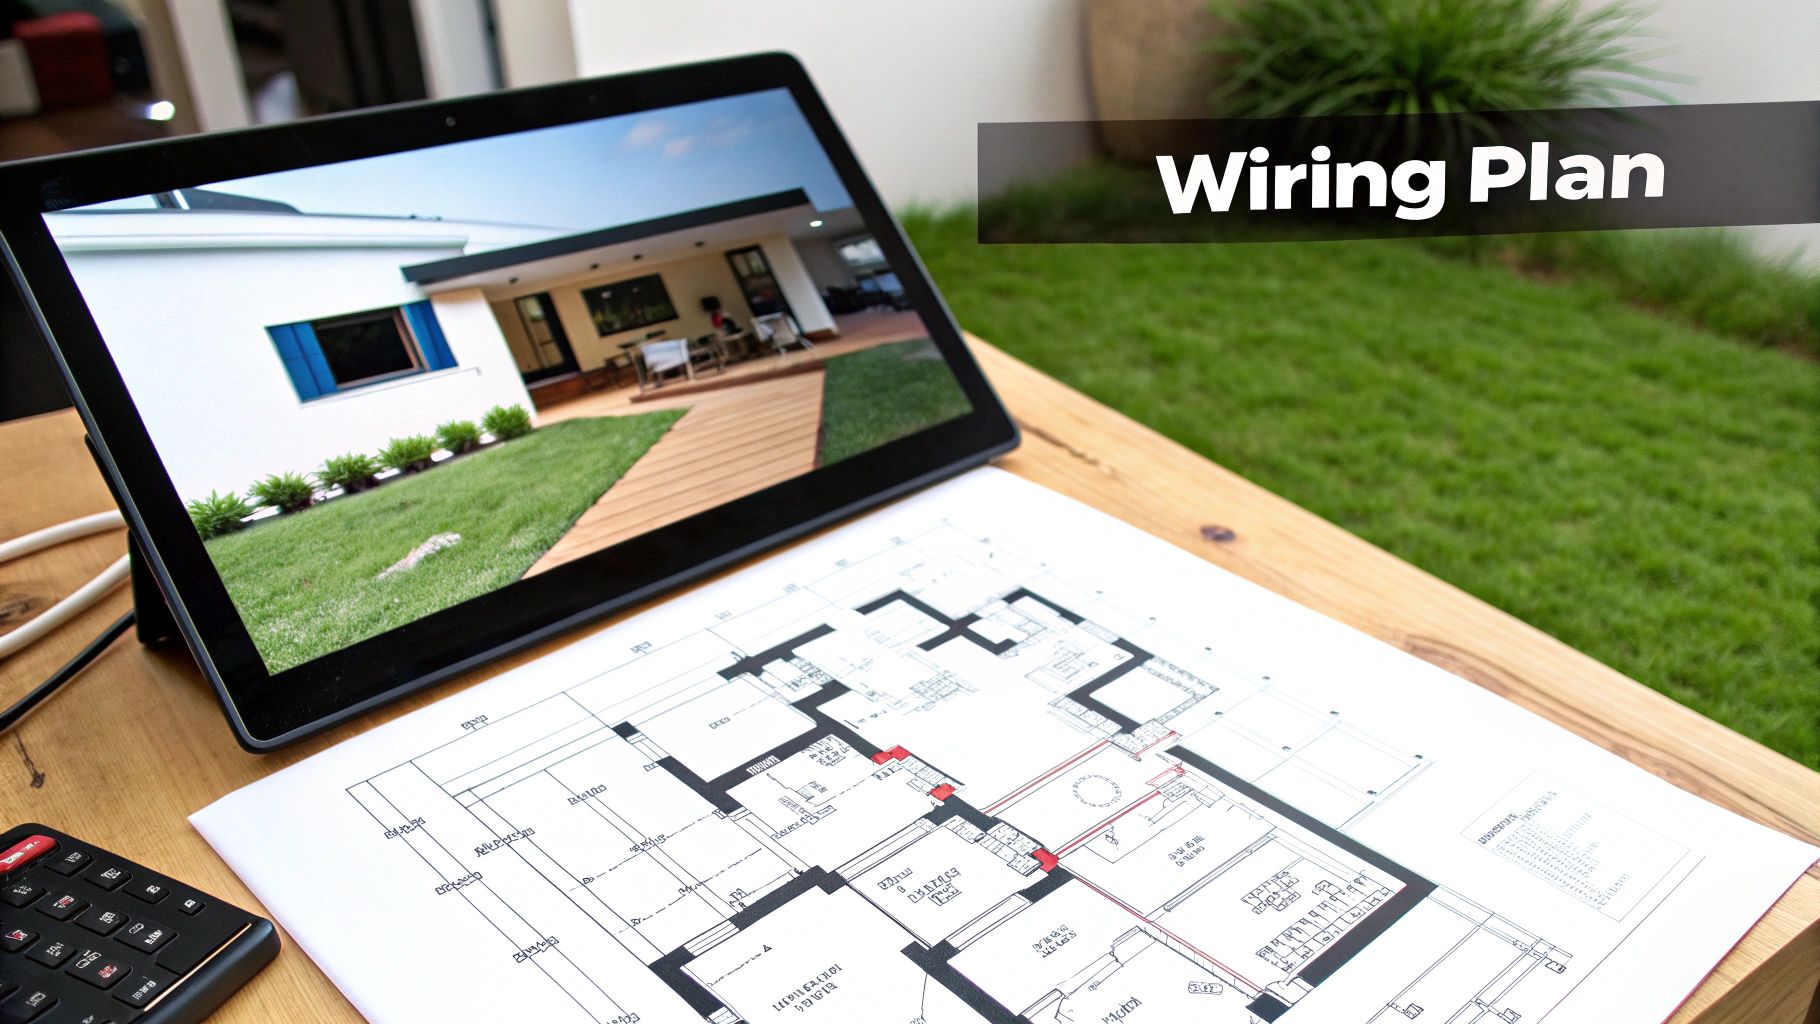
This is where the dream of a smarter home starts to look like a real, workable blueprint. I can't stress this enough: wiring a smart house successfully doesn't start with pulling cables through walls. It begins with careful, meticulous planning. Forget about winging it; a detailed, room-by-room wiring map is your single most important tool for getting this right.
Your first step is to walk through the house—or hunch over your floor plans—and decide exactly where every single smart device will live. Go beyond the obvious stuff. Where will your security cameras give you the best lines of sight? Where would an in-wall touchscreen make the most sense for managing everything?
Think through these key device placements:
- Wi-Fi Access Points: Look for central spots on each floor, often on the ceiling, to blanket your home with a strong signal and kill any dead zones.
- Security Cameras: Plan out your indoor and outdoor camera locations, keeping power needs (PoE is your best friend here) and viewing angles top of mind.
- Smart Switches and Outlets: Mark every single switch you plan to upgrade. A word of warning: many smart switches need a neutral wire to function, so if you're retrofitting an older home, you absolutely have to check your switch boxes first.
- In-Wall Speakers and Touchscreens: Figure out where you want amazing audio or a convenient control panel. Kitchens and main living areas are usually prime real estate.
- Sensors: Think like a security expert. Pinpoint entry points for door and window sensors, and map out high-traffic hallways for motion sensors that can kick off automations.
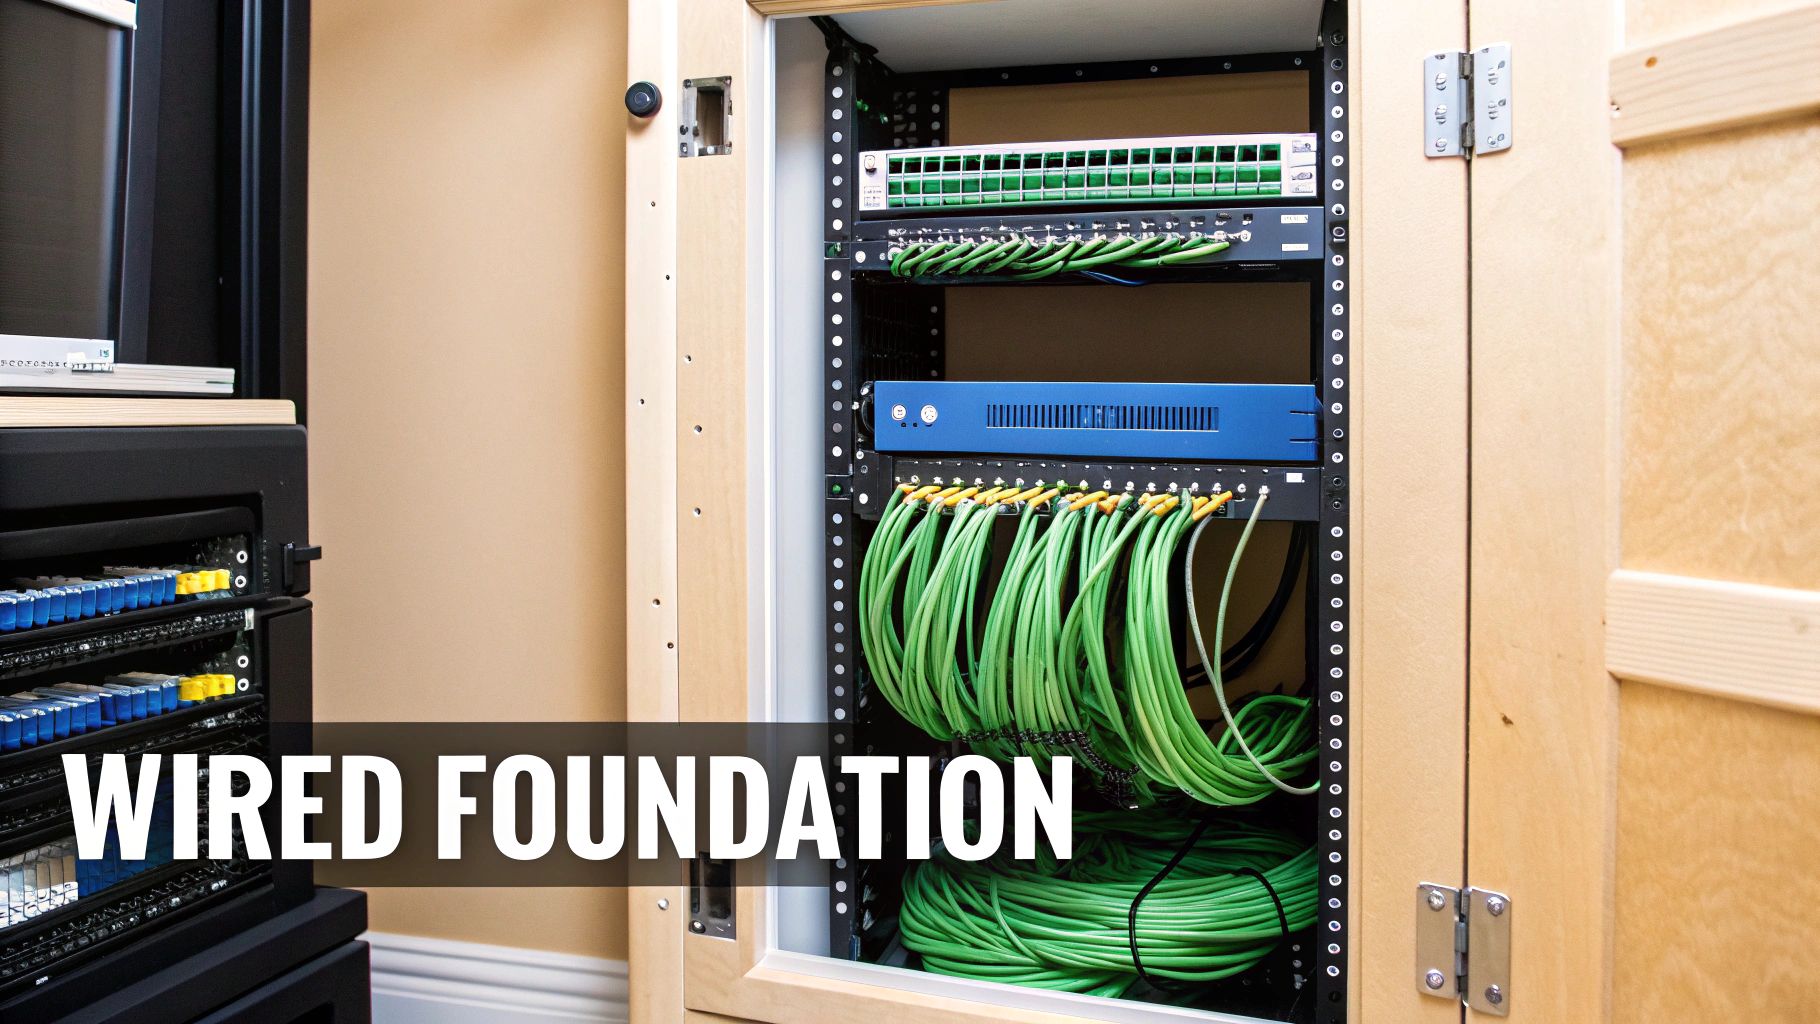
Establishing the Nerve Center
Every properly wired smart home has a central hub—the "nerve center." You might call it a wiring closet, a structured media enclosure, or just "that closet in the basement." Whatever you call it, this is the spot where all your low-voltage cables come home to roost.
This central point is where you'll house your router, network switch, and patch panel. By running every Ethernet and coax cable back to this one location, you're building a system that’s organized, a breeze to troubleshoot, and ready for future upgrades. It truly is the heart of your home’s tech infrastructure.
A centralized wiring closet is non-negotiable for a serious smart home. It transforms a potential rat's nest of tangled wires into a professional, manageable system that adds real value to your property.
Adopting the Star Topology
When it comes to home networking, the star topology is the undisputed champion. It’s a simple concept: every data jack in your home gets its own dedicated cable that runs directly back to the network switch in your wiring closet. This is worlds better than the old "daisy-chain" approach where multiple outlets shared one cable.
The benefits are huge:
- Maximum Performance: Each device gets its own private, full-speed lane to the network. No more fighting for bandwidth.
- Rock-Solid Reliability: If one cable fails, only one device goes down—not your entire network.
- Simplified Troubleshooting: Problems are easy to isolate because each cable run is completely independent.
As you map out your cable runs, be very conscious of electrical interference. A hard-and-fast rule is to keep your low-voltage data cables (like Cat6) at least 12 inches away from standard high-voltage electrical wires whenever they run parallel. If you absolutely have to cross them, do it at a clean 90-degree angle. This simple trick minimizes the electromagnetic interference (EMI) that can ruin your signal quality.
Future-Proofing Your Installation
Let’s be honest: the tech you install today will be old news in a few years. A truly smart wiring plan accepts this and prepares for it. The best way to future-proof your home is to make it easy to add technologies that haven't even been invented yet.
The golden rule here is to run more cable than you think you need. Seriously. If the walls are open, the cost of an extra Cat6a cable is practically nothing compared to the pain and expense of opening those walls again in five years.
Here are a few pro tips for future-proofing:
- Run Conduit: For critical locations like your entertainment center or home office, run a flexible plastic conduit (often called "Smurf tube") alongside your wiring. This gives you an empty pipe to easily pull new cables through later without touching a single piece of drywall.
- Pull Spare Cables: To every key location, pull at least one extra Ethernet cable and just leave it coiled in the wall. You’ll thank yourself later when a new device comes out that you just have to have.
- Double Up Wall Plates: For wall plates behind your TV or at your desk, use a two-gang box and run four Ethernet cables instead of the usual two. Trust me, those extra ports will get used.
By taking these extra steps, you’re not just wiring a house for today. You’re building a flexible platform that’s ready for decades of innovation. Of course, knowing how devices talk to each other is also a big piece of the puzzle. You can learn more about smart home protocols in our article to see how they fit into your master plan.
Selecting the Right Cables, Tools, and Components
With your blueprint finalized, it's time to gather the gear. The cables, tools, and components you choose are the physical backbone of your entire smart home, so this is no time to cut corners. Quality hardware pays for itself in reliability and peace of mind down the road.
We'll start with the lifeblood of your system: the low-voltage data cables. A truly responsive and future-proof smart home is built on a rock-solid wired network. That makes choosing the right network LAN cable one of the most critical decisions you'll make.
Demystifying Network Cables
The go-to choice for data is twisted-pair Ethernet cable, but not all of it is the same. The "Category" rating really matters, and understanding the difference is key to building a network that won't just work today, but will keep up with the demands of tomorrow.
-
Cat6: This is my baseline recommendation for most new smart home projects. It supports speeds up to 10 Gbps over shorter runs (up to 55 meters), which is plenty of bandwidth for 4K streaming, online gaming, and all your smart devices. It hits the sweet spot for cost and performance.
-
Cat6a: The "a" stands for "augmented," and it's a worthwhile upgrade. Cat6a reliably delivers 10 Gbps over the full 100-meter channel length and has much better shielding against interference. If you're running cable near electrical lines or just want to be absolutely sure your network is future-ready, the extra investment in Cat6a is money well spent.
Here’s a great visual of a Cat6 cable's internals. That little plastic spline in the middle isn't just for show.
It separates the four pairs of twisted wires, which is a key part of the design that minimizes "crosstalk" (interference between the pairs). This construction is a big reason Cat6 can handle so much more data than older cable types.
The smart home hardware market, covering everything from routers to conduits, is projected to explode from USD 108.49 billion in 2026 to USD 543.48 billion by 2035. As the number of devices in a home is expected to jump from 20 to 50 by 2027, using forward-thinking wiring like Cat7 to handle potential 100 Gbps needs becomes crucial. You can dive deeper into the smart home hardware market growth data.
The Magic of PoE (Power over Ethernet)
One of the most powerful tools in our smart home wiring kit is Power over Ethernet (PoE). This technology is a real game-changer, allowing a single Ethernet cable to transmit both data and low-voltage power.
This means you can install devices like security cameras, Wi-Fi access points, or smart hubs exactly where you need them for the best performance, without worrying about a nearby power outlet. It’s the secret to a clean, professional-looking installation.
PoE comes in a few different flavors, and the one you need depends on your device's power draw:
- PoE (802.3af): Delivers up to 15.4 watts. Perfect for things like VoIP phones or simple sensors.
- PoE+ (802.3at): Steps up to 30 watts, which is what most modern security cameras and Wi-Fi access points require.
- PoE++ (802.3bt): The heavy-hitter, offering 60 to 100 watts for power-hungry gear like pan-tilt-zoom cameras.
To make this work, you'll need a network switch with PoE-enabled ports. Pay close attention to the switch's total "power budget" to ensure it can supply enough juice for all your PoE devices at once.
Line Voltage Wiring Considerations
When it comes to smart switches, outlets, and some lighting, you'll be dealing with standard 120V line-voltage wiring. This is where safety becomes absolutely paramount. Always use the right gauge wire for the circuit—typically 14-gauge for 15-amp circuits and 12-gauge for 20-amp circuits, but always defer to your local electrical code.
If you live in an older home, one of the biggest "gotchas" is the missing neutral wire. Many smart switches need a neutral wire to power their own electronics. Pop open a switch box and look inside. If you only see two wires connected to the switch (a "switch loop"), you might need an electrician to pull a neutral from a nearby junction box.
Your Essential Toolkit
Showing up with the right tools will make this job ten times easier, safer, and give you a far better result. You don't need a truck full of gear, but a few key items are non-negotiable for a clean structured wiring job.
The Must-Have Tool & Material Checklist
| Category | Item | Why You Need It |
|---|---|---|
| Cable Running | Fish Tape & Pull Rods | Your best friend for snaking wires through walls, ceilings, and conduit. |
| Drill with Auger & Spade Bits | For boring clean, straight holes through studs and joists. | |
| Termination | RJ45 Crimp Tool | Attaches the RJ45 connectors (the plastic plugs) to your cable ends. |
| Punch-Down Tool | The proper tool for seating wires into keystone jacks and patch panels. | |
| Wire Stripper | Cleanly removes the cable's outer jacket without nicking the wires inside. | |
| Testing | Network Cable Tester | A simple, vital tool to verify that every connection is perfect. |
| Organization | Patch Panel | The central hub in your network closet where all your Ethernet runs meet. |
| Keystone Jacks & Wall Plates | These create the clean, professional connection points in each room. | |
| Label Maker | Don't even think about skipping this. Label both ends of every single cable. |
Assembling this toolkit before you start means you can tackle each phase of the installation smoothly, from the first cable pull to the final test.
Running Your Low Voltage and Line Voltage Cables
With your blueprint in hand and a pile of high-quality cable ready to go, it's time to transition from planning to doing. This is the most hands-on part of the job: pulling the actual wires that will bring your smart home to life. To keep things safe and simple, we'll tackle this in two phases, starting with all the low-voltage runs before we touch a single line-voltage circuit.
Getting low-voltage cables like Ethernet, speaker wire, or coax from your central hub to their destinations is often more art than science. The real challenge is navigating through walls with minimal mess. This is where a good fish tape or a set of flexible pull rods really earns its keep.
Imagine you're running an Ethernet cable for a future ceiling-mounted Wi-Fi access point. You'd likely start from the attic, feeding a fish tape down through the wall cavity to the exact spot you've marked for the wall plate. Once the end pops through, you just tape your Ethernet cable securely to it and carefully pull it back up. It sounds simple, but patience is key.
Mastering Low Voltage Cable Runs
The trick to a smooth cable pull is to never force it. If you feel a snag, don't yank—you could damage the cable's jacket or the internal wires. Back it off a bit and try again. It's probably caught on a wood splinter, a bit of insulation, or another pipe. For really tricky spots, a cheap endoscopic camera that hooks up to your smartphone can be a game-changer, letting you see exactly what you're up against inside the wall.
When you're pulling a whole bundle of cables to one spot, like a home theater setup, a few pro tips can save you a lot of grief:
- Bundle them smartly. Don't just tape all the cable ends together in a blunt clump. Stagger them slightly and tape them into a tapered "head" that can slide through obstacles more easily.
- Use a pull string for tough runs. For long or complicated paths, pull a strong, low-friction pull string through first. Then, you can attach your heavier cable bundle to the string and pull it through with much less effort.
- Leave a service loop. This is crucial. Always leave at least three feet of extra cable coiled up at both ends. This slack gives you plenty of room to work when you're terminating the ends and is an absolute lifesaver if you ever need to make changes later.
This diagram shows a common setup where network cabling is the backbone.
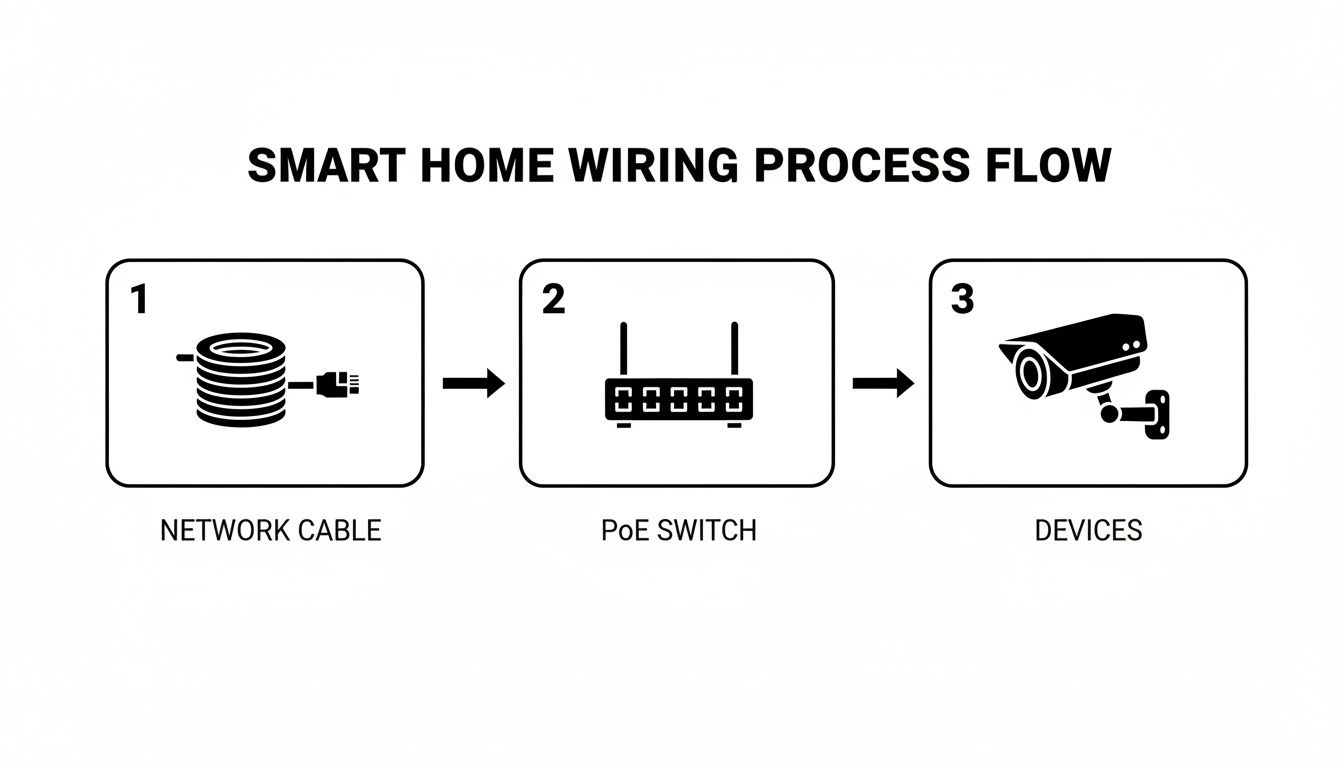
As you can see, a single network cable runs to a Power over Ethernet (PoE) switch. That switch then provides both the data connection and the electrical power to devices like security cameras, which dramatically simplifies the installation.
Prioritizing Safety with Line Voltage Wiring
Okay, now for the serious part: working with line voltage. Whether you're installing a smart switch or a new outlet, you're dealing with 120V circuits. This isn't the place to take chances—safety is the absolute first priority.
Before you even touch a screwdriver, head straight to your home's main electrical panel and switch off the breaker for the circuit you'll be working on. Don't trust the labels on the panel; they can be old or just plain wrong. Always use a non-contact voltage tester to double-check that the power is 100% off at the exact switch or outlet before you touch a single wire.
Never assume a circuit is dead just because you flipped a breaker. Always, always test and verify with a voltage tester. It’s a simple habit that can prevent a very bad day.
A real-world scenario where this gets tricky is upgrading to a three-way smart switch, where two different switches control the same light. The wiring involves "traveler" wires running between the switches, and smart versions often have unique requirements. You have to follow the manufacturer's diagram to the letter, as it's almost always different from a standard mechanical switch.
If you're running a new line for something like an outdoor security camera, you'll need to use direct-burial rated, shielded cable inside a weatherproof conduit. This is non-negotiable. It protects the cable from the elements and shields the data signal from electrical interference, ensuring you have a reliable connection when you need it most. For a deeper dive into these kinds of projects, our guide on smart home electrical installation has you covered.
The Unbreakable Rules of Cable Management
Whether you’re running low-voltage data lines or high-voltage power, there are two golden rules you must follow for a professional, trouble-free installation.
First, keep low-voltage and high-voltage cables separate. When you have to run them parallel to each other, maintain a gap of at least 12 inches. This prevents electromagnetic interference (EMI) from the power lines from messing up your data signals. If you absolutely have to cross them, make sure they cross at a 90-degree angle to minimize the interference.
Second, label every single cable at both ends. I can't stress this enough. It feels like a tedious chore at the moment, but you will thank yourself later. Use a label maker or a permanent marker on durable tape to clearly mark each cable's purpose (e.g., "Office – Port 1," "Living Room – AP"). A well-labeled network is a manageable one, and this little bit of effort will save you from a massive headache during troubleshooting or future upgrades.
Termination Testing and System Integration
After running what feels like miles of cable through walls and ceilings, you’re finally at the finish line. This is the moment where those messy bundles of raw cable get transformed into a clean, functional, and professional-grade network that will serve you reliably for years to come.
A disorganized network closet is a headache you'll be dealing with for as long as you live in the house. The best way to avoid that chaos is to use a patch panel. Think of it as a central switchboard where every single Ethernet run in your home terminates neatly. It not only keeps your setup looking sharp but also makes troubleshooting or future upgrades incredibly straightforward.
Professional Termination Techniques
The first real task is to terminate each Ethernet run. For the outlets in your rooms, you'll punch the individual wires into a keystone jack, which then snaps cleanly into a wall plate. Back in your central closet, you’ll do the same thing, punching them down into the back of your patch panel. A punch-down tool is non-negotiable for this; it seats the wire firmly and trims the excess in one fluid motion, guaranteeing a perfect connection.
For devices that need a direct cable connection—like a security camera or a Wi-Fi access point—you'll attach an RJ45 connector. This is a bit more delicate. You have to carefully arrange the eight tiny wires in the correct order (the T568B standard is the go-to for residential installs), slide them into the connector, and use a crimp tool to permanently secure them. Patience here pays off in a big way.
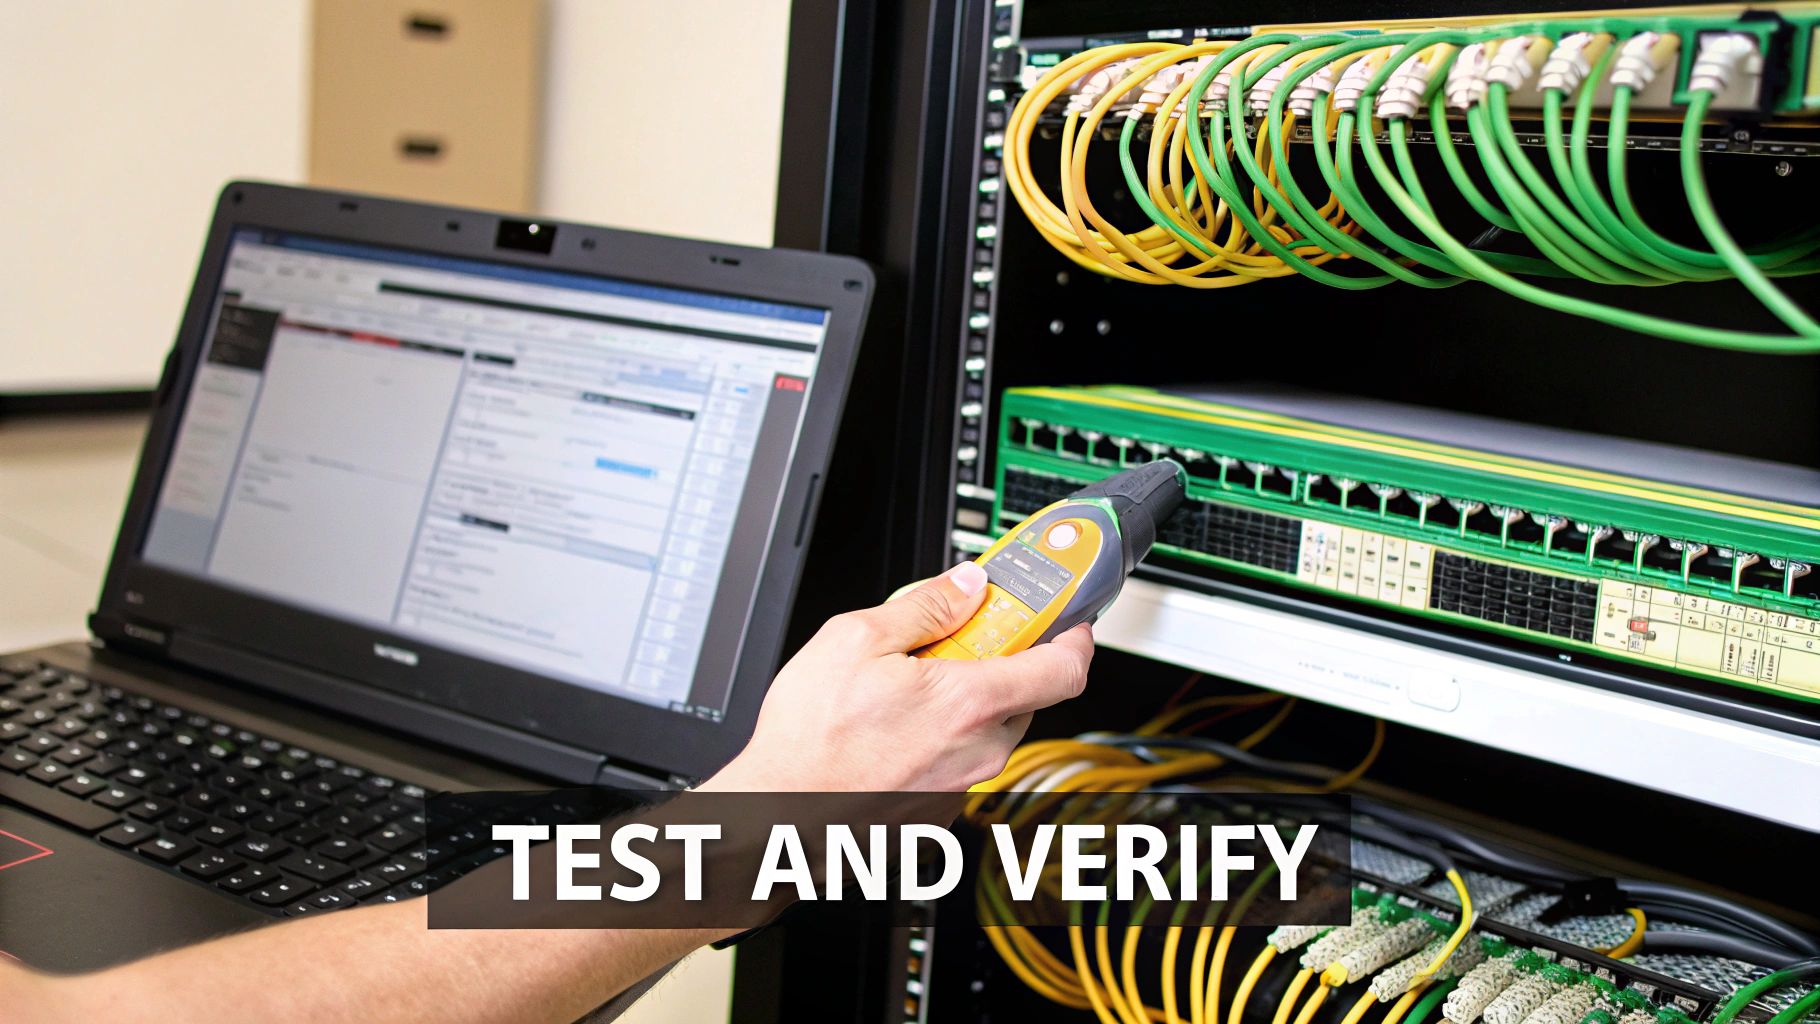
The Importance of Testing Every Single Connection
Before you even think about putting up drywall or plugging in a single device, you have to test every cable. I can't stress this enough—it's the one step that separates a pro installation from a future mess. A basic network cable tester is an inexpensive tool that is absolutely invaluable at this stage.
These testers come in two parts: the main unit and a remote terminator. You plug one end into your patch panel and take the other to the wall jack in the corresponding room. When you start the test, it should flash a sequence of lights from 1 to 8. This confirms that all eight internal wires are connected correctly from end to end. If a light is skipped or out of order, you’ve found a problem you can fix now, before it becomes a nightmare to access.
Finding a bad connection with a simple tester takes seconds. Finding that same bad connection after the walls are closed, painted, and furnished can take hours and cause immense frustration. Test everything.
Integrating Your Wired Backbone with Smart Protocols
With a fully tested and verified physical network, it’s time to bring your smart home's "brain" online. This is where your robust wired foundation makes everything else—even your wireless gadgets—work better. The goal is to seamlessly bridge your hardwired infrastructure with the various smart home protocols that your devices rely on.
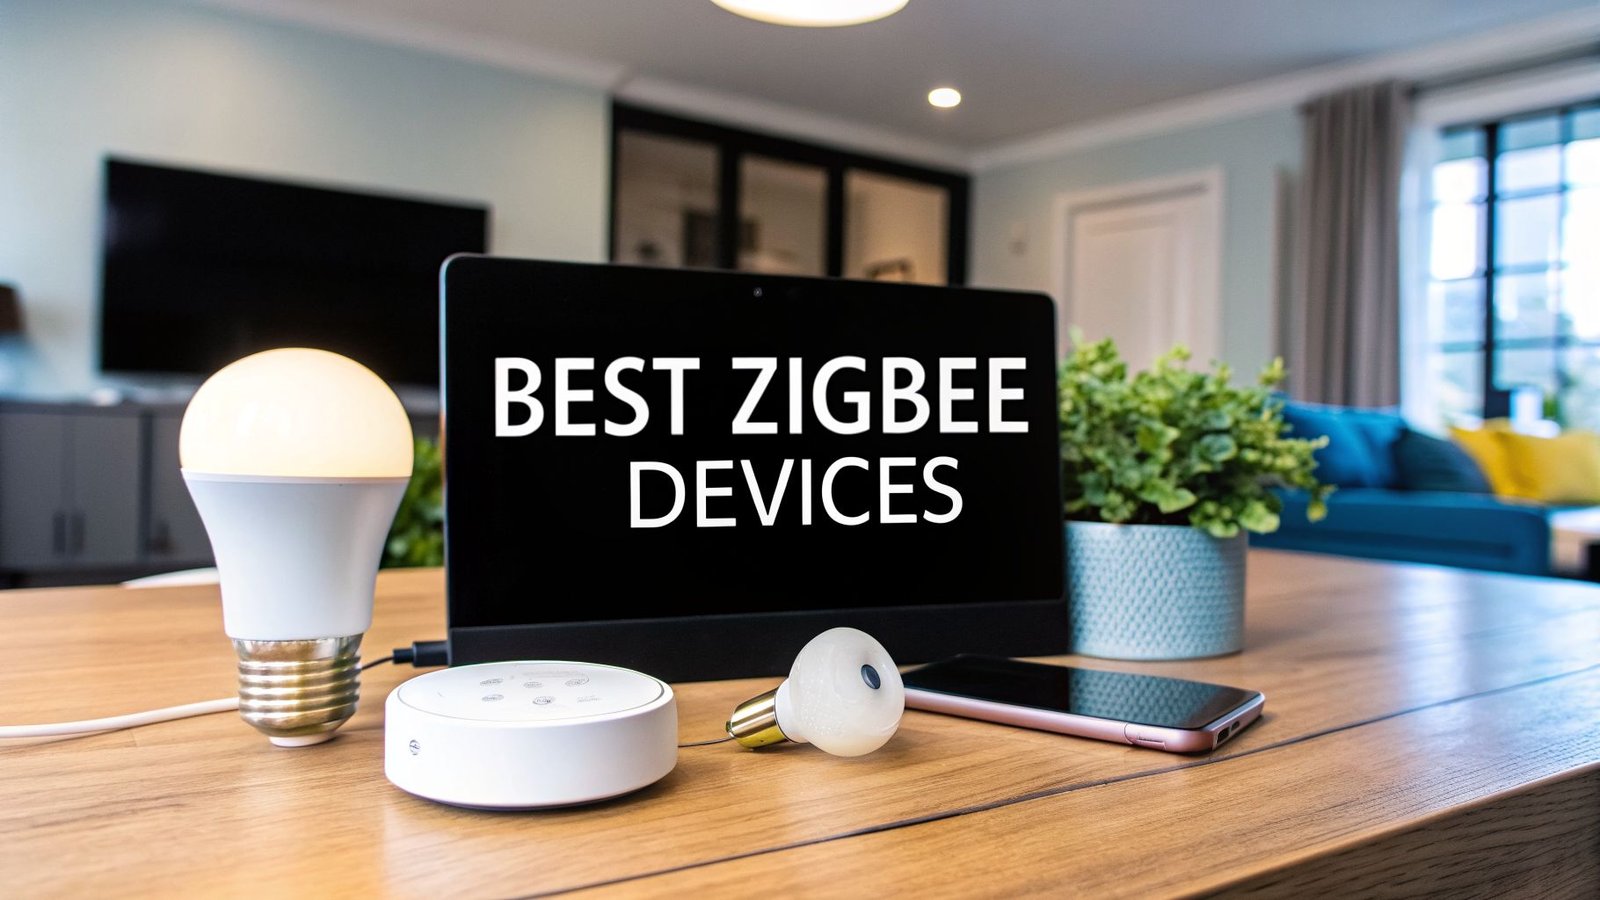
Protocols like Zigbee and Z-Wave are fantastic low-power mesh networks for things like sensors, locks, and light switches. While the devices themselves are wireless, their central hubs can (and should) be hardwired directly into your Ethernet network. Plugging these hubs into your network switch gives them a rock-solid, high-speed connection to your router and the internet, which dramatically improves the responsiveness and reliability of their entire wireless mesh system.
Smart wiring is about more than just data; it's about efficiency. A well-designed system using structured cabling for both Ethernet and Power over Ethernet (PoE) can slash installation costs by up to 40% compared to running separate lines for power and data. By using this wired backbone for protocol hubs, you can achieve 99.9% uptime, while hardwired cameras can deliver stable 4K resolution without the frustrating Wi-Fi dropouts that plague wireless-only setups. You can dive deeper into these smart home market trends to see the financial impact.
The table below breaks down how common smart home protocols fit into a wired system.
Smart Home Protocol Integration Guide
| Protocol | Primary Connection | Best Use Case with Wired Backbone | Example Devices |
|---|---|---|---|
| Ethernet/IP | Wired (Cat6/6a) | High-bandwidth devices requiring maximum speed and stability. | Smart TVs, Media Streamers, Security Cameras, Wi-Fi Access Points |
| Wi-Fi | Wireless | Mobile devices and gadgets where running a cable is impractical. | Smartphones, Laptops, Smart Speakers, Tablets |
| Z-Wave | Wireless Mesh | Low-power devices where reliability is key; plug the hub into your Ethernet. | Smart Locks, Thermostats, Window/Door Sensors, Light Switches |
| Zigbee | Wireless Mesh | Similar to Z-Wave, excellent for lighting and small sensors with a wired hub. | Smart Bulbs, Motion Sensors, Smart Plugs, Remote Controls |
| Matter | IP-Based (Wi-Fi/Thread) | Universal control across different brands; hubs benefit from a wired connection. | New-generation hubs, lights, and sensors from major brands. |
By plugging the hubs for Z-Wave, Zigbee, and Matter directly into your network, you give these wireless systems an unbreakable link to your core infrastructure. This simple step is the key to creating a truly fast, dependable, and cohesive smart home.
Your Smart Home Wiring Questions, Answered
Planning a smart home wiring project always brings up a few questions. I get asked these all the time, so let's walk through some of the most common ones that pop up when you're getting started.
Can I Do This Myself, or Do I Need to Hire an Electrician?
This is the big one, and the answer is usually: a bit of both.
You can absolutely tackle all the low-voltage wiring on your own. This is your Ethernet, speaker wire, security camera cables, and anything else that doesn't carry a serious shock risk. Running these cables yourself is one of the best ways to save a huge chunk of money on labor costs.
However, when it comes to line-voltage work—anything involving the 120V or 240V circuits in your walls—it's time to call in a pro. For installing smart switches, outlets, or adding new circuits, you really need a licensed electrician. It's not just about safety; in many places, it's a legal requirement.
A smart, cost-effective approach I often recommend is a tag-team effort. You run all the low-voltage lines yourself, and then have an electrician come in to handle the final high-voltage hookups. You get a professional, code-compliant installation without paying for the time-consuming cable pulling part.
Is It Worth Wiring an Existing House, or Is This Just for New Construction?
While it’s a dream to wire a house when the walls are open during construction, retrofitting an existing home is absolutely worth it. It just requires a bit more patience and the right tools. Things like fish tapes and flexible drill bits become your best friends for snaking wires behind drywall without turning your home into a construction zone.
Your attic, basement, and crawl spaces are your superhighways for cable runs. Even if you only manage to add a few hardwired Ethernet ports for your main Wi-Fi access points or your streaming media player, you’ll see a massive improvement in speed and reliability over a Wi-Fi-only network.
Don't get discouraged just because your walls are already closed up. A well-planned wiring update can fix your biggest Wi-Fi headaches and give you a rock-solid network for a pretty reasonable amount of time and effort.
What Are the Biggest Mistakes People Make?
I’ve seen a few common missteps over the years that can cause major headaches. If you can sidestep these, you’ll be in great shape.
- Not planning for what's next: Always, always run more cable than you think you need. Pulling an extra Ethernet cable or even an empty conduit to key locations costs almost nothing when the walls are open but is a nightmare to do later.
- Buying cheap, junk cable: This isn't the place to save a few bucks. Stick to solid copper, riser (CMR) or plenum (CMP) rated cable from a brand you recognize. Cheap "CCA" (copper-clad aluminum) cable is a recipe for bad connections and frustration.
- Forgetting about interference: Data cables and electrical wires are not friends. When you run them parallel to each other, keep at least 12 inches of space between them to avoid signal degradation. If you have to cross a power line, do it at a 90-degree angle.
- Failing to label everything: This is the cardinal sin of wiring. If you don't label both ends of every single cable with a clear, unique identifier, you're creating an impossible puzzle for your future self.
- Skipping the final test: Before you even think about putting up drywall, test every single connection with a proper cable tester. Finding a bad connection after the walls are closed is a gut-wrenching experience.
So, How Much Is This Going to Cost?
The price tag can swing pretty widely depending on your home's size and how ambitious you're getting.
If you're going the DIY route for all the low-voltage stuff in a typical mid-sized house, you can probably get all the materials—bulk cable, jacks, wall plates, and a patch panel—for somewhere between $500 and $2,000.
If you decide to hire a professional to install a complete structured wiring system (that’s Ethernet, coax, speaker wire, the works), you're looking at a range from $3,000 to over $10,000. That price usually covers the entire job, from the initial design and pulling all the wire to the final terminations and testing.
At Automated Home Guide, our mission is to empower you with the practical knowledge to create a home that’s smarter, safer, and more convenient. Dive into our other resources to continue your smart home journey at https://automatedhomeguide.com.


Leave a Reply