
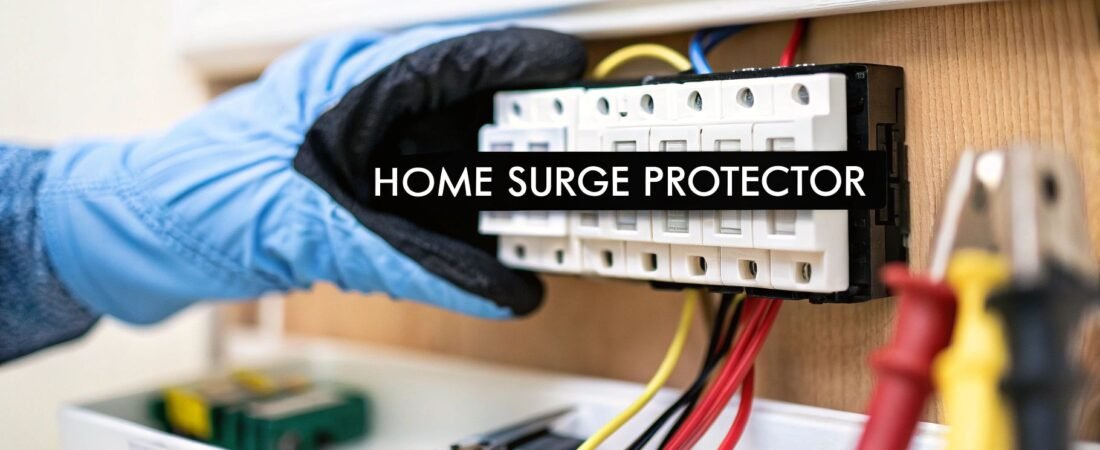
If you think those power strips are all you need to protect your expensive electronics, you might be in for a nasty surprise. A whole home surge protector installation is your first and best line of defense, safeguarding everything connected to your electrical panel—from the HVAC system to the smart fridge—against powerful surges that would fry a basic power strip in an instant.
Why Power Strips Just Don't Cut It
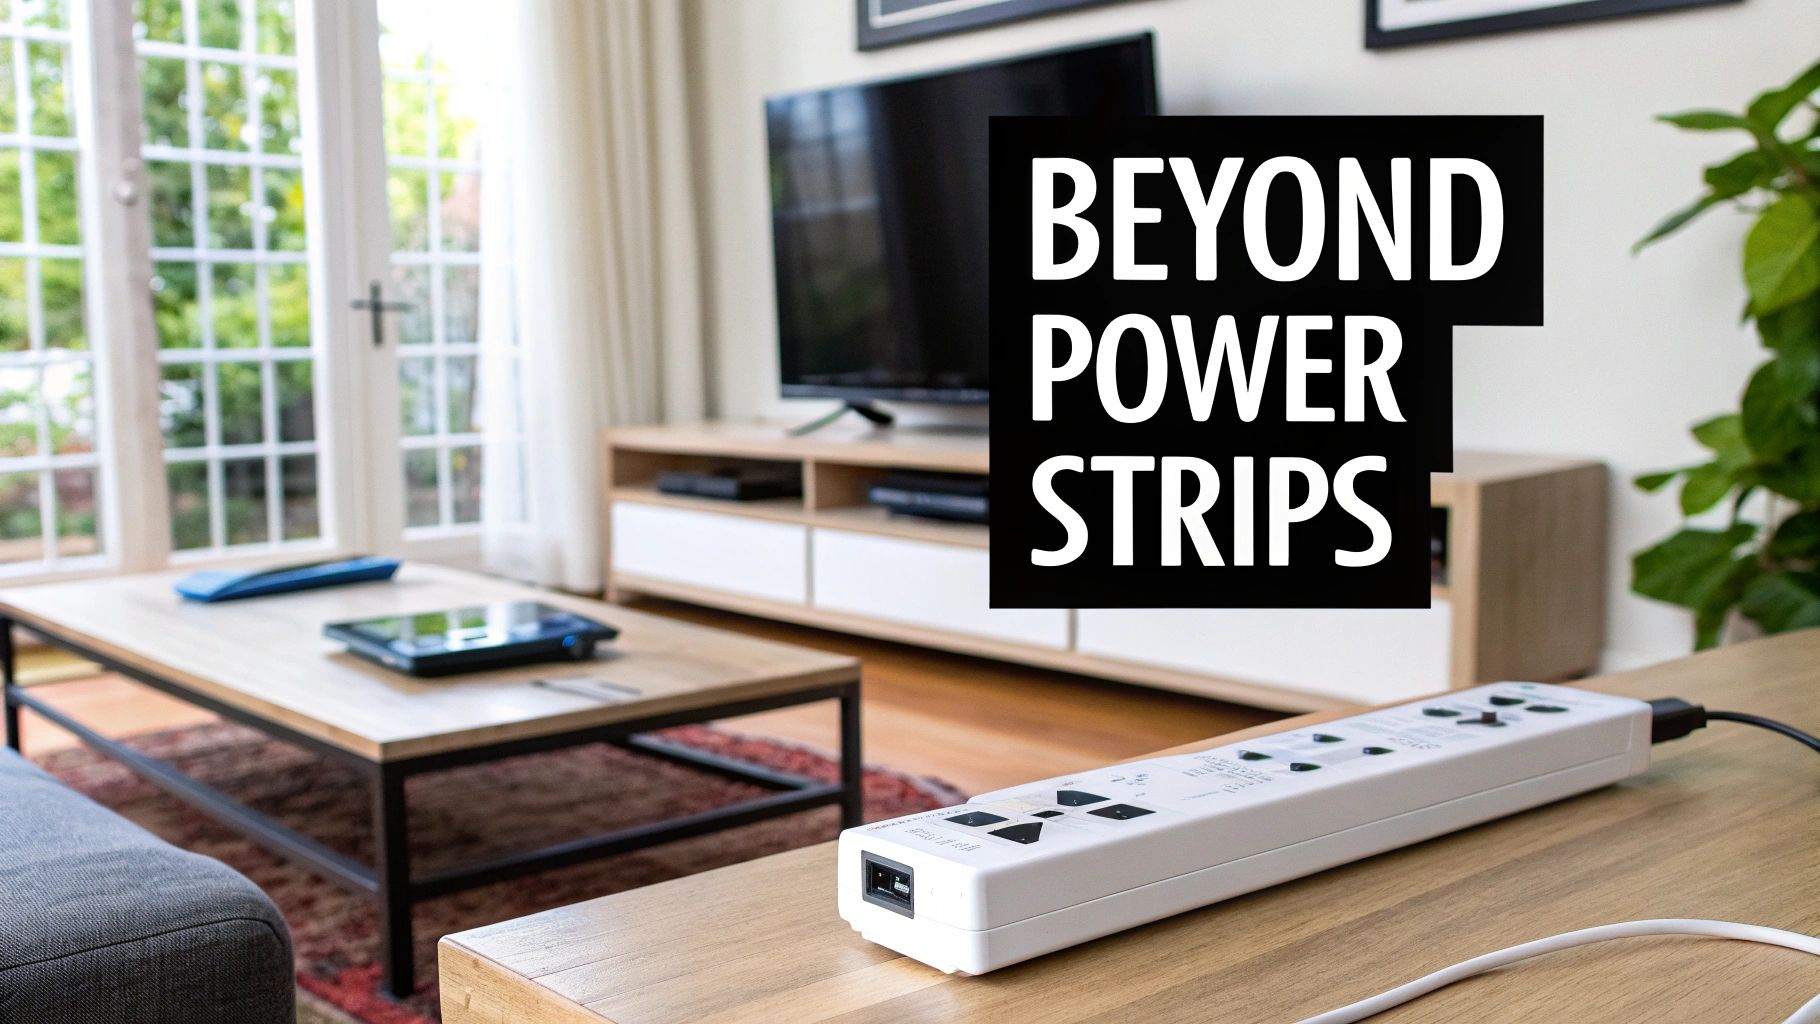
Look, we all have them. We plug our computers and TVs into those familiar surge-protecting power strips and feel a sense of security. And while they do offer some protection for the gear plugged directly into them, they're the last resort, not the primary shield for your entire home.
The hard truth is that damaging power surges can come from anywhere and travel through any wire. They don't just target your entertainment center; they put every appliance and system in your house at risk.
The Two Kinds of Surges Wreaking Havoc on Your Home
To really get why a single power strip isn't enough, you need to know what you're up against. Your home gets hit by two main types of surges:
- External Surges: These are the big ones—the catastrophic spikes from lightning strikes, downed power lines, or even just the utility company switching grids. A single jolt like this can wipe out thousands of dollars worth of electronics in a blink.
- Internal Surges: Here’s the shocker: up to 80% of power surges are actually generated inside your own house. Every time your air conditioner, refrigerator, or even a power tool kicks on, it creates a small electrical spike. While not as dramatic, these constant little jolts act like "death by a thousand cuts," slowly degrading and eventually killing the sensitive electronics in all your modern devices.
A power strip might catch a small internal surge from a nearby lamp, but it stands zero chance against a major external event. More importantly, it does absolutely nothing for the big-ticket items like your furnace or oven that are hardwired directly into your circuit panel.
Think of a whole home surge protector as a bouncer for your electrical system. It stands guard at the main panel, diverting the overwhelming majority of damaging voltage—from both outside and inside—before it ever gets a chance to roam through your home's wiring.
Centralized Protection is No Longer a Luxury
Our homes are getting smarter, and that means they’re filled with more devices running on sensitive microprocessors than ever before. Your smart thermostat, security cameras, LED lights, and fancy new appliances all have delicate circuit boards that can be fried by the smallest voltage fluctuation. This is why comprehensive protection has become so critical.
The numbers back this up. The global market for whole-house surge protection was valued at around USD 1,149 million and is expected to hit nearly USD 1,799 million by 2032. You can read the full research about these market trends to see just how quickly homeowners are catching on. This isn't just a fad; it's a fundamental shift in how we protect our increasingly connected homes.
In the end, installing a whole-home surge protector isn't about throwing out your power strips. It's about building a smarter, two-layer defense. The whole-home unit takes the big hits at the source, while your power strips provide that final bit of localized protection for your most sensitive gadgets. It's the best of both worlds.
Preparing for Your Installation
Before you even crack open the box for your new surge protector, a little prep work is in order. Getting a solid understanding of your home's electrical system isn't just a good idea—it's the key to a safe and successful installation. Think of it as a pre-flight check for your home's wiring.
First things first, you need to get comfortable with your main electrical panel. It’s that gray metal box, usually tucked away in a garage, basement, or utility closet. Go ahead and open the door. This is the nerve center of your home, and it’s where your surge protector will tie in.
Identify Your Home's Service Type
Nearly every home in North America runs on a 240V split-phase service. When you look inside your panel, you'll see this in action: two thick "hot" wires coming in from the utility, a neutral wire, and a ground. This setup is fundamental because your surge protector needs to be wired correctly to shield both 120V "legs" of your service.
If your house is particularly old or has a non-standard setup, it’s worth double-checking. Installing the wrong kind of device for your service type is a surefire way to get zero protection for your money.
Locate Your Main Panel and Any Sub-Panels
Your main panel is the obvious starting point, but don't overlook any sub-panels. These are smaller breaker boxes you might find in a detached garage, a workshop, or a newer home addition.
- Main Panel: This is the big one, where the main breaker lives. Flipping that breaker kills power to the entire house.
- Sub-Panels: These get their power from a dedicated breaker back in the main panel. Any electronics running off a sub-panel are just as vulnerable to a surge.
For truly whole-home protection, you’ll want to consider adding a smaller surge protection device (SPD) at each sub-panel. A surge doesn't care how it gets there; it will happily travel down the line to a sub-panel and fry whatever's connected. For more on organizing your home's electrical pathways, our guide on home smart wiring can offer some great insights.
Pro Tip: Before you touch anything, take a few clear, well-lit photos of your panel's interior with your phone. It's incredibly helpful to have a reference you can zoom in on to read breaker labels without having the panel door open the whole time.
Choosing Between Type 1 and Type 2 Surge Protectors
This is probably the biggest decision you'll make in this process. The "Type" tells you where the device gets installed and what it's primarily designed to do.
Let's break down the two main options you'll encounter for residential setups.
| Feature | Type 1 Surge Protector | Type 2 Surge Protector |
|---|---|---|
| Installation Location | Line side (before main breaker) | Load side (after main breaker) |
| Primary Protection | Large external surges (e.g., lightning) | External and internal surges |
| DIY Suitability | Not recommended; professional only | Suitable for competent DIYers |
| Connection Method | Direct to service entrance conductors | Connects to a dedicated circuit breaker |
A Type 1 device installs on the "line side" of your main breaker, meaning it connects before the main shutoff. It’s built to handle massive external hits, like a nearby lightning strike, before they even get a chance to enter your home’s circuits. Because this involves working directly with unfused power from the utility meter, this is strictly a job for a licensed electrician.
A Type 2 device is what most homeowners will—and should—use. It gets installed on the "load side," connecting to a dedicated two-pole breaker inside your panel. This is the sweet spot. It protects your home from external surges and the more common internal surges created by your own large appliances cycling on and off.
For almost everyone, a Type 2 SPD is the right choice. It offers fantastic protection and is a manageable project for a confident DIYer. While you're at it, take a good look at your panel. If it's old, packed to the gills, or you're worried about its capacity, it's a good time to read through a comprehensive guide to a home electrical panel upgrade. A strong foundation makes for the best protection.
Getting Down to the Installation
Alright, you've done your homework and have the right surge protector in hand. Now it's time for the main event: the installation itself. This is where a sharp focus and a healthy respect for electricity are non-negotiable. Let’s walk through what a clean, safe installation looks like from start to finish.
Safety First: Kill the Power (and Double-Check It)
Before a single tool touches your electrical panel, you need to cut all the power. Find your main breaker—it's the big one, usually 100A, 150A, or 200A at the very top or bottom of your panel—and flip it to the "OFF" position. The house should go dark and silent.
But never, ever trust a breaker alone. You have to prove the panel is dead. Grab a reliable multimeter, set it to AC voltage, and carefully touch the probes to the main lugs where the thick service wires come in. You're looking for a reading of zero volts. Test between each lug and the neutral bar, and then each lug and the ground bar. If you see any voltage, stop what you're doing immediately and call an electrician. Seriously.
Mounting the Surge Protector
With the panel confirmed to be de-energized, you can physically mount the surge protection device (SPD). Most Type 2 units are designed to hang on the outside of the panel, connecting through one of the circular "knockouts."
Pick a knockout on the side of the panel that's as close as humanly possible to where your new breaker will go. Why? Because shorter wires mean a faster response. Every extra inch of wire adds a tiny delay for the surge to travel, and in the world of nanoseconds, that matters.
- Pop a Knockout: Use a flathead screwdriver and a pair of pliers to carefully punch out one of the pre-stamped knockouts.
- Feed and Secure: Your SPD will have a threaded nipple. Feed the device's wires through it, then through the panel's open hole.
- Lock It Down: Use the locknut that came with the device to tighten it firmly against the panel wall from the inside. It shouldn't wiggle at all.
This quick prep guide sums up the critical thinking that happens before you even open the box.
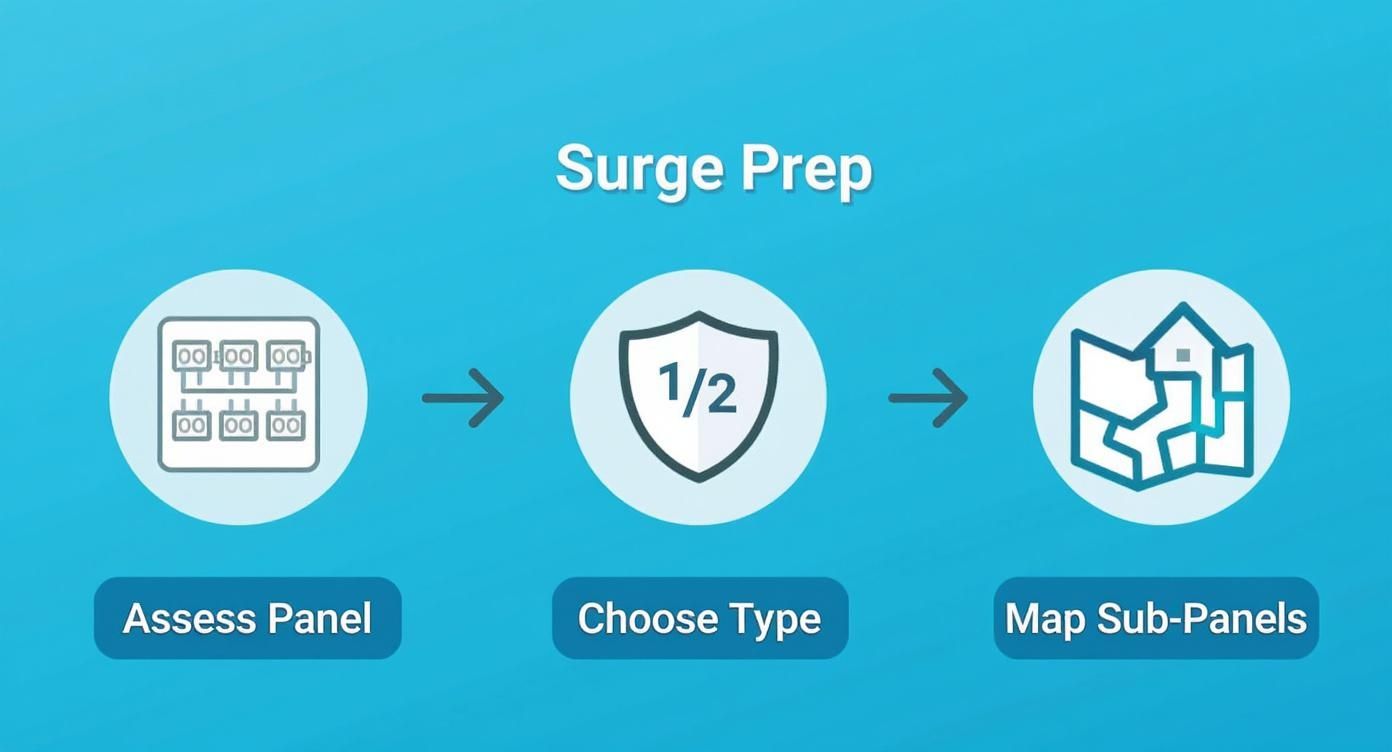
Getting these initial steps right—assessing your setup and choosing the right gear—is what sets you up for a smooth installation.
Making the Connections Inside the Panel
Now for the wiring. You'll typically have four wires coming from the SPD: two hots (black), a neutral (white), and a ground (green or bare copper).
These wires connect to a brand-new, dedicated two-pole breaker. Find two open, adjacent slots in your panel, again, as close to the top as you can get. Snap the new breaker in place; you should feel a solid click as it seats onto the bus bars.
My Biggest Piece of Advice: Keep your wires short and straight. I can't stress this enough. Don't leave coils of extra wire "just in case." Cut them to the perfect length needed to reach their terminals. Every lazy loop or sharp bend adds impedance, which can slow down the SPD's reaction time when it matters most.
Here's the typical hookup:
- Hot Wires (Black): Land each of the two black wires from the SPD onto one of the screw terminals on your new two-pole breaker.
- Neutral Wire (White): Find an open screw on the neutral bus bar (the silver-colored bar with all the other white wires). Loosen the screw, insert the SPD's white wire, and tighten it down firmly.
- Ground Wire (Green): Repeat the process for the green wire, connecting it to an open spot on the ground bus bar (the one with all the bare copper wires).
After tightening each connection, give it a light tug. You want to feel that it's completely secure. A loose wire is a fire hazard and makes the whole setup useless.
The Importance of a Solid Ground
That ground connection is the most critical part of this entire job. A surge protector doesn't just sponge up extra voltage—it actively diverts it away from your electronics. The ground wire is the superhighway that carries that dangerous energy safely into the earth.
Make sure your connection to the ground bus bar is on a clean, solid terminal. If the bar looks corroded or is packed full, find a better spot. A weak ground connection is like a blocked exit ramp during a freeway pileup; the surge has nowhere to go but back into your home's circuits.
The demand for this level of protection is exploding. In North America, the residential surge protector market is already valued at over two billion dollars a year. As our homes fill with smart appliances, TVs, and computers, people are finally realizing that a few power strips just don't cut it anymore. You can read more analysis on this trend from Data Insights Market Research.
Once the wiring is done, take a minute to clean up your work. Use a few small zip ties to bundle the SPD's wires neatly with the others, making sure nothing will get pinched. Now, you can carefully put the panel cover back on. The physical installation is complete, and you're ready to power up and test your work.
Confirming a Successful Installation
Alright, the panel cover is screwed back on and the tools are put away. It might feel like the job is done, but don't close up shop just yet. The final, and arguably most important, part of your whole home surge protector installation is making sure it's actually working. This isn't just about flipping a switch—it's about a careful sequence to verify everything is set up correctly for the long haul.
First thing's first: double-check that the new two-pole breaker you installed for the surge protector is still in the "OFF" position. This is a crucial detail. You want to energize the rest of the house before you activate the surge protector.
With that confirmed, go ahead and throw the main breaker back to the "ON" position. You’ll hear the familiar hum as your home comes back to life. Now, for the moment of truth: flip the surge protector's dedicated breaker to "ON".
What the Status Lights Are Telling You
Your new surge protector uses a simple set of LED lights to communicate its status. Think of it as a translator for your home's electrical health. While you should always glance at the manual for your specific model, the color codes are pretty standard across the industry.
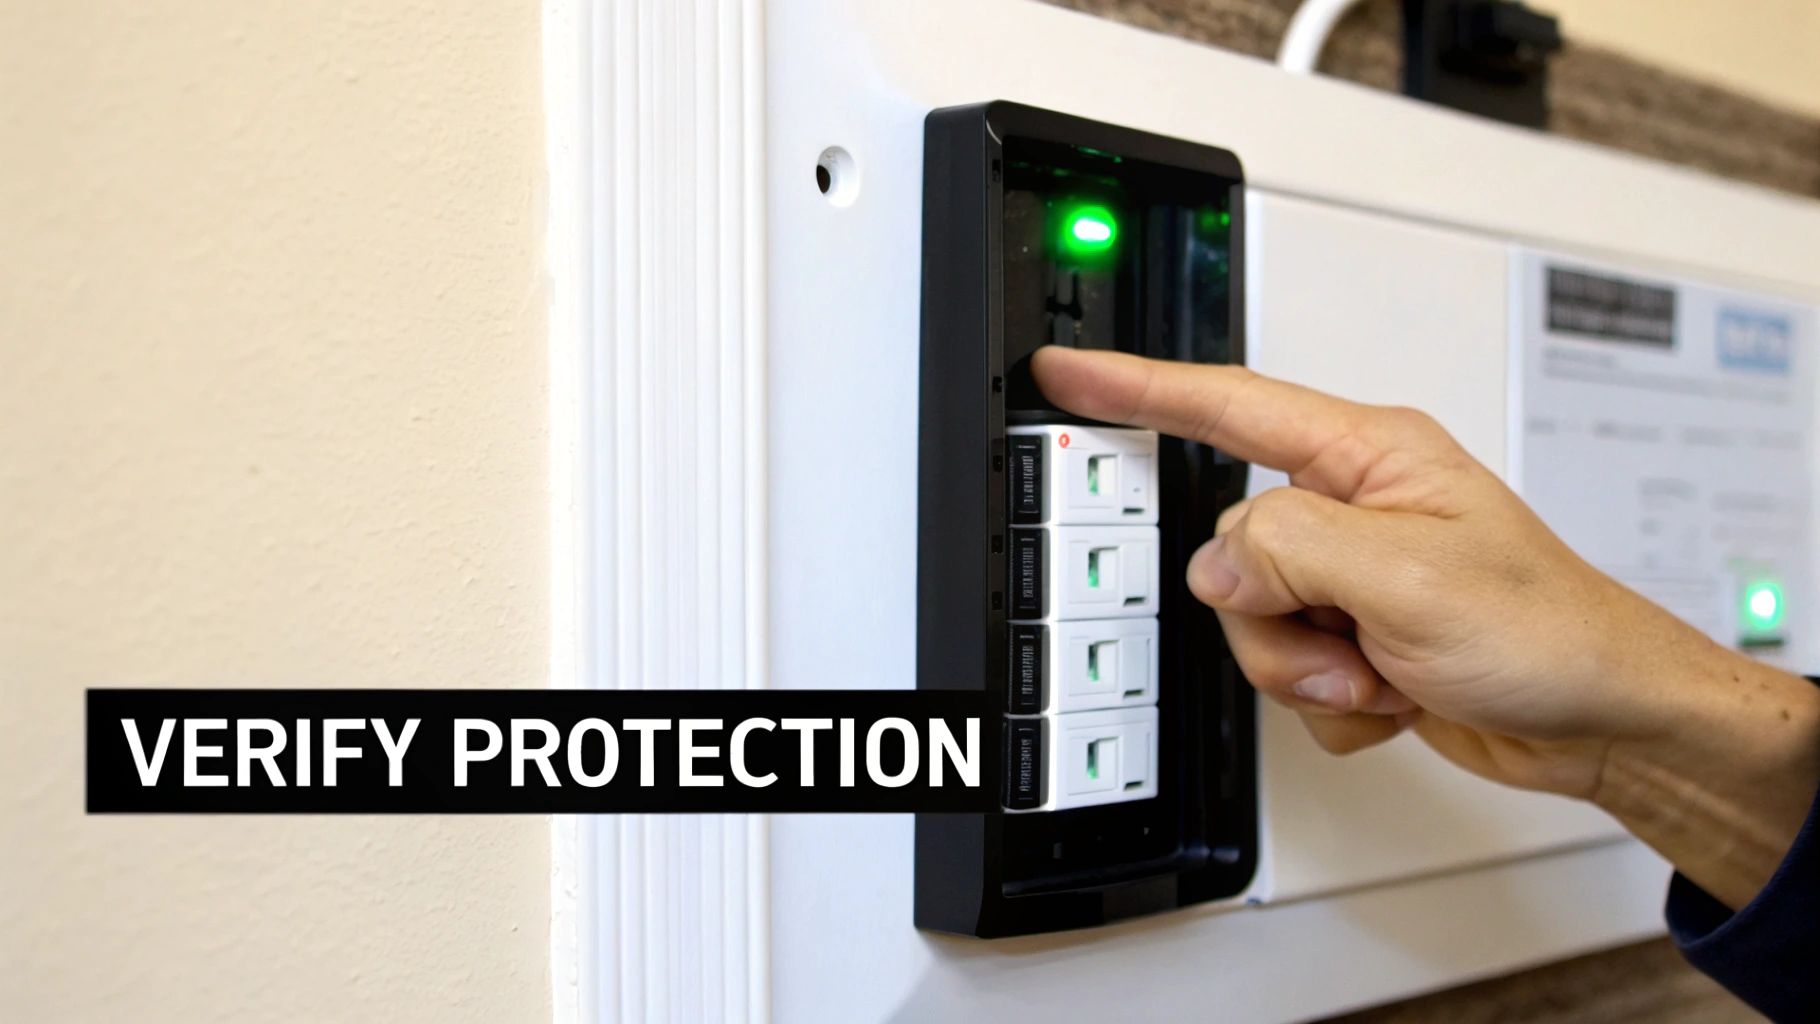
- Solid Green Lights: This is what you're looking for. A steady green glow means the unit has power, it's properly grounded, and it’s actively protecting your electrical system. Job well done.
- A Red or Orange Light: Seeing red is never good. This almost always points to a problem, like a bad ground connection or another wiring mistake. If a red light pops on, kill the breaker immediately and carefully re-trace your steps.
- No Lights at All: If the LEDs are dark, the unit isn't getting any power. The problem is likely at the breaker connection. In rare cases, it could also mean the device was faulty out of the box.
Take 30 seconds to skim the quick-start guide that came with your device. It will tell you exactly what each light means, leaving no room for guesswork.
The real peace of mind from this project comes from seeing those green lights shining. Once they're on, you've officially established a robust line of defense for every circuit in your home.
Long-Term Care: A Quick Glance Is All It Takes
A whole home surge protector is designed to be a "set it and forget it" device… mostly. It doesn't need active maintenance, but it does need a quick visual check-in now and then. I tell homeowners to treat it like a smoke detector—you just need to confirm it’s ready to do its job.
The easiest way to do this is to simply get in the habit of glancing at the lights whenever you happen to be near your electrical panel. Maybe once a month is a good rhythm. As long as you see green, you're protected.
But remember, these devices have a finite lifespan. They protect your home by sacrificing internal components, called Metal Oxide Varistors (MOVs), which absorb and redirect damaging voltage. Every power surge, whether it’s a massive lightning strike or a small blip from the grid, uses up a tiny piece of the MOV's capacity.
Knowing When It's Time for a Replacement
Eventually, after taking on thousands of small hits or one catastrophic one, your surge protector will give its all. When that happens, it will let you know its protective life is over.
You’ll see one of a few common signs:
- A Status Light Goes Out: This is the most typical signal. It usually means the protection on one of the electrical phases has been completely used up.
- A Light Switches to Red: Some models use a red light to clearly indicate "End-of-Life" or "Protection Failure."
- An Audible Alarm Starts Beeping: Higher-end surge protectors will often sound an alarm to get your attention when they need to be replaced.
The moment your device gives you one of these signals, it’s no longer protecting your home. It's just a box with lights. Replacing it should become your top priority. A successful whole home surge protector installation isn't a one-and-done project; it’s the start of an ongoing strategy, and these simple visual checks are what keep that strategy effective.
Weighing the Costs and When to Call a Pro
Alright, let's talk about the two things that stop most projects in their tracks: money and skill. Installing a whole-home surge protector is a smart investment, but you need to be realistic about the budget and your own comfort level working with your home's electrical system. This is a classic DIY vs. Pro decision, and it’s all about balancing cost against safety.
It's no surprise that more people are looking into this. The market for surge protection devices is already hovering between USD 2.9 billion and USD 3.5 billion globally and is expected to balloon by 2030. That’s a lot of homeowners realizing that a simple power strip just doesn't cut it anymore when it comes to protecting thousands of dollars in electronics. If you're curious about the industry trends, you can discover more insights about whole-house surge protection device market on infinitymarketresearch.com.
Breaking Down the Installation Costs
So, what’s this actually going to cost? Your budget boils down to two main line items: the device itself and the labor to get it installed.
- The Device: For a good quality Type 2 whole-home surge protector, plan on spending anywhere from $100 to $300. The price difference usually comes down to the brand name and the kA rating, which is basically a measure of how big of a surge it can handle.
- Professional Labor: If you bring in a licensed electrician, the labor will likely run you between $150 and $450. You're not just paying for their time; you're paying for their expertise, their insurance, and the confidence that the job is done right and to code.
For a more detailed local estimate, checking out the average whole house surge protector installation cost can give you a much clearer financial picture before you start making calls.
A professional installation almost always includes a warranty on the work itself. If a connection fails or something isn't right, a reputable electrician will come back and fix it. That's a safety net you just don't get when you do it yourself.
Why Codes and Permits Are a Big Deal
This isn’t just a simple “connect wire A to terminal B” kind of job. You’re working under the rules of the National Electrical Code (NEC) and any specific ordinances your town or county has. These codes are in place for one simple reason: to keep your house from burning down. An installation that isn't up to code can be a major fire risk, and it could even give your insurance company a reason to deny a claim.
A licensed electrician lives and breathes these codes. They know the exact wire gauge to use, the right size breaker for the device, and the critical grounding techniques that make the protector work correctly. They’ll also know if your town requires a permit for this work and will handle all that paperwork for you.
To give you a clearer view of the costs, here's a side-by-side comparison:
DIY vs Professional Installation Cost Estimate
This table breaks down what you can expect to spend, whether you tackle the project yourself or hire a professional.
| Cost Component | DIY Installation | Professional Installation |
|---|---|---|
| Surge Protector Device (SPD) | $100 – $300 | $100 – $300 |
| Tools & Supplies (Breaker, wire, etc.) | $25 – $75 | Included in labor |
| Permit Fees (If applicable) | $25 – $100 | Included in labor |
| Labor Cost | $0 | $150 – $450 |
| Total Estimated Cost | $150 – $475 | $250 – $750 |
As you can see, the DIY route is cheaper on paper. However, the professional installation bundles expertise, safety, and peace of mind into its cost, which is a value that's hard to quantify.
The Honest DIY vs. Pro Decision
So, can you really do this yourself? If you have solid experience working inside an electrical panel, installing a Type 2 surge protector is definitely within reach. But—and this is a big but—this is absolutely not a project for a beginner. Your decision needs to be based on an honest look at your skills and the state of your panel. It’s similar to the planning required for a complete home automation system installation, where one wrong move can have cascading effects.
You should stop and call an electrician if you see any of these red flags:
- An Overcrowded Panel: If you open your panel and see a "spaghetti" of wires with no obvious room, leave it to a pro. They know how to navigate that maze safely.
- Old or Outdated Wiring: See aluminum wiring or old, brittle-looking insulation? Don't touch it. Older systems, especially aluminum, require special knowledge to work on without creating a fire hazard.
- That Gut Feeling of Doubt: This is the most important one. If you feel even a little bit hesitant or unsure while looking at the inside of your panel, that’s your sign to call for help. There is zero room for error with this kind of work.
- No Experience with Breakers: If you’ve never physically installed a circuit breaker or handled the bus bars it connects to, this is not the time to learn.
In the end, it’s about weighing a few hundred dollars in labor against the risk of a catastrophic mistake. Saving money is great, but the safety of your home, your expensive electronics, and your family is priceless. If you have any doubt at all, making the call to a licensed pro is the smartest move you can make.
Common Questions About Whole Home Surge Protection
Even after walking through the entire installation, a few questions tend to pop up. Let's tackle some of the most common ones I hear from homeowners, so you can be confident your system is set up for success.
Can I Throw Away My Power Strips Now?
This is probably the number one question people ask. The quick answer is no, and it's because you're creating two different layers of defense.
Think of your new whole-home unit as the first line of defense at the gate—it's there to stop the big, powerful surges coming from outside your home, like those from grid issues or a nearby lightning strike.
Those smaller power strips you have plugged in at your desk or home theater are like a second, more specialized layer of security. They handle the smaller, internal surges that happen when an appliance kicks on, and they provide that final, fine-tuned protection right at the device level. Keeping both is the best practice for a truly robust setup.
How Do I Know If It's Still Working?
You're not going to get a pop-up notification, so how can you be sure the device is still doing its job months or years down the road? Luckily, manufacturers make this pretty simple.
Every whole-home surge protector I've ever installed comes with status indicator lights, usually bright LEDs. These are your direct window into the device's health.
- Green Light: This means everything is working perfectly. The unit is powered on, properly grounded, and actively monitoring for surges. Make it a habit to glance at the light whenever you're at your electrical panel.
- Light Off or Red: This is your signal that the device has done its job and sacrificed itself to stop a major surge. Its protective components are spent, and it's no longer protecting your home. It needs to be replaced immediately.
A surge protector's lifespan isn't measured in years; it's measured in joules—the total amount of energy it can absorb. A unit in an area with clean power might last a decade. Another could be toast after a single severe storm. Those little lights are your only real way of knowing.
Does This Protect Against a Direct Lightning Strike?
It’s crucial to set realistic expectations here. What a whole-home unit does incredibly well is protect you from the vast majority of surge events, including the voltage spikes caused by a nearby lightning strike. This is, by far, the most common way lightning fries electronics.
However, a direct lightning strike on your house is a completely different animal. We're talking about an astronomical amount of energy that no residential surge protector is built to stop.
For that, you'd need a dedicated lightning protection system with rods on the roof and heavy-gauge conductors—a much more complex and expensive installation. This is also a critical piece of the puzzle for anyone looking at solar, which we cover in our solar panel installation guide. A surge protector is an essential tool, not an invincible shield against the full force of nature.
At Automated Home Guide, we're committed to helping you make your home safer and smarter. For more expert advice and in-depth guides on the latest in home technology, visit us at https://automatedhomeguide.com.


Leave a Reply