
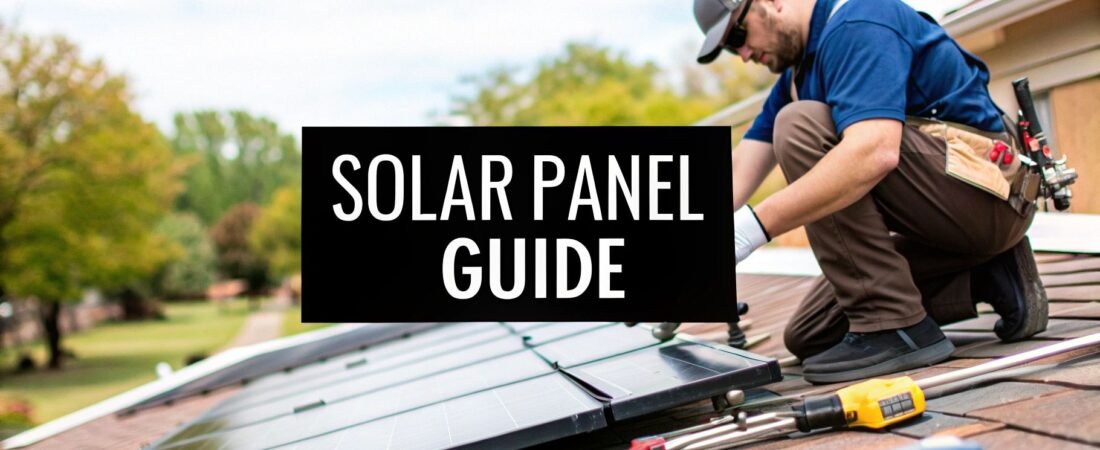
So, you’re thinking about installing your own solar panels. It’s a big project, but going solar is one of the most rewarding home improvements you can make. This guide is here to walk you through the entire journey, from that first spark of an idea to the moment you flip the switch and start generating your own power.
We'll break down the process into clear, manageable steps. Think of this as your roadmap—a way to see the whole path from start to finish so you can feel confident taking control of your energy future and finally shrinking those power bills.
Your Path to Energy Independence Starts Here
Deciding to go solar is a huge step, and it's totally normal to feel a bit overwhelmed at first. My goal here is to cut through the noise and show you exactly what to expect. We'll cover everything from the initial site check all the way to getting your system activated.
This is more than just a home improvement project; it's a journey toward generating your own clean power. It has its challenges, for sure, but the payoff is incredible. Let's look at the key phases you'll be working through.
Understanding the Project Phases
A residential solar installation isn't something you knock out in a weekend. It's a structured process where each stage builds on the one before it. Getting the planning right upfront is critical—it prevents headaches and costly mistakes down the line.
Here’s a bird's-eye view of what the process looks like:
- Planning and Assessment: This is where it all begins. You'll figure out how much energy you actually use, check your roof's condition and sun exposure, and get a handle on the local rules.
- Permitting and Paperwork: Before a single tool comes out, you'll need to get the green light from your local building department and your utility company. Don't skip this.
- Purchasing Components: Time for the fun part—shopping for your gear. This includes the panels themselves, inverters, racking, and all the necessary safety equipment.
- Installation Work: This is where the real work happens. You'll be on the roof mounting the hardware and then handling the electrical wiring to connect everything.
- Inspection and Commissioning: Once everything is installed, an official inspector has to sign off on your work. Only then can you legally connect to the grid and power up your system.
To give you a clearer sense of the timeline, here’s how these phases typically break down.
Solar Installation Project Phases at a Glance
This table outlines the major stages of a residential solar project, giving you a realistic idea of the time and effort involved in each step.
| Project Phase | Primary Objective | Typical Duration |
|---|---|---|
| Initial Planning & Sizing | Evaluate energy needs and assess site feasibility. | 1-2 weeks |
| System Design & Engineering | Create detailed plans for panel layout and wiring. | 1-2 weeks |
| Permitting & Utility Approval | Submit plans and secure necessary permits. | 2-8 weeks |
| Equipment Procurement | Order and receive all solar components. | 1-4 weeks |
| Physical Installation | Mount racking, panels, and complete electrical work. | 2-5 days |
| Inspection & Commissioning | Pass final inspection and get permission to operate. | 1-4 weeks |
Keep in mind that timelines, especially for permitting, can vary a lot depending on where you live.
The Evolving Solar Market
There's never been a better time to take on a project like this. The solar market has changed dramatically over the last few years. We're seeing a massive oversupply of solar modules, which, while tough for manufacturers, has caused prices to drop significantly for consumers.
This isn't a niche technology anymore. Solar's share of global electricity has jumped from 14% in 2019 to 24% recently, making it a major player in the worldwide energy transition. If you're interested in the nitty-gritty of these trends, the National Renewable Energy Laboratory puts out some great research. You can learn more about the latest solar technology findings directly from the experts.
What does this all mean for you? High-quality solar equipment is more affordable and accessible than ever. This shift has made a DIY solar panel installation a truly realistic and financially smart project for many homeowners.
How to Plan Your Solar Project with Precision
I’ve seen it time and time again: a successful solar installation is 90% planning and only 10% execution. Jumping straight into buying panels without a solid blueprint is a surefire way to end up with frustration and a lighter wallet. Getting the planning phase right from the start ensures your system performs exactly as you expect for decades to come.
This isn't just about picking a sunny spot on your roof. It's a detailed process of assessing your property, understanding your family's unique energy needs, and navigating the often-confusing world of local permits and regulations.
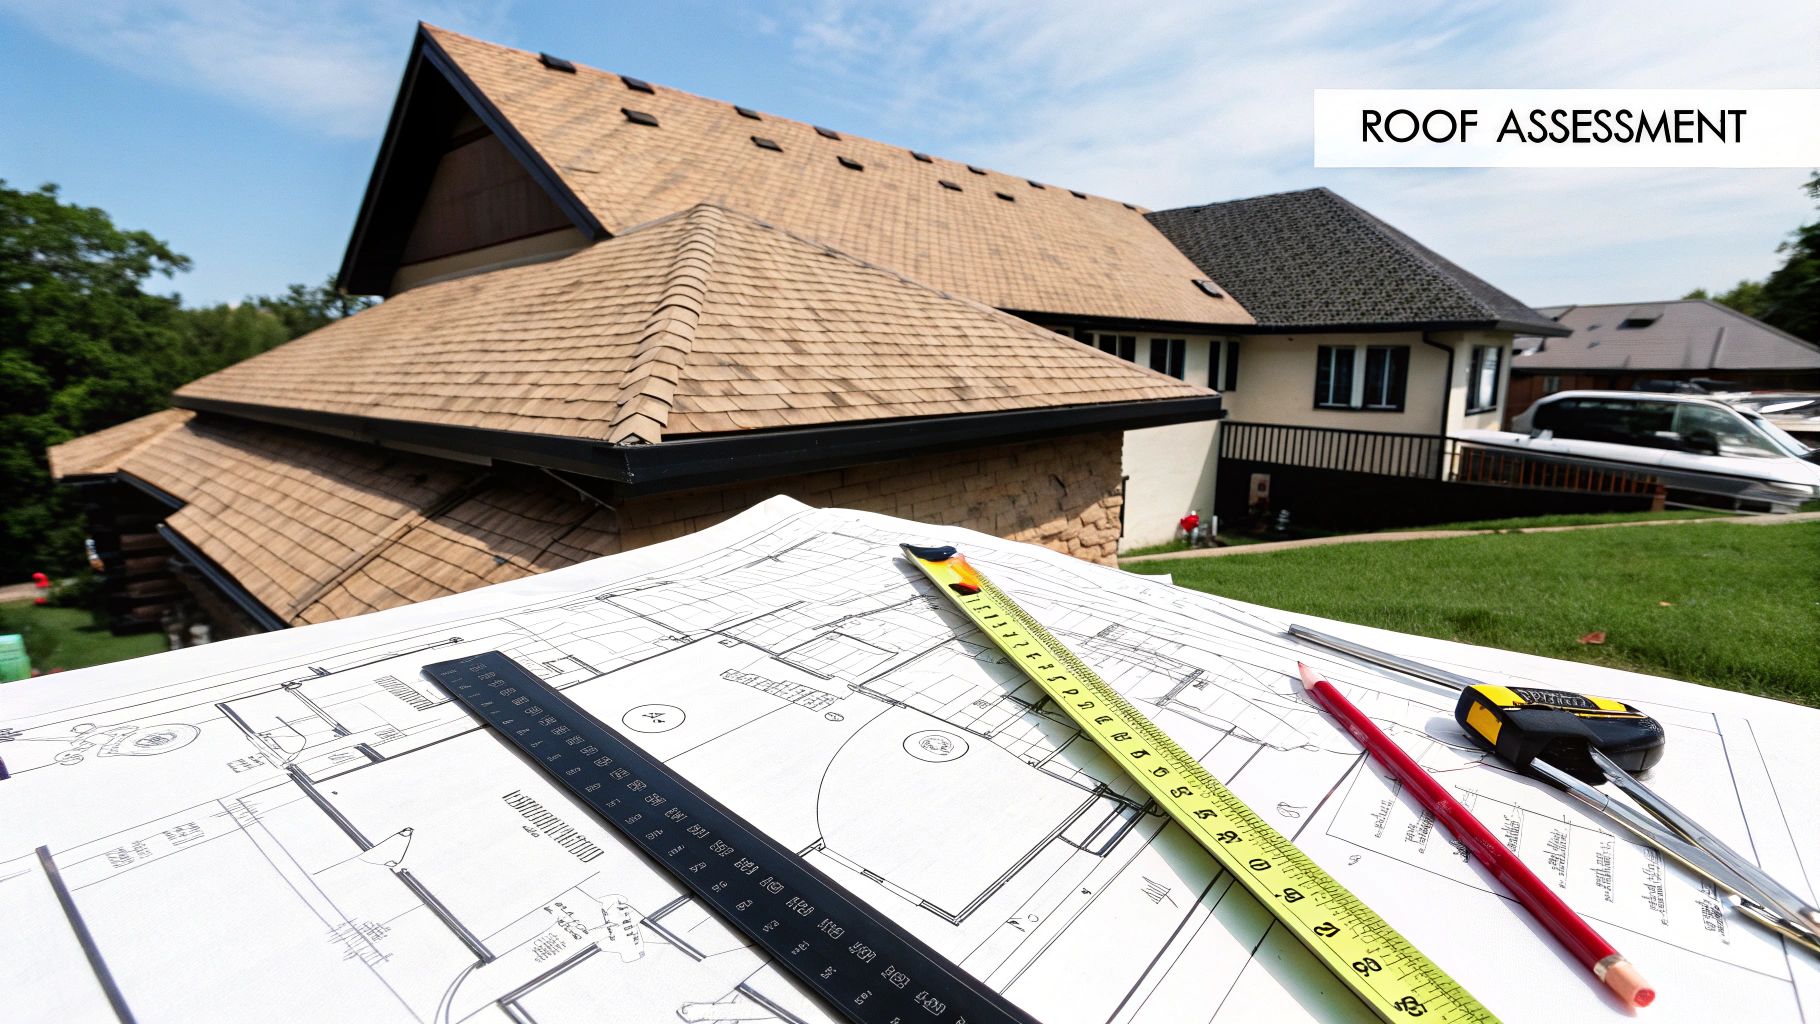
Conducting a Thorough Site Assessment
Think of your roof as the foundation for your solar power plant. Not all roofs are created equal, so the first thing you need to do is analyze its potential. A few key factors will make or break your project.
Start with the roof’s orientation. In the Northern Hemisphere, a south-facing roof is the gold standard because it gets the most direct sunlight all day long. But don't worry if that's not an option—east- or west-facing roofs are still fantastic choices. An east-facing array gets a head start, generating more power in the morning. A west-facing one hits its peak in the afternoon, which is perfect if your family’s biggest energy draw is in the evening.
Next, you have to become a shade detective. A single tree branch or even a neighbor’s chimney casting a shadow at the wrong time of day can tank a panel's output. Take some time to observe your roof at different points—morning, noon, and late afternoon—to map out any obstructions.
Pro Tip: Don't just check for shade on a perfect summer day. Remember that the sun sits much lower in the sky during winter, which can create long, creeping shadows from objects that aren't even an issue in July.
Sizing Your System Based on Real-World Usage
Guessing how many panels you need is one of the most common and expensive mistakes people make. The goal isn’t to cover every inch of your roof; it's to build a system that matches your actual energy consumption. The best way to figure that out is by digging into your past utility bills.
Gather your electric bills from the last 12 months. This gives you the full picture of your average monthly kilowatt-hour (kWh) usage and accounts for seasonal spikes, like running the AC all summer or powering holiday lights in the winter. For a truly accurate picture, a home energy audit checklist can help you pinpoint exactly where all that power is going.
Once you have your average daily or monthly kWh number, you can finally start calculating your system size. For instance, if your home uses about 30 kWh per day, you'll need a system that can reliably generate that much power, factoring in your area's average "peak sun hours." This data-driven approach is what stops you from overspending on a system that's too big or being let down by one that's too small.
Navigating Permits and Local Regulations
This is the part of the process that often intimidates people the most, but it’s completely manageable if you tackle it head-on. Every town, city, and county has its own set of rules, and you absolutely must get this part right before ordering a single piece of equipment.
Your first move should be to visit your local building department's website or give them a call. Look for information on permits for residential solar PV installations. They’ll usually have checklists and specific requirements you need to follow to the letter.
Here are the key regulations you'll want to get familiar with:
- Building Codes: These rules dictate structural details, like how the mounting hardware must be fastened to your roof to handle high winds or heavy snow.
- Electrical Codes: Most places adhere to the National Electrical Code (NEC), which sets strict safety standards for all the wiring, grounding, and connections.
- Utility Company Rules: If you plan on connecting to the grid (which most people do), your utility provider will have its own requirements for interconnection agreements and specific hardware, like a dedicated disconnect switch.
Living in a historic district or a neighborhood with a homeowners' association (HOA) can add another layer of approvals. Some HOAs have strict rules about whether panels can be visible from the street. The secret is to start these conversations early to avoid any surprise delays down the road.
The good news is that with the global push for renewables, cumulative global PV capacity has soared past 2.2 terawatts (TW). This boom means local authorities are more familiar with solar projects than ever, which often makes the permitting process much smoother than it used to be.
Choosing the Right Tools and Solar Components
Putting together a solar energy system that will last for decades starts with selecting the right gear. This isn’t just about buying the most expensive parts; it’s about choosing a complete, cohesive set of equipment where every piece works together perfectly. From the panels on your roof to the inverter on your wall, each component plays a vital role.
Think of it like building a custom car. You wouldn't put a high-performance engine in a car with bad brakes. The same logic applies here—every choice you make impacts the safety, efficiency, and longevity of your investment.
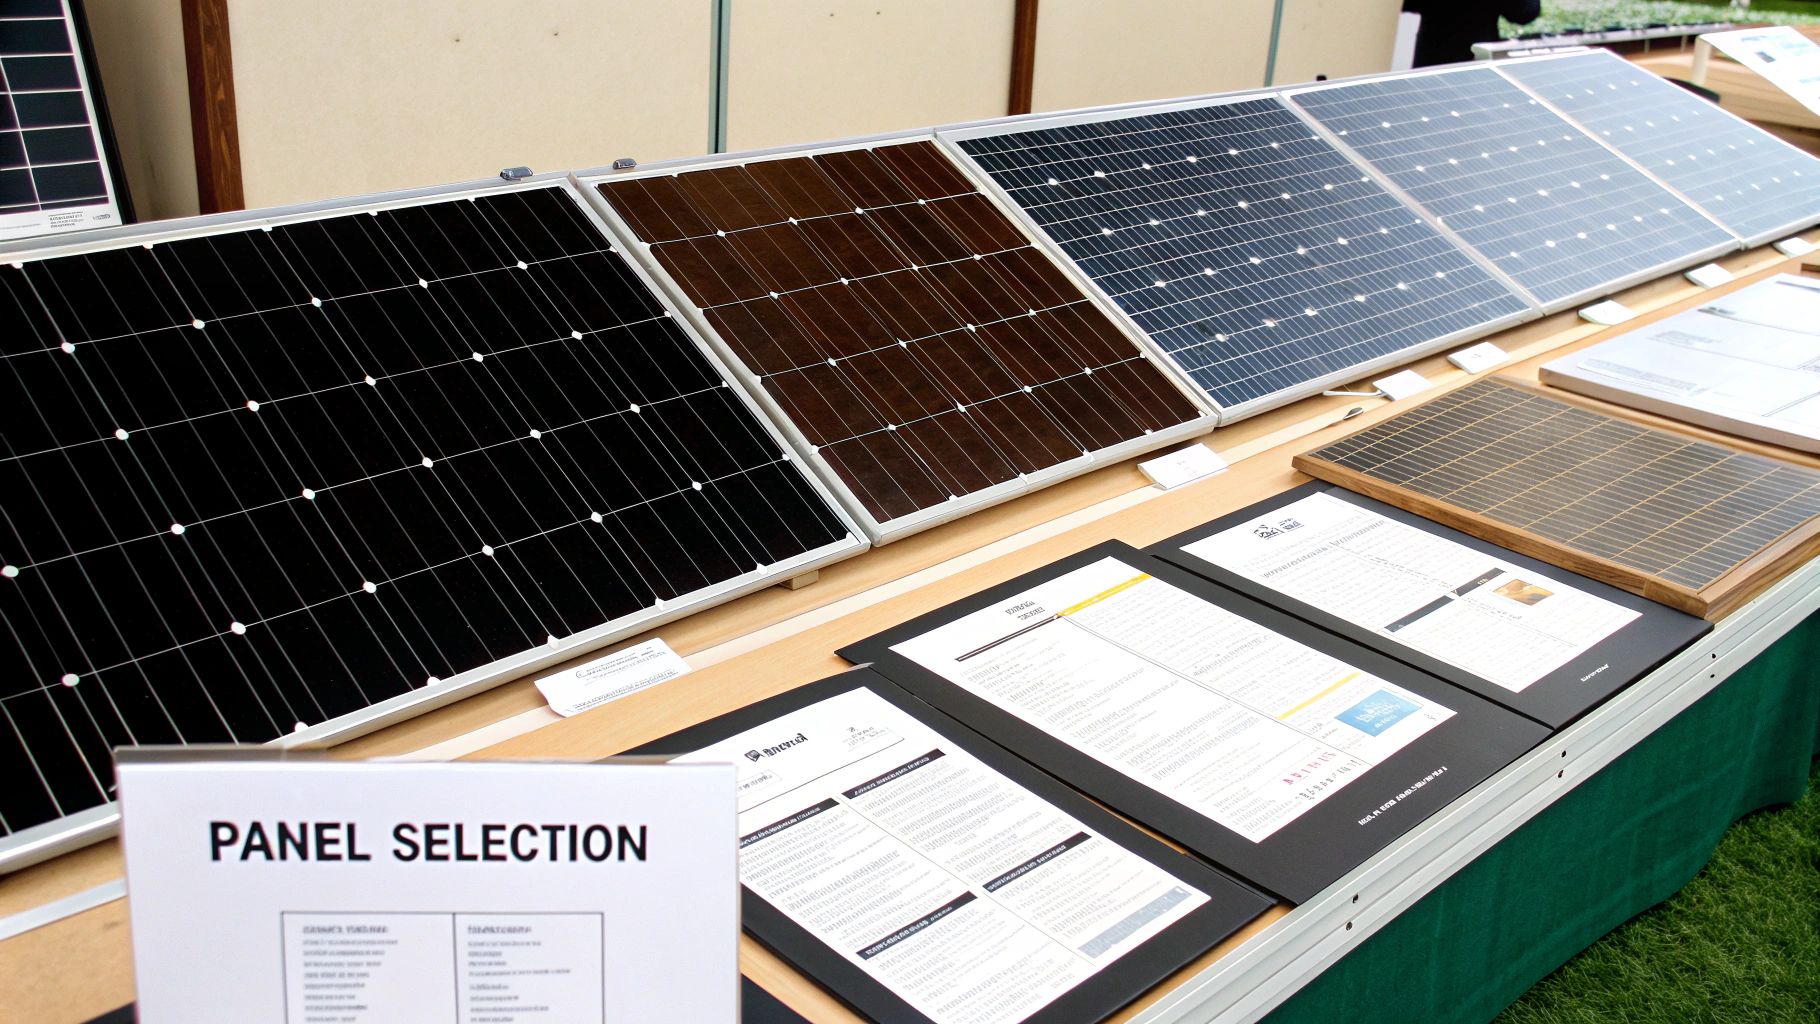
Decoding Solar Panel Technologies
Your first big decision is which type of solar panel to use. For most homes, the choice comes down to monocrystalline versus polycrystalline panels. While they both generate power from the sun, they have some key differences in performance and appearance.
Monocrystalline panels are made from a single, pure silicon crystal, which gives them their signature uniform black color. This purity also makes them more efficient, meaning they produce more power per square foot. If you’re working with limited roof space, monocrystalline panels are usually the way to go to maximize your energy output.
Polycrystalline panels, on the other hand, are made by melting together multiple silicon fragments. You can spot them by their blue, marbled appearance. While they are slightly less efficient than their monocrystalline cousins, they're also cheaper to manufacture. This makes them a fantastic, budget-friendly choice if you have a large, open roof area to fill.
A key takeaway here is that efficiency directly impacts your roof's real estate. A homeowner with a small, city townhouse roof might need high-efficiency monocrystalline panels to meet their energy goals, while someone with a large, unobstructed barn roof could achieve the same output with more affordable polycrystalline panels.
The Critical Role of Inverters
If solar panels are the heart of your system, the inverter is the brain. This device is responsible for a crucial job: converting the direct current (DC) electricity your panels produce into the alternating current (AC) your home actually uses. The inverter you choose will have a massive impact on your system's overall performance, especially if your roof has any tricky spots that get shade during the day.
For residential projects, you're primarily looking at two options: string inverters and microinverters.
A string inverter is the classic, time-tested approach. It works by connecting a group (or "string") of solar panels to one single, centralized inverter box. The main downside? If one panel in the string gets shaded or covered in leaves, the performance of the entire string drops to match that one underperforming panel. It's an all-for-one, one-for-all situation.
Microinverters represent a more modern solution. With this setup, a small inverter is attached directly to the back of each individual panel. This allows every panel to operate independently at its peak potential. If a chimney shades one panel for a few hours, the rest of the array keeps chugging along at full power. They cost more upfront but often pay for themselves in higher energy production, especially on complex roofs.
Solar Inverter Technology Comparison
Choosing between string inverters and microinverters can be tough. It really comes down to your specific roof layout, budget, and performance expectations. This table lays out the main differences to help you decide.
| Feature | String Inverters | Microinverters |
|---|---|---|
| Upfront Cost | Lower | Higher |
| Shade Performance | Poor (entire string affected) | Excellent (panel-level optimization) |
| System Monitoring | System-level only | Panel-level monitoring |
| Expandability | More difficult and costly | Easy to add panels one at a time |
| Lifespan | 10-15 years | 20-25 years (matches panels) |
Ultimately, microinverters provide superior performance and flexibility, but string inverters remain a solid, cost-effective choice for simple, unshaded roofs.
Assembling Your Installation Toolkit
You simply cannot do this job safely or correctly without the right tools. While you probably own a good drill and a tape measure, a solar installation requires some specialized equipment you might not have lying around. Trying to make do without them is a recipe for damaged equipment or, worse, a serious accident.
Your tool list breaks down into two categories: general construction tools and job-specific electrical and safety gear. Don't even think about skimping on the safety equipment—you're working at height with live electricity, so this is not the place to cut corners.
Here’s a practical list of what you absolutely need to have on hand:
- Essential Power Tools: A solid cordless drill will be your best friend up on the roof. You'll also want a circular saw for any wood modifications and an angle grinder for cutting the aluminum mounting rails to size.
- Specialized Electrical Gear: A high-quality torque wrench is absolutely critical. Overtightening or under-tightening electrical connections is a major fire hazard, and manufacturers provide exact torque specs for a reason. You’ll also need good wire strippers, crimpers for MC4 connectors, and a multimeter to verify voltage and polarity.
- Safety Equipment: This is where you should spend freely. A fall protection harness, proper roof anchors, and a sturdy lifeline are non-negotiable. Always wear insulated gloves and safety glasses whenever you're handling wiring—no exceptions.
With your plans approved and all the gear laid out, it's time for the main event: getting that solar array up and running. This is where the real work begins, turning your roof into a power-generating machine. We’ll split this into two big jobs: the physical, mechanical work of mounting everything, and then the precise electrical wiring that brings it all to life.
Safety is everything from here on out. Every move should be deliberate and follow best practices. The goal is a system that's secure, totally leak-proof, and fire-safe for decades to come.
This visual gives you a great bird's-eye view of the key stages for getting the panels physically installed.
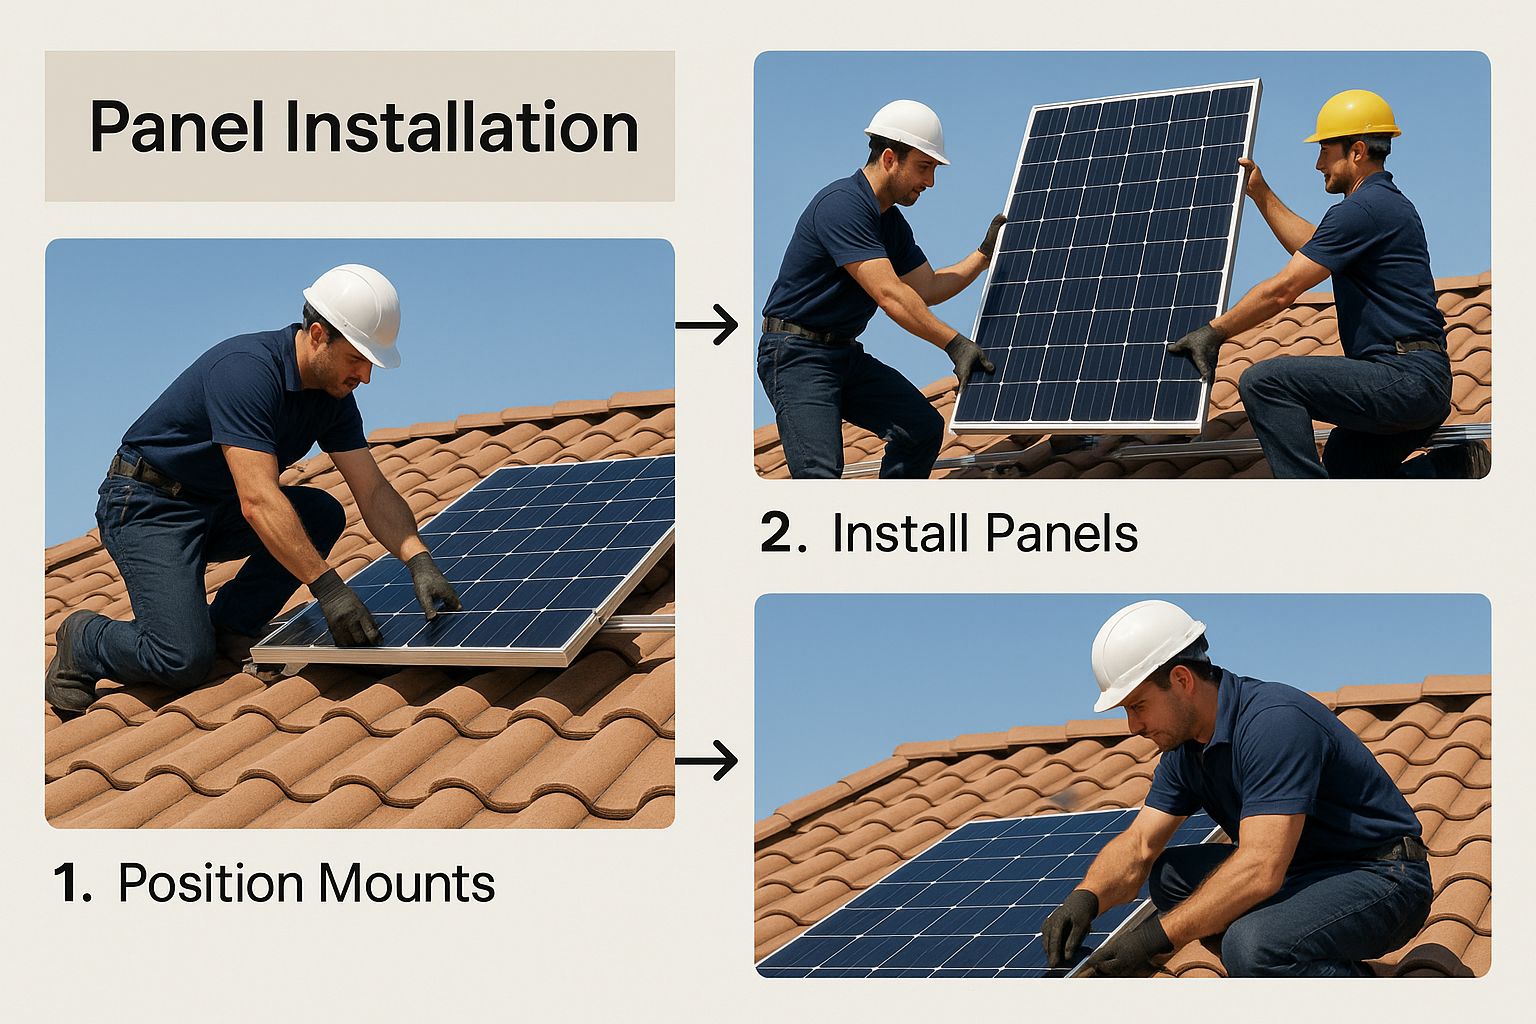
As you can see, it's a logical progression. You build the foundation—the mounts and rails—before you ever bring a panel up. A structured approach is the only way to tackle rooftop work safely and efficiently.
Mastering the Mechanical Installation
The mechanical side of things is all about building a rock-solid, weatherproof foundation for your solar array. It all starts with finding the bones of your roof: the rafters. These are what will support the entire weight of your system, so you can't guess. Use a good stud finder and a chalk line to map their positions precisely.
Once your rafters are marked, you’ll attach the mounting brackets, which you'll often hear called "flashings" or "feet." Honestly, this is the most critical part of preventing future roof leaks. For each bracket, you need to drill a pilot hole dead center into a rafter.
Before you drive the lag bolt, apply a high-quality sealant around the hole—this is your primary waterproof barrier. Then, slide the flashing up under the shingles and tighten the lag bolt. This compresses a rubber gasket, creating a secondary seal that keeps water out for good.
Crucial Tip From the Field: Don't ever eyeball your rafter locations. If you miss, you're just securing a heavy solar array to thin roof sheathing. That’s a recipe for disaster in the first big windstorm. Always double-check before you drill.
With the mounting feet locked down, you can install the aluminum rails. These rails span across the mounts and are what your solar panels will actually clamp onto. Take the time to get them perfectly parallel and level. This prevents any weird stress points on the panels and ensures they all sit flush and look professional.
Finally, the moment of truth: getting the panels on the roof. This is absolutely a two-person job, minimum. Solar panels are awkward, and even a light breeze can turn one into a sail. Once a panel is in position on the rails, you’ll secure it with the mid-clamps and end-clamps provided by the manufacturer. Make sure to tighten every bolt to the specified torque setting.
Tackling the Electrical Wiring with Precision
Once the panels are mechanically fastened, your focus shifts to the electrical work. This part requires extreme attention to detail. Bad connections are a serious fire risk, so there's no room for error. You'll be connecting the panels together, linking them to your inverter, and finally running that power down to your home's main electrical panel.
The first electrical steps happen right there on the roof. You'll connect the panels to each other in series, creating what we call "strings," using the pre-attached MC4 connectors that just click together. If you're using microinverters, the process is a bit different; you'll connect each panel's DC output to its own microinverter and then link the AC outputs of all the microinverters together.
This kind of residential project is part of a massive global trend. In just the first six months of a recent year, global solar installations hit a staggering 380 gigawatts (GW). That's a 64% increase from the 232 GW installed in the same period just a year earlier. It shows just how fast homeowners and utilities are embracing solar. You can discover more insights about the global solar installation boom to see how this is reshaping the energy market.
After the rooftop wiring is done, you have to get that power down to your ground-level equipment. This is where conduit comes in. It's essentially a metal pipe that protects the wiring from the elements and physical damage. It will typically run from a junction box on the roof, down the side of your house, to your main inverter or AC combiner box.
Grounding and Final Connections
Proper grounding isn't just a good idea—it's a non-negotiable safety requirement. Every single metal part of your solar array, from the panel frames and rails to the inverter's chassis, must be connected to your home’s grounding system. This gives electricity a safe path to the earth in case of a fault, preventing dangerous shocks and fires. You’ll run a continuous ground wire (usually bare copper) along the rails, attaching it to each panel with special grounding clips or lugs.
The last step is tying the solar circuit into your main service panel. For a lot of DIYers, this is the perfect time to call in a licensed electrician for an hour or two. A pro can ensure this final tie-in is done safely and up to code, installing a new breaker specifically for your solar system. If you're curious about how this all fits into your home's electrical layout, our guide on understanding the principles of smart home wiring provides some great background.
Remember, every single electrical connection needs to be tightened to the manufacturer's specified torque value with a torque wrench. A loose connection can create an electrical arc, which generates incredible heat and is a major fire hazard. Taking your time here is one of the most important things you can do for a safe, long-lasting installation.
Getting Your System Online and Keeping It Running
So, the last bolt is tight and every wire has a home. It feels like you’re done, but the journey isn't quite over yet. Now you’ve reached the final, critical phase: getting the system officially approved, switched on, and ready for a long, productive life. Think of this as the moment your construction project transforms into your own personal power plant.
This is where we cover the crucial steps of commissioning and ongoing maintenance. Getting this part right is what ensures your big investment operates safely, performs at its peak, and keeps delivering value for the next 25 years or more.
Clearing the Final Inspections
Before you can flip the switch and start soaking up the sun, your hard work needs a final sign-off from two key groups: your local building department and the utility company. These inspections aren't just red tape—they're essential safety checks to make sure your system is installed correctly and won't be a hazard to your home or the power grid.
First, an inspector from your city or county will come out to compare your work against the plans they approved. They have a sharp eye and will meticulously check a few key things:
- Structural Integrity: They'll want to see that the mounting hardware, roof attachments, and flashing are all secure and completely weatherproof. No leaks, no loose racks.
- Electrical Safety: This is a big one. The inspector will trace your wiring, check the conduit runs, verify the grounding system, and examine every connection to ensure it all meets the National Electrical Code (NEC) standards.
- Proper Signage: They’ll look for all the required safety placards and labels near your disconnects and main electrical panel. These are non-negotiable for safety.
Once the local inspector gives you the green light, your utility company performs its own review. Their main concern is how your system connects to their grid. They'll verify you have the right disconnect switches and that your setup won't cause problems for their infrastructure. Only after they grant what’s called Permission to Operate (PTO) can you legally power up your system.
The System Startup: Time to Flip the Switch
With that official PTO in hand, it's time for the moment you've been working toward. The startup procedure, or "commissioning," isn't just one flip of a switch; it's a specific sequence designed to energize your system safely.
You'll typically start by turning on the AC disconnect, which connects your inverter to your home's main electrical panel. After that, you'll enable the DC disconnect, which lets the power from the solar panels flow down to the inverter. You'll see the inverter wake up and run through a self-check—this can take a few minutes—before it begins converting that DC electricity into usable AC power for your home.
This is the perfect time to fire up your system's monitoring. Log into the inverter's app or web portal. You should see it start reporting real-time energy production, which is the ultimate confirmation that everything is working just as it should.
A Simple Plan for Long-Term Maintenance
Solar panels are famously low-maintenance, but "low" isn't the same as "no" maintenance. A simple, proactive schedule is all it takes to keep your system humming at peak performance for its entire lifespan. The good news is that most of these tasks are just quick visual checks you can easily do yourself.
Here’s what a practical maintenance plan looks like:
- Monthly Performance Check: Glance at your monitoring software once a month. Are your production numbers where they should be for the season? A sudden, unexplained drop in output is often the first clue that something needs a closer look.
- Seasonal Panel Cleaning: For most people, a good rainstorm is all the cleaning your panels need. But if you live in a particularly dusty area or somewhere with a lot of pollen, a gentle cleaning with a soft brush and deionized water once or twice a year can boost your output by 5-10%.
- Annual Visual Inspection: At least once a year, do a quick inspection from the ground. Look for any loose or sagging wires, check for debris on the panels, and make sure there's no visible damage to any of the components.
This simple routine helps you catch small problems before they have a chance to become big, expensive ones.
Better yet, combining your high-performance solar array with other smart home upgrades can unlock even greater energy savings. Our guide on how to make your home energy efficient is packed with strategies that work perfectly alongside your new solar system.
Common Questions About DIY Solar Installation
Even with the best step-by-step guide, you're going to have questions. Let's be real—tackling a DIY project this big means you'll run into snags unique to your house, your town's regulations, and your own comfort level. I've heard a lot of the same questions over the years, so let's get them answered.
Think of this as your quick reference for those "what do I do now?" moments. The whole point is to give you clear, practical answers so you can finish your installation with confidence and avoid any expensive headaches down the road.
How Much Can I Realistically Save?
Going the DIY route can slash your upfront costs in a big way, mainly because you're not paying for labor. Professional labor can easily make up 20-30% of a system's total price tag, and that's a serious chunk of cash.
Let's put some numbers to it. For a pretty standard 6kW residential system that might cost a homeowner around $18,000 installed by a pro, you could pocket anywhere from $3,600 to $5,400.
Of course, you have to be honest with yourself. Factor in the cost of any tools you need to buy or rent, permit fees, and the value of your own time. The savings are definitely there, but they come with the trade-off that you are personally responsible for making sure the work is done right.
What Are the Most Common Mistakes to Avoid?
I see the same critical mistakes pop up again and again. Almost all of the most dangerous and costly ones happen in two areas: bad roof flashing and sloppy electrical connections. Getting these wrong can have some pretty dire consequences.
- Leaks, Leaks, Leaks: Failing to properly seal every single penetration on your roof is just asking for trouble. A tiny, slow leak can go unnoticed for months, causing thousands in hidden water damage to your attic and ceiling. Every bolt needs a watertight seal. No exceptions.
- Loose Connections: On the electrical side, the number one sin is not using a torque wrench. Every electrical lug has a specific torque spec from the manufacturer for a reason. If it's too loose, you create resistance, which generates heat. This is a major fire hazard. Don't eyeball it; use the right tool.
One of the biggest blunders happens before you even touch a tool: rushing the planning. If you don't take the time to properly size your system or map out shade, you could end up with panels that never produce what you expect. Poor planning cripples a system from day one.
Do I Need to Be an Electrician?
This is a big one. While you probably don't need to be a licensed electrician to mount the racks and panels, there’s one part of the job that almost always requires a pro: the final grid tie-in. This is the connection from your solar setup to your home’s main service panel.
What many smart DIYers do is handle all the rooftop work themselves—installing the racking, bolting down the panels, and running the conduit. Once that's all done, they hire an electrician for just a few hours to make that final, critical connection and sign off on the work. This hybrid approach keeps you safe and compliant with local codes while still saving a fortune on labor.
Before you buy a single component, call your local building department. It’s the only way to know for sure what you’re legally allowed to do yourself and what requires a licensed professional in your area.
At Automated Home Guide, we're all about helping you create a smarter, more energy-efficient home. For more deep dives into home automation and energy management, check out our resources at https://automatedhomeguide.com.


Leave a Reply