

Diving into Apple's smart home ecosystem can feel a little intimidating at first, but the good news is that its foundation is surprisingly simple. HomeKit isn't a physical product you buy in a box. Think of it as the language built directly into your iPhone, iPad, and Mac that lets all your different smart home gadgets talk to each other securely.
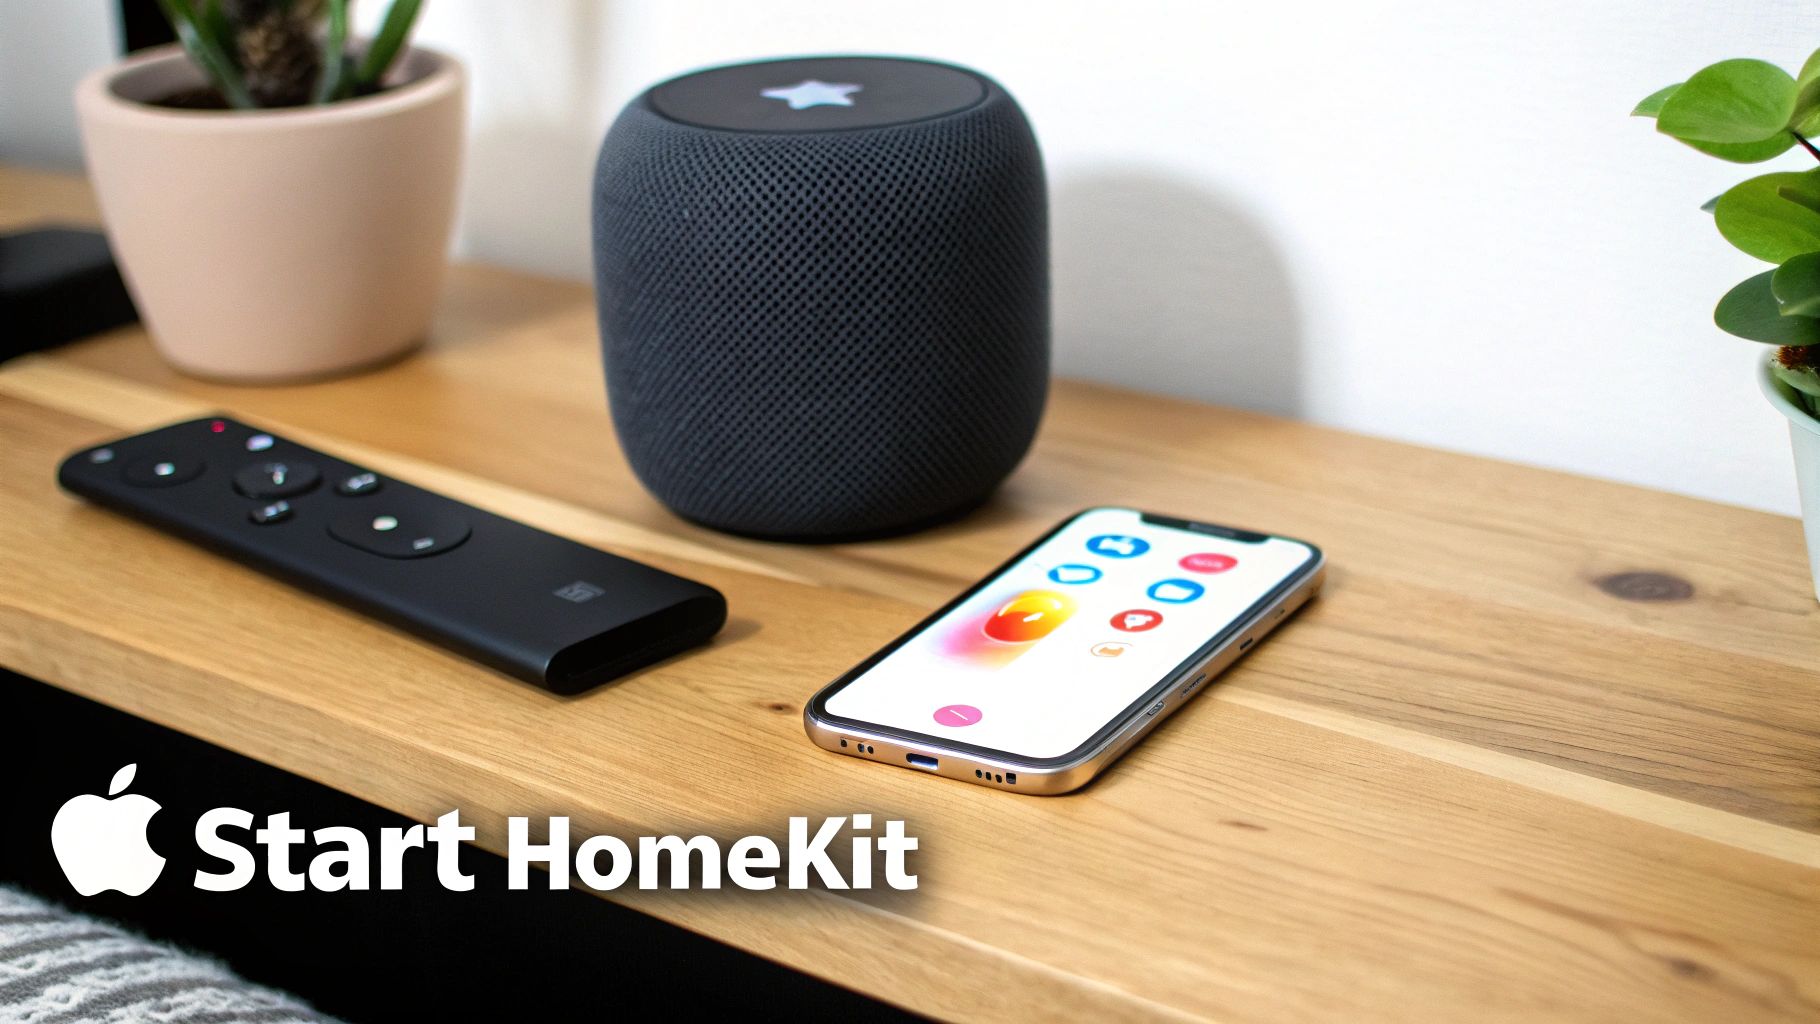
Everything you do will happen inside the Home app, which is already on your Apple devices. This is your command center—the place where you'll add new lights, group devices into rooms, build automated routines, and control it all with a simple tap or a quick voice command to Siri.
The Core Components You Need
Before you start shopping for smart plugs or thermostats, let's get the essentials sorted. There are a couple of non-negotiable items that form the backbone of any reliable HomeKit setup.
- An Apple Device: You'll need an iPhone or iPad to serve as your main remote and setup tool. This is where you'll scan codes and configure all your accessories.
- A Home Hub: This is the real brain of the operation. You’ll need an Apple TV (4th generation or newer), a HomePod, or a HomePod mini. This device stays at home and is crucial for controlling your devices when you're out and about. It also powers all your automations.
Without a Home Hub, you can only control your devices when you’re connected to your home Wi-Fi. That means no adjusting the heat on your way home from work or checking if you locked the front door from the office. A hub is what makes your home truly smart. If you're weighing your options, our detailed smart home hub comparison breaks down which one might be the best fit for you.
Expert Tip: Don't treat the Home Hub as an optional extra. It’s the single most important piece for unlocking remote access and automations, which is where the real magic of a connected home happens.
Your HomeKit Setup Checklist
To make it even clearer, here’s a quick table outlining what you’ll need to get started. These are the building blocks for creating a responsive and secure smart home with Apple.
| Component | Requirement/Role | Examples |
|---|---|---|
| Control Device | Used for initial setup and daily control. | iPhone, iPad, iPod touch |
| Home Hub | The central brain; enables remote access and automations. | Apple TV (4th gen+), HomePod, HomePod mini |
| Home App | The command center for all devices and scenes. | Pre-installed on iOS, iPadOS, macOS, watchOS |
| Accessories | The "smart" devices you add to your home. | Smart lights, plugs, locks, thermostats |
With these core pieces in place, you have a solid foundation ready for any compatible smart device you want to add.
Why HomeKit’s Foundation Matters
Apple built HomeKit with a security-first approach right from its launch with iOS 8 way back in 2014. A huge part of its appeal is that all communication—between your iPhone, your Home Hub, and your smart accessories—is protected with end-to-end encryption. This powerful commitment to privacy is what really sets HomeKit apart from many other platforms.
This secure framework means your personal data stays private and your home stays protected from outside interference. Once you have your hub and control device ready, you can confidently start exploring the thousands of compatible accessories out there. For some great ideas on what to add first, check out this guide to the best smart home devices. You'll find everything from lighting and cameras to thermostats and sensors that can all be tied together seamlessly in your new HomeKit setup.
Adding Your First HomeKit Accessories
Alright, with your Home Hub set up and ready to go, we get to the fun part: adding your smart devices. This is where your smart home really starts to take shape, connecting the physical gadgets in your house to the digital world inside the Home app.
First things first, you'll need an accessory that's built to play nicely with Apple's ecosystem.
When you're out shopping, keep an eye out for the "Works with Apple Home" sticker on the packaging. This little badge is your assurance that the device has passed Apple's rigorous standards for security, privacy, and performance. Somewhere on the device itself, the box, or in the manual, you'll find a unique setup code—it’s either an eight-digit number or a QR code. Don't lose it!
The Pairing Process in the Home App
Apple really nailed the setup experience, making it incredibly simple. They've stripped away the need to fiddle with complex network settings, so adding a new device feels almost automatic.
Let's walk through it with a common example, like adding a new smart plug.
- Pop open the Home app on your iPhone or iPad.
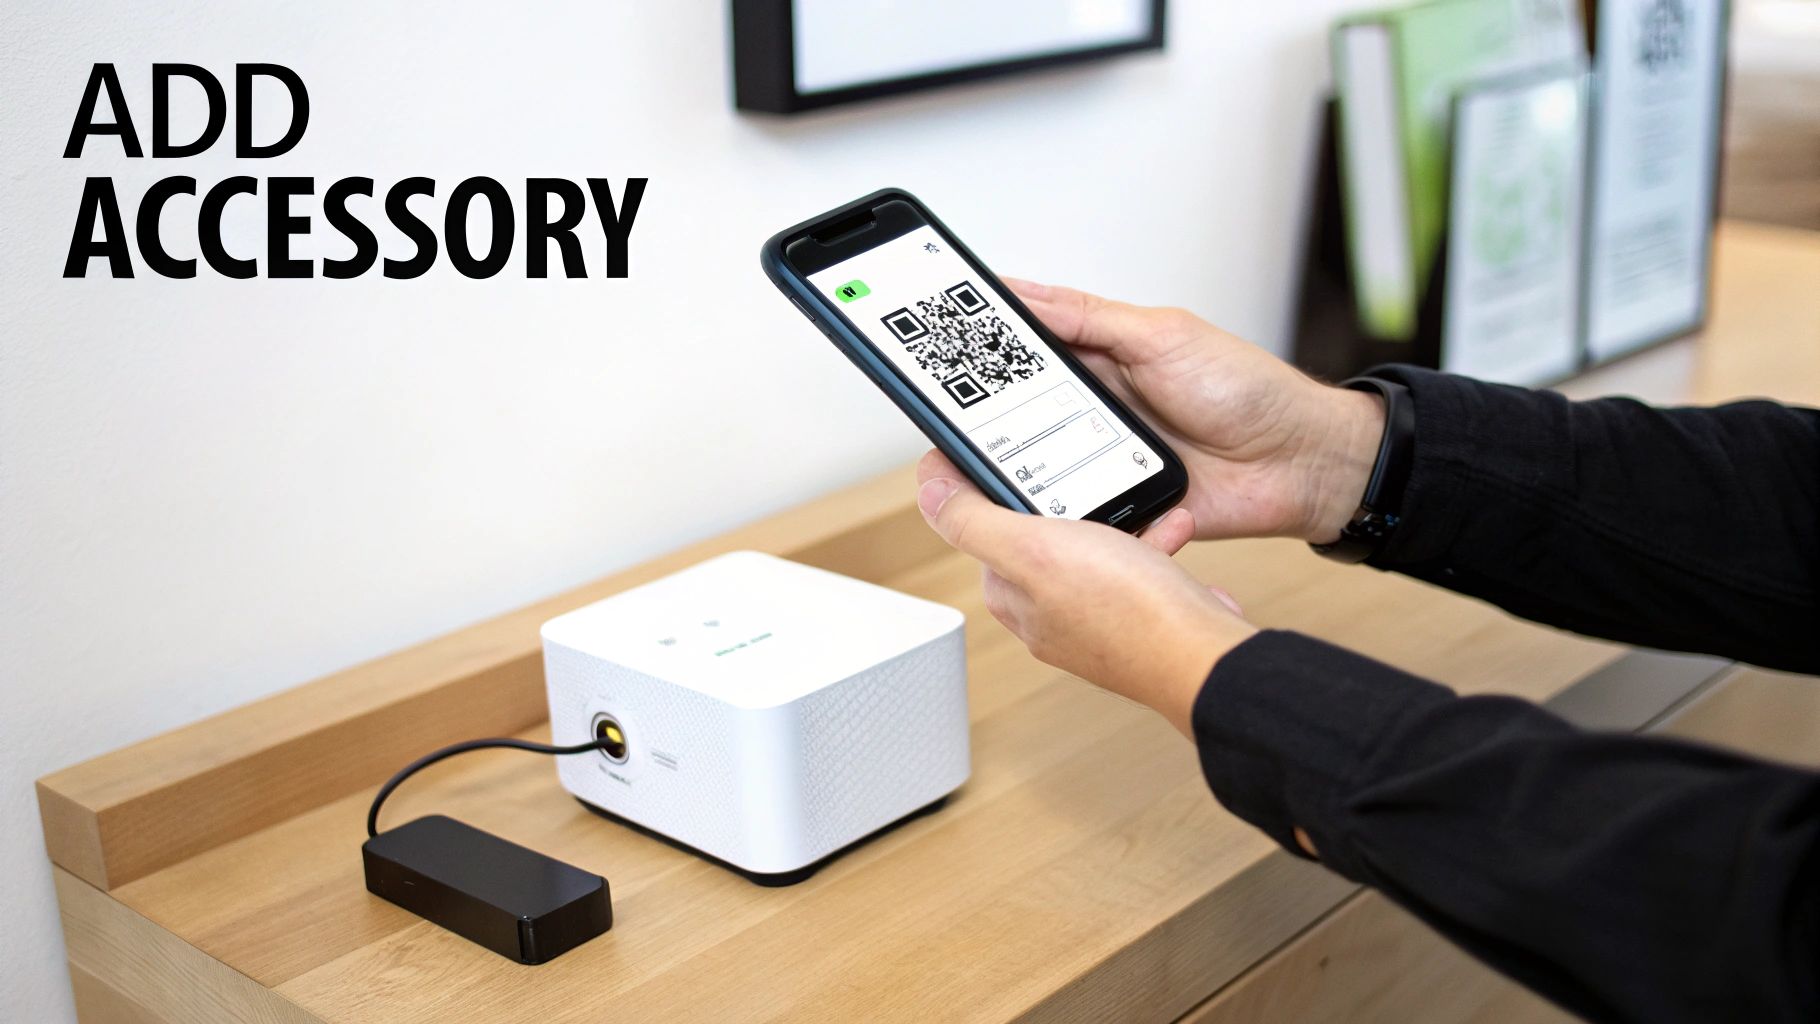
- Tap the little "+" icon you see in the top-right corner, then choose Add Accessory.
- Your phone’s camera will fire up, ready to scan. Just point it at the HomeKit QR code on the smart plug.
- In an instant, your device recognizes the accessory and kicks off the pairing process.
If for some reason you can't scan the code (maybe it's in an awkward spot or got smudged), just tap "More options…" and you can type in that eight-digit number manually. The Home app takes care of the secure handshake behind the scenes, so you never have to mess with Wi-Fi passwords. This seamless, secure setup is a huge part of HomeKit's appeal.
Apple HomeKit has carved out a solid niche in the smart home market, especially in the United States. The U.S. market alone was valued at roughly $23.72 billion in 2024, and HomeKit's strong emphasis on privacy continues to win over a dedicated user base. You can dig deeper into Apple's role in the growing smart home industry on statista.com.
Naming and Organizing Your New Device
Once your new gadget is paired, the Home app will ask for a few details. Don't rush through this part—how you name and organize your devices has a huge impact on how you use them, especially with Siri.
- Assign a Room: The app will first ask you to place the accessory into one of the rooms you've set up, like "Living Room" or "Kitchen." This keeps everything tidy.
- Give It a Smart Name: This is key. Skip the default "Smart Plug 1" and name it based on what it actually controls. Think "Living Room Lamp" or "Coffee Maker." This makes voice commands feel completely natural. It's so much easier to say, "Hey Siri, turn on the Living Room Lamp," than to try and remember a generic product name.
Finally, you'll get the option to mark the accessory as a "Favorite." I highly recommend doing this for things you use daily, as it pins them to the main screen of the Home app and your Control Center for super quick access. A little organization upfront makes for a much smoother experience down the line.
If you're curious about the technology that makes all this communication happen, many modern accessories use protocols like Thread and Wi-Fi. Our guide on smart home protocols breaks down how it all works.
Keeping Your Smart Home Tidy with Rooms and Zones
When you first start with HomeKit, adding a new smart plug or light bulb is exciting. But fast forward a few months, and your Home app can easily become a chaotic, scrolling list of dozens of accessories. This is where a little organization goes a long way.
Think of it like this: you wouldn't just toss all your kitchen gadgets into one giant drawer and hope for the best. The same principle applies to your smart home. Using Rooms and Zones is the secret to keeping things manageable and making your home feel truly smart, not just cluttered.
Start by Creating Rooms
The most fundamental way to organize your devices is by putting them into Rooms. This mirrors their actual physical location in your house, which just makes intuitive sense.
When you add a new accessory, HomeKit will ask you to assign it to a room right away. If you skipped that step in your initial excitement (we’ve all been there), it’s easy to fix later. Just press and hold the accessory's tile, tap "Accessory Details," and you can assign it to the correct room.
Need to create a brand new room?
- From the Home tab, tap the "+" icon in the top right.
- Select Add Room.
- Give it a clear name like "Living Room," "Back Patio," or "Office." You can even set a custom wallpaper to give each room a bit of personality.
This simple act of organization is more powerful than it seems. It cleans up the app, but more importantly, it unlocks more natural Siri commands. When you say, "Hey Siri, turn off the lights in the kitchen," it works because HomeKit knows which lights you're talking about.
Pro Tip: An organized home is a smarter home. Taking a few minutes to group your devices into rooms builds a solid foundation. It makes day-to-day control faster and voice commands far more reliable, which really pays off as your setup grows.
Level Up Your Control with Zones
Once you have your rooms set up, you can take things a step further with Zones. A zone is simply a group of rooms. This is an incredibly useful feature for controlling large areas of your house with a single command.
For instance, you could create an "Upstairs" zone that includes the master bedroom, guest room, and the upstairs bathroom.
Now, instead of having to turn off the lights in each room individually before bed, you can just say, "Hey Siri, turn off all the lights upstairs." Boom. Done. It's a massive time-saver.
Here are a few common ways I've seen people use zones:
- Downstairs: A zone for the living room, kitchen, and dining room.
- Outside: A handy way to group the front porch, back deck, and garage.
- Bedrooms: Perfect for a single "goodnight" command.
To set one up, just head into a room's settings, tap on "Zone," and you can either add it to an existing zone or create a new one on the spot. This kind of thoughtful structure is what turns a pile of smart gadgets into a genuinely helpful, cohesive smart home that works for you, not against you.
Creating Smart Scenes and Automations
Now that you've organized your devices into rooms and zones, it's time for the real fun to begin. This is where your smart home starts to feel less like a collection of gadgets and more like an intelligent, responsive environment. We'll do this with two key features: Scenes and Automations. Getting the difference between them is the key to unlocking HomeKit’s full potential.
Think of it like this: a Scene is a one-tap command you trigger yourself to adjust multiple devices to a specific setting. An Automation, on the other hand, is the true magic—it runs completely on its own based on triggers like time of day, your location, or a sensor going off.
Building Your First Scenes
Scenes are fantastic for those little routines you do every day. Instead of tapping three different light controls and a smart plug, you can bundle them all into a single, convenient command. It’s all about setting the perfect mood instantly.
A classic example everyone loves is a "Movie Night" scene. With one tap or a simple, "Hey Siri, set movie night," you could make all this happen at once:
- The main living room lights dim down to 20% brightness.
- Accent lights behind the TV turn on and shift to a soft blue.
- The smart plug for your soundbar clicks on.
- Your smart blinds roll all the way down.
Creating scenes is less about being a tech expert and more about just paying attention to your own habits. Think about what you do over and over. Is there a "Good Morning" routine? A "Leaving Home" sequence? These are the perfect places to start.
Diving into Powerful Automations
While scenes are great for on-demand actions, automations are what make your home feel like it's actually working for you. These are the "set it and forget it" rules that manage things in the background without you ever lifting a finger. Mastering this is central to learning how to set up Apple HomeKit for a truly smart experience.
This infographic breaks down the structure you've just built—it’s the foundation for creating really effective automations.
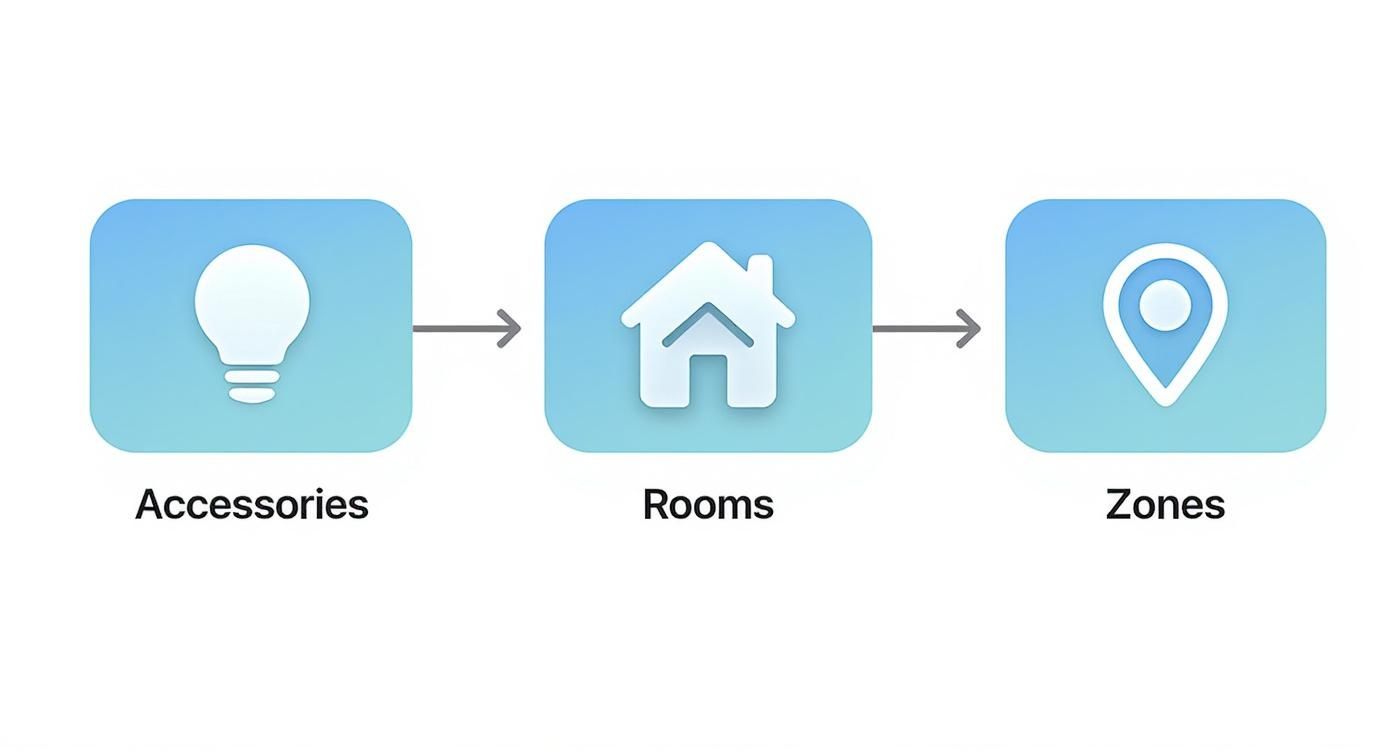
Having this hierarchy in place is what allows you to build powerful and specific automations. You're not just telling a random light to turn on; you're telling the lights in the "Upstairs Hallway" to activate based on a specific trigger.
Here are a few automation ideas to get your gears turning:
- "Welcome Home" Lighting: Have the porch light and entryway lamp turn on automatically, but only when the first person arrives home after sunset.
- Energy-Saving Thermostat: Create a rule that automatically lowers your smart thermostat a few degrees whenever the last person leaves the house.
- Automated Nightlight: Use a motion sensor in a hallway to turn the lights on to a very dim 10% between midnight and 6 AM. It's just enough light to see without blinding you.
These simple, condition-based actions are what elevate a smart home from a novelty to a genuinely useful part of daily life. They save energy, add convenience, and provide peace of mind, all running silently in the background.
Scenes vs Automations Which Should You Use
Deciding between a Scene and an Automation can be tricky at first. This quick comparison should help you figure out which tool is right for the job.
| Feature | Scenes | Automations |
|---|---|---|
| Trigger | Manual (You tap a button or use Siri) | Automatic (Time, location, sensor, etc.) |
| When It Runs | Only when you activate it | When specific conditions are met |
| Best For | On-demand mood setting ("Movie Night") | Background tasks ("Turn off lights at 11 PM") |
| Example | "I'm Home" scene sets lights and music | "When I arrive home, run the I'm Home scene" |
Ultimately, Scenes and Automations work together. You'll often create a Scene first and then build an Automation to trigger that Scene automatically when certain conditions are met.
Troubleshooting Common HomeKit Problems
Even with the best planning, things can go sideways during a HomeKit setup. Let's be honest, we've all been there. The most common snag you'll hit is the dreaded "Accessory Not Responding" error. It's a frustratingly vague message, but nine times out of ten, the root cause is surprisingly simple.
This error almost always points back to a network issue. Your smart plug might be sitting in a Wi-Fi dead zone, or maybe there's some signal interference from another gadget. If you find your devices are constantly dropping off, it's a good idea to diagnose why your WiFi keeps disconnecting to get to the bottom of it.
Your Home Hub is another key player here. Since it’s the command center for your entire setup, a quick reboot of your Apple TV or HomePod mini is often all it takes to clear the communication lines and get things back online.
When Your Automations Go Rogue
Now, what about when your devices are all responding just fine, but your automations refuse to run? This is a whole different beast, and the fix is usually found in your settings, not your network closet.
A frequent offender is location services. If you’ve built an automation that triggers when you get home, your iPhone must have permission to share its location with the Home app. You can check this under Privacy & Security > Location Services. It’s also a good practice to make sure every device involved—your iPhone, iPad, and Home Hub—is running the latest software. Version mismatches are a classic cause of automation hiccups.
I can't stress this enough: a solid, reliable network is the bedrock of any good smart home. You simply can't expect a responsive HomeKit system without strong Wi-Fi and proper security. Getting this right from day one will save you a world of frustration later.
A Quick Fix Checklist
Before you start tearing your hair out, just run through these simple steps. I find they solve the vast majority of everyday HomeKit issues.
- The Classic Reboot: It's a cliché for a reason. Start by power cycling the accessory that's acting up. If that doesn't work, reboot your Home Hub (Apple TV/HomePod), and then your Wi-Fi router as a last resort.
- Update Everything: Check for software updates on your iPhone or iPad. Then, make sure your Home Hub is current. Finally, open the manufacturer's app for the accessory to see if it has a firmware update waiting.
- Double-Check the Network: Make sure your iPhone and the accessory are connected to the same Wi-Fi network. For a deeper dive into securing your setup, check out our guide on home network security best practices.
The learning curve with these systems is a big reason the global smart home market was valued at USD 137.3 billion in 2024. As this tech becomes more common, making the user experience smoother is the name of the game. By working through these common issues methodically, you’ll be able to fix most problems in minutes and get back to enjoying your automated home.
Frequently Asked Questions About HomeKit
Getting your first few HomeKit devices up and running is a great start, but it's natural to have a few questions pop up as you go. Let's dig into some of the most common ones I hear from people just starting out.
Do I Absolutely Need a Home Hub?
Technically, no. But in practice? Yes, you absolutely do.
Trying to use HomeKit without a dedicated Home Hub (like an Apple TV or a HomePod) is like owning a car but never leaving your driveway. It works, but you're missing the entire point.
Without a hub, your control is limited to when your iPhone is physically in your house and connected to the same Wi-Fi network. The hub is what unlocks the two most powerful features of any smart home:
- Remote Access: This is your lifeline to your home. A hub lets you check your locks, adjust the thermostat, or turn off a forgotten light from anywhere in the world.
- Automations: This is where the magic happens. A hub enables you to create rules that run on their own—like lights turning on at sunset or the thermostat adjusting when you leave for work.
For a home that's truly "smart" and not just a collection of app-controlled gadgets, a Home Hub is a non-negotiable piece of the puzzle.
Your Home Hub is the brain of the operation. It acts as a secure bridge, processing commands and running automations locally, so everything works reliably even if your phone is off or disconnected.
What Happens If My Internet Goes Down?
This is where HomeKit has a serious leg up on many cloud-based systems. Since HomeKit is built around local control, the vast majority of your smart home keeps chugging along just fine without an internet connection.
As long as your home Wi-Fi network is still running (even if it's disconnected from the internet), you can still control all your devices from your iPhone using the Home app. Timed automations that are stored locally on your Home Hub will also continue to run as scheduled.
Of course, anything that needs the internet won't work. This means no remote access from outside your house, some Siri commands might fail, and you won't be able to stream video from your cameras until the connection is restored.
Can I Share Control with Family Members?
Yes, and Apple’s approach to this is fantastic. Forget sharing passwords or messing with complicated user accounts. You can easily invite anyone with an Apple ID to control your home.
It's all handled securely right inside the Home app settings.
- Open the Home app and tap the three-dot menu in the top-right corner, then select Home Settings.
- Tap Invite People… and select someone from your contacts.
- You can then set their permission level. You can give them basic control over devices or grant them admin rights to add and edit accessories themselves.
This is perfect for partners, kids, roommates, or even a trusted friend who might be house-sitting. Once they accept the invite, your home appears in their Home app, giving them instant access based on the permissions you've defined.
At Automated Home Guide, we're committed to helping you build a smarter, safer, and more convenient living space. Explore more expert tips and in-depth reviews on our site. https://automatedhomeguide.com


Leave a Reply