

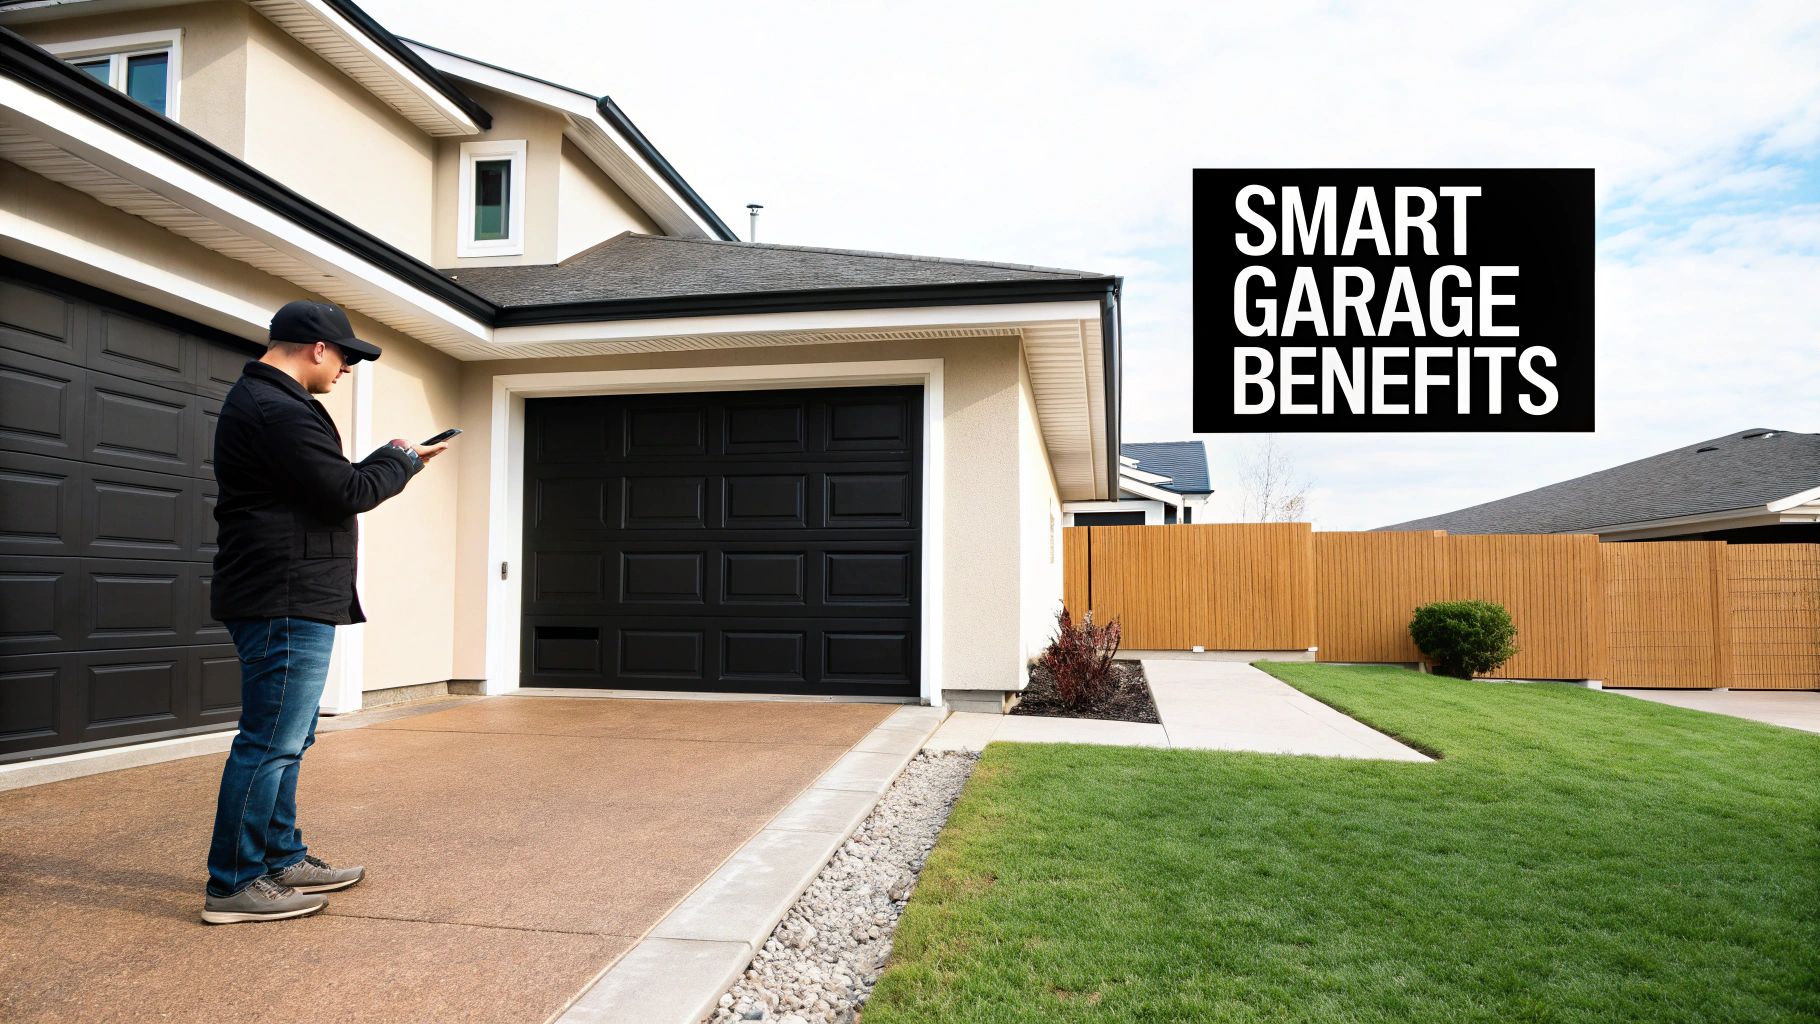
Upgrading to a smart garage door opener is one of those DIY projects that pays off immediately, giving you a serious boost in both home security and everyday convenience. The process is pretty simple: you'll mount a smart controller to your current opener, stick a sensor on the door itself, and then link it all to your Wi-Fi using an app. Once it's set up, you can control and check on your garage from anywhere.
Why a Smart Garage Is a Smarter Home
Let's be clear: this isn't about adding another flashy gadget to your collection. This is about making a key entry point to your home smarter and more responsive. Think about the peace of mind you get from being able to double-check that the garage is closed while you're at work, or getting an instant alert if it opens when it shouldn't.
For many people, a smart garage opener is their first real step into home automation. It’s a practical upgrade that solves a common problem and gives you a new level of control over your property right away.
More Than Just Convenience
Sure, opening the garage with your phone as you pull up is cool, but the real game-changers are the security and monitoring features. After this quick install, you'll be able to:
- Get Real-Time Alerts: Your phone will buzz the second your garage door opens or closes. No more guessing.
- Grant Temporary Access: Let a delivery driver or a contractor in for a few hours without handing over a key or a permanent code.
- Check Door Status Remotely: Finally, you can put an end to that nagging "Did I leave the garage open?" feeling with a quick tap on your app.
These features make your home feel safer and more connected. It’s no surprise that the global market for smart garage door openers was valued at $889 million in 2021 and is on track to hit nearly $2.95 billion by 2033. Homeowners everywhere are catching on. For a deeper dive, check out this market analysis on smart garage door opener trends.
A smart garage opener is easily one of the most practical home upgrades you can make. It solves the everyday headache of garage door uncertainty while adding security layers that old-school openers just can't offer.
An Entry Point to a Connected Home
Beyond just opening and closing the door, a smart garage can even improve your home's overall efficiency. When you start thinking about things like garage energy efficiency, you realize how a well-sealed and managed door can affect your home's heating and cooling.
You can also connect your new smart opener to voice assistants like Alexa or Google Assistant. This is perfect for those moments when you’re pulling in with a car full of groceries and need hands-free control. This kind of integration is one of the key benefits of home automation that just makes life a little bit easier. Before we jump into the installation steps, it helps to see this project for what it is: a major step toward a safer, smarter home.
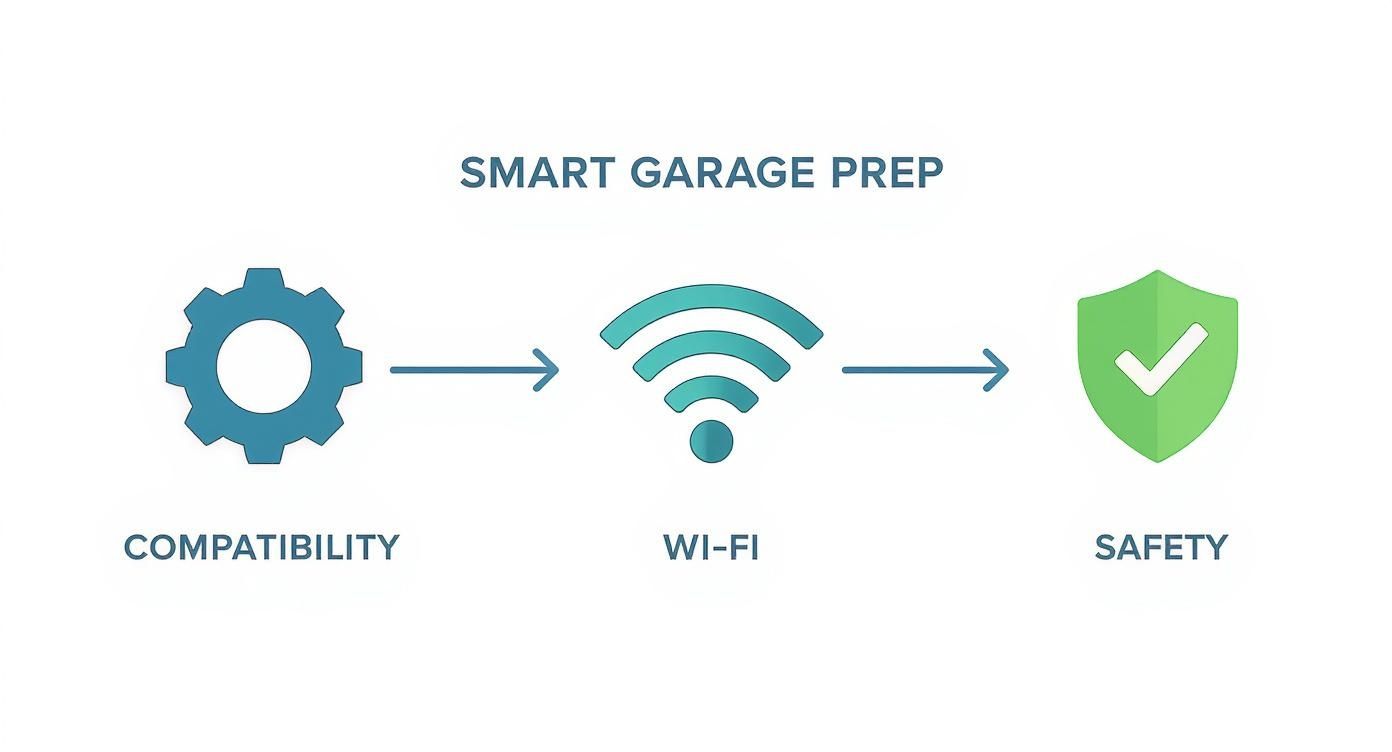
Getting Started: The Pre-Installation Check
Before you even think about opening the toolbox, let's talk prep work. I've seen countless DIY projects go sideways because of a simple, overlooked detail. Taking a few minutes to check your existing setup will save you from a world of frustration later. This isn't just about making the installation smoother; it's about making sure your new smart gadget actually works reliably from day one.
Think of it this way: you're giving your trusty old garage door opener a brain transplant. We need to make sure the body is healthy first. And if you're curious about the bigger picture, knowing how to choose the right garage door opener in the first place gives you a great foundation for understanding why these compatibility details matter so much.
Is Your Opener Ready for an Upgrade?
First things first: will your current garage door motor even talk to a new smart controller? The good news is, most will. If your opener was made after 1993 and has safety reversing sensors—those little electronic eyes near the bottom of the door tracks—you're likely in business.
Here's a tried-and-true trick I always recommend: the "paperclip test." Grab a small piece of wire or a paperclip, and for just a second, touch the two screw terminals on your motor unit where the wall button's wires connect. Did the door start moving? Perfect. That means the opener will respond to the simple electrical signal that a smart controller sends.
How's the Wi-Fi in Your Garage?
Your new smart controller is going to be hungry for a good Wi-Fi signal. Garages are notorious Wi-Fi black holes, often blocked by thick walls or just too far from the router. A spotty connection means your app will be slow, unresponsive, or just plain useless when you need it most.
Here’s a quick and dirty way to check your signal strength:
- Walk out to where you plan to install the smart controller.
- Make sure your phone is connected to your home’s 2.4 GHz Wi-Fi network. Most smart home gadgets prefer this band because it has better range than 5 GHz.
- Pull up a YouTube video and stream it for a minute or two.
If it plays smoothly, you’re good to go. If it’s constantly buffering, you’ve got a problem to solve. A Wi-Fi range extender placed between the router and garage is an easy fix, or you could upgrade to a mesh Wi-Fi system for rock-solid coverage everywhere.
A weak Wi-Fi signal is the number one cause of post-installation problems. Taking five minutes to test your signal strength and address any issues now will save you from major headaches later.
Don't Skip the Safety and Balance Checks
A smart opener is useless if the door itself is a clunky, unbalanced mess. Before adding any new tech, we have to make sure the core mechanical and safety systems are in perfect working order. This is non-negotiable—it’s for the safety of your family, your pets, and your car.
To make this step foolproof, I've put together a quick checklist. Run through these items to confirm your system is in good shape before you proceed.
Essential Pre-Installation Checklist
| Check Item | Success Criteria | What to Do If It Fails |
|---|---|---|
| Safety Sensor Test | The door stops and immediately reverses when an object breaks the sensor beam. | Stop. Clean the sensor lenses and check their alignment. If that doesn't work, you may need to replace them. Do not proceed until fixed. |
| Door Balance Test | When disconnected from the opener, the door can be lifted by hand and stays put halfway up. | The springs need adjustment. This is a job for a garage door professional, as springs are under extreme tension and can be very dangerous. |
| Wi-Fi Signal Strength | A video streams smoothly on your phone (on the 2.4 GHz network) at the installation spot. | Install a Wi-Fi range extender or upgrade to a mesh system to boost the signal in your garage. |
| Opener Compatibility | The door moves when you briefly connect the two wall-button terminals with a wire ("paperclip test"). | Your opener might have a "Security+ 2.0" system and require a specific, compatible smart controller. Check the smart controller's documentation. |
Running these checks ensures the foundation is solid. A smart device can't fix a mechanical problem. It's also a good time to think about how this new device fits into your home. Understanding the different smart home protocols will help you choose a system that plays nicely with any other tech you have, but again, none of that matters if the door itself isn't safe and sound.
Getting the Smart Controller and Sensors Installed
Alright, with all the prep work done, it's time to roll up our sleeves and get the hardware in place. This is the fun part, where your garage door opener gets its smarts. We'll be mounting the controller, placing the sensor, and connecting a couple of low-voltage wires.
Don't let the wiring part scare you. It's not like wiring a new outlet; this is low-voltage stuff and surprisingly simple. The key is just to take your time, follow the instructions for your specific model, and make sure every connection is solid.
This flowchart gives you a bird's-eye view of the path to getting this hardware set up correctly.
As you can see, we’ve already knocked out the critical foundation: checking compatibility, Wi-Fi, and safety. Now for the physical installation.
Power Down and Mount the Controller
First things first: safety. Go to your circuit breaker and kill the power to the garage door opener. I always unplug the motor unit from its ceiling outlet, too, just to be doubly sure. The light on the motor should go out, confirming it's completely dead.
Now, let's find a home for the smart controller—the "brain" of the operation. Most of the time, the best spot is right on the motor unit itself or on the ceiling right next to it. You're looking for a spot where the power cord can reach the outlet and the control wires can get to the terminals without being pulled taut.
Use the mounting bracket or adhesive that came in the box to secure it. A personal tip: I always opt for the bracket and screws over adhesive tape. Garages go through big temperature swings, and I’ve seen adhesive fail over time. A couple of screws will keep it there for good.
Making the Wire Connections
This is the step that makes most people nervous, but honestly, it’s easier than it looks. All you're doing is connecting two small wires from your new smart controller to the very same screw terminals that your wall-mounted button uses. These are almost always labeled "WALL," "PUSH BUTTON," or something just as obvious.
- Find the Terminals: Take a look at the back or side of your motor unit. You'll see a strip of screw terminals with wires already connected. Your job is to find the two that trace back to your indoor wall button.
- Connect the New Wires: Grab the wires from your smart controller. It almost never matters which wire goes to which terminal. Just loosen the screws, slide the new wires in right alongside the existing ones, and then tighten the screws back down.
- Do a Quick Tug Test: Once they're in, give each wire a gentle pull. You want to feel that it's snug. A loose connection is the #1 reason for headaches later on.
The controller is just sending the same signal as your wall button, which is exactly why that "paperclip test" we did earlier was so important. It confirmed your opener can be controlled this way. If you want to dive deeper into how different low-voltage systems work together, our guide on planning your home's smart wiring is a fantastic resource.
Pro Tip: Before you loosen anything, wrap a small piece of painter's tape around the existing wires from your wall button. While you’re just adding the new wires in with them, this little trick makes troubleshooting a breeze if you ever run into an issue down the road.
Getting the Door Sensor Placement Right
The sensor is how your new system knows if the garage door is actually open or closed. Its placement is absolutely critical. If you get this wrong, you'll get false notifications. Most kits will give you either a tilt sensor or a two-piece contact sensor.
- Tilt Sensors: These are the most popular. It’s a single little box that knows which way it's oriented. You'll stick it right on the top interior panel of your garage door. As the door opens, that top panel goes from vertical to horizontal, and the sensor reports the change.
- Contact Sensors: This type comes in two pieces. One piece goes on the door, and the other on the frame right beside it. When the door is shut, the two pieces are next to each other; when it opens, they separate.
No matter which type you have, clean the spot on the door with an alcohol wipe before you stick it on. Garage doors are dusty and greasy, and that's the enemy of a good adhesive bond. This small step is the difference between it staying on for a week versus for years.
The demand for these DIY smart home upgrades is a huge factor in the industry's growth. The smart garage door opener market is forecast to grow at 9% to 12.5% annually through 2033, with homeowners driving the trend. You can discover more insights about smart garage system trends to see how projects like this are changing home automation.
Tidy Up Your Cables
A clean installation is a safe installation. Dangling wires are not only ugly, but they can easily get snagged on the door’s chain, belt, or other moving parts. Use the included wire clips or a few zip ties to secure the controller's power cord and signal wires.
I like to run the wires along the opener's support brackets or the ceiling, tacking them down every foot or so. It takes maybe five extra minutes but makes the whole setup look professional and, more importantly, keeps it safe. Once everything is secured, you can plug the motor back in and flip the circuit breaker on.
Connecting and Configuring the App
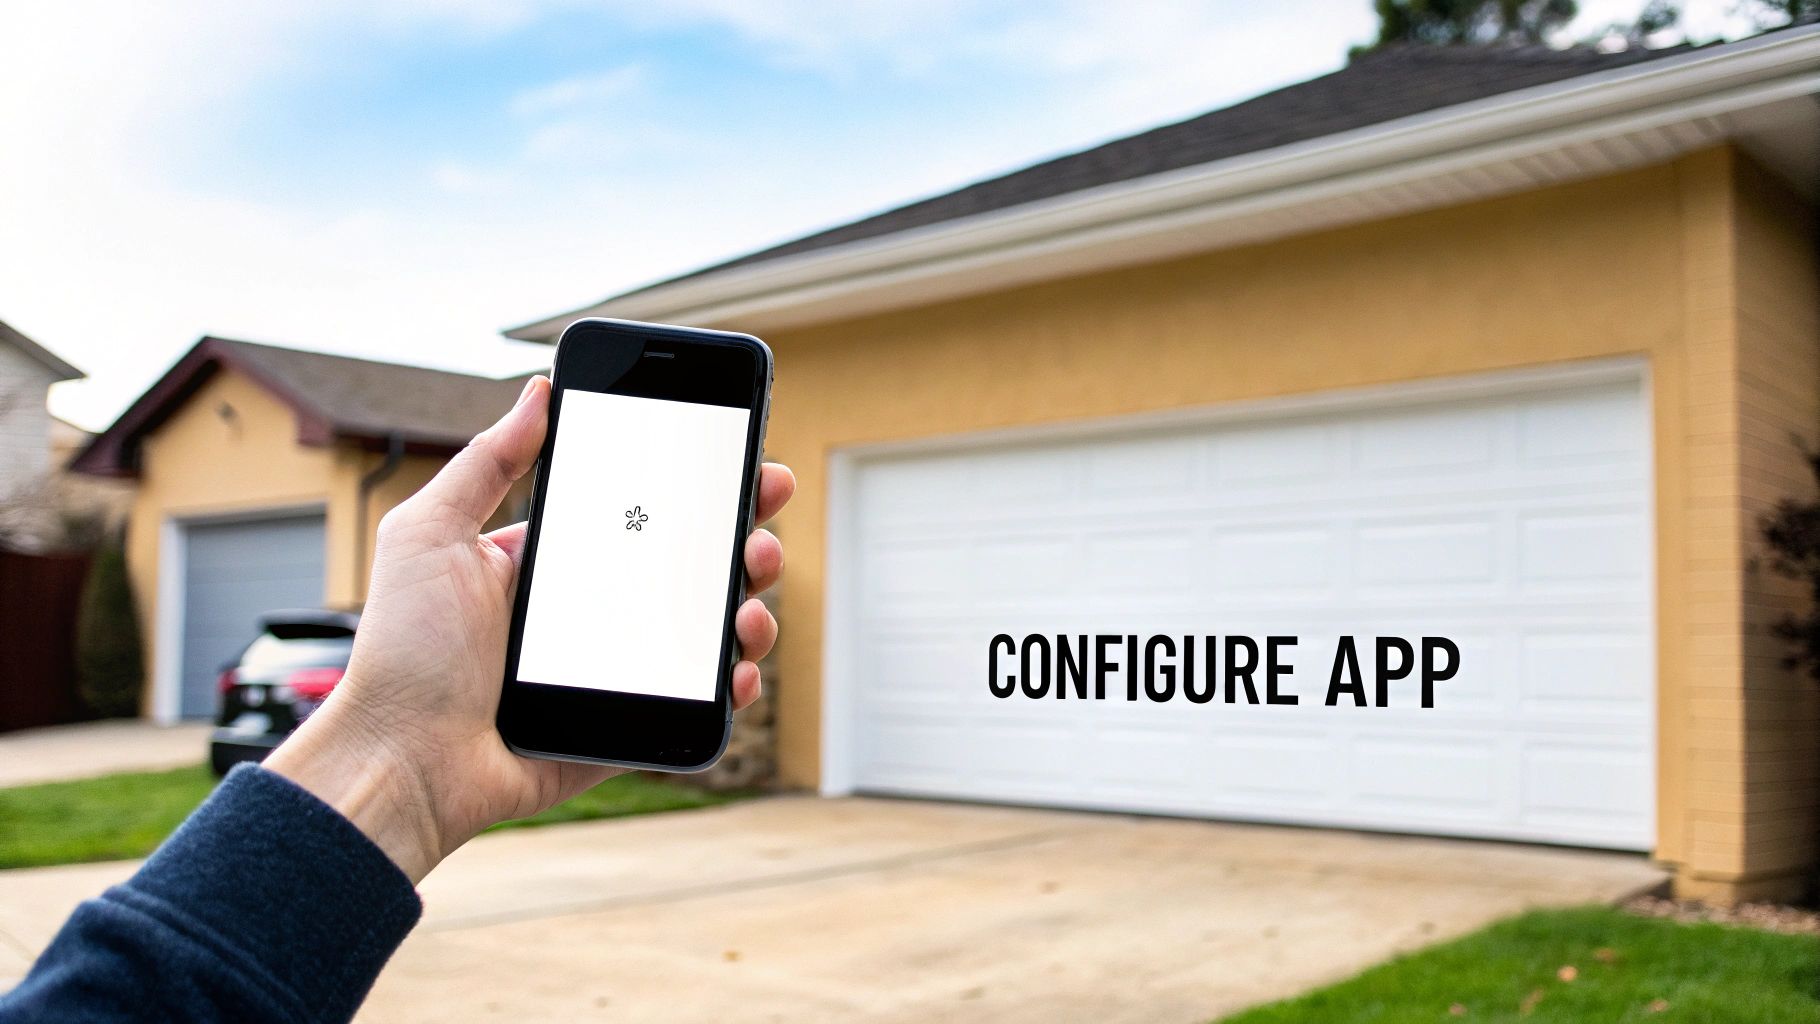
Alright, with the hardware mounted and the wires tucked away, the tough part is over. Now for the fun part: bringing your garage door opener into the 21st century. This is where we connect the device to your digital life and unlock all those "smart" features that make this upgrade worthwhile.
We're about to pair the controller with your Wi-Fi, teach the app what "open" and "closed" actually mean for your door, and fine-tune the settings for real-world security and convenience.
Pairing the Controller with Your Home Wi-Fi
First things first, we need to get your new smart controller onto your home network. This is usually a pretty painless process, but it's where that Wi-Fi check you did earlier really proves its worth. A strong, steady signal in your garage is absolutely crucial for this to work reliably.
Most modern controllers use your phone's Bluetooth to get things started before making the jump over to Wi-Fi.
- Get the App: Head to your phone's app store and search for the manufacturer's app. This will be something like myQ, Aladdin Connect, or Smart Life. Go ahead and create an account.
- Follow the Guide: The app will hold your hand through adding a new device. You'll likely need to put the controller into a "pairing mode," which usually means holding a button on the unit until a little LED light starts blinking.
- Connect to Wi-Fi: The app will then ask you to pick your 2.4 GHz home Wi-Fi network and pop in the password. And yes, it almost always has to be the 2.4 GHz band—most smart devices can't use 5 GHz because the signal range just isn't as good.
Once it connects, the blinking light on the controller should go solid. If it fails, double-check your Wi-Fi password. That's the culprit nine times out of ten.
Calibrating Door Positions for Accuracy
Now that the controller is online, the app needs to learn the difference between your garage door being fully open and fully closed. This calibration step is critical for getting accurate status updates. Without it, the app could tell you the door is shut when it's actually wide open—a huge security blind spot.
The app will walk you through a quick sequence, asking you to open and close the door a couple of times with your existing remote or wall button. As you do this, the sensor and controller are mapping out the door's full travel distance.
Take your time with the calibration. This little process sets the baseline for every notification and status check from here on out. Getting it right means you can trust what the app tells you at a glance, which is the whole point of this project.
This app-based control is precisely why the smart garage market is booming. Valued at about $0.64 billion in 2024, it's on track to hit nearly $1.12 billion by 2030. That growth shows just how much people value the peace of mind you're setting up right now. You can read the full research about smart garage controller market trends if you're curious.
Customizing Alerts and User Access
With the system calibrated, it's time to dig into the settings and make it truly work for you. This is where you go from just having a remote on your phone to having an active monitoring system for your home.
Here are the settings I always configure right away:
- Notifications: Set up push alerts for key events. At a minimum, I recommend turning on notifications for every "Open" and "Close" action. It's also a great idea to set a timer alert, like a warning if the door has been left open for more than 20 minutes.
- User Access: Most apps let you invite family members to have their own access. You can also grant temporary access to a dog walker or a contractor for a specific time window, all without handing out your password.
- Schedules: This one's a lifesaver. You can program the door to automatically close every night at 10 PM, giving you one less thing to worry about before bed.
Linking to Your Smart Home Ecosystem
The final piece of the puzzle is connecting your garage to voice assistants like Amazon Alexa or Google Assistant. This is what enables true hands-free control.
You'll typically need to enable a "Skill" in the Alexa app or an "Action" in the Google Home app, then link it to the account you just created. Once that's done, you can say things like, "Hey Google, is the garage door closed?" or "Alexa, close the garage door."
Don't worry about security—most platforms require you to say a verbal PIN code to open the door with your voice. This smart feature prevents someone from just yelling through an open window to get into your garage. And with that, your garage is officially a fully integrated part of your smart home.
Working Out the Kinks: A Troubleshooting Guide
Even with a perfect installation, you can still hit a snag. Before you get frustrated and start thinking you bought a dud, take a breath. Most problems are surprisingly common and usually have a simple fix. Think of this section as your field guide to solving those head-scratching moments.
I’ve found that nearly every issue boils down to one of three things: the Wi-Fi connection, the door sensor, or a power glitch. We’ll walk through each one. The real secret is to be methodical—tackle one thing at a time instead of trying to fix everything at once.
"My Controller Won't Connect to Wi-Fi!"
This is the big one. It's easily the most frequent roadblock people hit during setup. You follow the app’s instructions to the letter, but the device just stubbornly refuses to connect. The good news is, the controller itself is rarely the problem. It's all about the signal.
Garages can be notorious Wi-Fi dead zones, with concrete walls and big metal doors blocking the signal from your router. Let’s figure out what’s going on.
- Check Your Wi-Fi Band. This is critical. Your smart opener almost certainly needs a 2.4 GHz Wi-Fi network to operate. While the 5 GHz band is faster, its signal doesn't travel as far or penetrate walls as well. Make sure your phone is connected to your 2.4 GHz network during the setup process, as the opener often tries to copy that connection.
- Did You Mistype the Password? It sounds almost too simple, but you'd be amazed how often a single typo in a long, complex password is the culprit. Just re-enter it, slowly and carefully.
- Bring it Closer for a Test. Unplug the smart controller and bring it inside the house. Plug it in near your router and try the pairing process again. If it connects right away, you've just proven the issue is signal strength in the garage. The permanent fix for this is a simple Wi-Fi range extender.
A weak or unstable Wi-Fi connection is the root of over 70% of smart device headaches. Getting a solid, reliable signal to your garage is the single most important thing you can do for consistent performance.
The App Says the Door is Open (But It's Closed)
This one can be maddening. You glance at your phone, and it tells you the garage is wide open, but you're looking right at the closed door. This isn't just an annoyance; it's a security risk that defeats the whole purpose of the device.
When the app's status is wrong, the problem is almost always with the door sensor. It's the system's "eyes," and if it can't see correctly, it's going to feed you bad information.
- Look at the Sensor's Position. If you have a tilt sensor, it must be attached securely to the very top panel of your garage door. That’s the first panel to move when the door opens, giving it a clear signal to send. For two-piece contact sensors, the two halves need to be less than an inch apart when the door is shut.
- Swap the Battery. The tiny battery in the sensor might be dead on arrival, especially if the kit was sitting on a shelf for a while. Pop in a fresh one—it’s a quick fix that often solves the problem instantly.
- Clean It Up. Garages are dusty places. Dust and grime can interfere with a good connection. Take the sensor off, give both the sensor and the door surface a quick wipe with an alcohol pad, and stick it back on firmly. A wobbly sensor is an unreliable sensor.
Tapping "Open" in the App Does Nothing (Or Takes Forever)
There's nothing more frustrating than pulling into your driveway, tapping the button in your app, and… waiting. When the door takes a full minute to respond or doesn't respond at all, it's usually a communication breakdown.
First, do a quick check: Do your old remote controls and the wall button still work instantly? If they do, the garage door opener motor is fine. The issue lies with the smart controller's network connection.
The easiest first step is to reboot everything. Unplug your home’s Wi-Fi router and the smart controller from the wall. Wait about 30 seconds, then plug them both back in. This simple power cycle forces them to re-establish their connection and often clears up the lag immediately.
Smart Garage Opener Questions Answered
So, you've got your smart garage door opener installed and running. Awesome! But even with a smooth setup, a few questions almost always come up. It's totally normal to wonder about brand compatibility, security, and what happens when your Wi-Fi inevitably decides to take a break.
Getting these things straight will help you feel 100% confident in your new home upgrade. This isn't just about the gadgetry; it’s about really understanding how this new tech fits into your everyday life. Let's dig into the most common questions I hear from people after they go smart.
Do I Need a Specific Brand of Opener to Make It Smart?
Probably not. And that's the great thing about most of these smart controllers—they’re designed as universal add-on kits. They’re built to work with a huge range of garage door opener brands made after 1993, which is the year safety sensors became a mandatory feature.
The real test isn't the brand name on the motor, but whether it can be triggered by a simple wired signal. That’s exactly what we checked with the "paperclip test" earlier in this guide. Before you buy anything, though, I always recommend double-checking the smart controller’s compatibility list on the manufacturer's website. Some newer, proprietary systems, especially those with fancy digital wall panels, can be picky and might not play nice with a universal kit.
Will My Smart Garage Opener Work If the Wi-Fi Goes Out?
Yes, absolutely. This is a huge point and one that brings a lot of peace of mind. Your new smart controller is just an additional layer of control, not a replacement for your existing, rock-solid system.
When your Wi-Fi is down:
- Your original remote clickers in your car will work just fine.
- The wall-mounted button inside the garage will operate like it always has.
- Your external keypad (if you have one) will still open the door.
The only things you lose are the "smart" features. The smartphone app, notifications, and any voice commands won't work until your internet comes back online. The core function of getting your door open and closed is completely unaffected.
Your smart opener adds new capabilities without taking away the old, reliable ones. Think of it as a smart upgrade, not a takeover of the fundamental system you've always trusted.
Is It Secure to Control My Garage Door Over the Internet?
This is a really important question. You're connecting a major entry point to your home to the internet, so you're right to be cautious. Reputable manufacturers take this very seriously and build in strong security measures, like the same kind of data encryption your bank uses for online transactions.
However, the most critical part of the security chain is you. To keep your system locked down, you have to follow a few essential practices:
- Use a Strong Password: This is non-negotiable. Create a unique and complex password for your smart garage app account. Don't ever reuse a password from another website or service.
- Turn On Two-Factor Authentication (2FA): If the app offers it, enable 2FA immediately. This adds a second layer of security, usually a code sent to your phone, making it incredibly difficult for someone else to log in.
- Secure Your Home Wi-Fi: Your home's Wi-Fi network is the gateway to all your smart devices. Make sure it's protected with a strong WPA2 or WPA3 password. An unsecured network is like leaving your front door wide open.
By taking these simple steps, you make it tough for anyone to gain unauthorized access, so you can enjoy all the convenience without the worry.
At Automated Home Guide, we're committed to helping you make your home safer and more convenient through smart technology. For more expert tips, product reviews, and in-depth guides, visit us at https://automatedhomeguide.com.


Leave a Reply